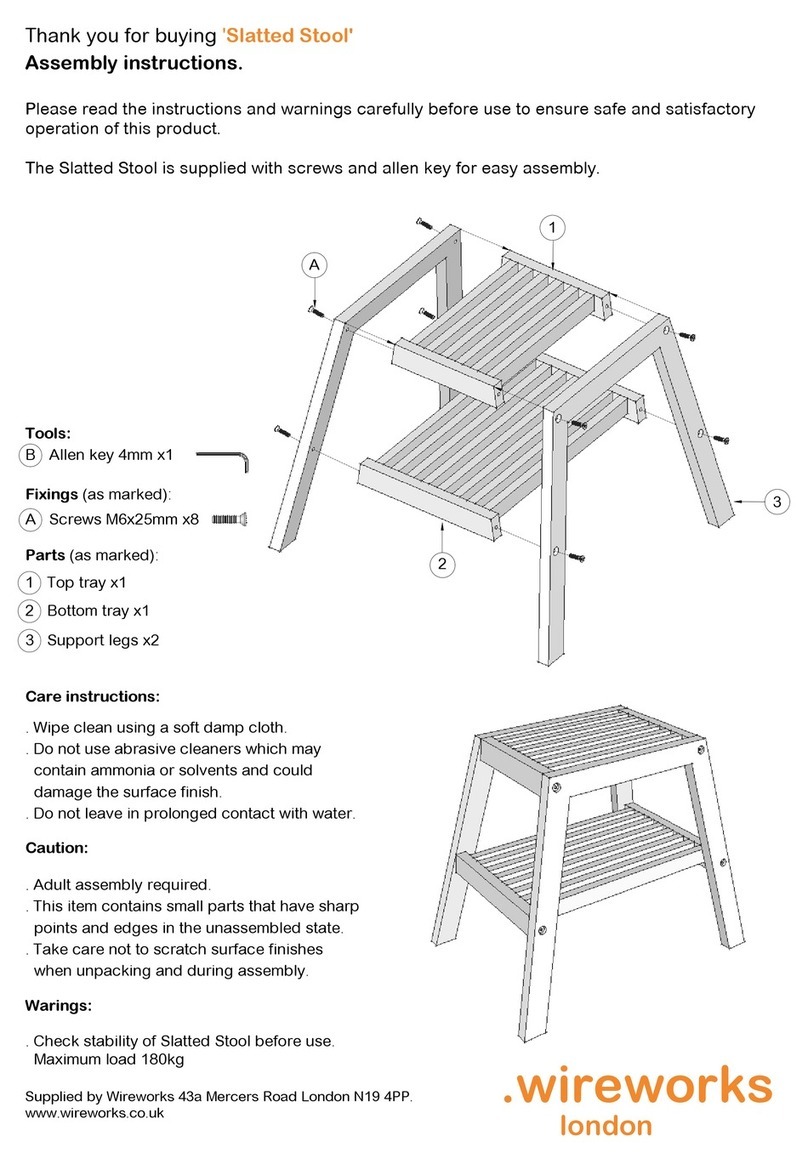
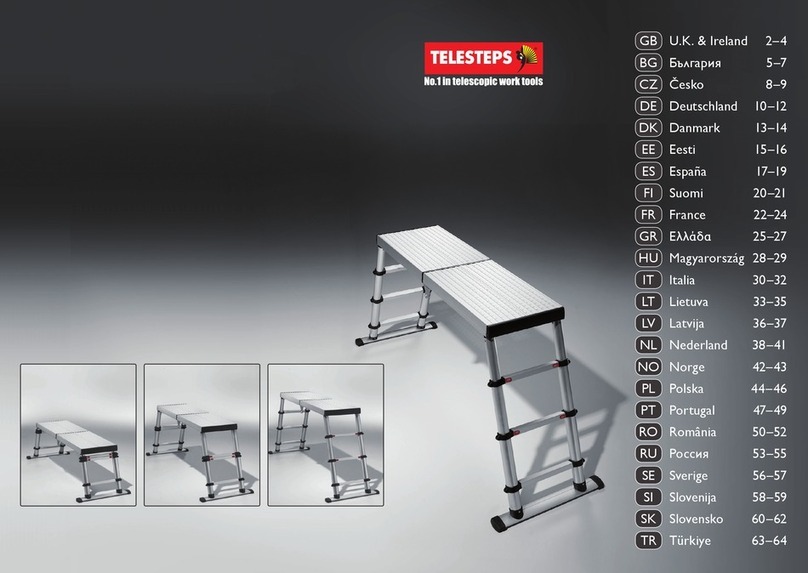
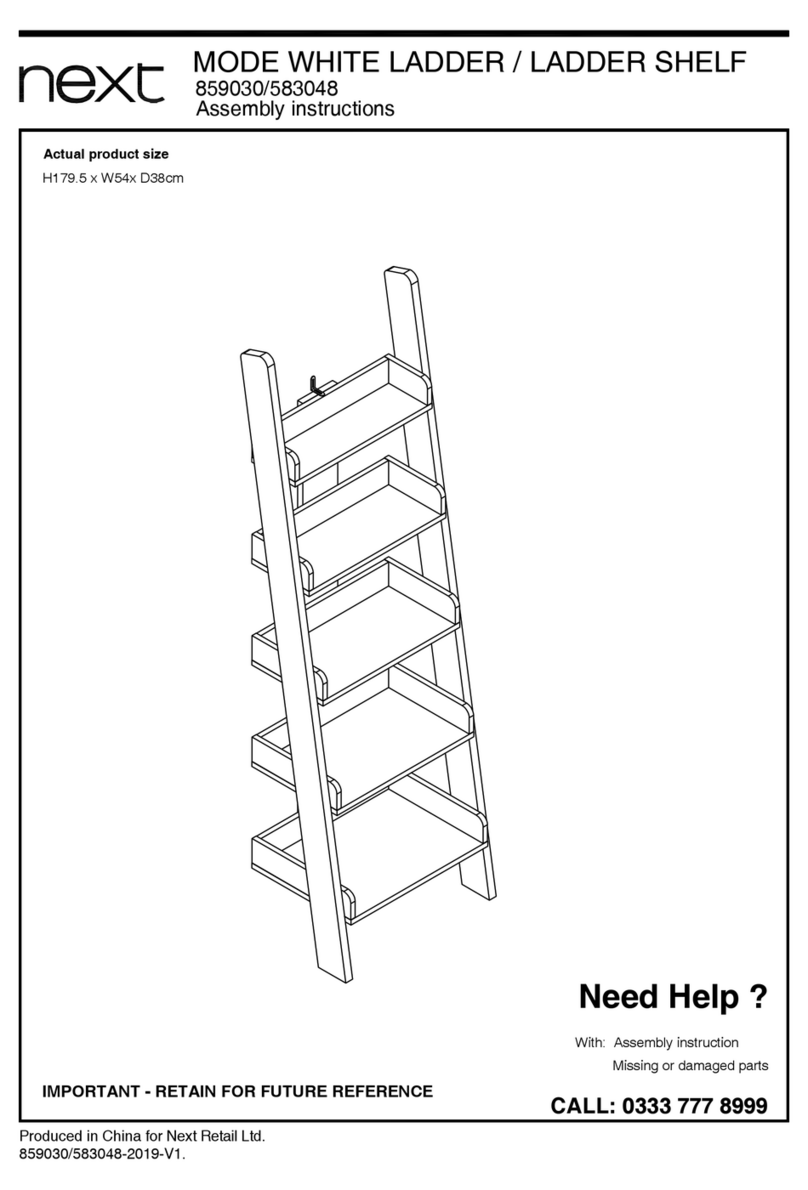
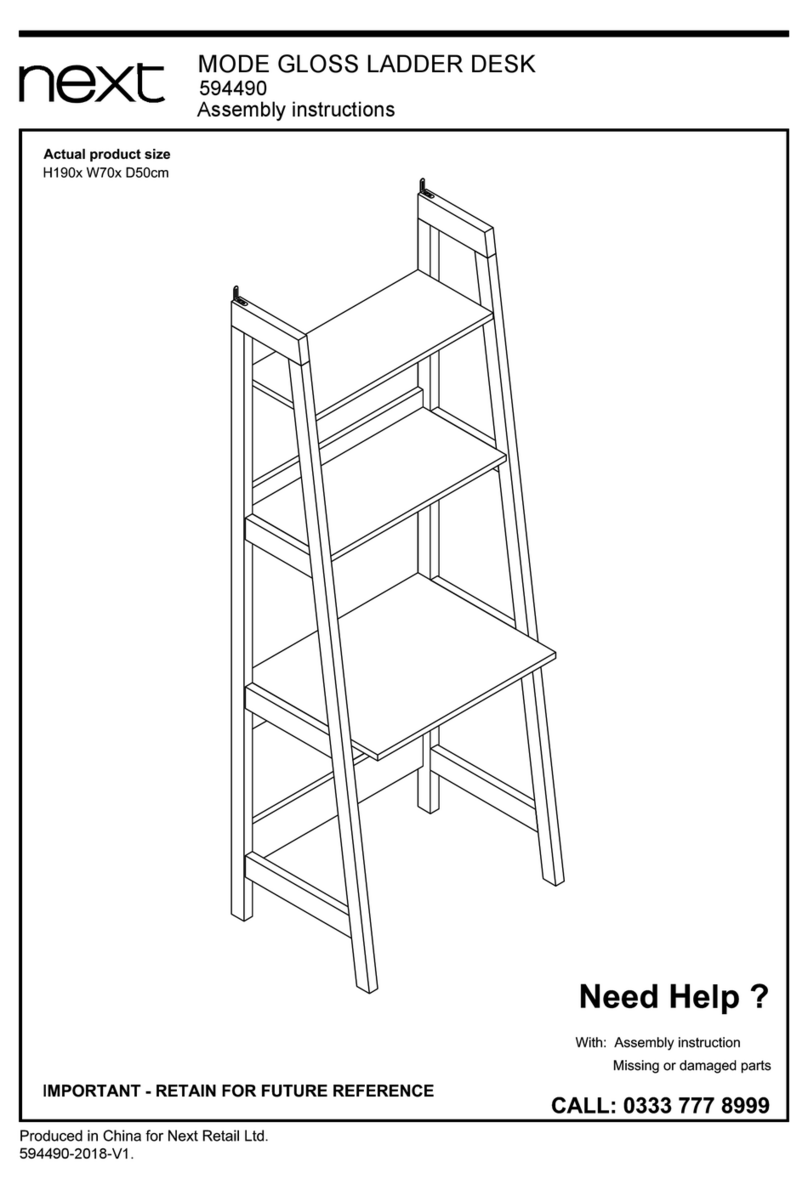
Fontanot ARKE KARINA User manual

Italiano ISTRUZIONI DI MONTAGGIO
English ASSEMBLY INSTRUCTION
Español INSTRUCCIONES PARA EL ENSAMBLAJE
Français INSTRUCTIONS DE MONTAGE


3 - kr
10 - 13 - 19 mm
⁄" - ⁄" - ¾"
3 - 5 - 6 - 10 mm
⁄" - ⁄" - ⁄" - ⁄"
ø 8 x 120 mm - ø 14 x 150 mm
ø ⁄" x 4 ¾" - ø ⁄" x 5 ⁄"
ø 6.5 mm - ø 5 mm
ø ¼" - ø ⁄"

4 - kr
Italiano
ATTENZIONE: eseguire l'installazione "a regola d'arte" utilizzando attrezzi idonei; seguire scrupolosamente le
istruzioni di montaggio. Informarsi prima dell’installazione, sui regolamenti locali e nazionali da rispettare, in
funzione della destinazione d’uso (privato principale, secondario, ufci, negozi...).
Prima di iniziare l’assemblaggio, sballare tutti gli elementi della scala. Sistemarli su una supercie ampia e
vericare la quantità degli elementi (TAB. 1: A = Codice, B = Quantità).
Per il mercato USA, per ogni evenienza, telefonare al numero d’assistenza clienti 1-888 STAIRKT.
Assemblaggio
1. Misurare attentamente l’altezza da pavimento a pavimento.
2. Calcolare il valore dell’alzata:
1) sottrarre 22 cm (8 ⁄”) al valore trovato dell’altezza da pavimento a pavimento,
2) dividere questo valore per il numero delle alzate meno una.
Esempio: per un’altezza misurata da pavimento a pavimento di 268 cm (105 ½”) e una scala con 12
alzate;
(268 – 22) / (12 – 1) = 22,36
(105 ½”- 8 ⁄”) / (12 – 1) = 8 ⁄”
3. Determinare la posizione di ssaggio del supporto N19 (g. 1) considerando due punti:
1) l’alzata, precedentemente calcolata, è comprensiva anche dello spessore del gradino (L40) (g. 2).
2) posizionare il supporto N19 considerando la tipologia del foro (g. 3).
4. Forare con la punta Ø 14 mm (⁄”).
5. Assemblare sul pavimento, in congurazione rettilinea, i supporti N19, N18, N17 e N16 considerando
l’alzata precedentemente calcolata. Utilizzare gli elementi C15, B71 e B75 (g. 1). Serrare a sufcienza,
considerando che i supporti N19, N18, N17 e N16 devono ancora ruotare per le congurazioni B, C, D.
6. Alzare e posizionare la struttura con il supporto N19 a contatto del solaio (g. 4). Nel caso in cui il vano
scala fosse stretto, si consiglia di far ruotare qualche supporto.
7. Fissare denitivamente il supporto N19, utilizzando l’elemento F20 (g. 1).
8. Determinare, a questo punto, il gradino di partenza dall’alto. Forare i gradini L40 utilizzando la dima di
cartone L41 presente nell'imballo alternando un gradino destro con uno sinistro (g. 3).
9. Ritagliare la sagoma (g. 7 - pagina centrale).
10. Decidere dove assemblare la ringhiera (interna od esterna) (g. 3) e forare i gradini (L40) con una punta
Ø 6,5 mm (¼") UTILIZZANDO LA SAGOMA SOLO PER I TRATTI RETTILINEI. Per individuare il punto di
ssaggio sul lato corto e lungo dei gradini in curva (L40) considerare una distanza uguale a quella tra le
colonnine (C12) da montare sul tratto rettilineo (g. 3).
11.Assemblare e ssare gli elementi F23 utilizzando gli elementi C14, B83, C49, C13, B02 (g. 1).
12.Fissare l’elemento N26 ai gradini L40 utilizzando la vite C40.
13. Fissare denitivamente i gradini (L40) partendo dal basso (N16) no al supporto N19, utilizzando gli
elementi C40 (g. 1).
14. 1. La congurazione A (rettilinea) non necessita di ulteriori modiche (g. 3).
2. La congurazione B o C necessita di una rotazione di 13° (g. 3).
3. La congurazione D necessita di una rotazione di 18° (g. 3).
15. Per ruotare i supporti di 13° o 18° procedere come segue:
a.Tracciare con una matita, nel punto di unione di due supporti, due linee verticali ad una distanza di
9 mm (⁄”) (per ruotare 13°, congurazione B o C) (g. 5) o 13 mm (⁄”) (per ruotare 18°,
congurazione D) (g. 6).
b. Allentare gli elementi C15, un supporto alla volta, partendo dall’alto e ruotare no a far coincidere
una linea con l’altra.
c. Serrare gli elementi C15 denitivamente (g. 1).
Assemblaggio della ringhiera
16.Assemblare gli elementi C28 utilizzando gli elementi C13, B02 e inserirli nelle colonnine (C12) (g. 1).
17. Inserire le colonnine (C12) negli elementi F23, bloccandole con l’elemento B02.
18.Le prime colonnine (C12) del lato lungo di ogni gradino (L40) devono essere tagliate in altezza.
19. Stringere denitivamente l’elemento C28, utilizzando l’elemento B02 (g. 1). Per un corretto montaggio

5 - kr
ruotare la chiave di circa 90° dal punto di contatto.
Assemblaggio nale
20.Vericare la verticalità di tutta la scala e, se necessario, correggerla spostando il supporto N16 (g. 1).
21. Smontare il primo gradino (L40) e forare il pavimento con la punta Ø 14 mm (⁄”) in corrispondenza dei
fori presenti nel supporto N16 (g. 1).
22.Inserire gli elementi F20 e stringere denitivamente (g. 1).
23. Rimontare il primo gradino (L40) e ssare sul pavimento, in corrispondenza della prima colonnina (C12),
l’elemento F01, forando con la punta Ø 8 mm (⁄”). Utilizzare gli elementi C58, B12, B83 e B02 (g. 1).
24.Inserire la colonnina (C12) e stringere l’elemento B02 (g. 1).

6 - kr
English
WARNING: Carry out the installation in a “workmanlike” manner, strictly following the installation instructions
and using suitable tools. Always consult your local building department for code requirements that must be
respected depending on its destination of use (private, secondary, public…).
Before starting the assembly process, unpack all components of the staircase. Lay them out on a large
surface and check the quantity of all the pieces, by consulting the table (TAB.1: A = Code, B = Quantity).
For customers in the USA there is a customer assistance number 1-888 STAIRKT, which you can telephone
in case of problems.
Assembly
1. Carefully measure the oor-to-oor height.
2. Calculate the rise:
1) subtract 22 cm (8 ⁄”) from the oor-to-oor height you measured,
2) divide this value by the rises number minus one.
Example: for the measured oor-to-oor height of 268 cm (105 ½” ) and a staircase with 12 rises;
(268 - 22) / (12 - 1) = 22,36
(105 ½”- 8 ⁄”) / (12 - 1) = 8 ⁄”.
3. Determine the position of the support N19 (g. 1) keeping in mind two points:
1) the rise, calculated previously, also contains the tread depth (L40) (g. 2).
2) position the support N19 keeping in mind the opening feature (g. 3).
4. Drill with the drill bit D. 14 mm (⁄”).
5. Assemble on the oor, in a straight line, the supports N19, N18, N17 and N16 keeping in mind the
calculated rise. Use the parts C15, B71 and B75 (g. 1). Tighten sufciently keeping in mind that the
supports N19, N18, N17 and N16 still have to rotate for the congurations B, C, D.
6. Lift and position the structure with the support N19 which has to touch the oor (g. 4). If the stair place
is too tight, it is suggested to rotate some supports.
7. Tighten the support N19 completely, by using the part F20 (g. 1).
8. Determine at this point which is the rst step from the top. Drill L40 treads using the cardboard cutout
jig L41 you nd in the package, alternating a right tread and a left tread (g. 3).
9. Cut along the shape (g. 7 - center page).
10. Decide where to assemble the railing (inside or outside) (g. 3) and pierce the treads (L40) with the drill
bit D. 6,5 mm (¼") USING THE TEMPLATE ONLY FOR THE STRAIGHT SIDES. To nd the xing point on the
short side of the winding treads (L40) maintain the same distance as the one between the balusters
(C12) to assemble on the long side of the tread (g. 3).
11.Assemble and tighten the parts F23 by using the parts C14, B83, C49, C13, B02 (g. 1).
12.Fasten element N26 to the treads L40 using the screw C40.
13. Finally attach the treads (L40) starting from the bottom N16 up to the support N19, using the elements
C40 (g.1).
14. 1.The conguration A (straight) doesn’t need any further changes (g. 3).
2. The congurations B or C need a rotation of 13° (g. 3).
3. The conguration D needs a rotation of 18° (g. 3).
15. To rotate the supports of 13° or 18° you have to proceed as follows:
a. Set out with a pencil, at the connection point of two supports, two vertical lines at a distance of 9 mm
(⁄”) (to rotate 13°, conguration B or C) (g. 5) or 13 mm (⁄”) (to rotate 18°, conguration D) (g. 6).
b. Loosen the parts C15, one support by one, starting from the top and rotate until one of the lines
matches the one of the top according to the direction of rotation.
c. Tighten the parts C15 completely (g. 1).
Assembly of the Railing
16.Assemble the parts C28 by using the parts C13, B02 and insert them into the balusters (C12) (g. 1).
17. Insert the balusters (C12) into the parts F23, blocking them by the part B02.
18.The rst balusters (C12) of the long side of every tread (L40) have to be cut.
19. Tighten the part C28 completely, by using the part B02 (g. 1). For a correct assembly twist the key at
about 90° from the contact point.

7 - kr
Final Assembly
20.Control the vertical line of the whole stair and, if necessary, correct it by moving the support N16 (g. 1).
21. Disassemble the rst tread (L40) and drill the oor with a D. 14 mm (⁄”) tip in relation to the present
holes on the support N16 (g. 1).
22.Insert the parts F20 and tighten completely (g. 1).
23. Reassemble the rst tread (L40) and x on the oor, in relation to the rst baluster (C12), the part F01,
by drilling with a D. 8 mm (⁄”) tip. Use the parts C58, B12, B83 and B02 (g. 1).
24.Insert the baluster (C12) and tighten the part B02 (g. 1).

8 - kr
Español
CUIDADO: realizar la instalación "según las reglas del arte", utilizando herramientas adecuadas; seguir
estrictamente las instrucciones de montaje. Informarse antes de la instalación sobre los reglamentos locales y
nacionales a respetar, en función del destino de uso (privado principal, secundario, ocinas, tiendas…).
Antes de empezar el ensamblado de la escalera, desembalar todas las piezas de la escalera. Colocarlas de
manera que pueda vericarse las cantidades (TAB. 1: A = Código, B = Cantidad).
Para el mercado estadounidense, para cualquier inconveniente, llamar al número de asistencia al cliente
1-888 STAIRKT.
Ensamblaje
1. Medir con cuidado la altura de pavimento a pavimento.
2. Calcular el valor de la tabica:
1) restar 22 cm (8 ⁄”) al valor de la altura de pavimento a pavimento.
2) dividir el resultado por él numero de contrahuellas menos una.
Ejemplo: para una altura de pavimento a pavimento 268 cm (105 ½” ) y una escalera de 12
contrahuellas;
(268 – 22) / (12 - 1) = 22,36
(105 ½”- 8 ⁄”) / (12 - 1) = 8 ⁄”
3. Hallar la posición donde jar el soporte N19 (g. 1) teniendo en cuenta dos puntos:
1) la contrahuella, anteriormente calculada, que incluye también el espesor del peldaño (L40) (g. 2).
2) colocar el soporte N19 teniendo en cuenta el tipo de hueco (g. 3).
4. Taladrar con broca de Ø 14 mm (⁄”).
5. Ensamblar sobre el pavimento, con desarrollo rectilíneo, los soportes N19, N18, N17 y N16 teniendo
en cuenta la altura anteriormente calculada. Utilizar los elementos C15, B71 y B75 (g. 1). Apretar
sucientemente, teniendo en cuenta que los soportes N19, N18, N17 y N16 deben de girar para las
conguraciones B, C y D.
6. Levantar y colocar la estructura con el soporte N19 en contacto con el forjado (g. 4). En el caso que el
hueco sea estrecho aconsejamos girar algún soporte.
7. Fijar denitivamente el soporte N19, utilizando el elemento F20 (g. 1).
8. Determinar el escalón de salida desde arriba. Taladrar los peldaños L40 utilizando la plantilla L41 de
cartón incluida en el embalaje, alternando un peldaño derecho con uno izquierdo (g. 3).
9. Recortar la plantilla (g. 7 - página central).
10. Decidir donde colocar la barandilla (interior o exterior) (g. 3) y taladrar los peldaños (L40) con una broca
de Ø 6,5 mm (¼") UTILIZANDO LA PLANTILLA SOLAMENTE PARA LOS TRAMOS RECTOS.
Para determinar el punto de jación en el lado corto y el lado largo de los peldaños en curva (L40)
respetar una distancia igual a la de los barrotes (C12) montados sobre el lado recto (g. 3).
11.Ensamblar y jar los elementos F23 utilizando los elementos C14, B83, C49, C13, B02 (g.1)
12.Fijar el elemento N26 en los peldaños L40 utilizando el tornillo C40.
13. Fijar denitivamente los peldaños (L40) partiendo desde abajo (N16) hasta el soporte N19, utilizando
los elementos C40 (g. 1).
14. 1. La conguración A (rectilínea) no necesita ninguna modicación (g. 3).
2. Las conguraciones B o C necesitan una rotación de 13 º (g. 3).
3. La conguración D necesita una rotación de 18 º (g. 3).
15. Para girar los soportes de 13º o 18º proceder como se indica:
a. Realizar un trazo con un lápiz, en el punto de unión de dos soportes, dos líneas verticales con una
distancia de 9 mm (⁄”) (para girar 13º, conguración B o C) (g. 5) o 13 mm (⁄”) (para girar 18º,
conguración D) (g. 6).
b. Aojar los elementos C15, un soporte a las ves, empezando desde arriba y girar hasta hacer coincidir
una línea con la otra.
c. Apretar los elementos C15 denitivamente (g. 1).
Montaje de la barandilla
16. Ensamblar los elementos C28 utilizando los elementos C13, B02 e introducirlos en los barrotes (C12) (g. 1).
17. Introducir los barrotes (C12) en los elementos F23, bloqueándolos con el elemento B02.

9 - kr
18.Los primeros barrotes (C12) del lado largo de cada peldaño (L40) deben cortarse en altura.
19. Apretar denitivamente el elemento C28, utilizando el elemento B02 (g. 1). Para una correcta
instalación girar la llave de 90° aproximadamente desde el punto de contacto.
Montaje nal
20. Vericar la verticalidad de toda la escalera y si fuera necesario, corregirla desplazando el soporte N16
(g. 1).
21. Desmontar el primer peldaño (L40) y taladrar el pavimento con una broca de Ø 14 mm (⁄”) en la
situación de los oricios presentes en el soporte N16 (g. 1).
22.Introducir los elementos F20 y apretar denitivamente (g. 1)
23. Volver a montar el primer peldaño (L40) y jar al pavimento, el elemento F01, a la altura del primer
barrote, taladrando con una broca Ø 8 mm (⁄”). Utilizando los elementos C58, B12, B83 y B02 (g. 2).
24.Introducir el barrote (C12) y apretar el elemento B02 (g. 1).

10 - kr
Français
ATTENTION : Effectuer l’installation dans les règles de l’art en utilisant des outils appropriés ; suivre
scrupuleusement les instructions de montage. Pour réaliser un montage conforme aux normes en vigueur, il
faut s’informer avant l’installation quant aux réglementations locales et nationales à respecter, en fonction du
domaine d’utilisation (résidence privée principale, secondaire, bureaux, magasins,…).
Avant de commencer le montage, il faut déballer tous les éléments de l’escalier. Il faut les poser sur une
grande surface et vérier la quantité des éléments (TAB. 1 : A = Code, B = Quantité).
Assemblage
1. Mesurer attentivement la hauteur sol à sol.
2. Calculer la valeur de la hauteur de marche :
1) soustraire 22 cm (8 ⁄”) à la valeur trouvée de la hauteur sol à sol,
2) diviser cette valeur par le nombre des hauteurs moins une.
Exemple : pour une hauteur sol à sol mesurée de 268 cm (105 ½”) et un escalier avec 12 hauteurs;
(268 – 22) / (12 – 1) = 22,36.
(105 ½”- 8 ⁄”) / (12 – 1) = 8 1
⁄”
3. Déterminer la position de xation du support N19 (g. 1) en considérant deux points:
1) la hauteur de marche, calculée précédemment, comprend aussi l’épaisseur de la marche (L40) (g. 2).
2) positionner le support N19 en considérant la typologie de la trémie (g. 3).
4. Percer avec la mèche Ø 14 mm (⁄”).
5. Assembler sur le sol, avec une conguration droite, les supports N19, N18, N17 et N16 en considérant
la hauteur de marche qui vient d’ être calculée. Employer les éléments C15, B71 et B75 (g. 1). Serrer
sufsemment, en considérant que les supports N19, N18, N17 et N16 doivent encore tourner pour les
congurations B,C, D.
6. Lever et positionner la structure avec le support N19 qui touche le plancher (g. 4). Si l’espace pour
l’escalier est trop étroit, il faut faire tourner des supports.
7. Fixer dénitivement le support N19, en employant l’élément F20 (g. 1).
8. A ce moment, établir quelle est la marche de départ en partant du haut. Percer les marches L40, en
utilisant le patron en carton L41 présent dans l’emballage, avec soin de l’alternance d’une marche
droite avec une gauche (g. 3).
9. Recouper le gabarit (g. 7 – page centrale).
10. Décider où assembler le garde-corps (intérieur ou extérieur) (g. 3) et percer les marches (L40) avec une
mèche Ø 6,5 mm (¼") EN UTILISANT LE GABARIT SEULEMENT POUR LES CÔTÉS RECTILIGNES. An
de repérer le point de xation sur le côté court des marches (L40) dans la courbure, considérer la même
distance qu’il y a entre les colonnettes (C12) à monter sur le côté long de la marche (g. 3).
11.Assembler et xer les éléments F23 en employant les éléments C14, B83, C49, C13, B02 (g. 1).
12. Fixer l’élément N26 aux marches L40 en employant l’élément C40.
13. Fixer dénitivement les marches L40 en partant du bas (N16) jusqu’au support N19, en employant les
éléments C40 (g. 1).
14. 1. La conguration A (droite) n’a pas besoin de changements ultérieurs (g. 3).
2. La conguration B ou C a besoin d’une rotation de 13° (g. 3).
3. La conguration D a besoin d’une rotation de 18° (g. 3).
15. An de tourner les supports de 13° ou 18° il faut procéder de la façon suivante:
a. Tirer avec un crayon, dans le point d’union de deux supports, deux lignes verticales à une distance
de 9 mm (⁄”) (pour tourner 13°, conguration B ou C) (g. 6) ou 13 mm (⁄”) (pour tourner 18°,
conguration D) (g. 8).
b. Desserrer les éléments C15, un support à la fois, en partant du haut et tourner jusqu’à ce que les
lignes deviennent une seule ligne.
c. Serrer les éléments C15 dénitivement (g. 1).
Assemblage du garde-corps
16. Assembler les éléments C28 en employant les éléments C13, B02 et les insérer dans les colonnettes
(C12) (g. 1).
17. Insérer les colonnettes (C12) dans les éléments F23, en les bloquant avec l’élément B02.

11 - kr
18. Les premières colonnettes (C12) de la longue côté de chaque marche (L40) doivent être recoupés en
longueur.
19. Serrer dénitivement l’élément C28, en employant l’élément B02 (g. 1). Pour monter correctement,
tourner la clef à environ 90° à partir du point de contact.
Assemblage nal
20. Contrôler la ligne verticale de l’escalier entier et, si nécessaire, il faut la corriger en déplaçant le support
N16 (g. 1).
21. Démonter la première marche (L40) et percer le sol avec la mèche Ø 14 mm (⁄”) par rapport aux trous
du support N16 (g. 1).
22.Insérer les éléments F20 et serrer dénitivement (g. 1).
23. Remonter la première marche (L40) et xer au sol, par rapport à la première colonnette (C12), l’élément
F01, en perçant avec la mèche Ø 8 mm (⁄”). Employer les éléments C58, B12, B83 e B02 (g. 1).
24.Insérer la colonnette (C12) et serrer l’élément B02 (g. 1).

12 - kr
AB
B02 62
B12 2
B71 2
B75 40
B83 62
C12 15
C13 15
C14 60
C15 20
C28 15
C40 55
C49 30
C58 2
F01 2
F20 4
F23 30
L40 11
L41 1
N16 1
N17 1
N18 8
N19 1
N26 11
TAB 1

13 - kr
C40
C58
F20
C15
B75
C14
F01
B02
B71
C49
B83C13
C28
F23
B12

14 - kr
C28
F01
F20
C40
N19
C28
C13
B02
B02
C13
N26
C12
F23
B02
C13
F23
B83
C49
L40
C14
B83
B02
C58
B83
F01
B12 F20
N18
N17
N16
B75
B71
L40
C15
B75
FIG. 1

A36
C64 C65
C66
C64
F09
B37
F08
B36
B11
C29
B12
C03
H.935 mm
36
13
/
16
”
C84
F01
C31
C85
8 cm
3
5
/
32
”
Ø 12 mm
15
/
32
”
F02
C63
B23
B27
Ø 14 mm
B13
C31
F01
A22
F02
F02
X01
A37
C64
C64
C03 H.935 mm
36
13
/
16
”
F02
X01B13A36
A37
B33B37B36D72F08F09
F01C31C64
B11B12C29
C85C84B27B23C63C65C66
A22
N° = 1N° = 10N° = 1
N° = 1
N° = 24 N° = 13 N° = 11 N° = 2
N° = 10 N° = 3

16 - kr
FIG. 2 FIG. 4
FIG. 3

17 - kr
FIG. 3

18 - kr
FIG. 5

19 - kr
FIG. 6

20 - kr
FIG. 7
Table of contents
Languages:
Other Fontanot Ladder manuals
Fontanot
Fontanot wall User manual
Fontanot
Fontanot Zooom plus User manual
Fontanot
Fontanot Arke Magia User manual
Fontanot
Fontanot pixima CUBE User manual
Fontanot
Fontanot Magia90 User manual
Fontanot
Fontanot PURE User manual
Fontanot
Fontanot SKY030 User manual

Fontanot
Fontanot Zen 2 Tube User manual

Fontanot
Fontanot oak90.xtra User manual
Fontanot
Fontanot genius T 030A User manual
Popular Ladder manuals by other brands
Instant Upright
Instant Upright Span 300 Series instruction manual

Hudora
Hudora 65264 INSTRUCTIONS ON ASSEMBLY AND USE

FrontLine
FrontLine RLA18 instruction manual
Jefferson
Jefferson MINI TIWER PRO T99 quick start guide
Sealey
Sealey ASCL2 instruction manual

Easylife
Easylife GENIUS EL4670 instruction manual
