FootfallCam 3D MINI User manual
Popular Cash Counter manuals by other brands
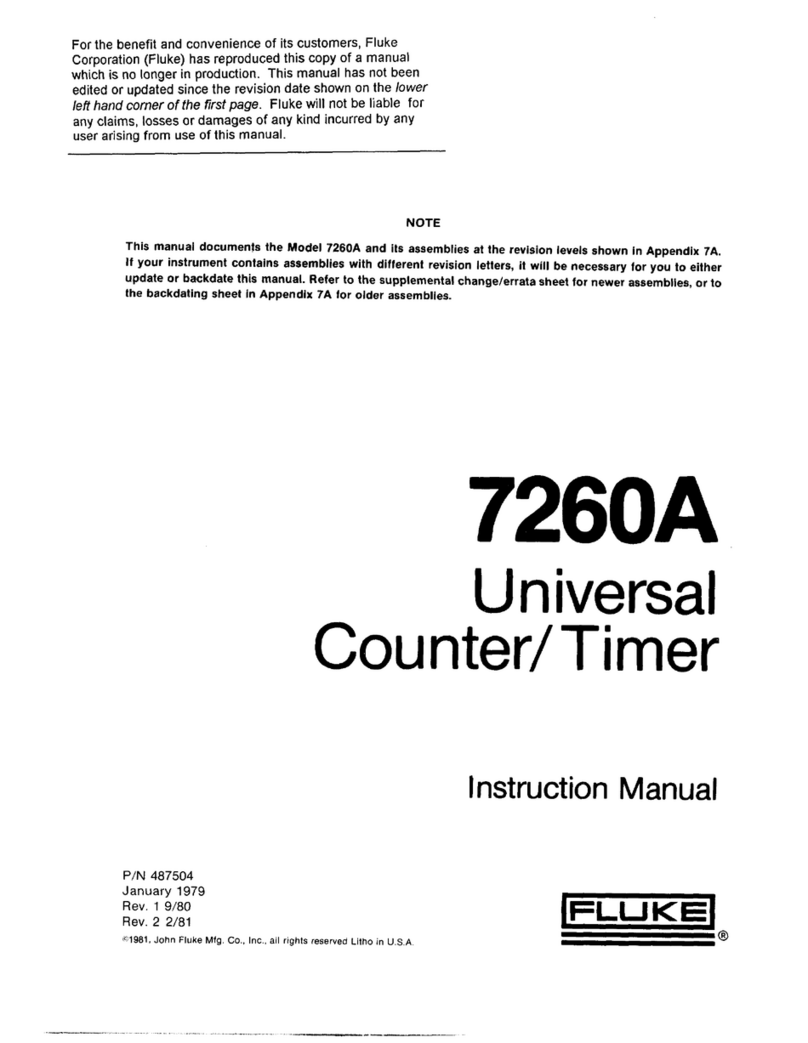
Fluke
Fluke 7260A instruction manual

V-Count
V-Count Ultima AI Installation and configuration
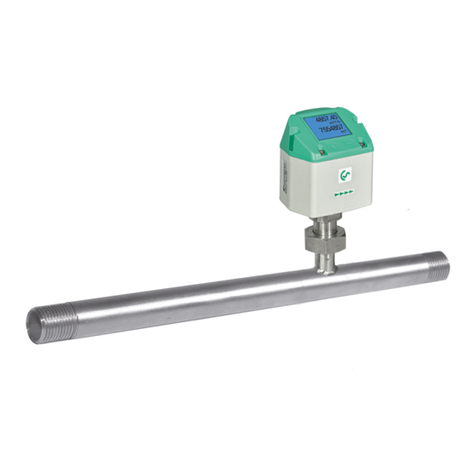
CS Instruments
CS Instruments VA 520 instruction manual

Tellermate
Tellermate TY1 Guide

Particle Measuring Systems
Particle Measuring Systems LASAIR II 350L Operation manual
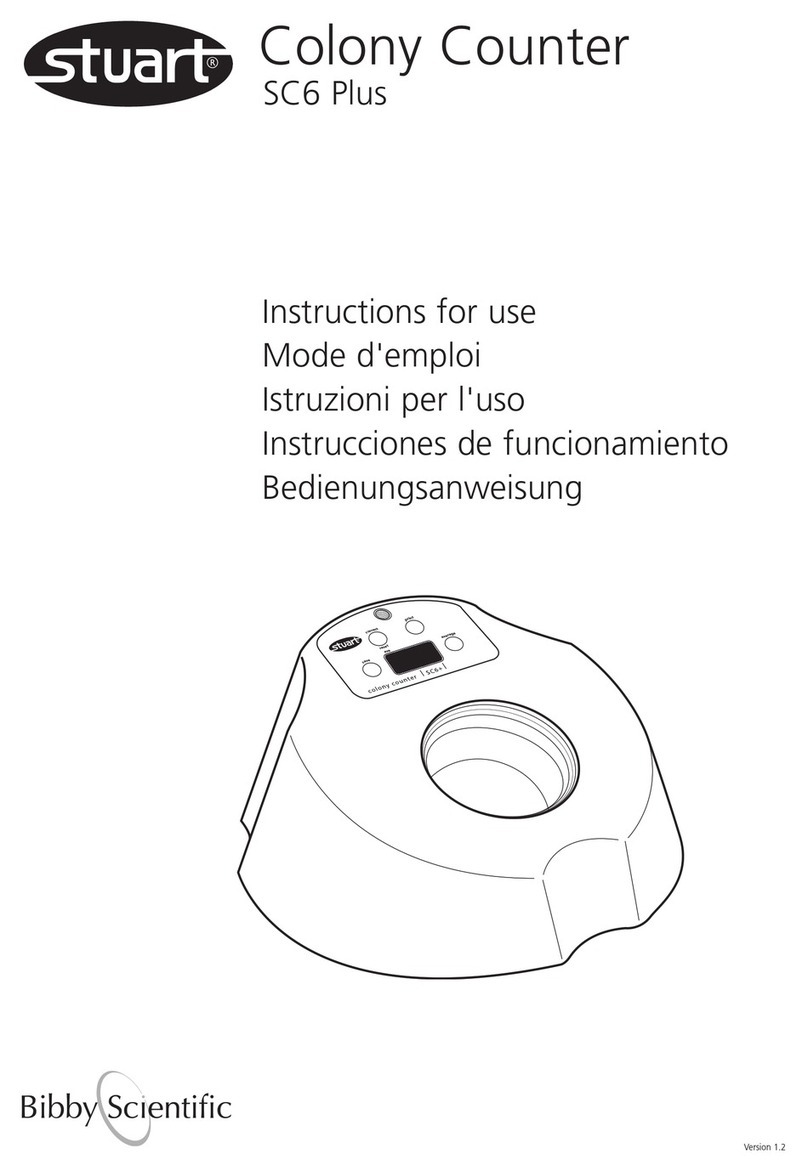
Stuart
Stuart SC6 Plus Instructions for use

National Instruments
National Instruments FieldPoint FP-CTR-502 operating instructions
BG7TBL
BG7TBL FA-2 user manual
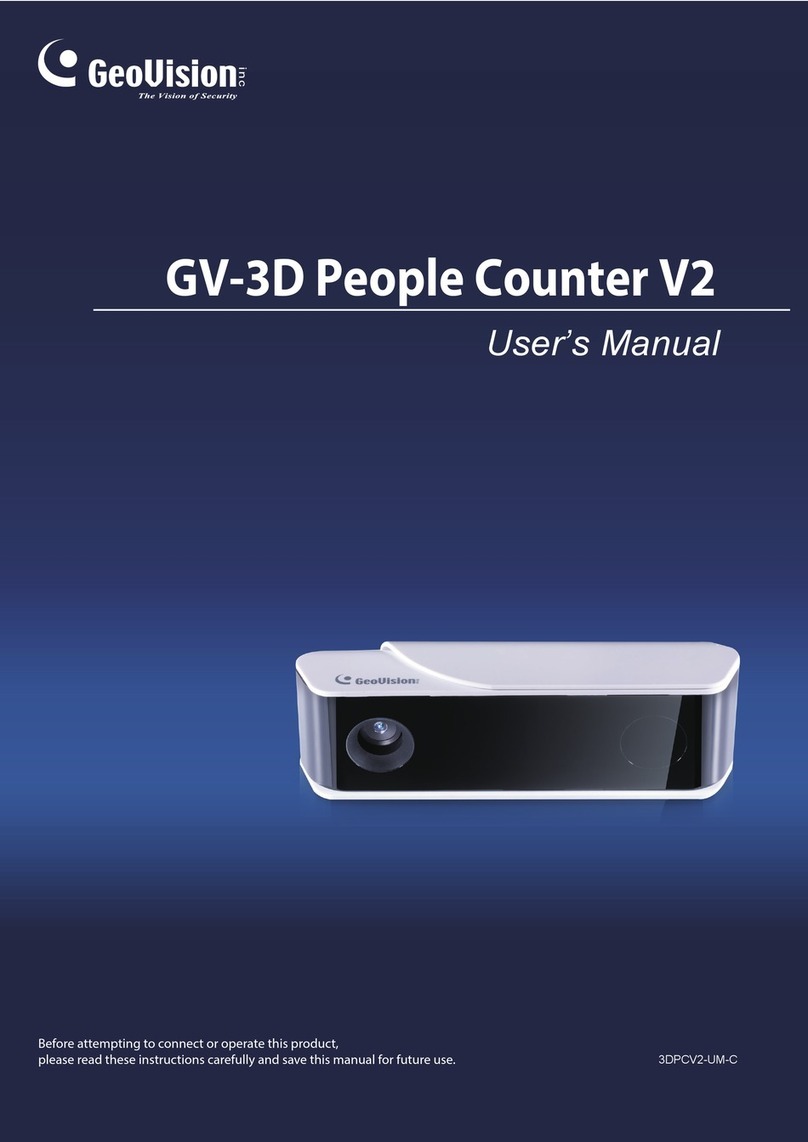
GeoVision
GeoVision GV-3D People Counter V2 user manual

Royal Sovereign
Royal Sovereign RBC-1000 Series owner's manual
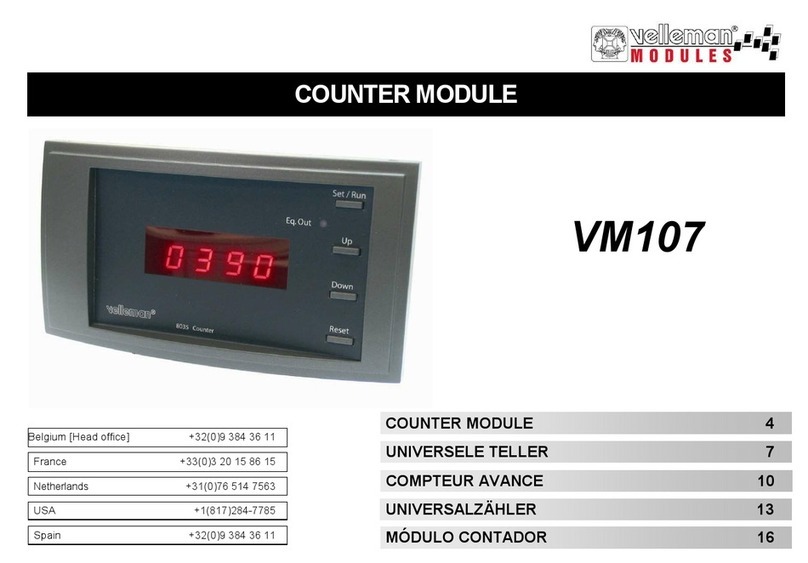
Velleman Modules
Velleman Modules VM107 manual

DIEBOLD NIXDORF
DIEBOLD NIXDORF CS 7700 operating guide


