manuals.online logo
Brands
  1. Home
  2. •
  3. Brands
  4. •
  5. Forest
  6. •
  7. Garden House
  8. •
  9. Forest BECKWOOD SHED User manual

Forest BECKWOOD SHED User manual

by forest
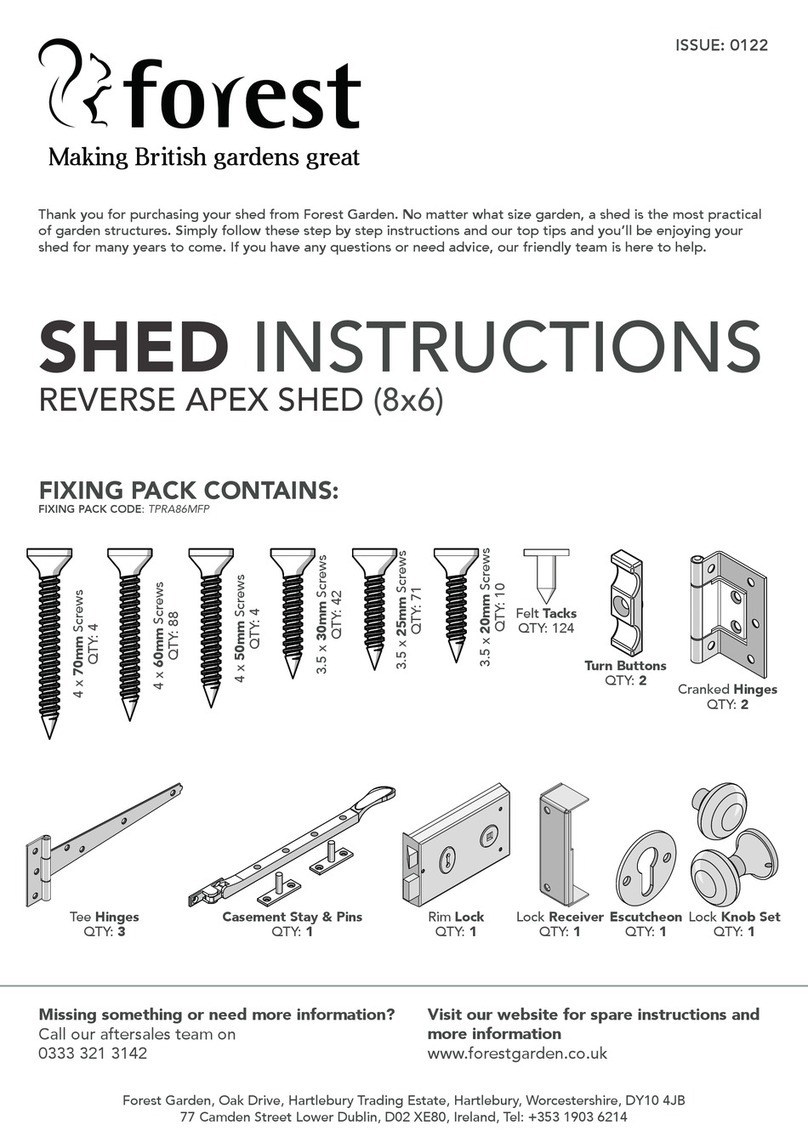
Missing something or need more information?
Call our aftersales team on
0333 321 3142
Visit our website for spare instructions and
more information
www.forestgarden.co.uk
ISSUE: 0223
Forest Garden, Oak Drive, Hartlebury Trading Estate, Hartlebury, Worcestershire, DY10 4JB
EU Authorised Representative: Authorised Representative Service, 77 Camden Street Lower Dublin, D02 XE80, Ireland
SHED INSTRUCTIONS
BEFORE YOU START (0)
2
Tape Measure Sharp Knife &
Scissors
PZ2 Pozidriv
& Flat Head
Screwdriver
Drill & 2-16mm
Drill Bits
Hammer Fit For Purpose
Ladder
Spirit Level
We recommend getting everything aligned properly before screwing together and that the screw holes
are pre-drilled at this stage to avoid splitting the timber. We do not provide pre-drilled holes due to
the nature of expanding and shrinking timber, which can cause pre-drilled holes to misalign.
REMINDER
Always pre-drill before
screwing.
IMPORTANT
Assembly requires 2+
adults.
BEFORE YOU START..
Please read through this guide to prepare yourself before assembling your shed. We recommend that
you check all the components and xings. Your parts list can be found on your shed label.
All our sheds are constructed in the same way, they simply come with different components depending
on the type of shed you have. We have sent you generic xing packs and generic loose item packs to
suit the shed range. You should expect there to be leftover xings and loose items.
It is vital that you build your new shed on a solid, level base. Timber or Plastic Shed Bases are ideal, as is
solid concrete or concrete slabs.
We recommend using the following tools (not supplied):
If you have an existing base and think it is suitable for your new shed to be sited on, it is important you
check that it is level and does not deviate by any more than 15mm from edge to edge. If this is not the
case the building will twist, causing gaps to appear in the sections and the roof, doors, and windows to
misalign.
There is more information on base preparation on our website www.forestgarden.co.uk
TOOLS REQUIRED
BASE PREPARATION
PLEASE KEEP PLASTIC BAGS AND SMALL PARTS AWAY FROM BABIES AND CHILDREN.
TO AVOID DANGER OF SUFFOCATION, PLEASE KEEP THE PROTECTIVE FILM AWAY FROM BABIES AND CHILDREN.
CHECK AND TIGHTEN ALL THE FIXINGS APPLIED TO THIS PRODUCT ON A REGULAR BASIS.
Timber Base
Self-constructed/
Buy pre-made
Concrete
Concrete surface/
Concrete slabs
Pro Shed Base
Interlocking
eco-friendly base
Loose Soil
A base of soil or
grass only
Broken Slabs/Gaps
Uneven slab sizes
with no cement
3
Movement, Twisting & Warping
Wood contains a natural level of moisture so decreasing humidity levels in the surrounding air may cause panels to change their
shape as the porous bres shrink. This can be exaggerated during prolonged periods of dry weather. Movement and gaps in
timber products are normal, in most cases the wood will revert to its original form once the high temperatures subside and there is
more moisture content in the air. Similarly, in the winter months, the opposite may occur with wood swelling.
Expansion, Contraction, Splits & Cracks
All timber will expand and contract according to its environment. As a result of this expansion and contraction, it is very common
to see splits and cracks developing in the wood. Splits are common during the spring and summer months as the wood begins to
dry out. The outer surface dries rst and contracts, contracting over a still expanded core of the wood. The result of this is that
splits and cracks appear along the grain of wood. These splits are not a fault and do not affect the structural integrity of a product.
Mould & Blue Stain
Mould is a surface-dwelling fungus that feeds on the nutrients and debris contained in the surface cells of timber. The most
common problems associated with mould are discoloured timber and an increase in permeability of the timber. Blue stain is part
of the same family but penetrates deeper into the surface layers of the timber. It stains the timber a dark blue, whereas mould is
usually black. These do not cause the timber to rot. Keep the building well ventilated to avoid mould.
CARE & ATTENTION
To help you get the most out of our products it is useful to know a little more about the properties of timber,
what is normal and how your shed may behave as the seasons change. Wood is an extremely durable material for
construction but as a natural product when used outdoors it is susceptible to changes in the environment.
POSITION YOUR SHED IN THE BEST LOCATION IN YOUR GARDEN
Avoid areas where water pools and which are constantly wet. Position away from trees and cut back any overhanging foliage which can
cause moisture to be trapped against the walls and debris to collect on the roof.
1
RAISE YOUR SHED OFF THE GROUND
Ideally, any concrete base should be the same footprint as the shed to allow surface water to run off without pooling. A timber base can
also be used. Raise your shed 50mm above ground level.
2
SEAL THE BEARERS
If using a wooden base, we recommend treating it with a treatment containing wax or oil. Also coat the bearers that meet the ground to
prevent moisture rising.
3
USE AN END GRAIN PROTECTOR
To protect the corners and panel joins, an end grain protector can be applied.
4
SEAL THE PANELS & WINDOWS
Use a exible silicone sealant around windows to prevent water ingress. This can also be used where two sections of the shed join
together. Apply internally.
5
CONSIDER ADDING GUTTERS
Adding guttering around the fascia of the shed will redirect rainwater away from the shed’s foundation.
6
KEEP VENTILATED
Good airow around the perimeter of the shed and regular ventilation inside the shed will help prevent mould and mildew.
7
CONSIDER A WATER SEALANT
You may want to consider painting your shed with a water sealant at least once a year. This will help reduce the risk of water ingress. We
would recommend using ‘Bostik Cementone Water Seal’ of which can be purchased from multiple DIY stores.
8
Advice On Felt Handling & Usage
Roong felt is exible at temperatures above 5°C. In cold temperatures extra care must be taken when handling and installing to prevent
cracking and damage to the felt. The felt should not be rolled, folded, or used in temperatures lower than 5° C. In cold temperatures the felt
should be stored above 10°C (indoors) for 24 hours prior to use. Felt must be lifted, not dragged, and should be stored on its end on a dry
surface.
THINGS THAT YOU MIGHT SEE IN YOUR PRODUCT
8 TOP TIPS TO ENSURE YOUR SHED IS FULLY WATERPROOF
4
Cut-Resistant
Gloves
Protective Glasses Protective Boots Protective Mask Working At
Height
The treatment applied to your shed is to ensure longevity and protection against fungal decay and rot.
This may leave colour variations, but these will even out as the moisture content stabilises.
Use the ‘waterproong top tips’ to increase the longevity of your shed.
See our website for more information at www.forestgarden.co.uk /guide-to-our-products/
25 year guarantee
Pressure Treatment
Pressure treatment is to provide protection against rot
Pressure treated sheds do not need to be re-treated every year
We strongly recommend that PPE (Personal Protective Equipment) is used throughout your build to ensure you are
protected from any potential health and safety risks. Do not exempt yourself from wearing PPE.
THE ROOF OF THIS BUILDING IS NOT A LOAD BEARING STRUCTURE.
Check you have all your parts prior to assembly.
Timber is a natural material of which will shrink and swell because of varying moisture content.
Assembly of damaged parts may be deemed to be acceptance, and this may affect the remedies you are entitled
to.
If the product is not constructed in accordance with the instructions, or is altered in anyway (e.g. painted), the
manufacturer cannot be held liable for any resulting damage.
If you are organising a third party to install your shed, it is best not to schedule this immediately on receipt of your
order, to give you time to check your delivery.
Treated timber contains biocidal products for control of wood destroying organisms.
Active Ingredients - Basic Copper Carbonate, DDA Carbonate, DDA Chloride.
• Wear gloves when handling.
• Avoid inhalation of sawdust.
• Do not use in contact with drinking water or food.
• Do not use for animal bedding or in sh ponds.
• Dispose of treated wood responsibly.
• Treated products cannot be recycled as the wood is no longer in its original virgin state.
• Once the treatment has dried there is no risk of toxic contamination. The risk would come from the treatment
before it is added to our products.
The components provided may be heavy. Please lift with caution and with a minimum of 2 people.
Please carefully unpack your shed and loose components as they may have moved during transportation.
HEALTH & SAFETY
TREATMENT INFORMATION
DISCLAIMER
5
0
9
ASSEMBLY GUIDE
We have provided several xing packs for your build. Each xing pack will contain a set of assembly instructions
and its xings for each step. Each set of instructions will include a number, which will link to the assembly guide
below to ensure you are constructing the shed in the correct order.
These xing packs are generic, to suit the modular shed range. Visuals in each of the steps are for reference only
and may slightly vary depending on the shed you have chosen. Any major differences will be outlined in the steps.
We have designed them to be as simple as possible to follow, but if you have any issues, please contact our
aftersales team. Check your parts list prior to assembly, of which can be found on your shed label.
1
BEFORE YOU START
You are here. This section provides the
technical and preparation information.
FLOOR ASSEMBLY
This section is next. Position your
oor(s) in your desired location.
SIDE PANEL ASSEMBLY
Securing your panels together and
to the oor. Use your oor plan.
APEX & PENT SECTIONS
Begin to build the structure for
your roof.
WINDOW ASSEMBLY
Do not have any windows? Then
skip this step.
COVER & DOOR STRIPS
Complete the side panels and
prepare for the door installation.
ROOF STRUCTURE
Build your roof structure for your
roof panels to sit on top.
ROOF ASSEMBLY
Secure the roof to your shed and
tack your felt.
ROOF FINISHES
Complete your roof assembly with
the fascia’s, nials and badge.
DOOR FIXINGS
Install your door(s) to your shed and apply
the door xings.
3
7
5
2
4
6
8
6
APEX
D
F
CC
4’
3’ SPA43NWM,
SPA432WM
B
D
F
B
D
D
4’
6’ APEX
SPA46NWM,
SPA461WM
B
B
D
D
DD
D
F
APEX
6’
8’ SPA68NWM, SPA682WM
B
B
D
D
DD
D
F
APEX
6’
8’ SPA68DDNWM, SPA68DD2WM
AA
C
C
D D
D
F
APEX
7’
5’ SPA75DDNWM, SPA75DD2WM
C
C
C
C
D
D
D
F
APEX
7’
7’ SPA77DDNWM, SPA77DD2WM
B
B
B
B
D D
D D
D
F
APEX
6’
10’ SPA610DDNWM,
SPA610DD4WM
D
B
B
D
D
D
DD
D
F
APEX
8’
10’ SPA810DDNWM, SPA810DD4WM
D
D
D
D
DD
D
D
DF
APEX
8’
12’ SPA812DDNWM, SPA812DD6WM
C
C
CC
C
C
C
D
C
D
D
F
APEX
10’
10’ SPA1010DDNWM, SPA1010DD4WM
B2ft Panel (590 x 1831mm)
(With & without windows)
C3ft Panel (885 x 1831mm)
(With & without windows)
D4ft Panel (1180 x 1831mm)
(With & without windows)
E3ft Door Panel (885 x 1831mm)
F4ft Door Panel (1180 x 1831mm)
Indicates the panel orientation during construction.
This will apply to all of the corners for your chosen shed.
A1ft Panel (295 x 1831mm)
IDENTIFY YOUR CHOSEN SHED
From the oor plans below, identify your shed based on the width, depth and roof type provided.
You will need this to identify the side panel positions before assembling your shed. Use the key as a guide.
KEY
PLEASE NOTE
Same size panels are interchangeable.
Hinge your single door onto either side.
7
C
C
C
CC
C
D
D
D
DD
D
D
F
APEX
10’
15’ SPA1015DDNWM, SPA1015DD6WM
C
C
CC
D
D
D
D
D
DD
D
D
D
D
F
APEX
10’
20’ SPA1020DDNWM, SPA1020DD8WM
C
C
C
C
C
E
3’
6’ PENT
SPP63NWM
PENT
6’
4’
B
B
D
DD
F
SPP64NWM, SPP641WM
AA
C
C
D
DD
F
PENT
7’
5’ SPP752WM
BB
D
D
DD
DF
PENT
8’
6’ SPP862WM
10’
6’ PENT
B
B
B
B
D
D
D
D
D
F
SPP106NWM
INFILL PANELS (PENT SHEDS)
Pent sheds will have ‘Inll Panels’ of which are secured to the top of the Side Panels. They will be the same width as
the panel beneath. They are used to increase the height of the panels to create the angled roof. Lay these out with
your Side Panels around your shed oor(s) for preparation. Follow the assembly steps for more details.
8
B
B
D
D
D
DD
F
REVERSE APEX
6’
8’
SPR86NWM, SPR862WM
B
B
D
D
D
DD
F
REVERSE APEX
6’
8’
SPR86DDNWM, SPR86DD2WM
A
A
C
C
D
DD
F
REVERSE APEX
7’
5’
SPR57DDNWM,
SPR57DD2WM
B
F
DD
D
B
REVERSE APEX
6’
4’ SPR64NWM, SPR641WM
D
D
D
DD
D
D
D
D
F
REVERSE APEX
12’
8’ SPR128DDNWM, SPR128DD6WM
C
CC
C
C
C
D
D
D
D
D
DD
F
REVERSE APEX
15’
10’ SPR1510DDNWM, SPR1510DD6WM
C
CC
C
C
CC
D
C
D
D
F
REVERSE APEX
10’
10’ SPR1010DDNWM, SPR1010DD4WM
C
CC
C
D
D
D
D
D
F
DD D DD
DREVERSE APEX
20’
10’ SPR2010DDNWM, SPR2010DD8WM
B
B
B
B
D
D
D
DD
F
REVERSE APEX
10’
6’ SPR106DDNWM, SPR106DD4WM
D
B
B
D
D
DD
D
D
F
REVERSE APEX
10’
8’ SPR108DDNWM, SPR108DD4WM
C
C
C
C
D
D
D
F
REVERSE APEX
7’
7’ SPR77DDNWM, SPR77DD2WM
9
BEARERS
FLOOR
SHED INSTRUCTIONS
FLOOR ASSEMBLY (1)
THERE ARE NO FIXINGS FOR THIS SECTION.
Look through the different visuals and follow the step that suits your chosen shed.
Before assembly, your Floor must be rm and level to ensure the shed lines up and is assembled properly.
We recommend that there should be access to all sides of your shed for assembly and any maintenance.
10
STEP 1: POSITION FLOOR(S)
SINGLE FLOOR
Position the Floor in your desired location.
DOUBLE FLOOR
Position the Floors in your desired location. Butt the Floor bearers together and ensure they are ush on each side.
The bearers will be butted together along their side face as shown above.
Due to the health and safety concerns of the Floor weights, we do not advise to secure the oors together.
If you wish to secure the oors together, you do so at your own risk.
11
MULTIPLE FLOORS
Position the Floors in your desired location. Butt the Floor bearers together and ensure they are ush on each side.
The bearers will be butted together along their side face as shown above.
WINDOW PANEL
SIDE PANELS INFILL PANELS
DOOR PANEL
4 x 50mm Screws
QTY: 52
4 x 40mm Screws
QTY: 2
5 x 60mm Screws
QTY: 3
SHED INSTRUCTIONS
SIDE PANEL ASSEMBLY (2)
ISSUE: 0123
Use your window assembly xing
pack to install your Window Sills
to your Window Panel(s).
FIXING PACK CONTAINS:
FIXING PACK CODE: SHEDPANELSFP
You may receive more than one of the same xing pack to provide enough screws for the larger shed sizes.
2
EXTERNAL PANEL CORNERS
Ensure when butting the panels together in
a corner, they are ush to the framework.
The space next to the boards is for the
Cover Strip to sit into.
50MM
SCREWS 60MM
SCREWS
SECURE PANELS TOGETHER
Start in a back corner. Use your parts list to conrm the corner
panel positions. Position and secure the Side Panels together.
Ensure the bottom batten on the Side Panels sit on the Floor
and the bottom board is up against the Floor edge.
STEP 1: SIDE PANEL ASSEMBLY
LAY OUT YOUR PANELS
Lay out the panels around your shed Floor(s) to your desired panel
conguration. Use your oor plan on your parts list to conrm panel
positions.
WORK FROM BACK TO FRONT
We recommend starting in a back corner and then work
from the back panels to the front panels for assembly.
SECURING THE DOUBLE DOOR PANEL
For securing the Double Door Panel to a corner, use the
60mm screws as shown above. Use 50mm screws for
securing all of the other panels together.
3
50MM
SCREWS 50MM
SCREWS
50MM
SCREWS 50MM
SCREWS
40MM
SCREWS
50MM
SCREWS
STEP 2: SECURE SIDE PANELS TO FLOOR(S)
SECURE TO FLOOR BEARERS/FLOORBOARD BENEATH
Secure the Side Panels to the Floor(s) by screwing into the oor bearers beneath (50mm screws).
Secure the Side Panels to the oorboards if there are no bearers beneath (40mm screws).
SECURE 3FT - 4FT PANELS TO BEARER SECURE 1FT - 2FT PANELS TO BEARER
SECURE PANELS TO BEARERS BENEATH ANGLE INTO BEARERS BENEATH
SECURE TO FLOORBOARD BENEATHSECURE PANELS TO BEARERS BENEATH
4
50MM
SCREWS 40MM
SCREWS
50MM
SCREWS
50MM
SCREWS
STEP 3: SECURE DOOR PANEL TO FLOOR
SECURE TO FLOOR BEARERS/FLOORBOARD BENEATH
Secure the Door Panel to the Floor by screwing into the oor bearers beneath (50mm screws).
Secure the Door Panel to the oorboards if there are no bearers beneath (40mm screws).
SECURE DOOR PANEL TO BEARERS & FLOORBOARD BENEATH
SECURE DOOR PANEL TO BEARER BENEATH
5
50MM
SCREWS
50MM
SCREWS
50MM
SCREWS
50MM
SCREWS
STEP 4: PENT INFILL PANELS
SECURE INFILL PANELS TO SIDE PANELS (PENT SHEDS ONLY)
Position and secure the Inll Panels to the top of the Side Panels. They will be the same width as the Side Panel beneath. The
Inll Panels are for the roof angle on your pent shed. Secure the Inll Panels together once they are secured to the Side Panels.
2FT INFILL PANEL
3FT & 4FT INFILL PANEL
INFILL PANEL ABOVE THE DOOR PANEL
SECURE INFILL PANELS TOGETHER
APEX SECTION PENT SECTION
4 x 50mm Screws
QTY: 8
SHED INSTRUCTIONS
APEX & PENT SECTIONS (3)
ISSUE: 0123
FIXING PACK CONTAINS:
FIXING PACK CODE: SHEDGABLEFP
You may receive more than one of the same xing pack to provide enough screws for the larger shed sizes.
2
50MM
SCREWS
50MM
SCREWS
STEP 1: APEX SECTION ASSEMBLY
SECURING APEX SECTION TO SINGLE DOOR PANEL
SECURING APEX SECTION TO SIDE PANEL
APEX SHEDS
REVERSE APEX SHEDS
3
50MM
SCREWS
50MM
SCREWS
50MM
SCREWS
WORKSHOP APEX SECTIONS
Secure the Left and Right Hand Apex Sections together to create a complete Apex Section piece.
Position and secure the complete Apex Section Pieces to the Side Panels as shown above.
APEX SECTIONS
Position and secure the Apex Sections to the Side Panels as shown above. For an apex shed, secure the Apex Sections to the
front and back of your shed. For a reverse apex shed, secure the Apex Sections to the sides of your shed.
SECURING APEX SECTION TO DOUBLE DOOR PANEL
LARGER APEX SHEDS
WORKSHOPS
4
50MM
SCREWS
50MM
SCREWS
STEP 2: PENT SECTION ASSEMBLY
PENT SECTIONS
Position and secure the Pent Sections to the Side Panels and Inll Panels as shown above.
PENT SHEDS
LARGER PENT SHEDS

Other Forest Garden House manuals

Forest Timberdale Tongue & Groove User manual

Forest

Forest Timberdale Tongue & Groove User manual

Forest Timberdale 4 x 6 ft Tongue & Groove Shed User manual

Forest

Forest Timberdale 4 x 6 ft Tongue & Groove Shed User manual

Forest Xtend 4.0 Manual

Forest

Forest Xtend 4.0 Manual

Forest OPASUM75M User manual

Forest

Forest OPASUM75M User manual

Forest CORNLINPL160 User manual

Forest

Forest CORNLINPL160 User manual

Forest LGSTFP User manual

Forest

Forest LGSTFP User manual

Forest TPA46 User manual

Forest

Forest TPA46 User manual

Forest Timberdale WORKSHOPS DOUBLE DOOR 8x10 User manual

Forest

Forest Timberdale WORKSHOPS DOUBLE DOOR 8x10 User manual

Forest LINPL12090S User manual

Forest

Forest LINPL12090S User manual

Forest TPCSUM88 User manual

Forest

Forest TPCSUM88 User manual

Forest FRA58 User manual

Forest

Forest FRA58 User manual

Forest TPP75FP User manual

Forest

Forest TPP75FP User manual

Forest SDP63GBARFP User manual

Forest

Forest SDP63GBARFP User manual

Forest CORNER SHED User manual

Forest

Forest CORNER SHED User manual

Forest OPCSUM88 User manual

Forest

Forest OPCSUM88 User manual

Forest LEAN-TO KIT User manual

Forest

Forest LEAN-TO KIT User manual

Forest OPCS88 User manual

Forest

Forest OPCS88 User manual

Forest PENT SUMMERHOUSE 6x4 User manual

Forest

Forest PENT SUMMERHOUSE 6x4 User manual

Forest Timberdale 8 x 12 ft Tongue & Groove Shed User manual

Forest

Forest Timberdale 8 x 12 ft Tongue & Groove Shed User manual

Forest Tongue & Groove Pent Shed User manual

Forest

Forest Tongue & Groove Pent Shed User manual

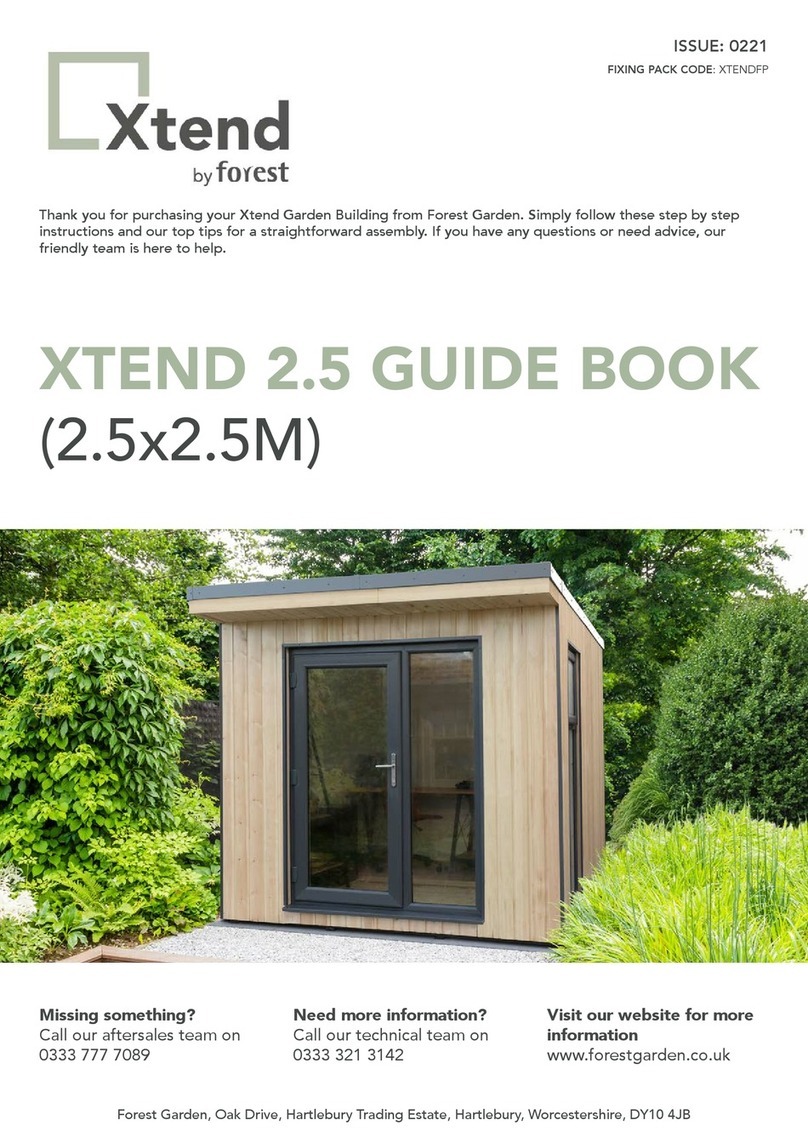
Forest Xtend 2.5 Manual

Forest

Forest Xtend 2.5 Manual

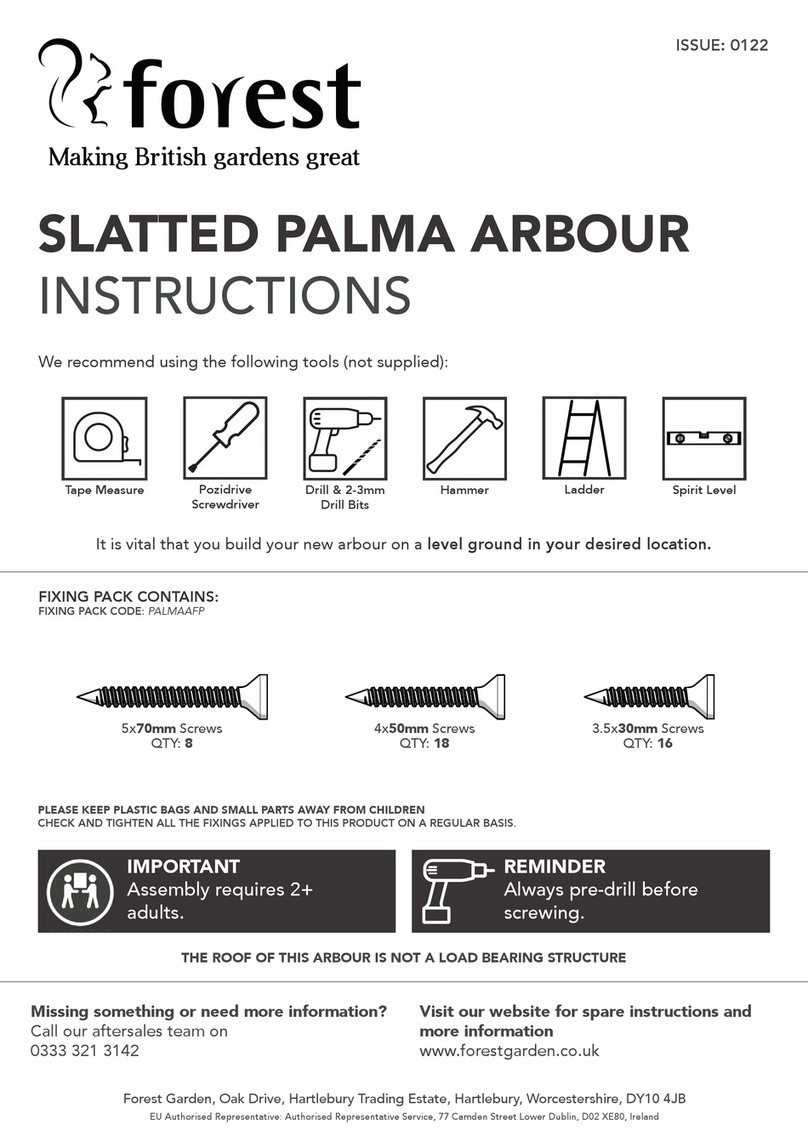
Forest SLATTED PALMA ARBOUR User manual

Forest

Forest SLATTED PALMA ARBOUR User manual

Forest CORNER LINEAR PLANTER User manual

Forest

Forest CORNER LINEAR PLANTER User manual

Forest SCP90FP User manual

Forest

Forest SCP90FP User manual

Popular Garden House manuals by other brands

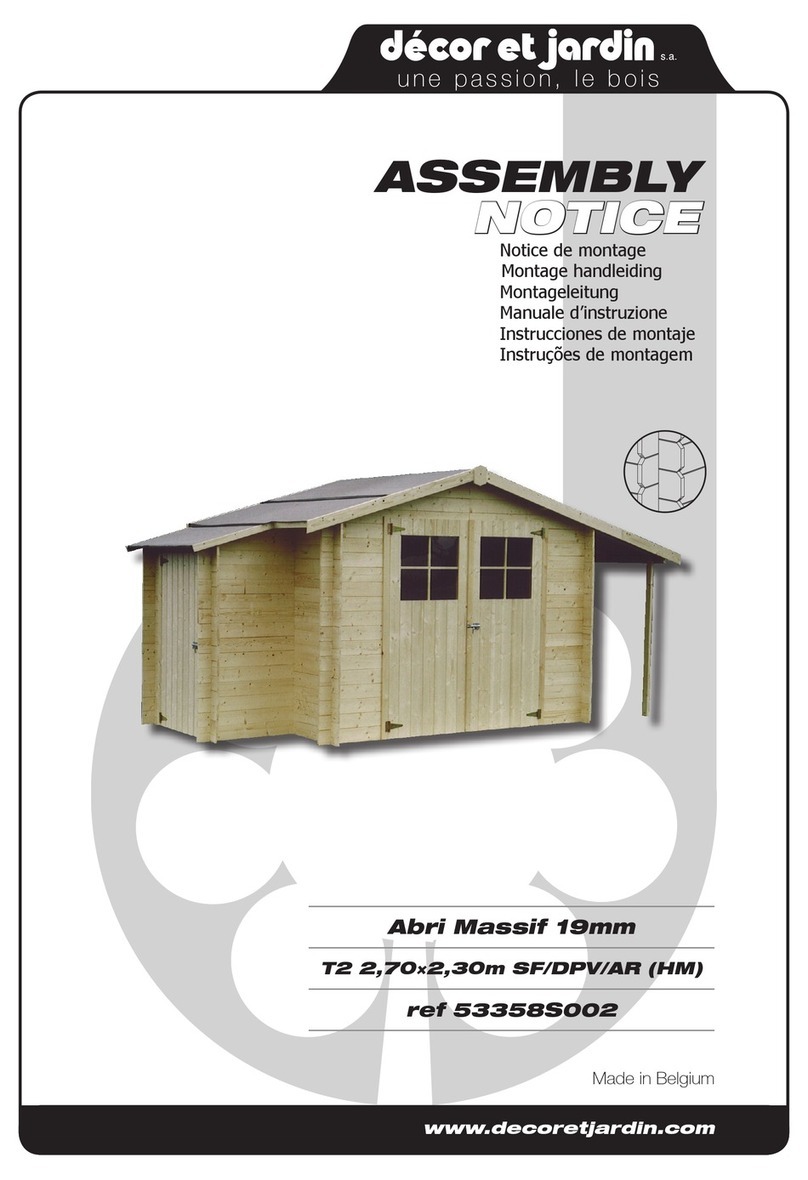
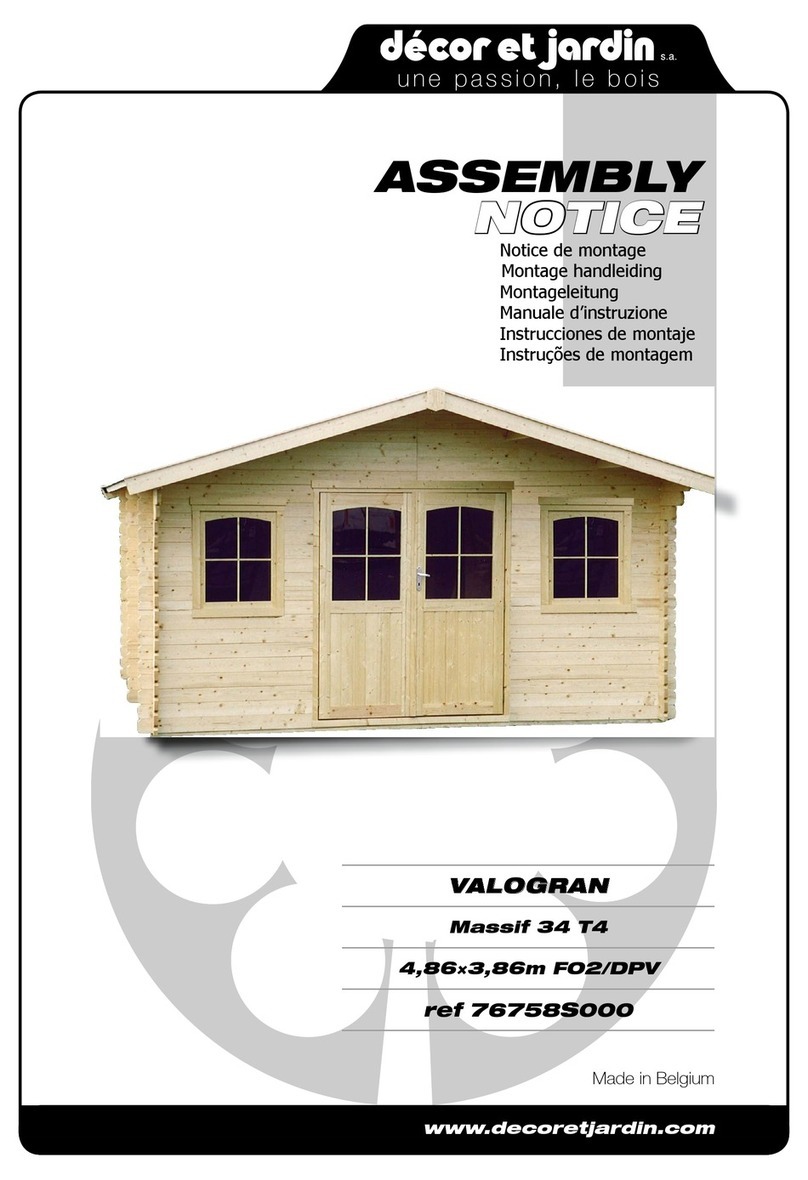
Décor et Jardin 53358S002 Assembly Notice

Décor et Jardin

Décor et Jardin 53358S002 Assembly Notice

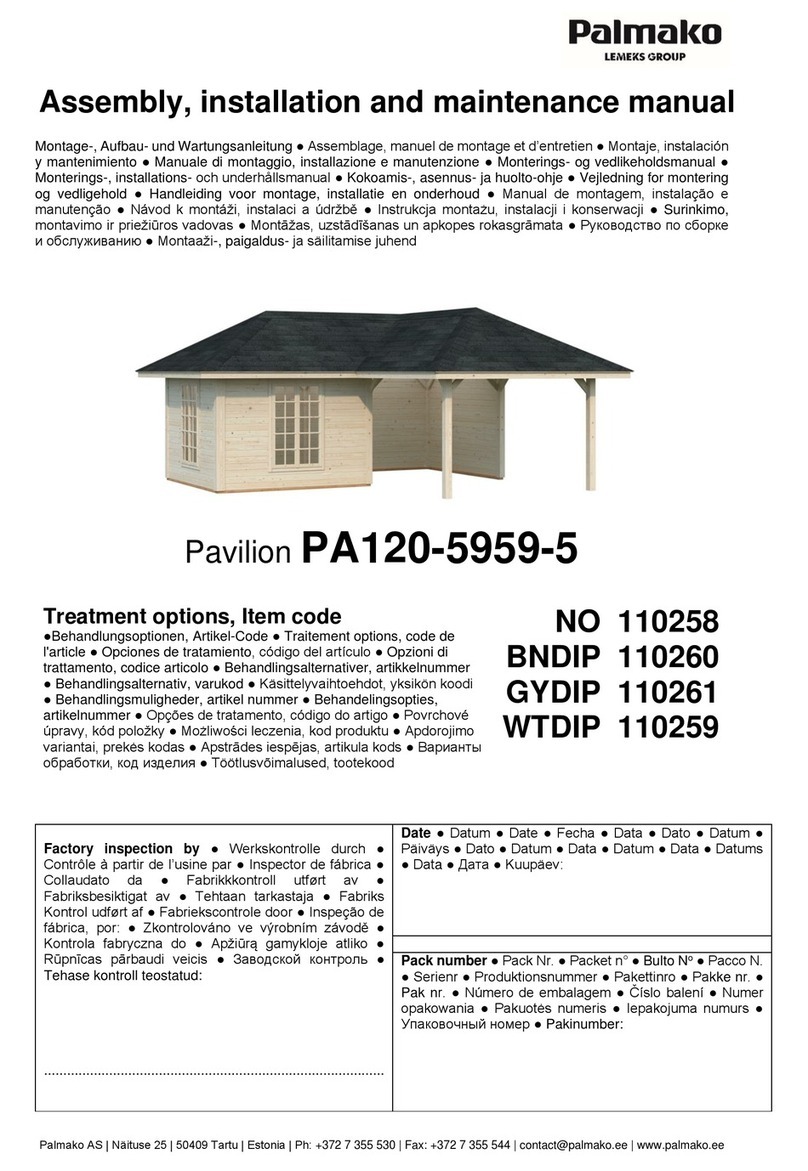
Lemeks Palmako PA120-5959-5 Assembly, installation and maintenance manual

Lemeks

Lemeks Palmako PA120-5959-5 Assembly, installation and maintenance manual

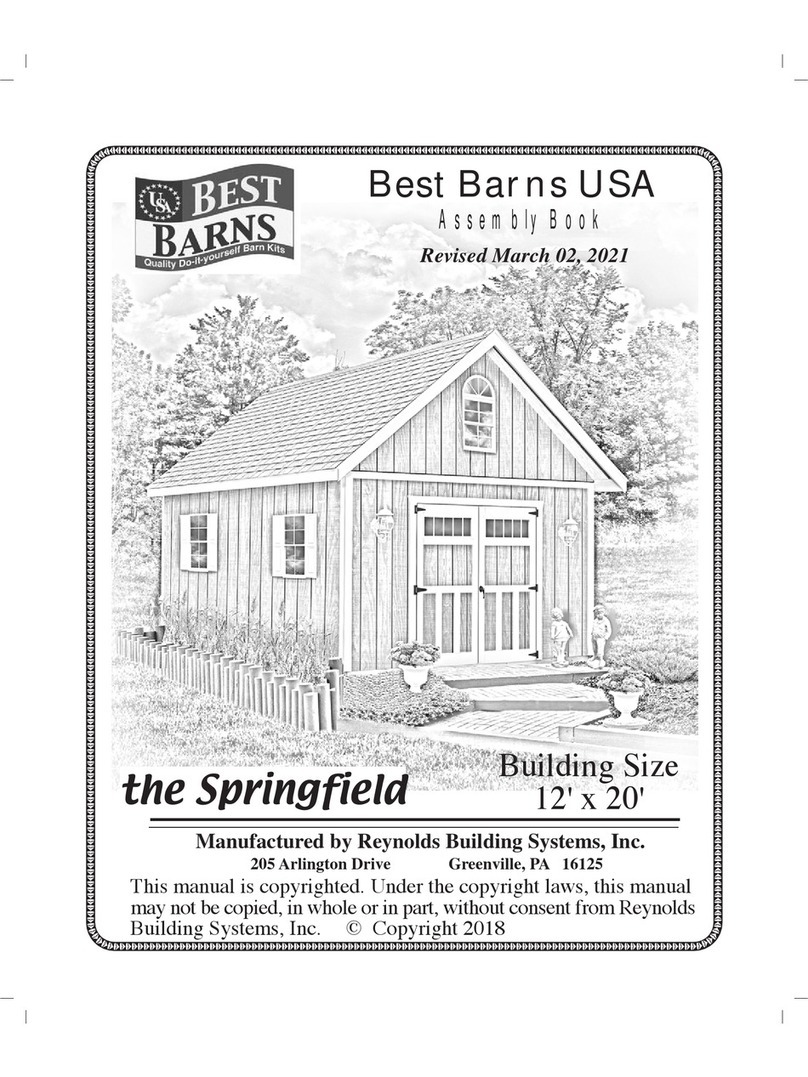
Reynolds Building Systems Best Barns Springfield Assembly Book

Reynolds Building Systems

Reynolds Building Systems Best Barns Springfield Assembly Book

Décor et Jardin 76758S000 Assembly Notice

Décor et Jardin

Décor et Jardin 76758S000 Assembly Notice

Mercia Garden Products BOURNEMOUTH 03BRN0807-V4 instructions

Mercia Garden Products

Mercia Garden Products BOURNEMOUTH 03BRN0807-V4 instructions

Palmako Roger FR44-5953 installation manual

Palmako

Palmako Roger FR44-5953 installation manual

Domus SZYMON manual

Domus

Domus SZYMON manual

Karibu BAYREUTH 6 manual

Karibu

Karibu BAYREUTH 6 manual

Keter Manor Pent 6x4 user manual

Keter

Keter Manor Pent 6x4 user manual

G21 PAH 357 manual

G21

G21 PAH 357 manual

Best Barns Cypress Assembly Book

Best Barns

Best Barns Cypress Assembly Book

Palmako Roger 3 installation manual

Palmako

Palmako Roger 3 installation manual

Palmako Tina installation manual

Palmako

Palmako Tina installation manual

Palmako FR28-4141 installation manual

Palmako

Palmako FR28-4141 installation manual

Palmako Ralf installation manual

Palmako

Palmako Ralf installation manual

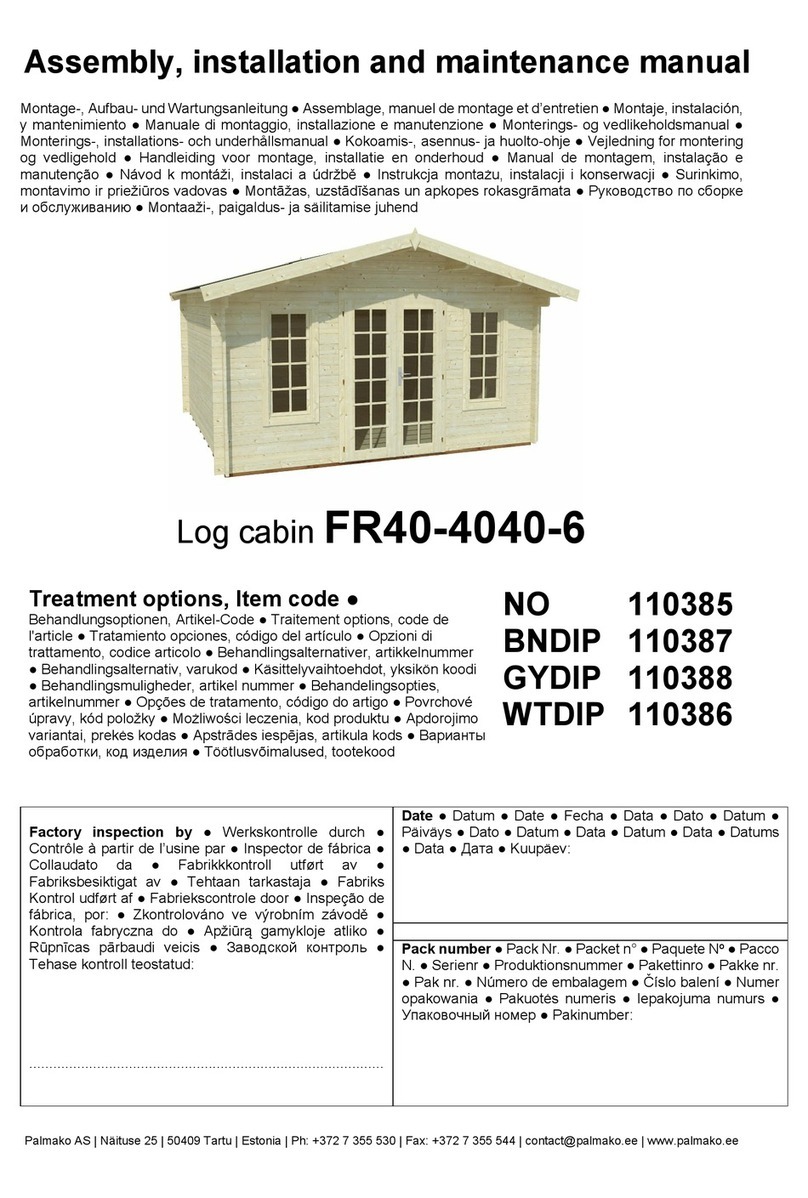
Palmako FR40-4040-6 Assembly, installation and maintenance manual

Palmako

Palmako FR40-4040-6 Assembly, installation and maintenance manual

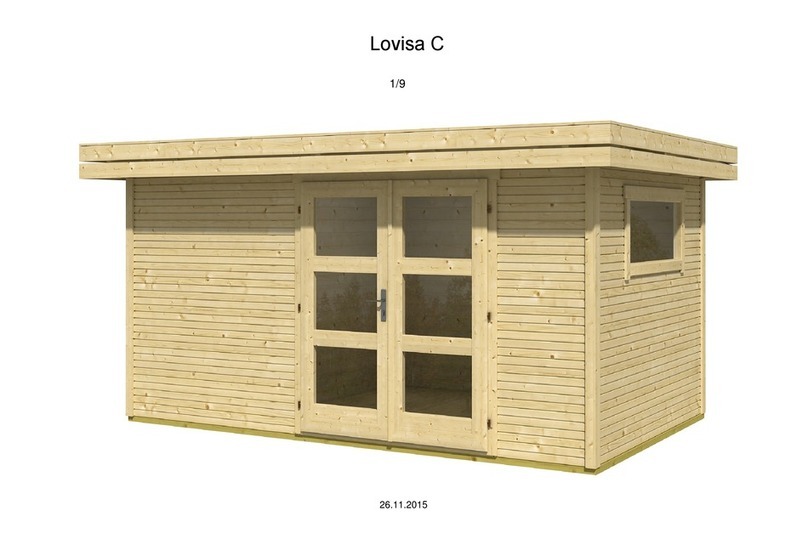
Nordcabin Lovisa C 290600 manual

Nordcabin

Nordcabin Lovisa C 290600 manual

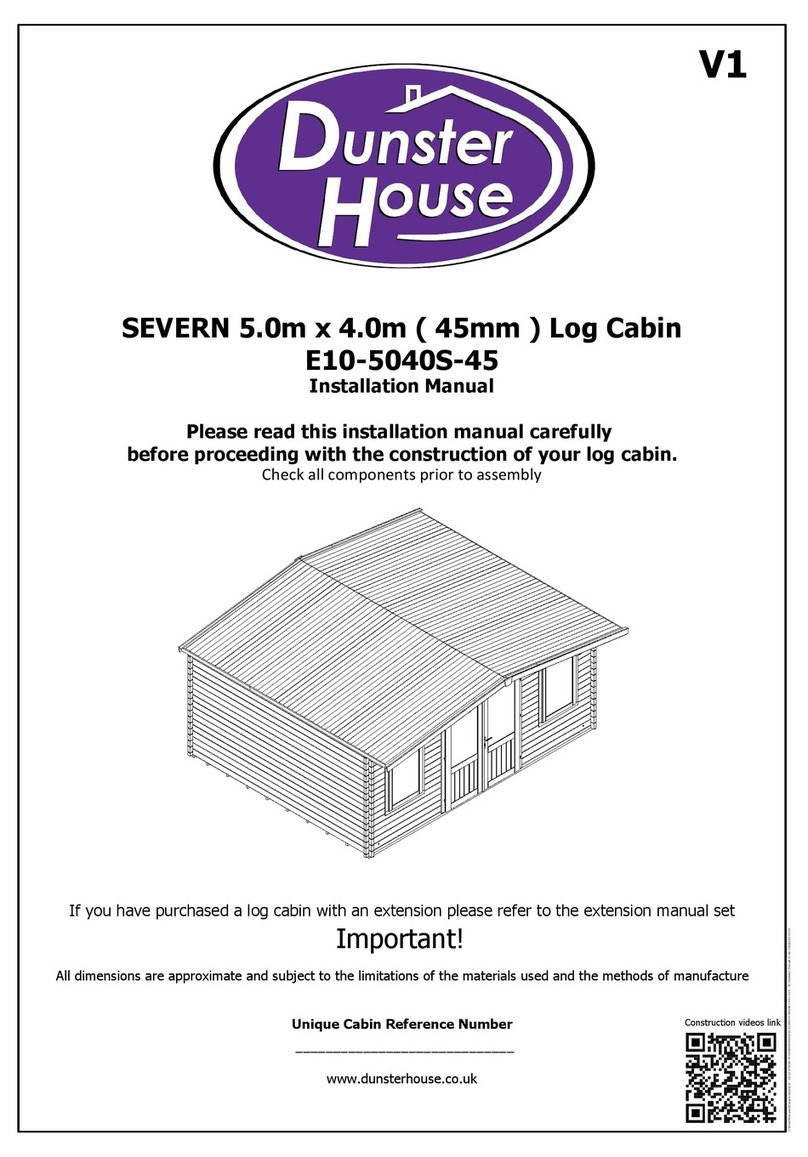
Dunster House SEVERN E10-5040S-45 installation manual

Dunster House

Dunster House SEVERN E10-5040S-45 installation manual

manuals.online logo
manuals.online logoBrands
  • About & Mission
  • Contact us
  • Privacy Policy
  • Terms and Conditions

Copyright 2025 Manuals.Online. All Rights Reserved.