manuals.online logo
Brands
  1. Home
  2. •
  3. Brands
  4. •
  5. Fortis
  6. •
  7. Elliptical Trainer
  8. •
  9. Fortis FSTNRELTPLB User manual

Fortis FSTNRELTPLB User manual

Table of Contents
Safety Notice....................................................................................................................................................2
Exploded View & Parts List.........................................................................................................................3
Assembly............................................................................................................................................................5
Preparation...................................................................................................................................................5
Assembly nstruction................................................................................................................................5
Exercise nstructions.....................................................................................................................................9
Warm Up Phase.........................................................................................................................................9
The Exercise Phase...................................................................................................................................9
Warm Down Phase...................................................................................................................................9
Muscle Toning...........................................................................................................................................10
Weight Loss...............................................................................................................................................10
Usage Tip....................................................................................................................................................10
Exercise Monitor............................................................................................................................................10
Specifications............................................................................................................................................10
Operation Procedures............................................................................................................................10
1
Please read these instructions carefully before using the product.
Safety Notice
Note the following precautions before assembling or operating the unit:
•Assemble the unit exactly as shown in this instruction manual.
•Check all screws, nuts and other connections before using the unit for the first
time, and ensure that the unit is in a safe, working order before each use.
•Set the unit up in a dry level location, away from moisture or water.
•Place a suitable base (eg. rubber mat, wooden board etc.) beneath the unit to
avoid dirt and scuff marks.
•Before training on this unit, remove all objects from a 2 meter radius around the
unit.
•Do not use aggressive cleaning articles or detergents to clean the unit. Remove
any sweat from the unit immediately with a soft dry towel.
•Your health can be affected by incorrect or excessive training. Consult with your
doctor prior to beginning a new training program. Your doctor will be able to
give advice in regards to the maximum settings and targets (pulse rate, duration
of training etc..) to which you may train yourself, and get precise information
during training.
•This unit is not suitable for therapeutic purposes.
•Only train on the unit when it is working as designed. f any parts of the unit
malfunction or break, contact the Kogan.com customer support team for further
information.
•This unit can only be used for one person to train at a time.
•Wear training clothes and suitable shoes at all times. Training shoes are
recommended.
•f you start to feel dizzy, sick or experience any other abnormal symptoms,
please stop training immediately and consult with your doctor immediately.
•Children should only ever use the unit under the direct supervision of an adult
who is experienced in the use of the product and is able to offer advice and aid.
•The resistance of the unit is fully adjustable. The unit is equipped with an
adjustable resistance knob, that can be turned towards stage 1 for less resistance,
or turned towards stage 8 for more resistance.
•The maximum weight for a user of this unit is 100kgs.
Care must always be taken when lifting or moving this unit. Take care to not injure your
back.
Always use proper lifting techniques and/or have someone assist you.
2
Exploded View & Parts List
3
No. Description QTY No. Description QTY
1 Computer 1 31 Sensor Wire 1
2 Bolt M5 x 50 2 32 Arc Washer D8 x 20 x R30 x 2⌀8
3 End Cap 25⌀2 33 Bolt M8 x 16 4
4 Middle Handlebar 1 34 Front Stabilizer 1
5 Screw ST4.2 x 19 2 35 Bolt M8 x 70 4
6 Pulse Monitor 2 36 End Cap 60⌀2
7 Spring Washer D8 4 37 End Cap 60⌀2
8 Bolt M8 x 30 2 38 Rear Stabilizer 1
9 Small Cover 1 39 Tension Wire 1
10 Foam Grip 2 40 Sensor Wire 1
11 Handlebar (L/R) 2 41 Main Frame 1
12 End Cap 2 42 - -
13 Foam Grip 2 43 - -
14 End Cap S13 6 44 Hex Head Bolt M8 x 75 2
15 Nut M8 4 45 Washer D8 x 16 x 1.5⌀6
16 Bolt M8 x 40 4 46 Pedal Tube 2
17 Bushing 32 x 19 x 2⌀ ⌀ 8 47 Pedal 2
18 Washer D8 x 32 x 2⌀2 48 Bolt M8 x 45 4
19 Bolt M8 x 20 2 49 Bushing 14 x 12.5 x 10.1⌀ ⌀ 4
20 Lower Handlebar (L/R) 2 50 Square End Cap J60 x 30 x 1.5 4
21 Arc Washer D8 x 16 x R19 x 2 4 51 End Cap S17 4
22 Nylon Nut M8 6 52 Bolt M10 x 55 2
23 Bushing 32 x 14 x 20⌀ ⌀ 4 53 Washer D10 x 20 x 2⌀2
24 Bushing 14 x 8.5 x 60⌀ ⌀ 2 54 Nylon Nut M10 4
25 Bushing 32 x 19 x 59⌀ ⌀ 2 55 Washer D10 x 32 x 2⌀2
26 Arc Washer D8 x 16 x 1⌀1 56 Bracket 2
27 Bolt M5 x 27 1 57 Bushing 32 x 19 x 26⌀2
28 Tension Control 1 Allen Wrench S6 1
29 Upright Post 1 Cross Wrench S13-14-15 1
30 Sensor Wire 2 Open-end Wrench S17-19 1
4
ssembly
Preparation
Before assembly, make sure that you have enough clear space around you.
Use the supplied tools for assembly.
Before assembly, please check that all parts listed on the previous page are present. f
any parts are missing, please contact the Kogan.com customer support team.
ssembly Instruction
Step One
Attach the front stabilizer (34) and the
rear stabilizer (38) to the main frame (41)
with the carriage bolt (35) and an arc
washer (32)
Step Two
Connect the Sensor Wire (31) to (40), and
the Tension Control Wire (28) to (39) as
shown to left. Fix the upright post (29) to
the main frame (41) with a bolt (33) and
arc washer (32).
Note: Do not tighten the bolt (33) or arc
washer (32) until after the next step.
5
Step Three
nsert the bushing (25) into the upright post
(29). Fix the lower handlebars (20L/R) to the
upright post (29) with the bolt (19), spring
washer (7) and washer (18).
Step Four
Fix the Pedal Tubes (46) to the lower
handlebars (20L/R) with bolts (44) and
nylon nuts (22).
Step Five
Fix the Pedal Tubes (46) with the Pedal Crank
with the Pedal Hinge Bolts (52), Washers (53)
and Nylon Nuts (54).
6
Step Six
nstall the pedals (47) onto the pedal
tubes (46) with hex head bolts (48),
washers (45) and nylon nuts (22).
Step Seven
Fix the handlebars (11L/R) to the lower handle
bars (20L/R) with bolts (16), arc washers (21)
and domed nuts (15).
Step Eight
Attach the middle handle bar (4) to the
upright post (29) as shown. nsert and
tighten the bolt (8), the handle bar plastic
cover (9) and the arc washer (7).
7
Step Nine
Attach the end cap (14) and (51).
Step Ten
Connect the handle pulse wire, then
connect the sensor wire (31) to the
computer (1).
Attach the computer (1) onto the upright
post (29) with a screw (2).
C UTION: Make sure you have tightened all of the bolts and nuts well before
beginning your workout.
NOTE: The end cap on the front stabilizer tube is movable. This will ensure it is easy
for you to move your training bike.
8
Exercise Instructions
Using your elliptical bike provides you with several benefits. t will improve your
physical fitness, tone your muscles and can assist with weight loss when paired with a
calorie controlled diet.
Warm Up Phase
This stage helps get the blood flowing around the body, and gets the muscles moving
and working properly. t will also reduce the risk of cramp and muscle injury. t is
advisable to do a few stretching exercises as shown below. Each stretch should be held
for approximately 30 seconds. Do not force or jerk your muscles into a stretch – if it
hurts, STOP.
The Exercise Phase
This is the stage where you put the effort
in. After regular use, the muscles in your
legs will become stronger. You should
work hard, however it is important to
maintain a steady tempo throughout.
The rate of work should be sufficient to
raise your heart beat into the target zone
as shown to right.
Warm Down Phase
This stage should last for a minimum of 12 minutes, though most people start at about
15-20 minutes.
Repeat the warm up exercises, reducing your temp for approximately 5 minutes. The
stretching exercises should now be repeated, again remembering not to force or jerk
your muscles into the stretch.
As you get fitter, you may need to train longer and harder. t is advisable to train at
least three times a wekk, and if possible, space the workouts evenly throughout the
week.
9
Muscle Toning
To tone muscle while on your elliptical bike, you will need to have the resistance set
quite high. This will put more strain on your leg muscles and may mean you cannot train
for as long as you'd like. f you are also trying to improve your fitness, you may need to
alter your training program. You should train as normal during the warm up and cool
down phases, but towards the end of the exercise phase, you should increase
resistance, making your legs work harder than normal.
You may have to reduce your speed to keep your heart rate in the target zone.
Weight Loss
The important factor here is the amount of effort you put in. The harder and longer you
work, the more calories you will burn. Effectively this is the same as if you were training
to improve your stamina, with the only difference being the goal.
Usage Tip
The tension control knob allows you to alter the resistance of the pedals. A high
resistance makes it more difficult to pedal, while a low resistance makes it easier.
For best results, adjust the tension while the bike is in use.
Exercise Monitor
Specifications
Time: 00:00 ~ 99:59M N
Speed: 0.0 ~ 99.9KM/H(ML/H)
Distance: 0.00 ~ 999.9KM(ML)
Odometer: 0.0 ~ 9999KM or ML
Pulse: 40 ~ 240BMP
Calorie: 0.0 ~ 9999KCALs
Operation Procedures
1. Auto ON/OFF
◦This system turns on when any key is pressed or when it receives a signal
from the speed sensor.
◦The system turns off automatically when the sensor has no signal input or no
key pressed for approximately 4 minutes.
2. Reset
The unit can be reset either by changing the battery or pressing the mode key
for 3 seconds.
3. Mode
Choose SCAN or LOCK if you do not want scan mode. Press the MODE key when
the pointer is on the function you want which will start flashing.
4. Functions
(a) Time: Press the MODE key until the pointer locks on T ME. Timing will begin
when you start exercising.
(b)Speed: Press the MODE key until the pointer locks on SPEED. Displays the
current speed during your workout.
10
(c) Distance: Press the MODE key until the pointer locks on D STANCE. The
distance of each workout will be displayed when exercise starts.
(d)Odometer: Press the MODE key until the pointer locks on ODOMETER. The
total accumulated distance will be shown.
(e) Calorie: Press the MODE key until the pointer locks on CALOR E. The calories
burned will be displayed when you start exercising.
(f) Pulse: Press the MODE key until the pointer locks on PULSE, then put the ear-
clip on your ear or hand. t will take the sensor approximately 3 seconds
before your pulse is displayed.
Scan: The display will change between each mode every 4 seconds. t will automatically
display the functions in the order of T ME – SPEED – D STANCE – CALOR ES – PULSE.
Notes:
•Without any signals coming in for 4-5 minutes, the LCD display will shut off
automatically.
•When there is a signal input, the monitor will automatically power up.
•f the display is showing incorrectly or isn't giving you any readings, please
remove and replace the batteries. Please replace all batteries at the same time.
If you have any further questions or concerns regarding the use of this product,
please contact the Kogan.com customer support team.
11

Other Fortis Elliptical Trainer manuals

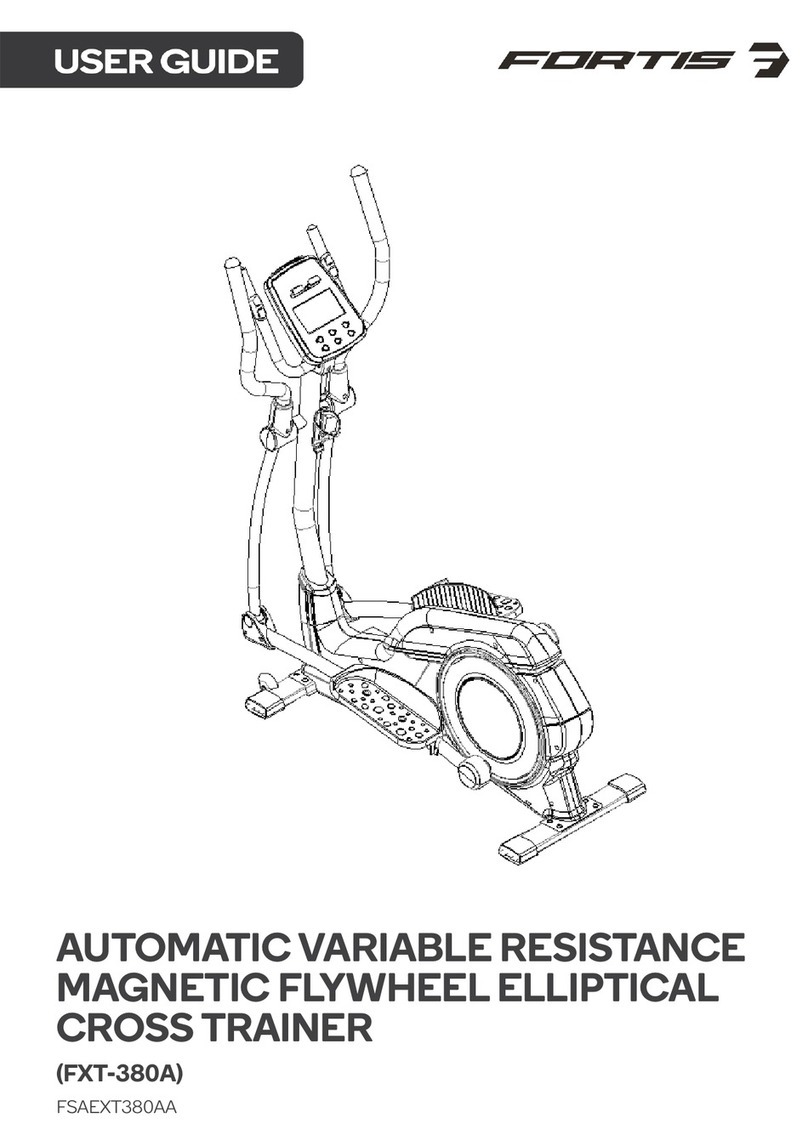
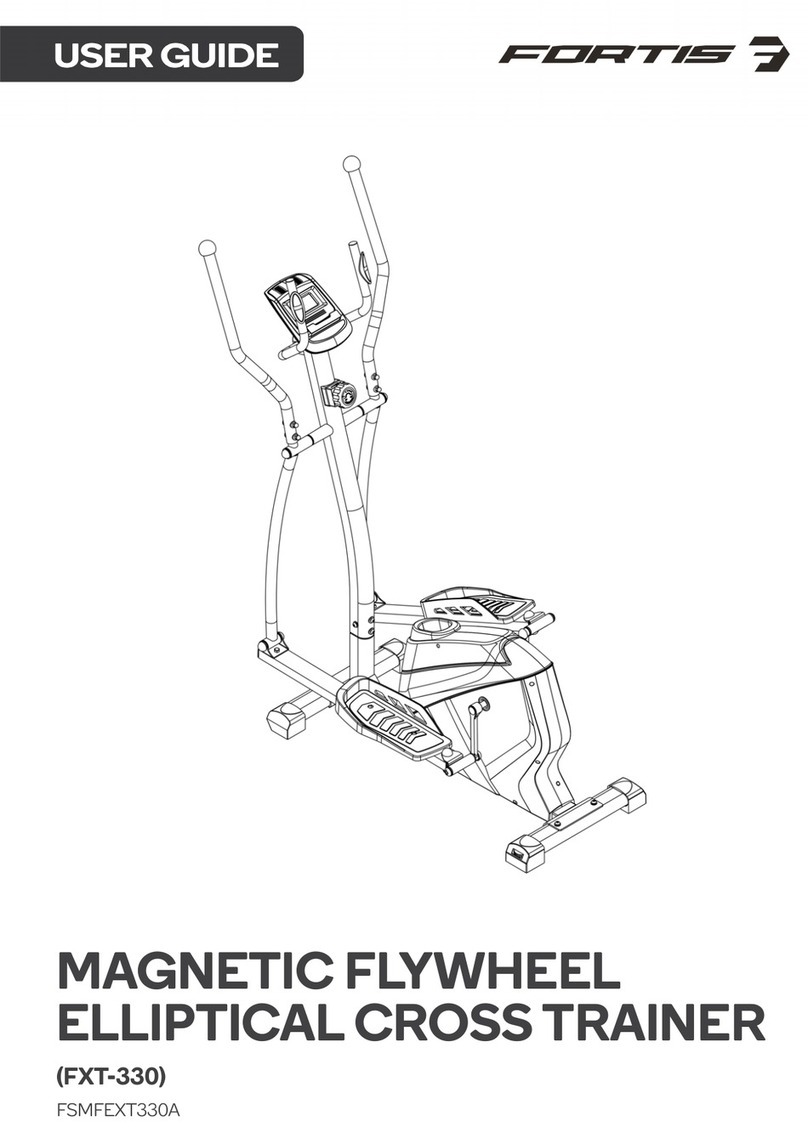
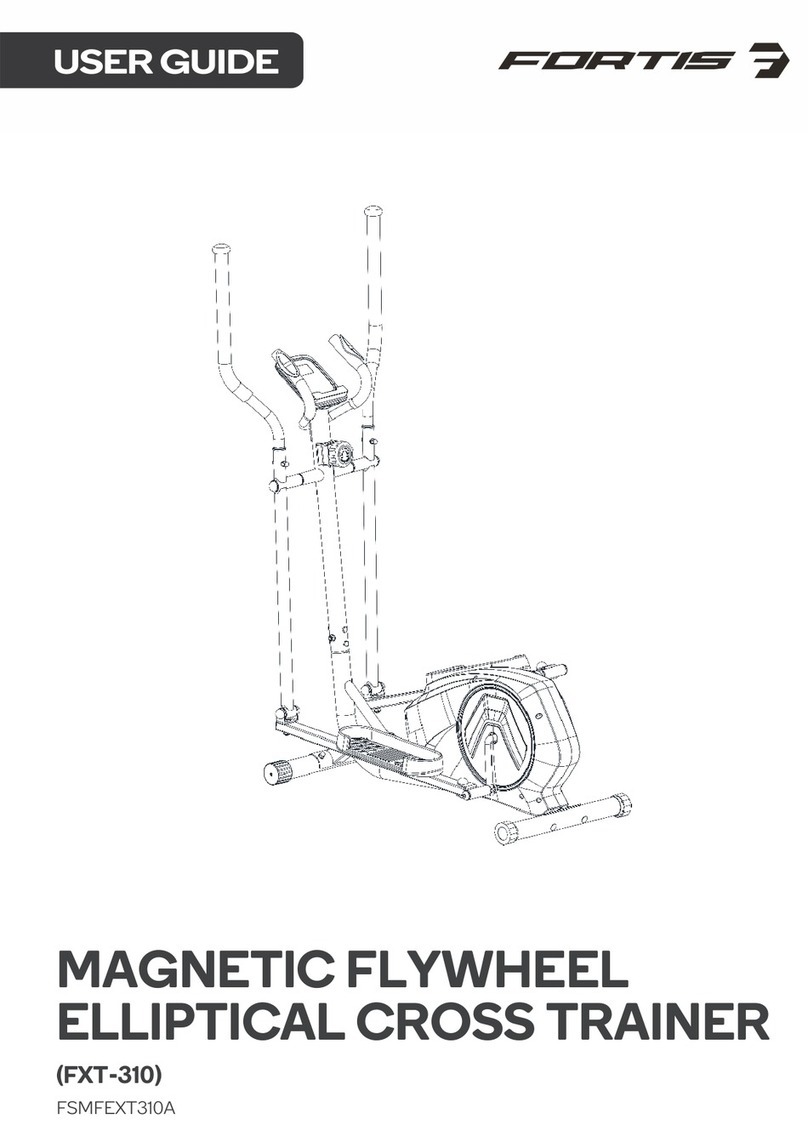
Fortis MAGNETIC FLYWHEEL FXT-330 User manual

Fortis

Fortis MAGNETIC FLYWHEEL FXT-330 User manual

Fortis FXT-380A User manual

Fortis

Fortis FXT-380A User manual

Fortis FXT-310 User manual

Fortis

Fortis FXT-310 User manual

Fortis FSTNRELTPLA User manual

Fortis

Fortis FSTNRELTPLA User manual

Popular Elliptical Trainer manuals by other brands

NordicTrack E 8.5 Elliptical user manual

NordicTrack

NordicTrack E 8.5 Elliptical user manual

Horizon Fitness Endurance 4 owner's manual

Horizon Fitness

Horizon Fitness Endurance 4 owner's manual

NordicTrack NTEL00909.3 user manual

NordicTrack

NordicTrack NTEL00909.3 user manual

TruPace E 200 owner's manual

TruPace

TruPace E 200 owner's manual

Image Fitness IMEL08900 user manual

Image Fitness

Image Fitness IMEL08900 user manual

Sole Fitness 168173095 owner's manual

Sole Fitness

Sole Fitness 168173095 owner's manual

Sunny Health & Fitness SF-E905 user guide

Sunny Health & Fitness

Sunny Health & Fitness SF-E905 user guide

SCIFIT SXT7000 Owner's operation manual

SCIFIT

SCIFIT SXT7000 Owner's operation manual

NordicTrack E4.1 Elliptical Uživatelská příručka

NordicTrack

NordicTrack E4.1 Elliptical Uživatelská příručka

Adexa ORBITRAC owner's manual

Adexa

Adexa ORBITRAC owner's manual

Domyos E Energy manual

Domyos

Domyos E Energy manual

Kettler SKYLON 3 manual

Kettler

Kettler SKYLON 3 manual

Best Fitness BFE1 owner's manual

Best Fitness

Best Fitness BFE1 owner's manual

HMS H1708-i Manual instruction

HMS

HMS H1708-i Manual instruction

NordicTrack NTEL07808.0 user manual

NordicTrack

NordicTrack NTEL07808.0 user manual

SportsArt Fitness E876 owner's manual

SportsArt Fitness

SportsArt Fitness E876 owner's manual

AsVIVA C29 manual

AsVIVA

AsVIVA C29 manual

BH FITNESS G818BM Instructions for assembly and use

BH FITNESS

BH FITNESS G818BM Instructions for assembly and use

manuals.online logo
manuals.online logoBrands
  • About & Mission
  • Contact us
  • Privacy Policy
  • Terms and Conditions

Copyright 2025 Manuals.Online. All Rights Reserved.