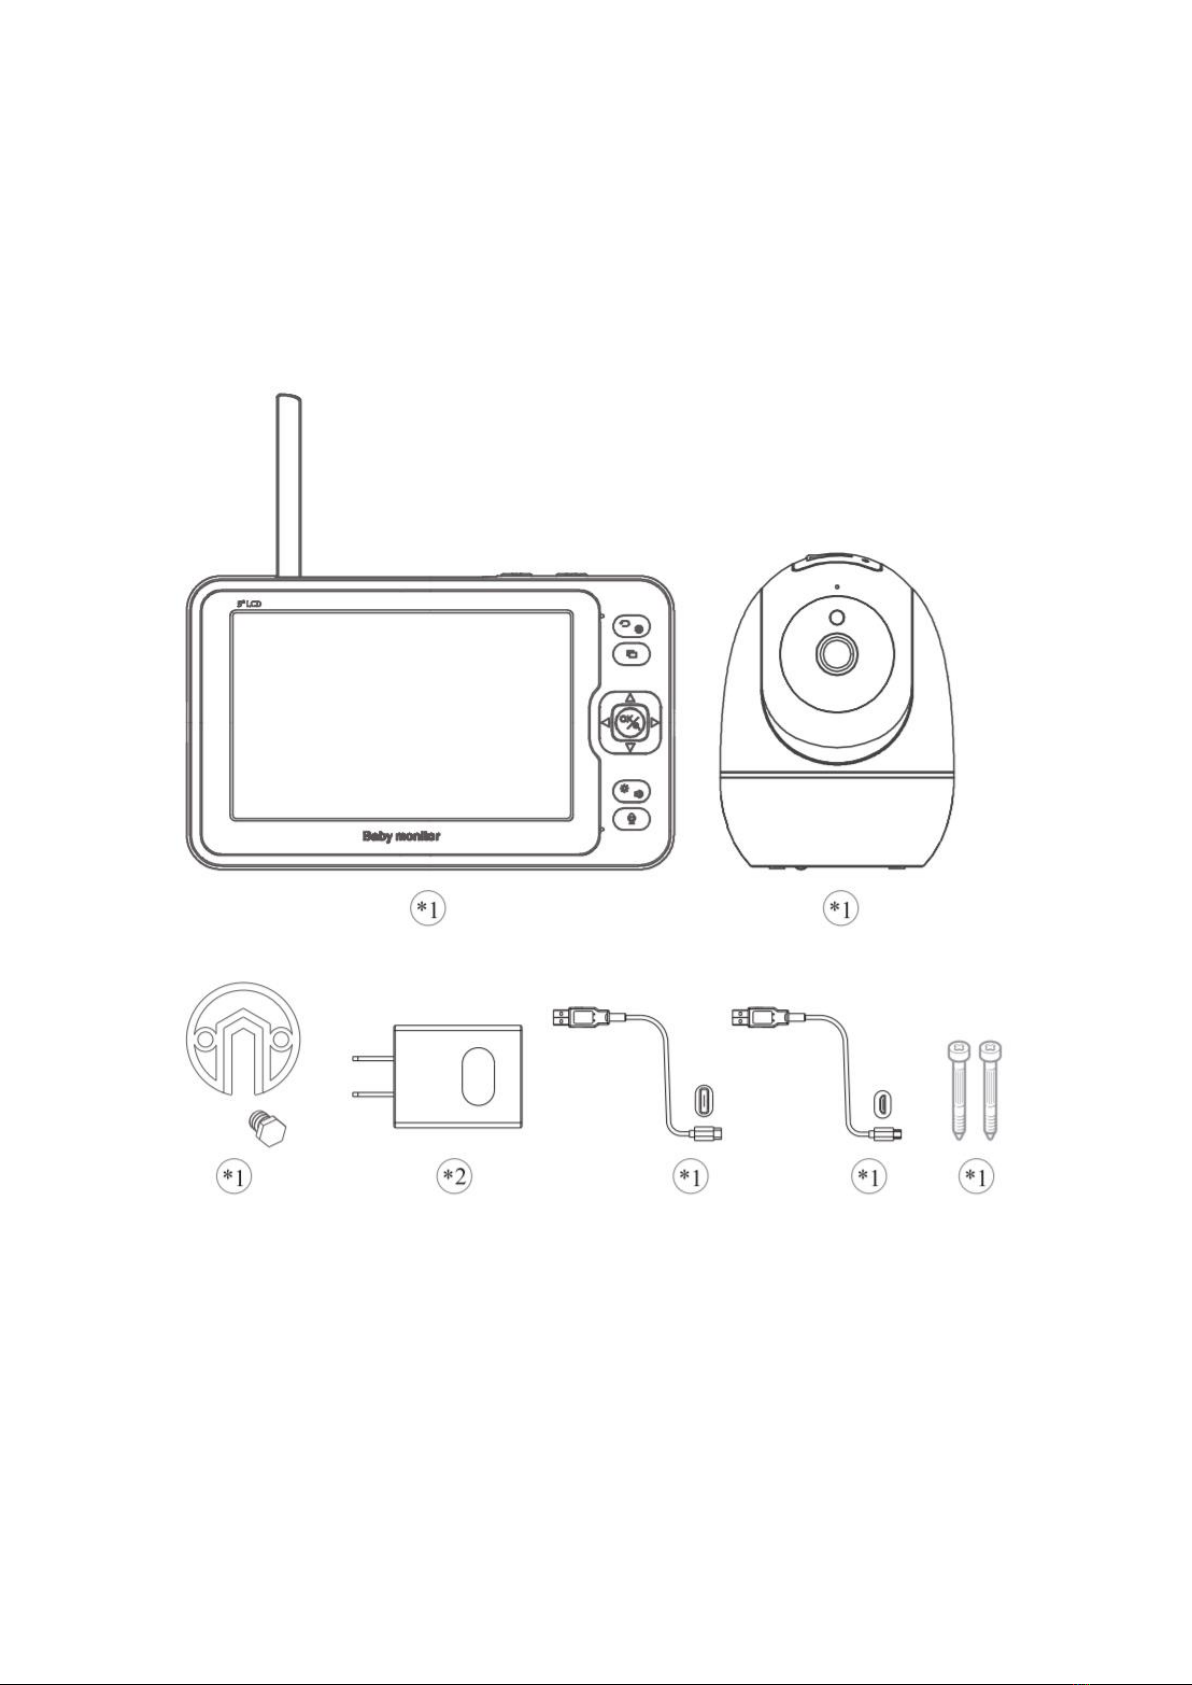
Foscam X1 User manual

5 INCH 1080P FULL HD
Baby monitor
User Manual • Uživatelský manuál •
Užívateľský manuál • Használati utasítás •
Benutzerhandbuch

2
Dear customer,
Thank you for purchasing our product. Please read the following instructions carefully
before first use and keep this user manual for future reference. Pay particular attention to
the safety instructions. If you have any questions or comments about the device, please
contact the customer line.
✉www.alza.co.uk/kontakt
✆+44 (0)203 514 4411
Importer Alza.cz a.s., Jankovcova 1522/53, Holešovice, 170 00 Praha 7, www.alza.cz

3
Note:
1. Please fully charge the LCD monitor before the first use.
2. Please adjust the date and time to the local one before operation.
WHAT’S INCLUDED:
1.1: Camera*1
1.2: LCD Monitor*1
1.3: Mounting Bracket*1
1.4: Power adaptor*2
1.5: Type-C Cable*1
1.6: Micro USB Cable*1
1.7: Screws*1
1.8: User Manual*1

4
KEY AND INTERFACE INTRODUCTION
1. For upgrade use
2. Reset Button
3. Sound pick up
4. Light sensor
5. Lens
6. Speaker
7. Antenna
8. Digital Temp Sensor
9.Micro USB Port
2.1: Indicator Light: The light shows green during working and red when charging. After the
monitor fully charged turns to green
2.2: Back Button: In Monitoring Mode press the button to enter volume and
brightness settings. In Main Menu press the button to back to Previous menu.
2.3: Camera Switch Button: Press the button to switch camera from one to the next.
(In the Status Bar will show the camera channel which working now)
when the status bar show means the monitor is under auto tour mode each
camera image will stay for 10s.

5
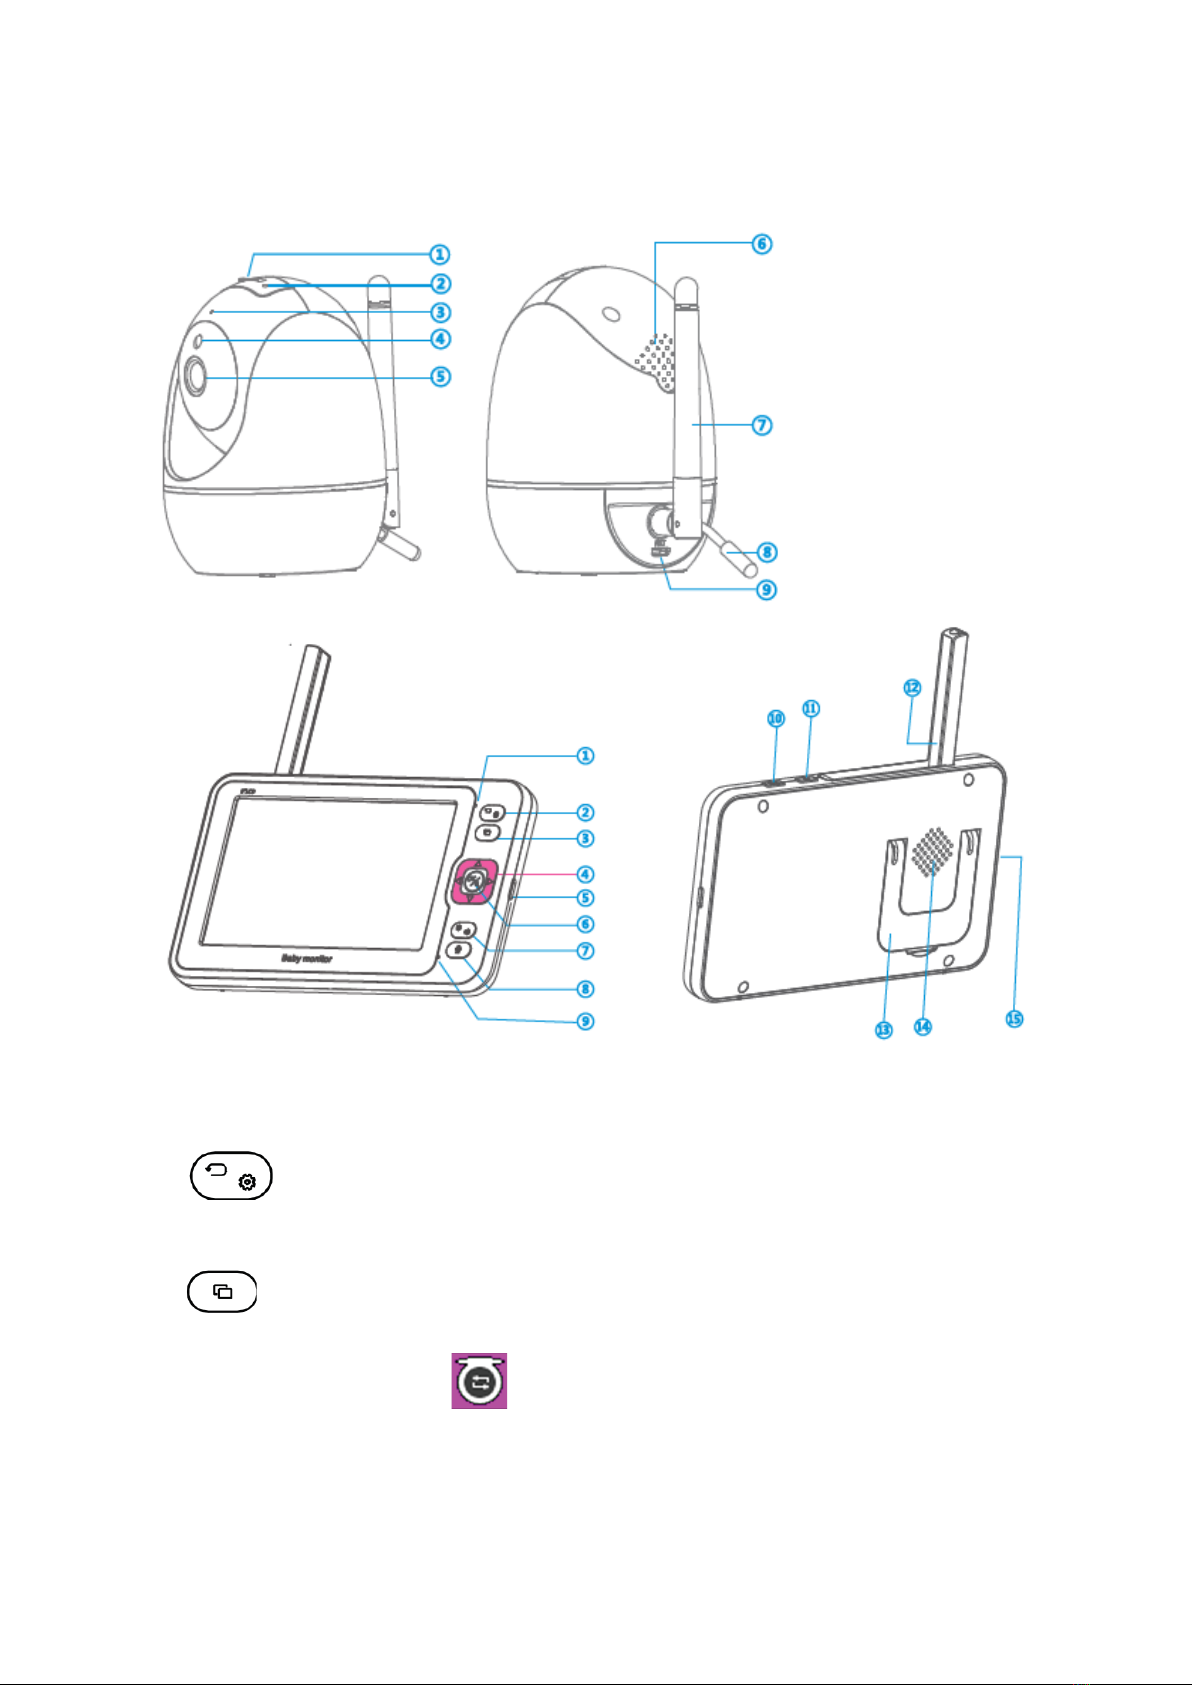
2.4: Direction Button: In Monitoring Mode the button could control the Pan and Tilt
of the camera. In main menu the button could select direction.
2.5: Type-C Charging Port.
2.6: Normal Version: OK button: Press the button to enter menu and confirm on
settings. ZOOM Version: in monitoring mode this button is for zoom. In other
menus is confirm button.
2.7: Lightness and volume Button: Press the button the monitor will show lightness
and volume adjustment, up and down key is to adjust lightness, left and right key is to adjust
volume.
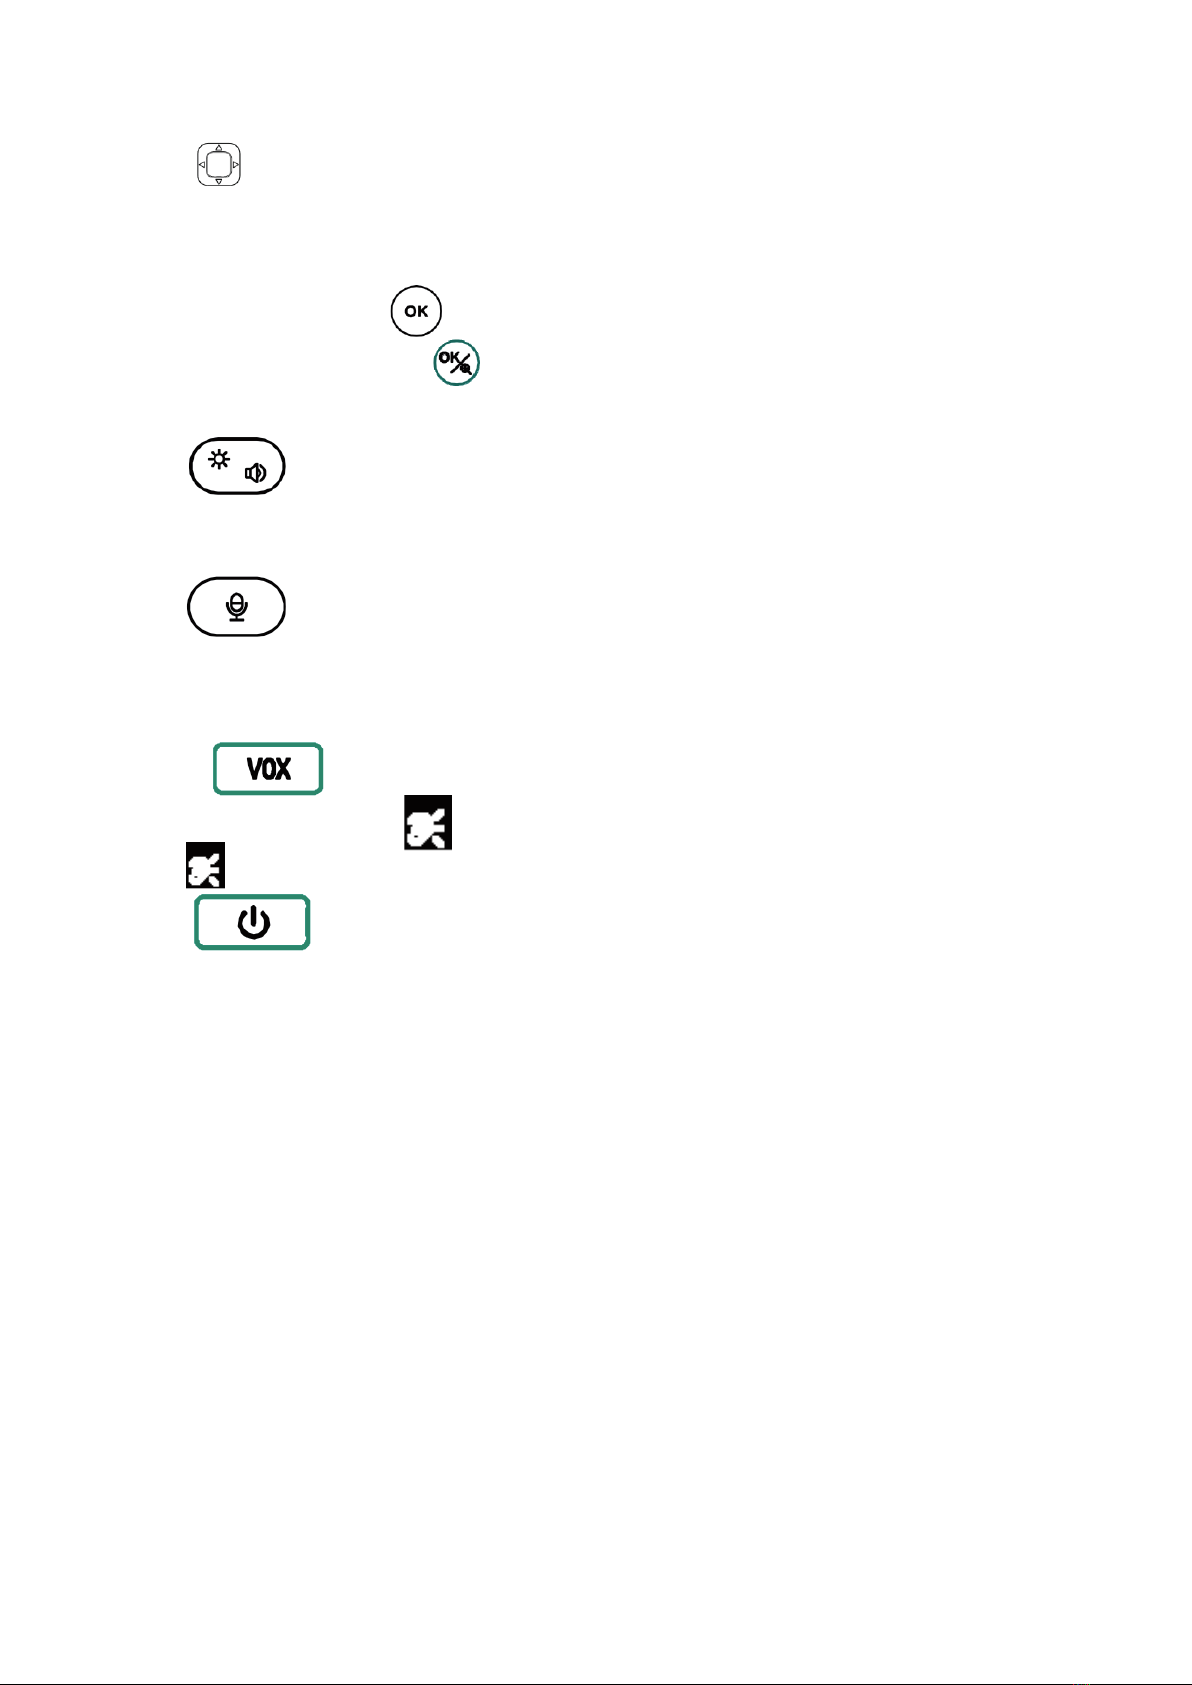
2.8: Talk Button: Press to talk while live audio off, press again to turn on live audio
while talk function stop.
2.9: Mic of the Monitor
2.10: Sound Detection (VOX) Buton: Press to opne sound detection (On the
status Bar will show Press again to turn off sound detection (On the status Bar
will disappear )
2.11: Power On/Off Button: Long press to turn on/off the unit, short press to
enter standby mode.
2.12: External Antenna: Put the antenna up the signal will reach the best state.
2.13: Bracket
2.14: Speaker
2.15: TF Card port (Support max 128GB TF card when first insert into the monitor it will
remind to format please choose OK)

6
STATUS INTRODUCTION
1Signal
2Battery Power Status
3 Sound
4Temperature
5Feeding Reminder Enable
6Music Enable
7Sound Detection: it will turn up if you
enable VOX function.
8Live Video Loop Enable
9Camera Channel
10 Date and Time
Other icons
Low battery
No signal
Sound alarm
Temperature alarm
Feeder reminder

7
CONNECT THE CAMERA TO THE MONITOR
4.1: Power on the camera. After about 3-5 s the camera will say “power on system starting
up” and start to work.
4.2:Long Press the power on/off button to turn on the unit. (Tips: Kindly make sure the
monitor is fully charged before connection when use for the first time)
4.3: After camera and monitor ready wait about 10s the picture will show on the monitor
then could start to use the baby monitor.

8
ADD NEW CAMERA
5.1: Enter the main menu and choose camera →choose channel →press
OK Button to start matching (Pic 2) →Connected.
5.2: If can’t add the camera successfully please check if the camera is powerd. If the camera
has been already powered then please reset the camera and make sure the monitor and
camera distance is within 2 meters and add the camera again according to step 5.1.
5.3: If you need to connect more than 1 camera please refer to steps above.
Cameras
Feeding
Sound Alarm
Temp. Alarm
Music
Display
Recording
Playback
System
Language

9
MULTI-CAM SCAN VEW INTRUCTION:
a. Click the switch button for the 1st time, it will switch to the live view of the cam 1.
b. Click the switch button for the 2nd time, it will switch to the live view of the cam 2.
c. Click the switch button for the 3rd time, it will automatically see Cam 1 and Cam 2 …
alternatively (multi-cam scanning viewing on each camera for 10s), and also scanning
viewing button showing on the upper left corner of the screen.

10
FEED TIMER SETTING
7.1: Enter the menu to set up Feed timer ( ) –up and down to select time, left and
right to choose single time/recycle/turn on or off the clock. (You can choose single time or
recycle.)
7.2: If you don’t need feed timer function please turn off the clock.
Language
System
Recording
Playback
Display
Cameras
Feeding
Sound Alarm
Temp. Alarm
Music
Time Interval
Repeat

11
SOUND DETECTION
8.1: Press OK button to enter the main menu and choose Sound detection ( ) There
are low/medium/high/optional.
8.2: Press VOX button on the top, it will turn on, press again to turn off. (Or you can turn it
off in the settings)
8.3: When the camera is detected the DB range over the settings the LCD screen will lighten
up and show the icon in the middle of the screen. There will be an alarm sound like
“di di”for about 30 seconds, If the camera keep detected sound over settings it
will send alarm sound continuously. Press any button on the monitor to stop the sound alarm
and press VOX button to turn off the sound alarm function.
Music
Cameras
Feeding
Sound Alarm
Temp. Alarm
Music
Display
Recording
Playback
System
Language

12
Tips:
1. Set sensitivity for sound detection.
2. LOW: the alarm threshold is a shouting cry.
3. MEDIUM: the alarm threshold is a loud voice.
4. HIGH: the alarm treshold is a normal speech.

13
TEMPERATURE DETECTION ALARM
9.1: Enter the main menu to choose Temperature ( ) to turn on/off the temperature
alarm
9.2: Temperature alarm setting could be (°C) or (°F) according to actual usage.
9.3: The default temperature is 18-30°C once the temperature is lower or higher than the
range it will send alarm. (Ref. to pic 5)
9.4: When the temperature alarm has been triggered the LCD monitor will turn on and show
the icon ( ) and send di di alarm sound. (Reference to picture 5) The sound will last for
30 seconds. If the temperature over the range continuously the monitor will keep
sending alarm sound, press any button to stop.
Music
Cameras
Feeding
Sound Alarm
Temp. Alarm
Music
Display
Recording
Playback
System
Language

14
Temp. alarm
Temp. unit
Note: The normal temperature range is 18-30 degrees Celsius.

15
PLAY THE LULLABY
10.1: Enter the main menu and choose the lullaby icon ( ) to select No. 1 –No. 8
lullabies. You can choose Single loop ( ) or sequential loop. ( )
Cameras
Feeding
Sound Alarm
Temp. Alarm
Music
Display
Recording
Playback
System
Language
Lullabies
Soothing Songs
Loop Playback

16
DISPLAY SETTINGS
11.1: Enter the main menu to choose the display settings ( ) the default sleep time
is 1 min. User can adjust to according actual usage.
Cameras
Feeding
Sound Alarm
Temp. Alarm
Music
Display
Recording
Playback
System
Language

17
VIDEO RECORDING
12.1: Enter the main menu and select the record icon ( ) if you don’t need this function
you can turn it off.
12.2: Please adjust the monitor time and date to the local one before recording.
12.3: When the first time insert the TF card it will remind to format the card please choose
OK.
12.4: The camera with TF card also can record in the resolution 1920*1080 in MP4 format. It
can’t playback on the monitor while can play on the computer.
12.5: The monitor with TF card can also record in the resolution 800*480 in AVI format that
you can playback directly on the monitor. If you need to play it on the computer you need a
special media player from our company, please contact the retailer for assistance.
Cameras
Feeding
Sound Alarm
Temp. Alarm
Music
Display
Recording
Playback
System
Language

18

19
VIDEO PLAYBACK
13.1: Enter the menu and select the playback icon ( ) and find the video you want to
play then press OK.
Cameras
Feeding
Sound Alarm
Temp. Alarm
Music
Display
Recording
Playback
System
Language

20
SYSTEM SETTINGS
14.1: Enter the main menu and select system setting ( ) to enter the settings.
14.2: Time & Date setting: Please set the time and date to the local one before operation.
Cameras
Feeding
Sound Alarm
Temp. Alarm
Music
Display
Recording
Playback
System
Language
Table of contents
Languages:
Other Foscam Baby Monitor manuals

Foscam
Foscam FosBaby User manual

Foscam
Foscam FosBaby P1 User manual

Foscam
Foscam FosBaby P1 User manual

Foscam
Foscam FosBaby User manual

Foscam
Foscam FosBaby User manual

Foscam
Foscam BM1 User manual

Foscam
Foscam FBM2307 User manual

Foscam
Foscam FosBaby User manual

Foscam
Foscam FBM3501 User manual

Foscam
Foscam BM1 User manual