manuals.online logo
Brands
  1. Home
  2. •
  3. Brands
  4. •
  5. Fostex
  6. •
  7. Recording Equipment
  8. •
  9. Fostex DV-824 Configuration guide

Fostex DV-824 Configuration guide

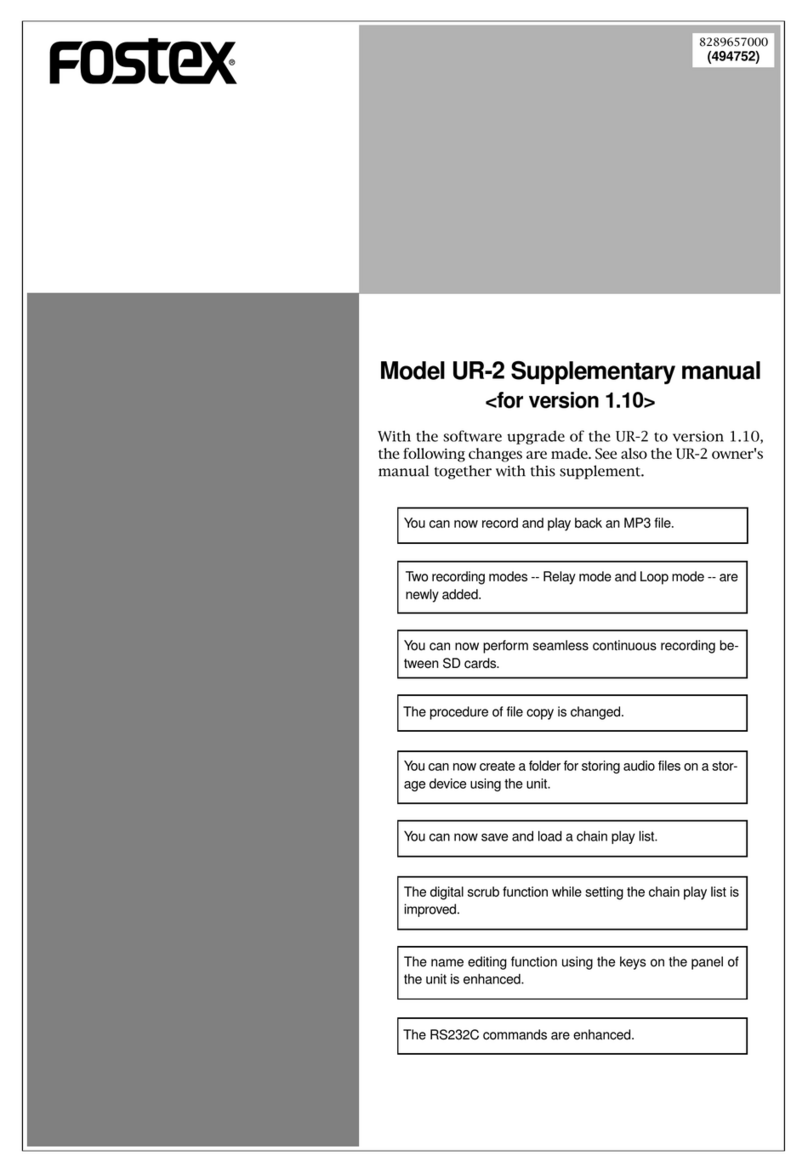
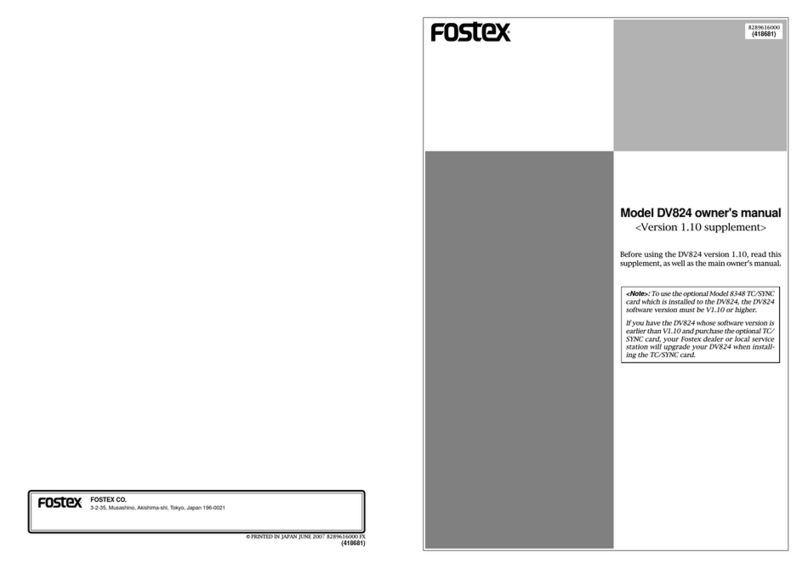
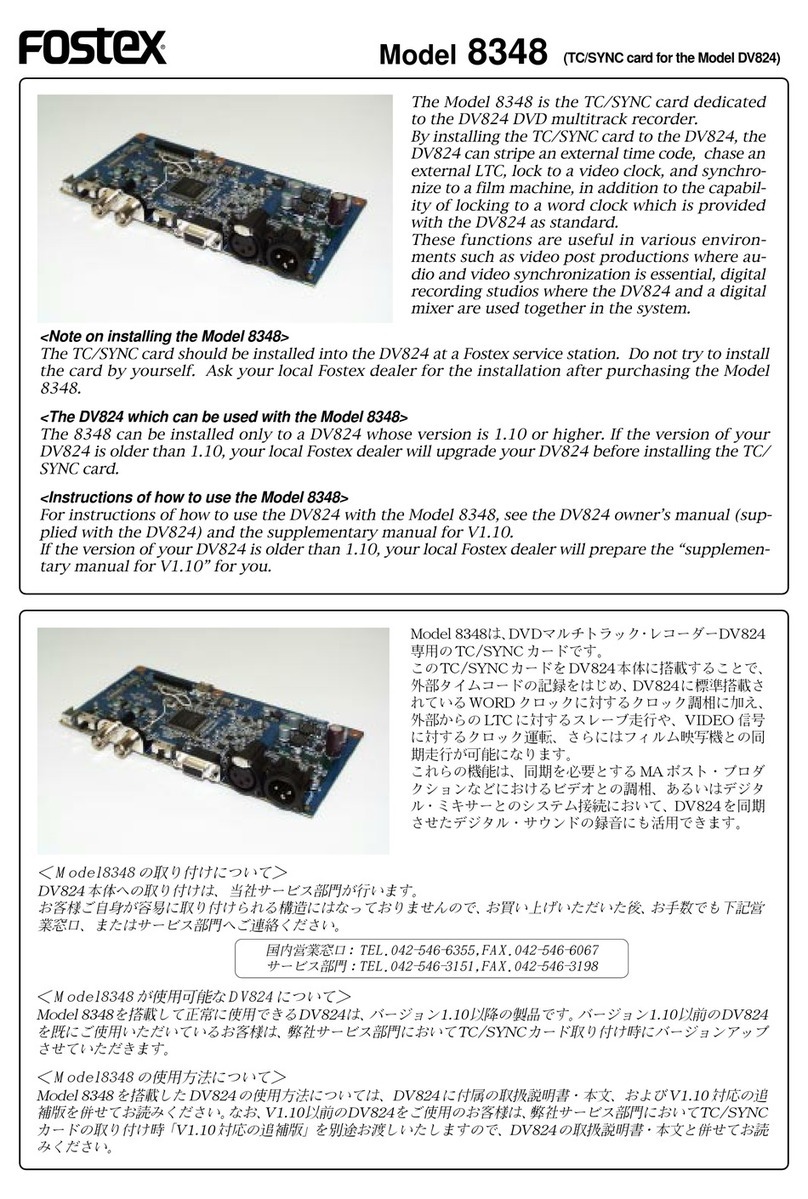
Model DV824 Owner’s manual
Version 2.0 supplement
8289631000
(453119)
© PRINTED IN JAPAN JUNE 2007 8289 631 000 FX
453119
FOSTEX CO.
3-2-35, Musashino, Akishima-shi,Tokyo, Japan 196-0021
This supplement describes the enhanced/
new functionality of the DV824 version 2.0
software.
Before using the upgraded DV824, please
read this supplement along with the origi-
nal and supplementary manuals.
The enhanced/new functions are as follows.
(1) You can now make continuous recording
across partitions.
(2) You can now make gateway setting.
(3) You can now continuously output the slate
tone without keeping holding down the
[SLATETONE] key.
(4) The maximum number of files you can
create in each partition has increased.
72
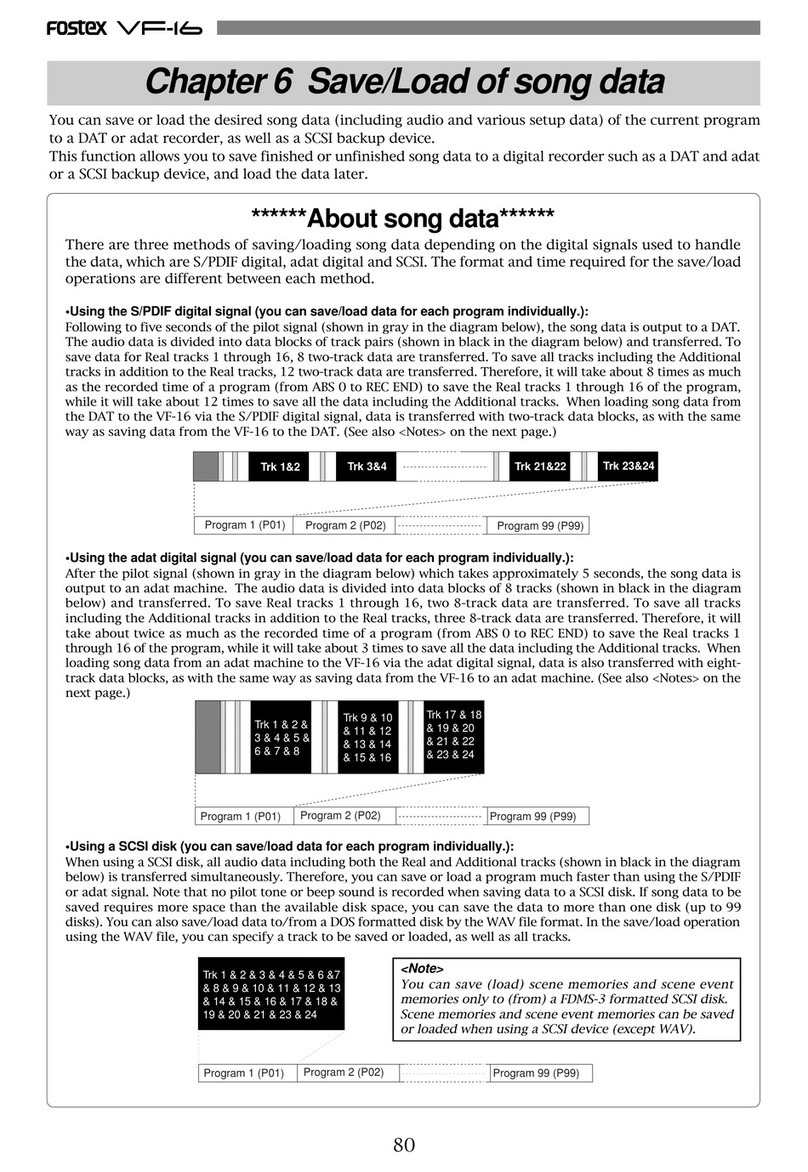
Continuous recording across partitions is now possible.
You can now make continuous recording across partitions.
The "Auto new part." item has been newly added to the "SYS SETUP" menu of the
MENU mode. By setting this item to "On" (the default is "Off"), you can continue
recording across partitions. That is, during recording, even if all space on the current
partition (approximately 4.6 GB) of the optional internal hard disk drive (Model
9057/9058) is consumed by recording data, the DV824 continues recording without
interruption by automatically creating a new file to the next partition.
Therefore, you can make long time recording which may exceed the maximum
recording space of a single partition.
<Note>: You can make continuous recording by setting the "Auto new part." item to "On"
only when recording to a partition on the optional internal hard disk.
It is not possible to make continuous recording when recording to a DVD-RAM disk. Also
note that continuous recording is not possible when carrying out the auto copy function or
dual drive recording (see the original manual for details about the auto copy function and
dual drive recording).
<Note>: To make continuous recording, the next partition to the current partition must
have enough recordable space. It is recommended that no recording has been made to the
next partition before making continuous recording.
The following shows how continuous recording is made depending on the setting of the
"Max File Length" item in the "SYS SETUP" menu of the MENU mode.
It is assumed to attempt to record 6 GB audio data to partition 1 (P01) with "Auto new
part." set to "On".
Newly added "Auto new part." item
If data is too large for two partitions, partition 3 (P03) is used.
If the next partition does not have recordable space, recording ends.
If "Auto new part." is set to "Off", continuous recording is not made.
SCENE_001.wav SCENE_003.wav
Partition 1 (P01) Partition 2 (P02)
SCENE_002.wav
4GB 0.6GB 1.4GB
Continuously
recorded
2GB 0.6GB 1.4GB
2GB
SCENE_001.wav SCENE_003.wav
Partition 1 (P01) Partition 2 (P02)
SCENE_002.wav
Continuously
recorded
SCENE_004.wav
•When "Max File Length" is set to "2GB":
Data is recorded to two "2 GB" files and a "0.6 GB" file on partition 1 (P01), and the rest 1.4
GB data is recorded to a file on partition 2 (P02).
•When "Max File Length" is set to "4GB":
Data is recorded to "4 GB" and "0.6 GB" files on partition 1 (P01), and the rest 1.4 GB data
is recorded to a file on partition 2 (P02). (The created files have sequential file numbers.)
The maximum number of files you can create in each parti-
tion has increased.
The maximum number of files you can create in each partition has increased to 250
from 199.
2) To stop the slate tone, press the [SLATETONE] key alone.
5678
0L
-dB
60
4
16
30
40
1234
0
12
8
18
20
A new method for outputting the slate tone
The DV824 can generate and record the slate tone which can be used for matching
the level between the DV824 and external machine. With the earlier version, the slate
tone can be output while you keep holding down the [SLATE TONE] key.
With Version 2.0, a new method for outputting the slate tone has been added, which
allows you to output the slate tone continuously without keeping holding down the
[SLATE TONE] key.
For details about the method of recording the slate tone while holding down the
[SLATE TONE] key, see page 55 of the original manual.
HMS F
6
78 DF
GEN
ABS
TC IN
LTC
SLATE TONE
+
-
EDIT TIME FALSE START
SKIP/CURSOR
CLEAR
LOCATE
TUV
8 WXYZ
9
ALL INPUT SAFE/RDY
LIST PLAY
JKL
5
EDIT EDL
PUSH
MENU/ENTER/YES
MNO
6
CHASE
DEF
3
2
ABC
QUICK SET FILE SEL PRE REC EXIT/NO
DRV/PAT
SHIFT
space
GHI
4
1
TIME SEL
7
PQRS
CONTRAST
MARK/CUE
symbol
0
REC END
ABS 0
STOP/HOME F FWD
REWINDPLAY
[SLATE TONE] key [SHIFT] key
How to output the slate tone without keeping holding down the [SLATETONE] key
1) Press the [SHIFT] key to turn on the [SHIFT] indicator, followed by the [SLATETONE]
key.
The [SHIFT] indicator turns off and the slate tone is output continuously until you stop
it by step 2 below.
The level meters turn on up to the cur-
rent reference level (-20dB=default, -
18dB or -12dB).
36
You can now make gateway setting
The "Gateway" menu item has been added to the "TCP/IP SETUP" menu of the MENU
mode. This item makes the DV824 gateway setting which is necessary for network
connection using the DV824 [ETHER] port.
Newly added "Gateway" menu item
How to set "Gateway"
1) While the unit is stopped, press the [ENTER/YES] key to enter the MENU mode.
2) Use the [MENU] dial to select "TCP/IP SETUP" and press the [ENTER/YES] key.
The display now shows the TCP/IP SETUP menu screen, on which "IP Address>" is
highlighted.
3) Use the [MENU] dial to select "Gateway" and press the [ENTER/YES] key.
The display now shows the current gateway setting (by default, "0. 0. 0. 0").
4) Press the [ENTER/YES] key.
The leftmost value of the current setting starts flashing and you can now edit the value.
If you do not edit the value, press the [EXIT/NO] key repeatedly to exit the MENU mode.
4) Use the [MENU] dial to select "On" (or "Off") and press the [ENTER/YES] key.
5) Press the [STOP] key or [EXIT/NO] key repeatedly to exit the MENU mode.
5) Use the [MENU] dial (or the alphanumeric keys) to enter the desired value.
You can select the editing point by using the [SKIP/CURSOR >>|] or [SKIP/CURSOR |<<]
key.
6) Press the [ENTER/YES] key to confirm your editing.
7) Press the [STOP] key or [EXIT/NO] key repeatedly to exit the MENU mode.
flashing
3) Use the [MENU] dial to select "Auto new part" and press the [ENTER/YES] key.
The current setting ("On" or "Off") starts flashing and you can now make On/Off setting
(by default, "Off" is selected).
How to make On/Off setting of "Auto new part."
1) While the unit is stopped, press the [ENTER/YES] key to enter the MENU mode.
The MENU list screen as below is shown. When the first time you enter the MENU mode,
"SYS SETUP>" is highlighted on the screen.
2) While "SYS SETUP>" is highlighted, press the [ENTER/YES] key.
The display now shows the SYS SETUP menu screen ("SetProjectName" is initially
highlighted).
Off (default)
On
At the point when there is no remaining space left on the current partition, record-
ing ends.
At the point when there is no remaining space left on the current partition, the unit
continues recording on the next partition.
<Hint>: When you start recording with "Auto new part." set to "On", the following
popup window appears for confirmation.
4 5

Other manuals for DV-824

7

Other Fostex Recording Equipment manuals

Fostex X-34 User manual

Fostex

Fostex X-34 User manual

Fostex E-16 User manual

Fostex

Fostex E-16 User manual

Fostex UR-2 Instructions and recipes

Fostex

Fostex UR-2 Instructions and recipes

Fostex D-30 User manual

Fostex

Fostex D-30 User manual

Fostex FR-2 Technical manual

Fostex

Fostex FR-2 Technical manual

Fostex VF-16 User manual

Fostex

Fostex VF-16 User manual

Fostex FD-8 User manual

Fostex

Fostex FD-8 User manual

Fostex D-30 User manual

Fostex

Fostex D-30 User manual

Fostex UR-2 User manual

Fostex

Fostex UR-2 User manual

Fostex FD-8 User guide

Fostex

Fostex FD-8 User guide

Fostex ATC-4 User manual

Fostex

Fostex ATC-4 User manual

Fostex VR800Z User manual

Fostex

Fostex VR800Z User manual

Fostex MR-8 MKII User manual

Fostex

Fostex MR-8 MKII User manual

Fostex X-24 User manual

Fostex

Fostex X-24 User manual

Fostex 3180 User manual

Fostex

Fostex 3180 User manual

Fostex MR-8HD User manual

Fostex

Fostex MR-8HD User manual

Fostex VF-16 User manual

Fostex

Fostex VF-16 User manual

Fostex FR-2LE User manual

Fostex

Fostex FR-2LE User manual

Fostex FR-2 Technical manual

Fostex

Fostex FR-2 Technical manual

Fostex VR800 User manual

Fostex

Fostex VR800 User manual

Fostex 8345 User manual

Fostex

Fostex 8345 User manual

Fostex 280 User manual

Fostex

Fostex 280 User manual

Fostex FR-2 User manual

Fostex

Fostex FR-2 User manual

Fostex CR300 User manual

Fostex

Fostex CR300 User manual

Popular Recording Equipment manuals by other brands

Zaxcom ZFR100 owner's manual

Zaxcom

Zaxcom ZFR100 owner's manual

Samson C COM16 owner's manual

Samson

Samson C COM16 owner's manual

Waves WSG HY128 user guide

Waves

Waves WSG HY128 user guide

Harman Kardon CDR 25 Preliminary service manual

Harman Kardon

Harman Kardon CDR 25 Preliminary service manual

Korg ToneWorks AX3000G owner's manual

Korg

Korg ToneWorks AX3000G owner's manual

Electro-Harmonix 16 Second Digital Delay instructions

Electro-Harmonix

Electro-Harmonix 16 Second Digital Delay instructions

Sony PCMD1 - Professional XLR Microphone Preamp Brochure & specs

Sony

Sony PCMD1 - Professional XLR Microphone Preamp Brochure & specs

Antelope R4S user manual

Antelope

Antelope R4S user manual

Osram e:cue Bridge8 INFORMATION FOR USE

Osram

Osram e:cue Bridge8 INFORMATION FOR USE

Yamaha MCX-C15 - MusicCAST Network Audio Player Quick manual

Yamaha

Yamaha MCX-C15 - MusicCAST Network Audio Player Quick manual

Blaupunkt 7 607 540 501 manual

Blaupunkt

Blaupunkt 7 607 540 501 manual

Rossum Electro-Music LINNAEUS manual

Rossum Electro-Music

Rossum Electro-Music LINNAEUS manual

JVC KA-MR100G instructions

JVC

JVC KA-MR100G instructions

Oehlbach MediaCenter D7-H manual

Oehlbach

Oehlbach MediaCenter D7-H manual

iSP Technologies BETA BASS DSP owner's manual

iSP Technologies

iSP Technologies BETA BASS DSP owner's manual

TDE Instruments Digalox DPM72 instruction manual

TDE Instruments

TDE Instruments Digalox DPM72 instruction manual

Teldat Dm709-I user manual

Teldat

Teldat Dm709-I user manual

Boss Audio Systems AVA 1215 user manual

Boss Audio Systems

Boss Audio Systems AVA 1215 user manual

manuals.online logo
manuals.online logoBrands
  • About & Mission
  • Contact us
  • Privacy Policy
  • Terms and Conditions

Copyright 2025 Manuals.Online. All Rights Reserved.