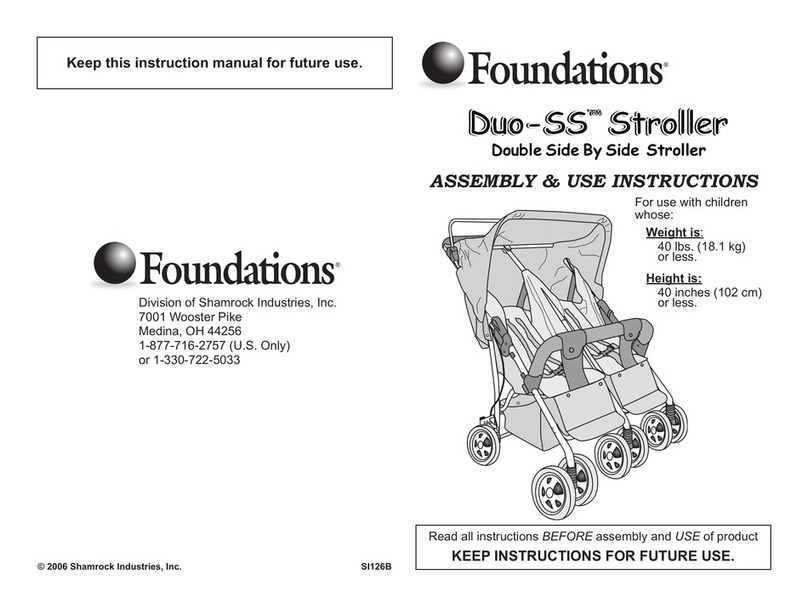
Foundations 4141079 User manual

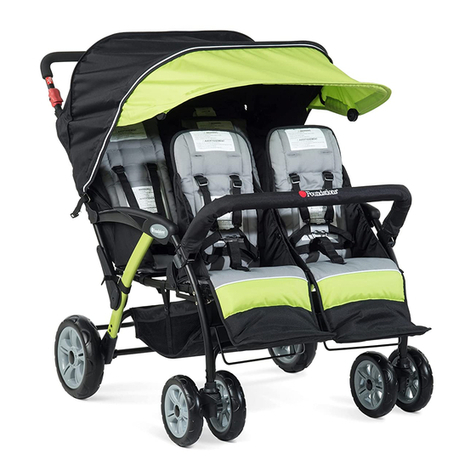
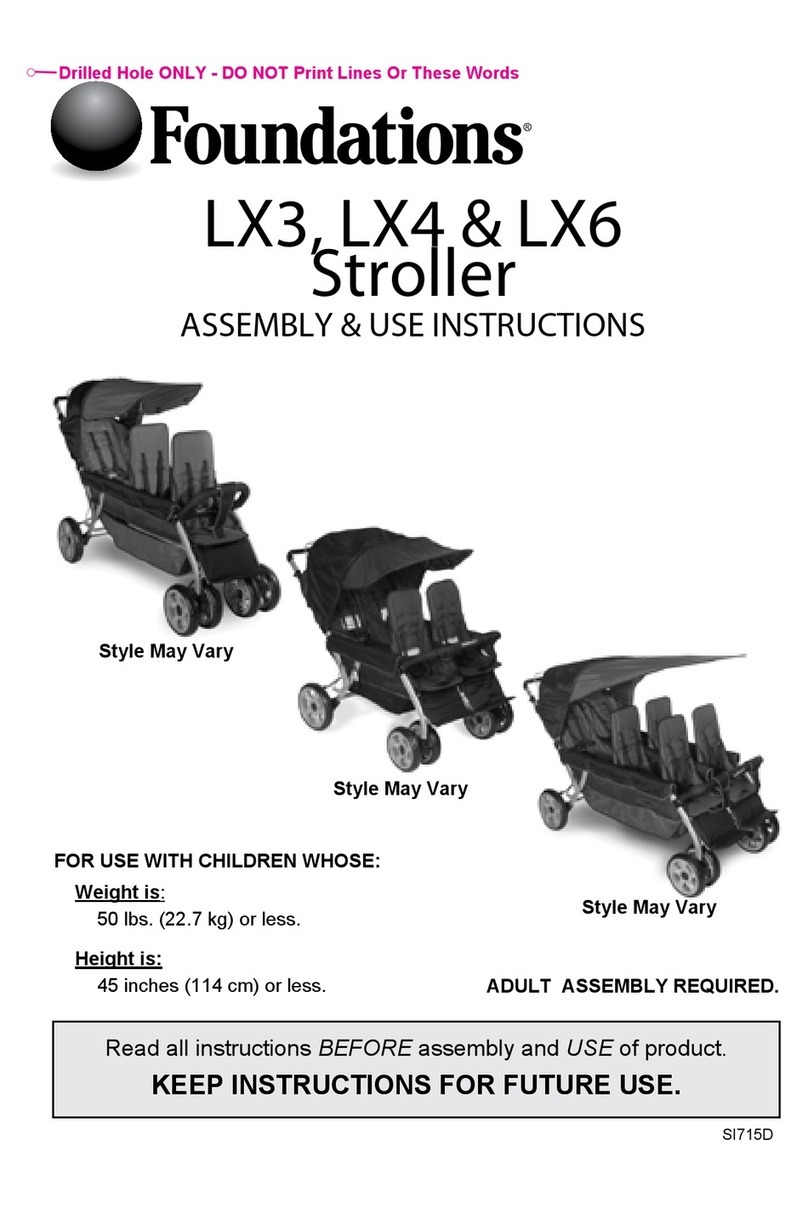
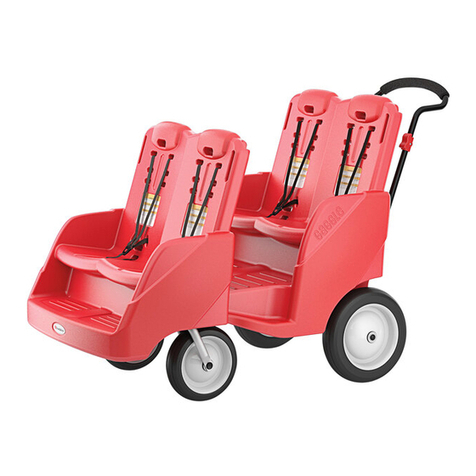
Quad Sport Strollers
Models Covered: 4141079, 4141299, 4141309
Color and Style
May Vary
Foundations Worldwide, Inc.
FOR CUSTOMER SERVICE .
DO NOT CALL RETAILER OR RESELLER FOR SERVICE AS THEY ARE NOT
AUTHORIZED TO RESOLVE ANY SERVICE ISSUES.
FOR WARRANTY AND FEDERAL SAFETY STANDARD COMPLIANCE
CERTIFICATES, PLEASE VISIT OUR WEBSITE AT
WARNING
ASSEMBLY INSTRUCTIONS
• Adultassemblyrequired.
•Read all instructions BEFORE
assembly and use.
• Unpackcarton,removepacking
materials,safelydisposeofproperlyor
recyclewherepossible.
Recordproductinformationherefound
ontheframetube.
ManufactureDate:
ModelNumber:________________
PurchaseOrder:________________
1
IMPORTANT - Keep these instructions for future reference.
This stroller is for use of not more than 4 children
For use with children whose weight is 40 lbs, (18.14 kg) or less.
For use with children whose height is 45 inches, (114 cm) or less.
Children MUST be buckled in the seats with harness properly adjusted.
AB20049C

2
Table of Contents
Table of Contents.............................................................................
Warnings...........................................................................................
Assembly instructions
Toolsandparts.............................................................................
Step1-RearAxleandBrakeAssembly........................................
Step2-RearWheelAssembly.....................................................
Step3-FrontWheelAssembly....................................................
Step4-ArmbarAssembly...........................................................
Step5-CanopyAssembly............................................................
Step6-CanopyRemoval............................................................
.
Stroller operation and Use
UnfoldingandFoldingStroller.....................................................
SecuringChildreninStroller........................................................
.
SeatBackReclineAdjustment....................................................
ParkingBrakeOperation.............................................................
FrontWheelSwivelLockOperation............................................
ArmbarRemovalandReplacement............................................
CanopyOperation.......................................................................
Stroller maintenance
Cleaning.....................................................................................
2
3
5
4
5
6
6
7
8
9
11
12
13
13
14
15
15

WARNING
3
Failure to follow these warnings and assembly instructions could
result in serious injury or death.
Avoid Serious Injury To Children From Falling Or Sliding Out:
• ALWAYS use harness to restrain each child.
• Snugly adjust harness around each child.
• NEVER leave children unattended, even when sleeping.
Always keep children in view.
• DO NOT allow children to climb on stroller or stand in seat.
Avoid Serious Injury To Children:
•DO NOT let your child play with this product.
•This seat unit is not suitable for children under 6 months.
• This product is not suitable for running or skating.
• DO NOT allow children to sit or stand in storage basket.
• DO NOT place any child weighing more than 40 lbs. (18.14 kg)
or taller than 45 inches (114 cm) in this stroller.
• Use caution when pushing stroller near trafc or in highly
congested areas.
• DO NOT use stroller on stairs or escalators with children in it.
• DO NOT lift stroller by arm bar.
Avoid Loss Of Control Of Stroller:
• ALWAYS use front wheel swivel locks when pushing stroller
on uneven terrain.
• Use caution when pushing stroller on uneven terrain or hills.
• ALWAYS set parking brake when the stroller is stopped.
• NEVER leave stroller unattended on a hill or incline even
when parking brake is set.
Avoid Injury From Stroller Tipping Over:
• DO NOT allow children to climb into stroller unassisted,
or to play or hang onto stroller.
• DO NOT overload stroller as it can become unstable.
• DO NOT carry more than one child per seat.
• DO NOT place extra parcels or goods in or on the stroller.
• DO NOT add package carrying accessories or hang items
from stroller.
• DO NOT place more than 15 lbs. (6.7kg) in storage basket.
• ALWAYS distribute weight as evenly as possible on each side
of the stroller.
Avoid Pinch Injury:
• Keep ngers clear of hinged joints when folding and unfolding
stroller.
• When making adjustments, always ensure all children’s body
parts are clear of any moving parts.
• To avoid injury ensure that your child is kept away when
unfolding and folding this product.
Parts
Assembly Instructions
TOOLS REQUIRED:Phillipsscrewdriver
• ReadallinstructionsbeforeASSEMBLYandUSEofStroller.
• Unpackcarton,removepackingmaterials,includingpolybag.Identifyandcheckallparts.
Ifpartsaremissingordamaged,call
Foundations®
forassistance
• Discardallpackingmaterialsafterassembly.
• Choking Hazard - Stroller assembly hardware includes small
parts. Keep small parts away from children.
• Plastic bags can cause suffocation. Keep plastic bag away from
children. Remove and discard plastic bags.
• Pinch Hazard - Keep hands clear of moving parts during
assembly, folding and unfolding.
A
StrollerFrame
Assembly(1)
B
RearWheel
withAxle(2)
D
FrontWheel
Assembly(2)
C
RearAxleTube
Assembly(1)
E
ArmBar(1)
F
Canopy(1)
H
Screw[M6x34mm](2)
I
Nut[M6](2)
WARNING
4

STEP 1 - Rear Axle and Brake Assembly
1. LayfoldedStroller Frame Assembly (A)on
cleanoorwithhandletube(1)ontopandfront
footrests(2)contactingoor(Fig. 1).
2. AssembleRear Axle Tube Assembly (C)
tostroller(Fig. 2).
- PositionRearAxleTubeAssembly(C)withbrake
tube(3)upandopenendofrearaxle
assembliestowardrearlegs.
- Sliderearaxletubeassembly(C)ontothe
lowerendsofrearlegs(4)untilcontacting
springpins.Pressspringpinsandslide
rearaxleassembly(C)ontorearleg(4)until
springpinssnapintoholesinrearaxle
tubeassembly(C).
- PullonRearAxleTubeAssembly(C) tocheck
thatitissecuredontorearlegs.
Fig. 2
Fig. 1
Style May Vary
STEP 2 - Rear Wheel Assembly
1. AlignholeinrearaxlerodofRear Wheel With Axle B with
holesinRearAxleTubeAssembly(C).Sliderearwheelwith
axleBintoRearAxleTubeAssembly(C)(Fig. 1).
2. SlideRear Wheel With Axle (B)inuntilholeinrear
axlerod1alignswithholeinrearaxletube.
3. InsertM6 x 34 mm Screw (H) throughRearAxleTube
Assembly(C)andrearaxleroduntilscrewcomesoutbottomof
RearAxleTubeAssembly(C)(Fig. 2).
NOTE:Ifendofscrewdoesnotslideintohole,check
alignmentofholeinaxle.Ifholeinaxleisnot
aligned,removerearwheelandstartover.
4. InsertM6 Nut (I) into6-sidedrecessonbottomof
rearaxletubeandusingphillipsscrewdriver,secure
Screw(H)byturningintonutuntiltight(Fig. 3).
Repeatsteps2thru4foroppositerearwheel.
Fig. 1
Fig. 2
Fig. 3
5
1
2
2
3
C
4
1
B
H
H
I
C

STEP 3 - Front Wheel Assembly
AB20049_G4
Fig. 1
1.Alignpivotshaftofstrollerframewithholein
wheelassembly.Wheellockinglevershouldbefacing
up.Slidewheelassemblyontopivotshaftuntilasolid
clickisheardandfeltfromthebuttonsengaging.
(Fig. 1)
2.Checkthewheelissecurebypullingdownonthe
wheels.Wheelsshouldstaysecurelyinplace.
STEP 4 - Arm Bar Assembly
1. WithFoundations®logoonArm Bar (E) facingup,
slideArm Bar Clamp (1)betweenfabricseatsidecover
andfrontleg.PushArm Bar Clamp (1) ontofrontleg
tubesbetweenthetwoArm Bar Stops (2) andalignthe
holeintheclampwiththeStud(3)onthearm, onboth
sidesofthestroller(Fig. 1).
2. LockArmBartostrollerframebypushingArm Bar
Clamp(1) aroundfrontlegtube(4).Close
theLockleverbypressingthelockleverontotheArm
baruntilitclicksclosedandthestud(3)isfullythrough
theholeinthelever.(Fig. 2).
3. Repeatstep2foroppositeendofArmBar
CheckthattheArmbarissecurelyattached.
Fig. 1
Fig. 2
6
E
1
3
2
3
4
1

7
STEP 5 - Canopy Assembly
To attach canopy:
1.Positioncanopywithroundedfrontsectionontop
andplacecanopyinrearseatareaandovertop
offrontseats.
2.SecureMain Canopy Tube(longtube)bypushing
endofMain Canopy TubeintoCanopy Retainerslot
locatedonoutsideofhandlenearthearmrest(Fig. 1).
3.SecureshortRear Canopy Tube(shorttube)bypushing
endofCanopy TubeintoCanopy Retainer slot
locatedonoutsideofthehandlenearthetopofthe
backseat(Fig. 2).
Repeatsteps2and3tosecurecanopytubesonother
sideofstroller.
4.Securebackofcanopy.
Securecanopysidesaroundstrollerhandleby
securinghook&loopfastenersoneachside(Fig. 3).
Repeatonothersideofcanopy.
Fig. 2
Rear
Canopy
Tube
Canopy
Retainer
Handle
Fig. 3
Fig. 1
Main
Canopy
Tube
Canopy
Retainer
Armrest
5. AttachRearCover.
Withtheloopsideoffabricfastenerfacingoutwards,aligncut
outinthecenteroftheRearCoverwiththecentertubeofthe
strollerhandle.Pressthehookandloopfabricfastening
togetheronbothsidesofthecentertube.
Wrapeachsideofthebackcoveraroundthesidehandletube
andpresstogethertheloopsideoftheRearCovertotheHook
sideoftheMainCanopy.(Fig. 4)
Fig. 4

8
To remove canopy:
1.
Opensidesofcanopyaroundstrollerhandleby
pullingfabrichook&loopfastenersapart(1)
(Fig. 1).
2.
Pullrearpanelofcanopyupandoutofopening
betweenstrollerhandleandhandlesupport(2).
3.
Removecanopyfromrearsupporttubeby
releasinghook&loopfasteners.
4.
Removescrew,retainer,andcanopystrap
fromhandle.(Fig. 2)
5.
Removerearcanopytube(shorttube)by
pressingretainertabin(1)andslidingrear
canopytubeup(2)(Fig. 3).
6.
Repeatstep5foroppositesideofstroller.
7.
Removemaincanopytube(longtube)bypressing
retainertabin(1)andslidingmaincanopytubeup
(2)(Fig. 3).
8.
Repeatstep7foroppositesideofstroller.
Fig. 3
Retainer Tab
2
1
Fig. 1
12
1
STEP 6 - Canopy Removal
Stroller
Handle
Fig. 2
Canopy
Strap

Tounfoldstroller:
1.
Laystrolleronoorwithfrontwheelsandfront
footrestsdown,contactingtheoor(Fig. 1).
NOTE: Alwayscheckthatoorisclean
anddrybeforelayingstrolleron
oor.
2.
Lockparkingbrake.
3.
LocateFold Retention Strapononeside
ofthestroller(Fig. 1).Pushdownonstroller
handleandunhookFold Retention Strap
bypullingupontheloop(1)and
thenturn(2)andslidetheloop
throughthe“D” Ring(3)
(Fig. 2 and 3).
4.
Repeatstep2onoppositeside
tounhookFold Retention Strap.
Unfolding and Folding Stroller:
Fig. 1
Fig. 2
Fold
Retention
Strap
“D” Ring
Loop
“D” Ring
Style May Vary
WARNING
1
Loop
Stroller Operation and Use
Fig. 4
Rear
Basket
Tube
Fig. 3
5.
Pulluponhandletounfoldthestroller(Fig. 3)
andthenwithaquicksnap,pushdownon
handletolockinunfoldedposition(Fig. 4).
Pushdownonsideframetoensurestrolleris
inlockedopenposition.
Liftonhandletocheckthatstrollerhandle
islockedintheunfoldedpositiononboth
sides.
Unfolding and Folding Stroller
9
2
1
1
3
• Pinch Hazard - Keep hands clear of moving parts during assembly,
folding and unfolding.
• Ensure that all the locking devices are engaged before use.

6.
Visuallycheckthatthestrollerhandleis
securelylockedintothefoldLockassemblyon
bothsidesofthestroller.(Fig. 5).
NOTE:Iffoldlockisnotlocked,foldlock
canbelockedbypressingdownon
frontofarmrestsandthenpress
downontopofstrollerhandle.
Tofoldstroller:
1.
Placeseatbackoffrontseatsintheupright
adjustmentposition.
NOTE:Seatbacksoffrontseatsmustbe
intheuprightpositionwhenfolding.
2.
PushdownonRedReleaseleveronright
sideandthenslidebothFoldLockRelease
collarsonbothsidesuptowardthehandle
griptounlock(Fig. 1).
3.
WhileholdingtheFoldLockReleasesup,
pushforwardonthestrollerhandletofold
(Fig. 1).
4.
Securestrollerinfoldedposition
bylayingstrolleronoorwithfront
wheelsandfrontfootrestsdown.
Pushdownonstrollerhandleand
slidetheloopontheFold Retention
Strap throughthe“D” Ring
androtatetosecureinplace(Fig. 2).
Fig. 5
Fold
Lock
Fig. 1
Stroller
Handle
Stroller handle MUST
be locked into fold lock
here, both sides
Fig. 2
Fold Retention
Strap Anchor
“D”
Ring
Loop
“D” Ring Loop
Unfolding and Folding Stroller
Tounfoldstroller(continued):
10
1
2
1
2

Securing Children In Stroller
1.Withharnessunbuckled,placechildinseat.
2.SecurechildwithharnessbypositioningCrotch
Strapbetweenchild’slegsandplacingShoulder
and Waist Belts overshouldersand thighs.
Snapbuckletonguesintocrotchstrapbuckle
(Fig. 1).
3.Snuglyadjusteachstrapbypullingonthe
freeendofthestrapandmovingplastic
loopalongstrap(Fig. 2).
Shoulder Belt Height Adjustment:
Useshoulderbeltslotsthat
areclosesttochild’sshoulders.
Tochangeshoulderbeltheight:
1. Removeshoulderbeltfromseat
backofseat-onbackofseat,tip
shoulderbeltanchorinlinewith
shoulderbeltandthenpushbelt
anchorandshoulderbeltthrough
slotinseatback(Fig. 1).
2. Reattachshoulderbelttoseatback-on
frontsideofseat,tipshoulderbeltanchorto
contactshoulderbelt,pushbeltanchorand
shoulderbeltthroughslotinseatbackat
desiredheight.Rotatebeltanchortolay
atonbackofseat(Fig. 2).
Repeatforoppositeshoulderbelt.
Crotch Belt Adjustment:
1.Tolengthencrotchbelt-slideplasticloopup
oncrotchbelt(Fig. 2).
2.Toshortencrotchbelt-slideplasticloop
downoncrotchbelt(Fig. 2).
Avoid Serious Injury To Children From Falling Or Sliding Out:
• ALWAYS use a harness to restrain each child.
• Snugly adjust harness around each child.
• NEVER leave children unattended, even when sleeping.
Always keep children in view.
• DO NOT allow children to climb on stroller or stand in seat.
Fig. 1
Fig. 2
Shoulder
Belts
Crotch
Strap
Buckle
Plastic
Loop
Fig. 1
Shoulder Belt
Shoulder
Belt
Anchor
Slot in Seat Back
Crotch
Strap
Buckle
Crotch
Strap
Waist
Belts
Fig. 2
Shoulder Belt
Shoulder
Belt
Anchor
Slot in Seat Front
Plastic
Loop
WARNING
11

Seat Back Recline Adjustment
Seat Back Recline Adjustment:
The seat backs have two recline positions.
Front seat adjustment:
NOTE:Theseatbackmustbeintheuprightpositionwhenfoldingthestroller.
To recline seat back:
1.PulluponseatbackRecline Handle(Fig. 1).
2.Lowerseatbacktoreclinepositionandrelease
seatbackreclinehandle.
To raise seat back into upright position:
1.PulluponseatBack Recline Handle (Fig. 1).
2.Pullseatbackforwardtouprightpositionand
releaseseatBack Recline Handle.
3.Checkthatseatbackislocked.
Rear seat adjustment:
To recline seat back:
1.Whileholdingseatbackup,releaseboth
Seat Back Buckles (Fig. 2).
2.Lowerseatbackintoreclinedposition.
To raise seat back into upright position:
1.Pushseatbackupandforwardtouprightposition
andfastenbothSeat Back Buckles (Fig. 2).
Footrest Adjustment:
The front footrests have three adjustment
positions.
To raise footrests:
1.Liftfootrestuptooneofthetworaised
positionsandrotatesupportbarup(4)
andplaceundersupportbarhookson
footrest(Fig. 1).
To lower footrests:
1.Liftuponfootrestandallowsupportbarto
dropdownoutfromundersupportbarhooks.
Recline
Handle
Fig. 1
Fig. 1
Fig. 2
Seat Back
Buckles
Footrest
Support
Bar
Hooks
Support
Bar
3
4
2
1
12
2
3
4

Parking Brake Operation.
To lock parking brake:
1.Pressdownonparkingbrakelockbaronthe
rearaxleassemblyintolockedposition(Fig. 1).
2.Checkthatwheelsarelocked.
To unlock parking brake:
1.Placetoeunderparkingbrakelock
barandliftupintounlockedposition
(Fig. 2).
Fig. 1
Fig. 2
Parking
Brake
Lock Bar
WARNING
Front Wheel Swivel Lock Operation.
To lock Wheel Assembly:
1.Rotatefrontwheelassemblyuntilitispointing
Forward.(Fig. 1).
2.Pushdownswivellockuntilitsnapsinplace.
3.Checkthatfrontswivelissecurelylockedby
pushingsidetosideonfrontwheelassembly.
4.Repeatsteps1through3forotherwheelAssembly.
• Always use front wheel swivel locks when pushing stroller on
uneven ground.
WARNING
AB20049_G10
Fig. 1
13
• Always lock parking brake when stroller is stopped and when
loading and unloading children.

To remove arm bar
1. Pullarmbarclamplockleveroutawayfromstroller
tounlockarmbarfromstrollerframe(1).(Fig 1)
2.Pulloutonarmbartoremoveitfromstroller
frame(2)(Fig 1)
To replace arm bar
Seestep4intheassemblyinstructions,ArmBarAssembly.
15
Arm Bar Removal and Replacement.
To Unlock Wheel Assembly:
1.Pushswivellockuptorelease(Fig. 1).
2.Repeatforotherwheelassembly.
AB20049_G11
Fig. 1
Front Wheel Swivel Lock Operation.
14
Fig. 1
1
2
• Only use Foundations provided
or approved accessories for this
stroller.

To remove arm bar
1. Pullarmbarclamplockleveroutawayfromstroller
tounlockarmbarfromstrollerframe(1).(Fig 1)
2.Pulloutonarmbartoremoveitfromstroller
frame(2)(Fig 1)
To replace arm bar
Seestep4intheassemblyinstructions,ArmBarAssembly.
15
To extend canopy:
1.
Pullmaincanopytubeforward(1)(Fig. 1).
2.
Rotatefrontsectionofcanopyforward(2)(Fig. 1).
To retract canopy:
1.
Rotatefrontsectionofcanopybackover
topofcanopy(1)(Fig. 2).
2.
Pullmaincanopytubetowardrearof
stroller(2)(Fig. 2).
To operate canopy window:
1.
Rollcanopywindowuptowardstopof
canopy.
2.
Threadhook&loopfastenerthrough
sewnlooponbackedgeofcanopy,
foldoversewnloopandpressstrap
together
(Fig. 3).
Repeatforotherfastener.
Fig. 1
Fig. 2
Main
Canopy
Front
Section
Front
Section
Main
Canopy Tube
Style May Vary
Canopy Operation
Fig. 3
Stroller Maintenance
Cleaning seats, harness, armrests, arm bar and canopy:
1. Surfacewashonlywithmildsolutionofsoapandwater.
2. Rinsewithwatertoremovesoapsolution.
Cleaning Stroller:
1.Surfacewashstrollerframe,plasticpartsandfabricwithmildsolutionofsoap
andwater.Wipesurfaceswithwatertoremovesoapsolution.
2. Wipeorairdry.
21
1 2
This manual suits for next models
2
Table of contents
Other Foundations Stroller manuals

Foundations
Foundations Gaggle 4 Buggy User manual

Foundations
Foundations trio Quick setup guide

Foundations
Foundations LX3 Quick setup guide

Foundations
Foundations Four Passenger Quick setup guide

Foundations
Foundations LX6 User manual

Foundations
Foundations Duo-SS Stroller Quick setup guide

Foundations
Foundations Trio 4130079 User manual