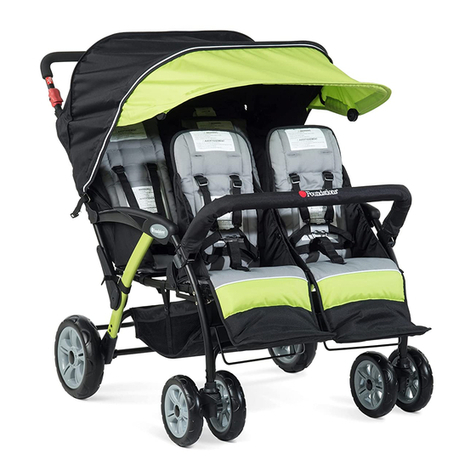
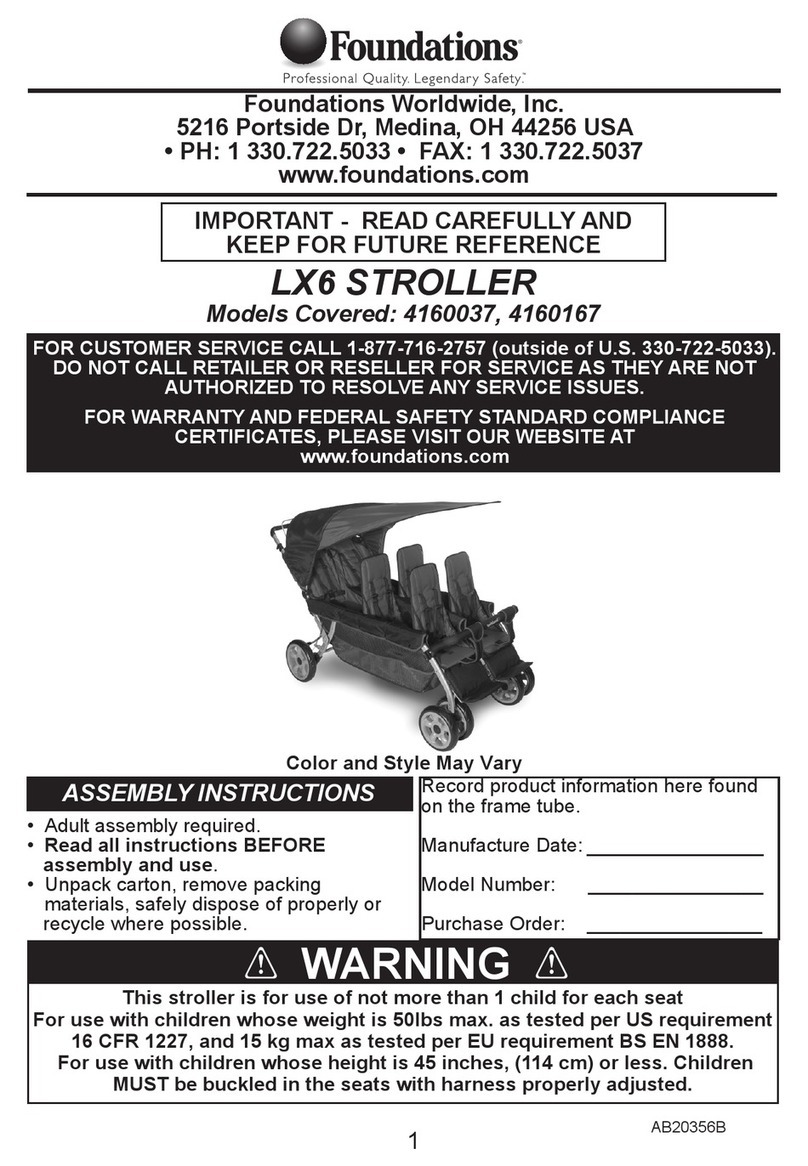
Foundations LX3 Quick setup guide

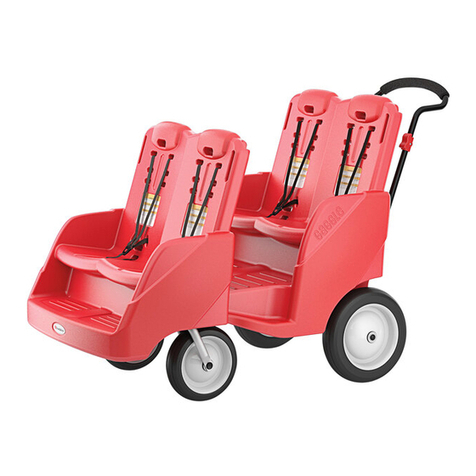
LX3, LX4 & LX6
Stroller
FOR USE WITH CHILDREN WHOSE:
Weight is:
50 lbs. (22.7 kg) or less.
Height is:
45 inches (114 cm) or less.
Read all instructions BEFORE assembly and USE of product.
KEEP INSTRUCTIONS FOR FUTURE USE.
ASSEMBLY & USE INSTRUCTIONS
ADULT ASSEMBLY REQUIRED.
Drilled Hole ONLY - DO NOT Print Lines Or These Words
Style May Vary
Style May Vary
Style May Vary
SI715D

Table of Contents
Table of Contents.......................................................................................................1
Warnings....................................................................................................................2
Assembly Instructions...............................................................................................3
Parts.........................................................................................................................3
Step 1 - Rear Axle and Brake Assembly......................................................................4
Step 2 - Rear Wheel Assembly....................................................................................5
Step 3 - Front Wheel Assembly...................................................................................5
Step 4 - Rear Basket Tube Assembly..........................................................................6
Step 5 - Arm Bar Assembly..........................................................................................7
Step 6 - Canopy Attachment.......................................................................................7
Stroller Operation and Use
Unfolding and Folding Stroller.....................................................................................8
Securing Children...................................................................................................10
Seat Back Recline Adjustment..................................................................................11
Footrest Adjustment................................................................................................11
Parking Brake Operation..........................................................................................12
Runaway Brake Operation.......................................................................................12
Front Wheel Swivel Lock Operation..........................................................................13
Arm Bar Removal and Attachment............................................................................14
Canopy Operation...................................................................................................15
Stroller Maintenance And Adjustments
Runaway Brake Operation and Adjustment..............................................................17
Cleaning Seats, Armrests, Arm Bar and Footrests....................................................18
Cleaning Stroller.....................................................................................................18
One Year Limited Warranty.......................................................................................18
1

2
WARNING
Failure to follow these warnings and assembly instructions could
result in serious injury or death.
Avoid Serious Injury To Children From Falling Or Sliding Out:
• ALWAYSuseharnesstorestraineachchild.
• Snuglyadjustharnessaroundeachchild.
• NEVERleavechildrenunattended,evenwhensleeping.
Always keep children in view.
• DONOTallowchildrentoclimbonstrollerorstandinseat.
Avoid Serious Injury To Children:
• DONOTallowchildrentositorstandinstoragebasket.
• DONOTplaceanychildweighingmorethan50lbs.(22.7kg)
ortallerthan45inches(114cm)inthisstroller.
• Usecautionwhenpushingstrollerneartrafcorinhighly
congested areas.
• DO NOT use stroller on stairs or escalators with children in it.
• DO NOT lift stroller by arm bar.
Avoid Loss Of Control Of Stroller:
• ALWAYSusefrontwheelswivellockswhenpushingstroller
on uneven terrain.
• Use caution when pushing stroller on uneven terrain or hills.
• ALWAYSsetparkingbrakewhenthestrollerisstopped.
• NEVERleavestrollerunattendedonahillorinclineeven
when parking brake is set.
Avoid Injury From Stroller Tipping Over:
• DONOTallowchildrentoclimbintostrollerunassisted,
or to play or hang onto stroller.
• DONOToverloadstrollerasitcanbecomeunstable.
• DONOTcarrymorethanonechildperseat.
• DONOTplaceextraparcelsorgoodsinoronthestroller.
• DONOTaddpackagecarryingaccessoriesorhangitems
from stroller.
• DONOTplacemorethan15lbs.(6.7kg)instoragebasket.
• ALWAYSdistributeweightasevenlyaspossibleoneachside
of the stroller.
Avoid Pinch Injury:
• Keepngersclearofhingedjointswhenfoldingandunfolding
stroller.
• Whenmakingadjustments,alwaysensureallchildren’sbody
parts are clear of any moving parts.
Foundations®strives for the highest quality in our products but occasionally a missing part or
problem can occur during assembly.
If any parts are missing or broken or you need assistance with assembly, DO NOT return
the product to your dealer. Call
Foundations
®for assistance at 877.716.2757 (USA Only)
or 330.722.5033 (Monday through Friday, 9:00 a.m.– 4:00 p.m. Eastern Time). Please have
the Stroller model number and manufacture date available when you call
or write us at:
Foundations
®
,
5216 Portside Dr., Medina, OH 44256. Stroller model number and
manufacture date are located on inside of stroller handle below canopy.
Parts
Assembly Instructions
TOOLS REQUIRED: Phillips screwdriver
•Read all instructions before ASSEMBLY and USE of Stroller.
•Unpack carton, remove packing materials, including polybag. Identify and check all parts.
If parts are missing or damaged, call
Foundations®
for assistance at
877.716.2757
(USA Only) or 330.722.5033.
•Discard all packing materials.
• ChockingHazard-Strollerassemblyhardwareincludessmall
parts. Keep small parts away from children.
• Plasticbagscancausesuffocation.Keepplasticbagawayfrom
children. Remove and discard plastic bags.
• PinchHazard-Keephandsclearofmovingpartsduring
assembly,foldingandunfolding.
A
Stroller Frame
Assembly (1)
B
Rear Wheel
with Axle (2)
D
Front Wheel
Assembly (2)
C
Rear Axle Tube
Assembly (1)
E
Arm Bar (1)
F
Canopy (1)
G
Rear Basket Tube (1)
H
Screw [M6 x 34 mm] (2)
K
Shoulder
Screw [M6 x 25 mm] (2)
J
Nut [M6] (2)
3
L
Lock
Washer (2)
M
Flat Washer
[6.2x20x1 mm] (2)
WARNING
N
Cover

4
STEP 1 - Rear Axle and Brake Assembly
1. Lay folded Stroller Frame Assembly (A) on
cleanoorwithhandletubeontopandfront
footrestscontactingoor(Fig. 1).
2. Assemble Rear Axle Tube Assembly (C)
to stroller (Fig. 2).
- Position Rear Axle Tube with brake
tube up and open end of rear axle
assemblies toward rear legs.
- Slide rear axle tube assembly onto the
lower ends of rear legs until contacting
spring pins. Press spring pins and slide
rear axle assembly onto rear leg until
spring pins snap into holes in rear axle
tube assembly.
- Pull on rear axle assemblies to check that
Rear Axle Tube is secured onto rear legs.
3. Assembly of runaway brake cable to brake levers
at rear axle assembly.
- Remove package materials from stroller handle
and move runaway brake handle away from
stroller handle (Fig. 3) to extend the brake
cable at the rear axle.
- Push up on the brake lever , position
round end of the brake cable under the two
tabs on the brake lever link, slide brake
cable into slot on brake lever and then
release brake lever link keeping round end
behind tabs and brake cable in slot (Fig. 4).
- Repeat on other side of stroller.
- Check brake operation. Move runaway
brake handle down and up (Fig.5). Brake
lever on both sides should move up and
down when handle is moved.
Fig. 2
Fig. 1
Fig. 4
1
212
Brake
Tube
Rear Leg
Handle
Tube
Footrest
Rear
Axle
Tube
Fig. 3
Fig. 5
Runaway
Brake
Handle
Brake
Lever
Link
Slot
Runaway
Brake
Handle
Brake
Lever
Tabs
Round
End
Brake-
Cable
Style May Vary

5
STEP 2 - Rear Wheel Assembly
1. Align hole in rear axle rod of Rear Wheel (B) with
holes in rear axle tube . Slide rear wheel axle
into rear axle assembly (Fig. 1).
2. Rotate runaway brake handle and hold in contact with
stroller handle. Slide Rear Wheel in until hole in rear
axle rod aligns with hole in rear axle tube.
3. Insert M6 x 34 mm Screw (H) through rear axle tube
and rear axle rod until screw comes out bottom of
rear axle tube (Fig. 2).
NOTE: If end of screw does not slide into hole, check
alignment of hole in axle. If hole in axle is not
aligned, remove rear wheel and start over.
4. Insert M6 Nut (J) into 6-sided recess on bottom of
rear axle tube and using phillips screwdriver, secure
screw by turning into nut until tight (Fig. 3).
Repeat steps 2thru 4for opposite rear wheel.
Fig. 1
Fig. 2
Fig. 3
Screw
Nut
STEP 3 - Front Wheel Assembly
1. Unfold stroller (see “Operation and Use” section).
2. Tip stroller back on rear wheels until handle contacts
oor(Fig. 1).
3. Gather all parts required for assembly. Locate
M6 x 25 Shoulder Screw (K), Lock Washer (L),
and Flat Washer (M) in parts bag. Locate Front
Wheel Assembly (D).
4. Remove protective packaging material from Front
Wheel Post (Fig. 2).
NOTE: Hold bearing on front wheel post while
removing protective packaging materials
and parts bag.
Fig. 2
Front Wheel
Post
Bearing
12
1
2
Fig. 1

1. Position Rear Basket Tube (G) with curved
bend pointing down (Fig. 1).
2. Secure the Rear Basket Tube onto the stroller by
sliding the ends of the Rear Basket Tube onto the
tubes at the side of the stroller frame until the ends
contact the spring buttons (Fig. 1).
3. Press the spring buttons and slide the Rear Basket
Tube onto the tubes until the spring buttons lock
into the holes in the Rear Basket Tube (Fig. 2).
4. Pull out on the Rear Basket Tube to check that
it is securely attached (Fig. 2).
5. Attach fabric basket to Rear Basket Tube.
- Unsnap snaps on fabric basket, wrap fabric
basket over the top of the basket tube and
reattach snaps on fabric basket (Fig. 3).
Fig. 1
5. While holding bearing on front wheel post, position
Front Wheel Assembly (D) so bearing race is facing
front wheel post and bearing inside Front Wheel
Assembly is on opposite side, slide Front Wheel
Assembly onto front wheel post and bearing
(Fig. 3).
6. Slide Lock Washer (L) and Flat Washer
(M) onto M6 x 25 mm Shoulder Screw (K)
and then insert screw into bottom of front
wheel post and tighten securely (Fig. 4).
Repeat steps 2thru 6to assemble
front wheel on other side of stroller.
Fig. 3
Fig. 4
STEP 3 - Front Wheel Assembly (continued)
Bearing
Race
Bearing
Fig. 2
Fig. 3
STEP 4 - Rear Basket Tube Assembly
6
Rear Basket
Tube
Curved
Bend
Tube
1
21
2
3
3
Snaps
Fabric
Basket
Rear Basket
Tube
Shoulder Screw
Lock Washer
Flat Washer

7
1. With Foundations®logo on Arm Bar (E) facing up,
slide Arm Bar Clamp between fabric armrest cover
and front leg. Slide Arm Bar Clamp Lock Lever
onto front leg tubes above the two Arm Bar Stops
on both sides of the stroller (Fig. 1).
2. Lock Arm Bar to stroller frame by pulling Arm Bar
Clamp Lock Lever around back of front leg tube,
pull toward front of stroller and then press
in on lock lever (Fig. 2).
3. Repeat step 2 for opposite end of Arm Bar.
4. Attach passive crotch straps.
- Place free end of passive crotch strap over
top of Arm Bar and secure with snap (Fig. 3).
- Repeat on opposite side (for LX4 & LX6).
STEP 5 - Arm Bar Assembly
Arm Bar
Stops
Fig. 1
Fig. 2
Arm Bar
Clamp
Lock
Lever
Fig. 3
Passive Crotch
Strap
1. Position Canopy (F) with rounded front section
on top and place Canopy in rear seat area and
over top of front seats.
2. Secure Main Canopy Tube (long tube) by
pushing end of Main Canopy Tube into
Canopy Retainer slot located on outside
of handle near the armrest (Fig. 1).
3. Secure Rear Canopy Tube (short tube) by
pushing end of canopy tube into Canopy
Retainer slot located on outside of the handle
near the top of the back seat (Fig. 2).
Repeat steps 2and 3to secure canopy tubes
on other side of stroller.
STEP 6 - Canopy Attachment
Arm Bar
Clamp
Arm Bar
Assembly
1
1
2
2
Fig. 2
Rear
Canopy
Tube Canopy
Retainer
Fig. 1
Main
Canopy
Tube
Canopy
Retainer
Armrest
Handle

To unfold stroller:
1.
Laystrolleronoorwithfrontwheelsandfront
footrestsdown,contactingtheoor(Fig. 1).
NOTE: Alwayscheckthatoorisclean
and dry before laying stroller on
oor.
2.
Lock parking brake.
3.
Locate Fold Retention Strap on one side
of the stroller (Fig. 1). Push down on stroller
handle and unhook Fold Retention Strap
by pulling up on the plastic loop and
then turn and slide the plastic loop
through the “D” Ring (Fig. 2).
4.
Repeat step 2 on opposite side
to unhook Fold Retention Strap.
8
STEP 6 - Canopy Attachment (continued)
Stroller Operation & Use
Unfolding and Folding Stroller:
• PinchHazard-Keephandsclearofmovingpartsduringassembly,
folding and unfolding.
1
2
3
4
Fig. 1
3
1
Fig. 2
Plastic
Loop
Fold
Retention
Strap
“D” Ring
2
Fig. 3
Back
Panel of
Canopy
1
1
2
2
Handle
Support
Tube
2
2
1
3
Plastic
Loop
2
“D” Ring
Fig. 4
43
4
Style May Vary
Style May Vary
WARNING
4. Secure back of canopy.
- Fold back panel of canopy forward , pull
rear canopy tube rearward and attach canopy
fabric over handle support tube with fabric
hook and loop fasteners (Fig. 3).
- Slide back panel of canopy down between
handle support tube and stroller handle
(Fig. 4).
- Secure canopy sides around stroller handle
support tube by securing hook & loop fasteners
on each side (Fig. 4).
- Repeat on other side of canopy.
- See last page for safety cover attachment.
Stroller Assembly is now complete.

Stroller Operation & Use (continued)
9
To unfold stroller (continued):
5.
Pull up on handle to unfold the stroller (Fig. 3)
and then with a quick snap , push down on
handle to lock in unfolded position (Fig. 4).
Lift on handle to check that stroller handle
is locked in the unfolded position on both
sides .
6.
Visually check that stroller handle is
locked into the fold lock on both sides of
the stroller are locked in place (Fig. 5).
NOTE: If fold lock is not locked, fold lock
can be locked by pressing down on
front of armrests and then press
down on the stroller frame.
To fold stroller:
1.
Place seat back of front seats in the upright
adjustment position.
NOTE: Seat backs of front seats must be
in the upright position when folding.
2.
Push down on Red Release Button on right
side and then slide both Fold Lock Release
Button on both sides up toward the handle
grip to unlock (Fig. 1).
3.
While holding the Fold Lock Releases up,
push forward on the stroller handle to fold
(Fig. 1).
4.
Secure stroller in folded position
bylayingstrolleronoorwithfront
wheels and front footrests down.
Push down on stroller handle and
slide the plastic loop on the
Fold Retention Strap through
the “D” Ring and rotate to
secure in place (Fig. 2).
Fig. 4
Rear
Basket
Tube
Fig. 5
Fold
Lock
Fig. 1
Red Release
Button
Stroller
Handle
1
1
2
2
Fig. 3
11
2
2
3
3
Stroller handle MUST
be locked into fold lock
here, both sides
3
3
Fig. 2
Fold Retention
Strap Anchor
“D”
Ring
Plastic
Loop
12
Plastic
Loop
“D” Ring
1
2
Style May Vary

Stroller Operation & Use (continued)
Securing Children:
1.With harness unbuckled, place child in seat.
2.Secure child with harness by positioning Crotch
Strap between child’s legs and placing Shoulder
and Waist Belts over shoulders and thighs.
Snap buckle tongues into crotch strap buckle
(Fig. 1).
3.Snugly adjust each strap by pulling on the
free end of the strap and moving plastic
loop along strap (Fig. 2).
Shoulder Belt Height Adjustment:
Use shoulder belt slots that
are closest to child’s shoulders.
To change shoulder belt height:
1. Remove shoulder belt from seat
back of seat - on back of seat, tip
shoulder belt anchor in line with
shoulder belt and then push belt
anchor and shoulder belt through
slot in seat back (Fig. 1).
2. Reattach shoulder belt to seat back - on
front side of seat, tip shoulder belt anchor to
contact shoulder belt, push belt anchor and
shoulder belt through slot in seat back at
desired height. Rotate belt anchor to lay
atonbackofseat(Fig. 2).
Repeat for opposite shoulder belt.
Crotch Belt Adjustment:
1.To lengthen crotch belt - slide plastic loop up
on crotch belt (Fig. 2).
2.To shorten crotch belt - slide plastic loop
down on crotch belt (Fig. 2).
Avoid Serious Injury To Children From Falling Or Sliding Out:
• ALWAYSuseaharnesstorestraineachchild.
• Snuglyadjustharnessaroundeachchild.
• NEVERleavechildrenunattended,evenwhensleeping.
Always keep children in view.
• DONOTallowchildrentoclimbonstrollerorstandinseat.
Fig. 1
Fig. 2
Shoulder
Belts
Crotch
Strap
Buckle
Plastic
Loop
10
Fig. 1
Shoulder Belt
Shoulder
Belt
Anchor
Slot in Seat Back
Crotch
Strap
Buckle
Crotch
Strap
Waist
Belts
Fig. 2
Shoulder Belt
Shoulder
Belt
Anchor
Slot in Seat Front
Plastic
Loop
WARNING

Seat Back Recline Adjustment:
The seat backs have two recline positions.
Front seat adjustment:
NOTE: The seat back must be in the upright position when folding the stroller.
To recline seat back:
1.Pull up on seat back Recline Handle (Fig. 1).
2.Lower seat back to recline position and release
seat back recline handle.
To raise seat back into upright position:
1.Pull up on seat Back Recline Handle (Fig. 1).
2.Pull seat back forward to upright position and
release seat Back Recline Handle.
3.Check that seat back is locked.
Rear seat adjustment:
To recline seat back:
1.While holding seat back up, release both
Seat Back Buckles (Fig. 2).
2.Lower seat back into reclined position.
To raise seat back into upright position:
1.Push seat back up and forward to upright position
and fasten both Seat Back Buckles (Fig. 2).
Footrest Adjustment:
The front footrests have three adjustment
positions.
To raise footrests:
1.Lift footrest up to one of the two raised
positions and rotate support bar up
and place under support bar hooks on
footrest (Fig. 1).
To lower footrests:
1.Lift up on footrest and allow support bar to
drop down out from under support bar hooks.
Recline
Handle
Fig. 1
Fig. 1
Fig. 2
Seat Back
Buckles
11
Stroller Operation & Use (Continued)
1
2
3
Footrest
Support
Bar
Hooks
Support
Bar
4
4

12
Stroller Operation & Use (continued)
Parking Brake Operation:
To lock parking brake:
1.Press down on parking brake lock bar on the
rear axle assembly into locked position (Fig. 1).
2.Check that wheels are locked.
To unlock parking brake:
1.Place toe under parking brake lock
bar and lift up into unlocked position
(Fig. 2).
Runaway Brake Operation:
To release runaway brake:
1.Pull runaway brake handle back and hold
runaway brake bar against stroller handle.
Released position is for use while
pushing stroller (Fig. 3).
To apply runaway brake:
1.Release runaway brake bar (Fig. 4).
Fig. 1
Fig. 2
Fig. 4
Fig. 3
• Alwayslockparkingbrakewhenstrollerisstopped.
• Therunawaybrakeisdesignedtostopthe
stroller in the event of a loss of control.
NEVER disconnect or override the operation
of the runaway brake.
Parking
Brake
Lock Bar
Stroller
Handle
Runaway
Brake
Handle
WARNING
WARNING

13
Stroller Operation & Use (continued)
Front Wheel Swivel Lock Operation:
To lock front wheel swivel:
1.Rotate front wheel assembly until it is
pointing forward and swivel lock is aligned
with swivel lock track (Fig. 1).
2.Push swivel lock up over swivel lock track
until it snaps into place (Fig. 1).
3.Check that front swivel is securely locked
by pushing side to side on front wheel
assembly.
4.Repeat steps 1 through 3 for other wheel
assemby.
To unlock front wheel swivel:
1.Push swivel lock down until it is free of the
swivel lock track (Fig. 2).
2.Repeat step 1 for other other wheel
assemby.
Fig. 2
• Alwaysusefrontwheelswivellockswhenpushingstrolleron
uneven ground.
1
Fig. 1
Swivel
Lock
Track
Swivel
Lock
1
1
1
WARNING

14
Arm Bar Removal and Attachment:
To remove arm bar:
1.Remove passive crotch straps from arm
bar by unfastening snaps on both front
passive crotch straps (Fig. 1).
2.Pull arm bar clamp lock lever out away
from stroller to unlock arm bar from
stroller frame (Fig. 2).
3.Pull out on arm bar to remove it from
stroller frame (Fig. 2).
To attach arm bar:
1. Unfold stroller (see “Folding and Unfolding
Stroller” section).
2. With Foundations®logo on Arm Bar facing
up, slide Arm Bar Clamp between fabric
armrest cover and front leg. Slide Arm Bar
Clamp Lock Lever onto front leg tubes
above the two Arm Bar Stops on both
sides of the stroller (Fig. 1).
3. Lock Arm Bar to stroller frame by pulling Arm Bar
Clamp Lock Lever around back of front leg tube ,
pull toward front of stroller and then press in
on lock lever (Fig. 2).
4. Repeat step 2 on opposite end of Arm Bar.
5. Attach passive crotch straps.
- Place free end of passive crotch strap over
top of Arm Bar and secure with snap (Fig. 3).
- Repeat on opposite side.
Stroller Operation & Use (continued)
Fig. 3
Passive Crotch
Strap
Fig. 2
Arm Bar
Clamp
Fig. 1
Arm Bar
Stops
Arm Bar
Clamp
Arm Bar
Assembly
Fig. 1
Passive Crotch
Strap
1
2
12
1
2
Arm Bar
Clamp
Lock Lever
Fig. 2
1
2
Style May Vary
Style May Vary

15
Stroller Operation & Use (continued)
Canopy Operation:
To extend canopy:
1.
Pull main canopy tube forward (Fig. 1).
2.
Rotate front section of canopy forward (Fig. 1).
To retract canopy:
1.
Rotate front section of canopy back over
top of canopy (Fig. 2).
2.
Pull main canopy tube toward rear of
stroller (Fig. 2).
To remove canopy:
1.
Open sides of canopy around stroller handle by
pulling fabric hook & loop fasteners apart
(Fig. 3).
2.
Pull rear panel of canopy up and out of opening
between stroller handle and handle support .
3.
Remove canopy from rear support tube by
releasing hook & loop fasteners.
4.
Remove rear canopy tube (short tube) by pressing
retainer tab in and sliding rear canopy tube up
(Fig. 4).
5.
Repeat step 4 for opposite side of stroller.
6.
Remove main canopy tube (long tube) by pressing
retainer tab in and sliding main canopy tube up
(Fig. 4).
7.
Repeat step 6 for opposite side of stroller.
To attach canopy:
1. Position canopy with rounded front section
on top and place canopy in rear seat area
and over top of front seats.
2. Secure Main Canopy Tube (long tube)
by pushing end of Main Canopy Tube into
Canopy Retainer slot located on outside
of handle near the armrest (Fig. 5).
Fig. 5
Main
Canopy
Tube
Canopy
Retainer
Fig. 1
Fig. 2
1
2
1
2
1
2
1
2
1
2
1
2
1
Fig. 4
Retainer Tab
2
1
Main
Canopy
Front
Section
Front
Section
Main
Canopy Tube
Armrest
2
Fig. 3
1
2
1
Style May Vary
Style May Vary

Canopy Operation (continued):
To attach canopy (continued):
3. Secure short Rear Canopy Tube (short tube)
by pushing end of Canopy Tube into Canopy
Retainer slot located on outside of the handle
near the top of the back seat (Fig. 6).
Repeat steps 2and 3to secure canopy tubes
on other side of stroller.
4. Secure back of canopy.
- Fold back panel of canopy forward ,
pull rear canopy tube rearward and
attach canopy fabric over handle
support tube with fabric hook and
loop fasteners (Fig. 7).
- Slide back panel of canopy down
between handle support tube and
stroller handle .
- Secure canopy sides around stroller
handle by securing hook & loop fasteners
on each side (Fig. 8).
- Repeat on other side of canopy.
To operate canopy window:
1.
Roll canopy window up towards top of
canopy.
2.
Thread hook & loop fastener through
sewn loop on back edge of canopy ,
fold over sewn loop and press strap
together
(Fig. 9).
Repeat for other fastener.
16
Stroller Operation & Use (continued)
Fig. 6
Rear
Canopy
Tube
Canopy
Retainer
2
1
3
4
1
2
Fig. 9
1
2
Handle
Fig. 8
4
3
Stroller
Handle
Fig. 7
Back
Panel of
Canopy
1
1
2
2
Handle
Support
Tube
2
2
Style May Vary

17
Runaway Brake Operation And Adjustment
Runaway brake should be periodically checked for proper operation.
If the brake does not stop the stroller or the brake lever contacts the
tops of the teeth on the brake gear runaway brake MUST be
adjusted.
To check for proper operation of runaway brake:
NOTE: DO NOT check for proper operation of runaway brake while any
children are in stroller.
1. Check braking operation:
- Pull runaway brake handle to release the brake and push the stroller
atawalkingpaceonaatlevelsurface.
- While walking, release the runaway brake handle.
- The stroller wheels should stop almost immediately, if wheel does not
stop, check for stones or other objects in brake gear or brake lever.
Check if brake cable needs adjustment. If brake operation cannot be
restored, call Foundations®Customer Service.
2. Check cable adjustment:
- Pull runaway brake handle back to release brake.
- Move stroller and visually inspect for contact of brake lever on brake
disc. If brake lever contacts brake disc, brake cable length MUST be
adjusted.
To adjust brake cable length:
1. Using an adjustable wrench, loosen the
Jam Nut on the runaway brake cable
adjustment sleeve (Fig. 5).
2. Using an adjustable wrench,
turn the runaway brake cable
adjustment sleeve up to lift
brake lever higher or down
to lower brake.
3. While holding runaway brake
cable adjustment sleeve, use
an adjustable wrench to tighten
jam nut.
4. Repeat step 1 through 3 on opposite side of stroller.
NOTE: It is important that both sides are adjusted equally so
that the stroller will not turn when runaway brake is applied.
5. Recheck runaway brake for proper operation, see “To Check For Proper
Operation Of Runaway Brake” section.
6. If the stroller still does not stop immediately or turns when runaway
brake handle is released, repeat steps 1 through 5.
NOTE: If problems persist call Foundations® for replacement parts
or assistance.
Stroller Maintenance And Adjustments
Fig. 5
Jam
Nut
Runaway
Cable
Adjustment
Sleeve
Runaway
Cable
Adjustment
Sleeve
Jam
Nut
Adjust
Higher
Adjust
Lower

18
One Year Limited Warranty
Foundations®warrants this product to be free from all defects in material and
workmanship when used according to the manufacturer’s instructions to the original
owner for a period of one year from date of purchase. The warranty does not apply to
damage caused by product alteration, normal wear and tear, misuse or abuse of the
product. Keep you sales receipt as a record of the date of purchase. For replacement
parts or warranty issues, please contact Foundations®as we are better able to serve
you. DO NOT return the product to your retailer or distributor.
If you need assistance, call or write:
Foundations®
Foundations Worldwide, Inc.
5216 Portside Dr.
Medina, OH 44256 USA
Telephone: 877.716.2757 (U.S. Only)
or 330.722.5033
Fax: 330.722.5037
www.foundations.com
Stroller Maintenance And Adjustments (continued)
Cleaning seats, harness, armrests, arm bar and canopy:
- Surface wash only with mild solution of soap and water.
- Rinse with water to remove soap solution.
Cleaning stroller:
1. Surface wash stroller frame, plastic parts and fabric with mild solution
of soap and water. Wipe surfaces with water to remove soap solution.
2. Wipe or air dry.

Keep this instruction manual for future use.
Foundations Worldwide, Inc.
5216 Portside Dr.
Medina, OH 44256 USA
Telephone: 877.716.2757 (U.S. Only)
or 330.722.5033
Fax: 330.722.5037
www.foundations.com
This manual suits for next models
2
Table of contents
Languages:
Other Foundations Stroller manuals

Foundations
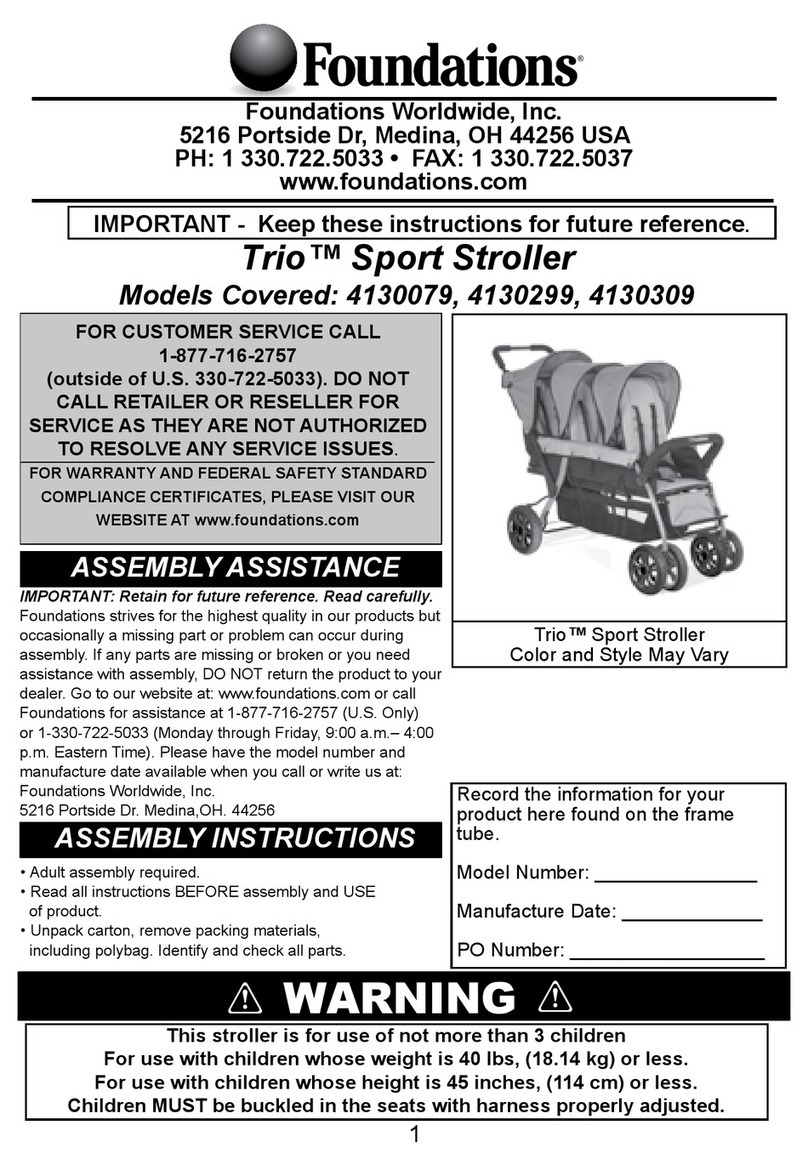
Foundations Trio 4130079 User manual

Foundations
Foundations LX6 User manual

Foundations
Foundations 4141079 User manual

Foundations
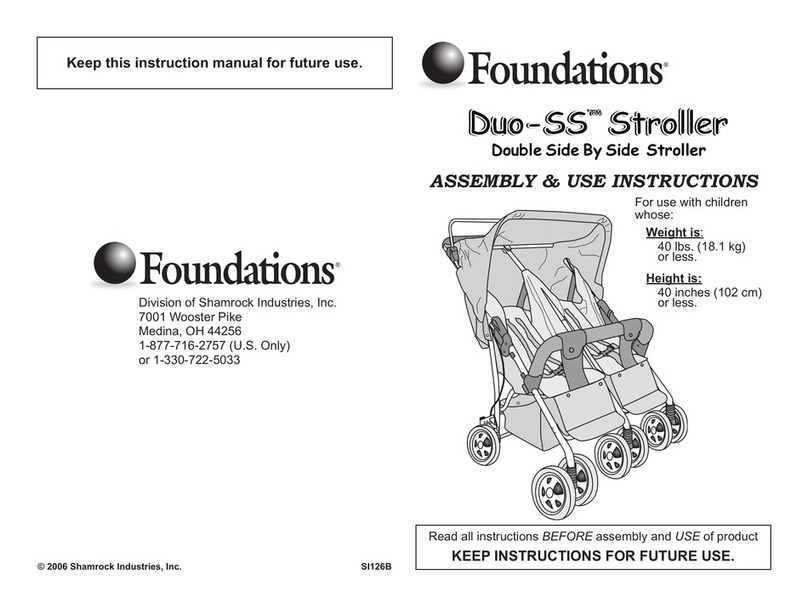
Foundations Duo-SS Stroller Quick setup guide

Foundations
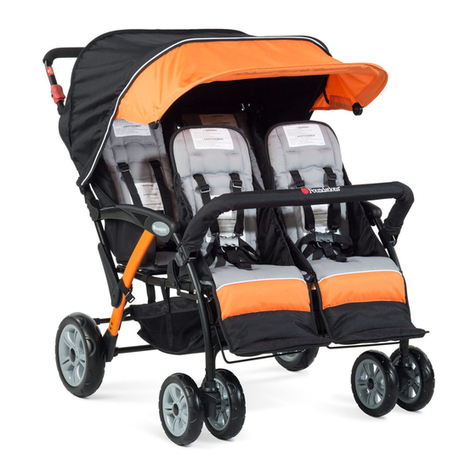
Foundations Four Passenger Quick setup guide

Foundations
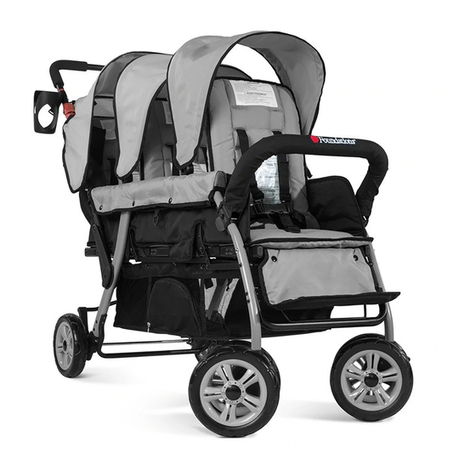
Foundations trio Quick setup guide

Foundations
Foundations Gaggle 4 Buggy User manual