Friant SYSTEM 2 User manual

SYSTEM 2 Installation Manual
ALL
WORKSTYLES
WELCOME

2

System 2 Installation Manual 3
SYSTEM 2 INSTALLATION MANUAL
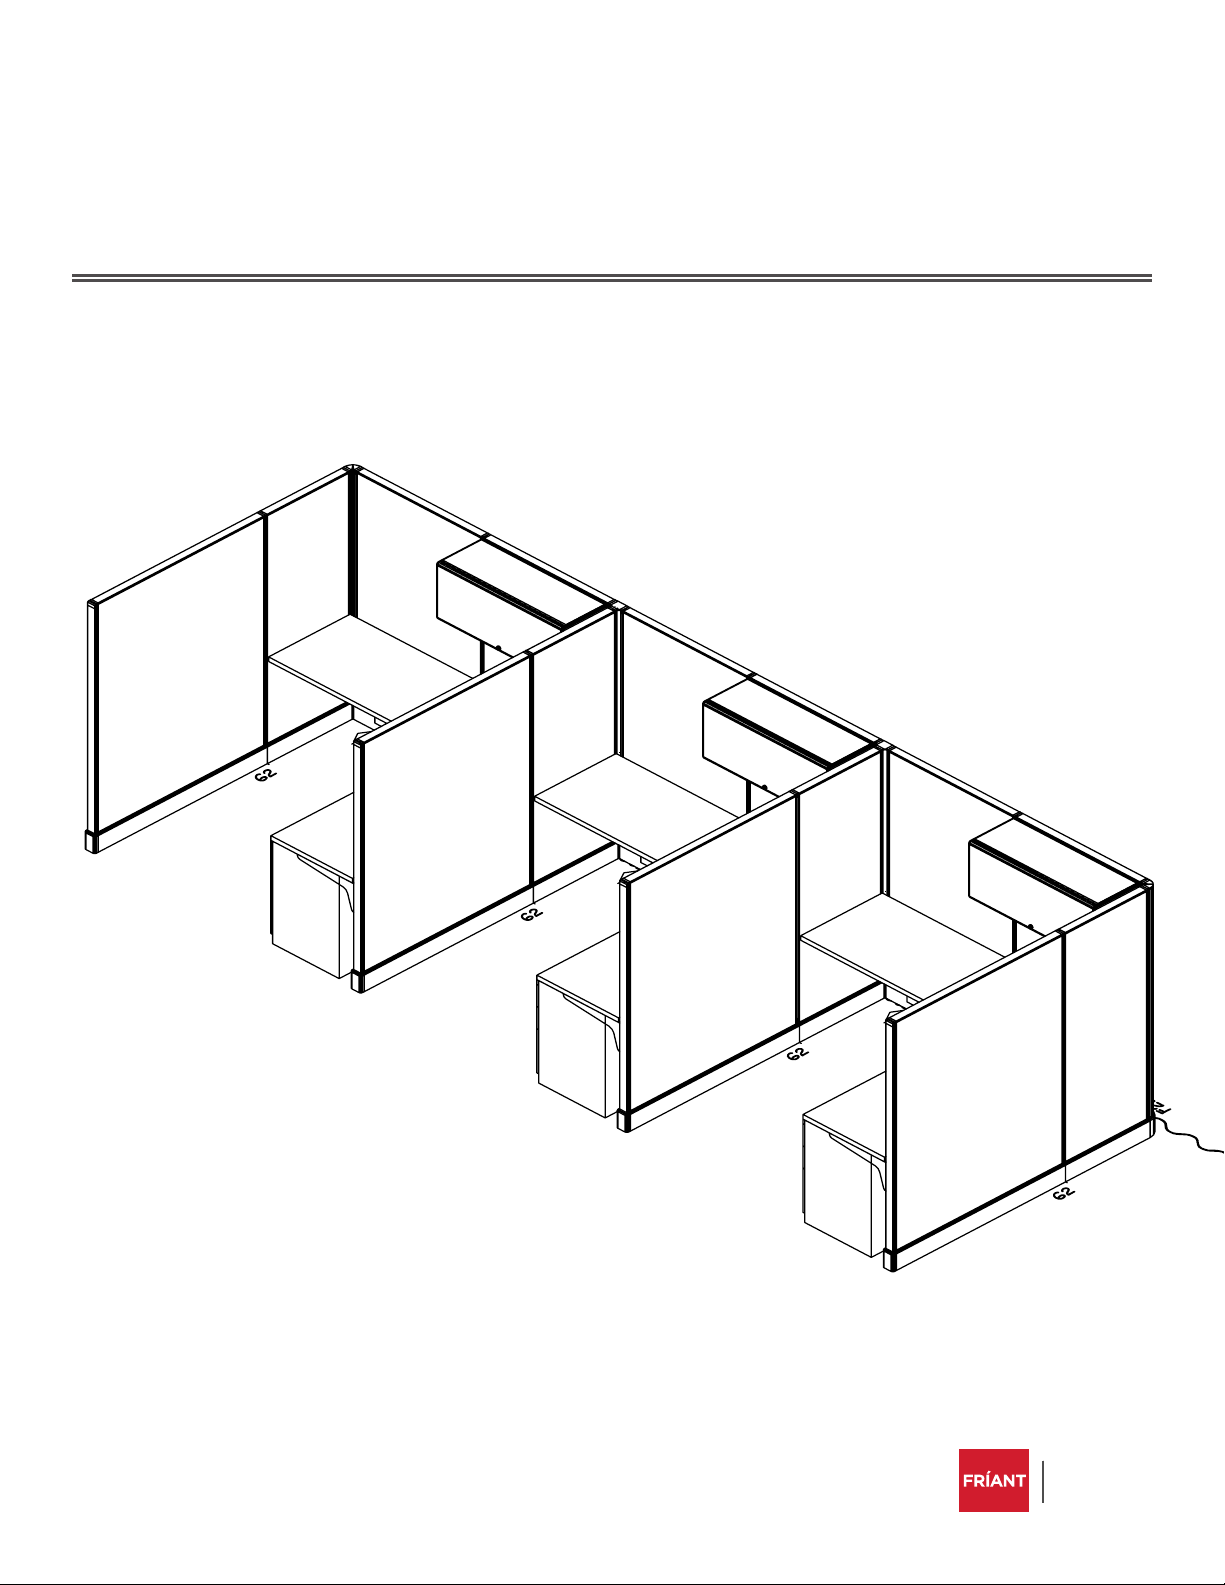
Panels & Connectors
Denitions ��������������������������������������������������������������������������� 8
Panel to Connector: Same Height ������������������������������� 9
Panel to Connector: Change of Height �������������������� 10
Panel to Panel: Same Height������������������������������������������ 11
Panel to Panel: Change of Height ������������������������������� 12
Panel to Panel: Installation at Inline Change of
Height ����������������������������������������������������������������������������������� 13
Finished End ���������������������������������������������������������������������� 14
Finished End: Change of Height ��������������������������������� 15
Top Cap ��������������������������������������������������������������������������������� 16
Leveling Panels ������������������������������������������������������������������ 17
Door Handle Instruction ������������������������������������������������� 18
Wall Starts �������������������������������������������������������������������������� 20
Electrical
Denitions & Wiring Diagram ��������������������������������������� 21
Festoons ������������������������������������������������������������������������������ 22
Receptacles ������������������������������������������������������������������������ 23
Ceiling Power Entry ��������������������������������������������������������� 24
Base Power Entry ������������������������������������������������������������� 25
Base Cover �������������������������������������������������������������������������� 26
Connector Trim ����������������������������������������������������������������� 27
Finished End Trim ������������������������������������������������������������ 28
Upper Storage
Shelves ��������������������������������������������������������������������������������� 29
Flipper Door ���������������������������������������������������������������������� 30
Worksurfaces
Corner, Extended Corner, 120° & 135° ����������������������� 31
Rectangular ������������������������������������������������������������������������ 32
Transaction ������������������������������������������������������������������������� 33
Lower Storage
Pedestals ���������������������������������������������������������������������������� 34
Lateral Files ������������������������������������������������������������������������ 35
Accessories
Panel-Mounted Tackboard & Markerboards ���������� 37
Tool Bars ������������������������������������������������������������������������������ 38
Cord Managers ������������������������������������������������������������������ 39
LED Tasklight �������������������������������������������������������������������� 40
General Information������������������������������������������������������������������������������������������������������������������������������������������������������������������������������ 4
Safety & Support������������������������������������������������������������������������������������������������������������������������������������������������������������������������������������ 5
Installation Tools ������������������������������������������������������������������������������������������������������������������������������������������������������������������������������������ 6
Staging & Installation ��������������������������������������������������������������������������������������������������������������������������������������������������������������������������� 7

4
GENERAL INFORMATION
This installation manual provides necessary information for the
safe installation of Friant’s Verity product.
The System 2 product line is a modular panel system composed
of panels, hanging and freestanding components and accessories
designed to be precisely tailored to the ofce environment� It
consists of products that are factory assembled and require
installation only; and other products that are shipped as
subassemblies for assembly during the installation process�
System 2 products are available with an 8-wire electric system that
is listed with Underwriters Laboratories and comply with UL1286�
This product is considered portable furniture and is therefore subject
to local re, electrical and building codes; therefore, check with local
building authorities before installation of the product�
It is the responsiblity of the dealer and the installer to properly
install this product according to this manual and generally accepted
industry practices�
WARNING: Failure to follow
the instructions in this manual
can result in product damage,
personal injury or both�
WARNING: Installation
of electrical components
should be done by a qualied
electrician� Disconnect power
prior to servicing the system�

System 2 Installation Manual 5
SAFETY & SUPPORT
SUPPORT CENTER
Should you have any questions or require
assistance during the installation process,
please telephone our support center:
PHONE (510) 535-5113
HOURS Monday - Friday, 8am - 5pm PST
SAFETY NOTES
Please read all WARNINGS and NOTES, as these are for
your safety�
Please read TIPS in the installation as helpful
suggestions�
Always use proper tools when installing�
Keep your work area clean, clutter-free and safe
during installation�
Use eye protection when working under a
workstation or when working with tools�
Many products weigh more than 35 pounds� Use
two or more people to safely lift, carry and install
the products�
When using tools, extension cords or ladders, use
them in accordance to OSHA guidelines�
Work safe, work smart�

6
INSTALLATION TOOLS
INSTALLATION TOOLS
The following tools are necessary for eld assembly
and installation of Friant’s Novo product:
Allen wrench 1/4”
#2 Phillips head screwdriver
#3 Phillips head screwdriver
Screwdriver, med slotted
Measuring tape (25’ or more)
Rubber mallet or dead blow mallet
Carpenter’s level (48”)
The following tools will help speed up installations,
but are not necessary:
Drill (12v or more)
Set of drill bits
Set of screw bits #2 and #3
1/4” Allen bit for drill
Wrench, open end 10mm (long handle is best)
Pliers
Carton knife
Ratchet head 1/4” allen bit
6’ step ladder
Material handling carts

System 2 Installation Manual 7
STAGING
In an effort to make your project run more
smoothly, the following is recommended:
1� Unload all products into a staging area on your
job site and sort by product number�
2� Check in and count all products for accuracy
and damage prior to the delivery truck leaving�
Note any damages or shortages on the Bill of
Lading before signing�
3� Notify the factory immediately of any
shortages or damages (with photo to
document)�
4� Keep and maintain a clutter-free staging area
— it will help speed up your assembly�
5� Protect all building walls with furniture pads
or cardboard where product is leaning against
them or in high trafc areas�
FOR SUCCESSFUL INSTALLATION
Keep these items in mind while installing product:
Ensure that all products are level throughout
the installation process and correctly attached�
Check panels for stability after installation of
all components� If needed, correct or adjust
leveling or installation to x stability�
If needed, add additional support to panels to
ensure stability�
STAGING & INSTALLATION

8
PANELS & CONNECTORS
A panel run is any combination of two or more panels connected in a
straight line�
Panels mounted at right angles to panel runs are called support panels�
The minimum height for support panels should not be less than half the
height of the tallest panel in the panel run� (Example: An 85” high panel
run should have a minimum of a 47” support panel)
Load bearing walls, also known as structural walls, are constructed of
materials such as poured concrete, concrete block or drywall, properly
attached to metal or wood studs� Drywall must be at least 5/8” thick� Wall
must be restrained at the oor and ceiling, and should be no more than
24” on center or 14’ high� Under no circumstances does Friant accept
responsibility for determination of the structural integrity of a load bearing
wall�
A loaded panel run is any panel run that has product component of any
kind attached to it� Also known as “load bearing side of a panel wall”�
DEFINITIONS

System 2 Installation Manual 9
PANELS & CONNECTORS
PANEL TO CONNECTOR — SAME HEIGHT
Connecting a Panel to a Connector
1. Using a 2, 3 or 4 way connector, loosen the draw block
at the top (nished end) of the connector with your allen
wrench� IMAGE A
2. Attach connector to the panel� The connector should
easily t over the panel wedge blocks on the end of your
rst panel� IMAGE B
3. Tighten connector onto panel� IMAGE C
4. Install connector top cap�
TIP: Start at a right angle
condition in your layout� It is
recommended that you identify
the location using your plan to
locate the connection in the
ofce area�
NOTE: All panels with electrically interconnected
panels must be mechanically interconnected�
Connecting a Second Panel
1. Add a second panel onto the connector by loosening the
other draw block at the top of the connector� IMAGE A
2. Attach panel to connector to begin your rst panel run�
Install the panel in a similar manner to above� IMAGE B
3. Tighten connector to panel� IMAGE C
4. You now have the start of your rst station�
A
B
C

10
PANELS & CONNECTORS
PANEL TO CONNECTOR — CHANGE OF HEIGHT
1. When installing a change of height connection, you must
remove the black ller strip on the side of the connector
you are going to attach the panel to� Always use the
connector for the tallest panel you are attaching to�
2. To remove the ller strip, squeeze it at one end and pull
toward you� IMAGE A
3. Remove the connector top cap by pressing gently on the
location pin to release it� IMAGE B
4. Remove the top block assembly� IMAGE C
5. Using the back of the ller strip, push the threaded plate
on to the sticky tape (align to t in connector)� IMAGE D
6. Using the ller strip as your guide, insert the threaded
plate into the connector to the desired height connection�
IMAGE E
7. Reinstall the connector top wedge block using the existing
screws and parts� When the wedge block is securely
tightened in place, gently pull the ller strip to release it�
IMAGE F
8. Using a carton knife or a cutting tool, cut the ller strip to
the appropriate length and reinstall the ller strip on the
connector�
9. Attach the connector to the shorter panel� IMAGE G
NOTE: It is recommended to have two people for
this part of the installation�
10. Tighten the panel wedge block� IMAGE I
AB
C
G
D
H
E
I
F
WARNING: Make sure all wedge
blocks and connectors are
installed properly and securely
before going on to the next part
of the installation�

System 2 Installation Manual 11
PANELS & CONNECTORS
Using your panel plan as reference, determine where the
next panel goes. Install the panel in a panel run as follows.
WARNING: Always check top and
bottom blocks on draw rod to
ensure they are seated correctly�
WARNING: Failure to properly
install panel runs or support panels
can result in product damage,
personal injury, or both�
1. Using the draw rod, open the rod so it will loosely t over
the panel you have installed� Attach draw rod to existing
panel run� IMAGE A, B, C
2. With the help of another installer, install the next panel in
a straight line� IMAGE D
3. Align panel and attach draw rod� Make sure the bottom
and the top of the panel are aligned with your other panel;
adjust the panel glides, if needed� IMAGE D
4. Tighten draw rod and block to connect the two panels�
Check draw rod top and bottom block to ensure they are
seated correctly� IMAGE E, F
PANEL TO PANEL — SAME HEIGHT
A B
C
E F
D
The same height draw rod assembles two panels of the
same height and facilitates installation of the top caps.

12
PANELS & CONNECTORS
PANEL TO PANEL — CHANGE OF HEIGHT
1. Remove top block and hanger rail from taller panel�
IMAGE A, B, C
2. Replace taller hanger rail with shorter hanger rail to match
the height of the lower panel� IMAGE D
3. Install the panel top block to match the height of the
lower panel� IMAGE E
4. Align both panels and secure the shorter panel to the taller
panel by tightening the draw rod. IMAGE F
Change of height draw rod includes a draw rod and a
hanger rail of the same height.
B
D
C
E
A
F

System 2 Installation Manual 13
PANELS & CONNECTORS
PANEL TO PANEL - INSTALLATION AT INLINE
CHANGE OF HEIGHT
Special, non-standard condition: Only applies
when overhead will be installed on taller panel.
**Before step 1 below, you will have already installed the
two panels of different heights, using the shorter draw rod
and hanger rail included with the draw rod change of height
package (FDRCH�XX)**
**Note: This special installation requires the following parts:
(a) Finished end (F2FE�XX) in lieu of nished end, change of
height (FFECH)� (b) Additional Panel wedge block (FASA03-
0-DT)
1. Cut the taller hanger rail (removed prior to installation of
panel) to the size needed� IMAGE A
2. Install the panel top block (FASA03-0-DT) Shown in photo
A� IMAGE A
3. Drill (2) holes through hanger rail, side rail and into panel
blank� IMAGE A
4. Install (2) screws, leaving the head of the screw
protruding� IMAGE B
5. Cut nished end (F2FE�XX) to size needed�
6. Slide modied nished end onto the screws� IMAGE C
7. Final installed product� IMAGE D
A
C
B
D
WARNING: It is very important
at this point in the installation to
re-check all connections to ensure
safety and security�
TOP BLOCK
DRILL HOLES

14
PANELS & CONNECTORS
FINISHED END
1. Loosen the top of the nished end (1 hole) with the allen
wrench. IMAGE A
2. Set the bottom of the nished end (3 holes) on the
bottom wedge block on the panel. IMAGE B
3. Move the nished end and set over the top block of the
panel and tighten. IMAGE C & D
A
C
B
D
WARNING: It is very important
at this point in the installation to
re-check all connections to ensure
safety and security�

System 2 Installation Manual 15
PANELS & CONNECTORS
A
B
FINISHED END — CHANGE OF HEIGHT
1. Take the nished end and place it upside-down on the
connector� Measure the length to the top and draw a line
to mark for cutting� IMAGE A
2. Using a small hack saw or other appropriate cutting tool,
cut the nished end to length� IMAGE A
3. Remove the paper from the tape and align with the
change of height location on the connector� Press it into
place� IMAGE B
WARNING: It is very important
at this point in the installation to
re-check all connections to ensure
safety and security�

16
PANELS & CONNECTORS
TOP CAP INSTALLATION
Before installing the top caps, please ensure that all
connectors have been installed and all panels are leveled.
1. Angle top cap to engage one side rst, then rotate toward
the other side and snap the top cap onto the top cap
holder� IMAGE A
2. Check to make sure that the top cap is leveled and
installed securely�
A
top cap
Example of Incorrect Leveling: Example of Correct Leveling:
Top Blocks
Top Blocks at
different heights
Top Blocks leveled
incorrectly result in
uneven top caps
Top Blocks at
same heights
Top Caps aligned
for panel to
connector

System 2 Installation Manual 17
PANELS & CONNECTORS
LEVELING PANELS
It is esssential that each panel be properly leveled during
the installation process.
1. Level as needed, using a 10 mm wrench to move glide up
or down�
2. Realign your panels for location and square in the
installation� Refer to your installation plans for location�
3. A key indicator of proper leveling is that the top blocks
(at panel-to-panel or panel-to-post connection) are at the
same height� IMAGE A
4. Double check your work now; it will save time later� Level
both to the ceiling, but also visually� IMAGE B
TIP: Use the ceiling tiles to help
line up the visual aspects of
your installation�
B
A
top blocks aligned
at the same height
top
blocks
Example of Incorrect Leveling: Example of Correct Leveling:
Top Blocks
Top Blocks at
different heights
Top Blocks leveled
incorrectly result in
uneven top caps
Top Blocks at
same heights
Top Caps aligned
for panel to
connector

18
PANELS & CONNECTORS
DOOR HANDLE INSTRUCTIONS
Overall View Key-Side Handle
* DO NOT DISASSEMBLE KEYSIDE HANDLE
Remove the
Push Button Side Handle
Preparation
1.) Remove Push Button Handle by Pressing the Pin with the tool provided.
2.) Remove Cover and Attachment Plate from Body
1.)
Install Latch to Door Panel
Insert Body into Door Panel Install Attachment Plate, then secure with screws provided
Install Push Button Side Handle to Body
2.)
Install Cover
* If you have disassembled key side handle see next page�

System 2 Installation Manual 19
PANELS & CONNECTORS
Fix after disassembly of keyside handle (if applicable)

20
PANELS & CONNECTORS
WARNING: You must use
appropriate anchors for attaching
the wall start to the wall� These
anchors will vary depending on
the eld conditions� Be careful
not to damage corner beads for
drywall; it is strongly suggested
you space off the edge of drywall
corner 2” to prevent damage�
WALL STARTS
Wall start applications require some additional tools. The
most important are a good tape measure, level and drill.
The wall should be reinforced to prevent damage or injury.
1. Locate on your plan the wall start� Measure the wall, and
very lightly with a pencil, mark the location of the wall
start�
2. Take a panel and level it to the wall to determine the
mounting height of the wall start� Lightly mark the wall at
the top of the panel�
3. Locate the top 2 holes of the wall start and mark on the
wall for positioning� Install your fastener to the wall at this
location and install the top of the wall start�
4. Level the wall start and repeat this step to attach the
bottom block�
5. Cut and attach the ller strip as needed�
Table of contents
Other Friant Office Equipment manuals
Popular Office Equipment manuals by other brands

KI
KI All Terrain Wall Rail Assembly instructions

Brother
Brother MFC-5460CN user guide

Dauphin
Dauphin Syncro-Automatic @Just magic2 Series owner's manual

Steelcase
Steelcase Details Airtouch installation instructions

Steelcase
Steelcase Turnstone Small Office Solution Set Assembly instructions

Nouhaus
Nouhaus Cobra NHG-0005 user manual