APP SETUP (Continued)
A. Android device: Tap the three dots in the top right
corner and select “Use this network as is” to remain
connected to the temporary network. Return to the
Frontpoint app to finish the setup.
• When firmware updates are available, your camera will update automatically
but it may take an additional 15 minutes to complete setup. The progress bar
will not move along steadily- each update will take a variable amount of time.
• If your installation fails, press “Retry”- the firmware updates may have caused
the installation process to time-out. “Restart” will ask you to start again from
the beginning.
• A failure could also be caused if earlier steps were not successful:
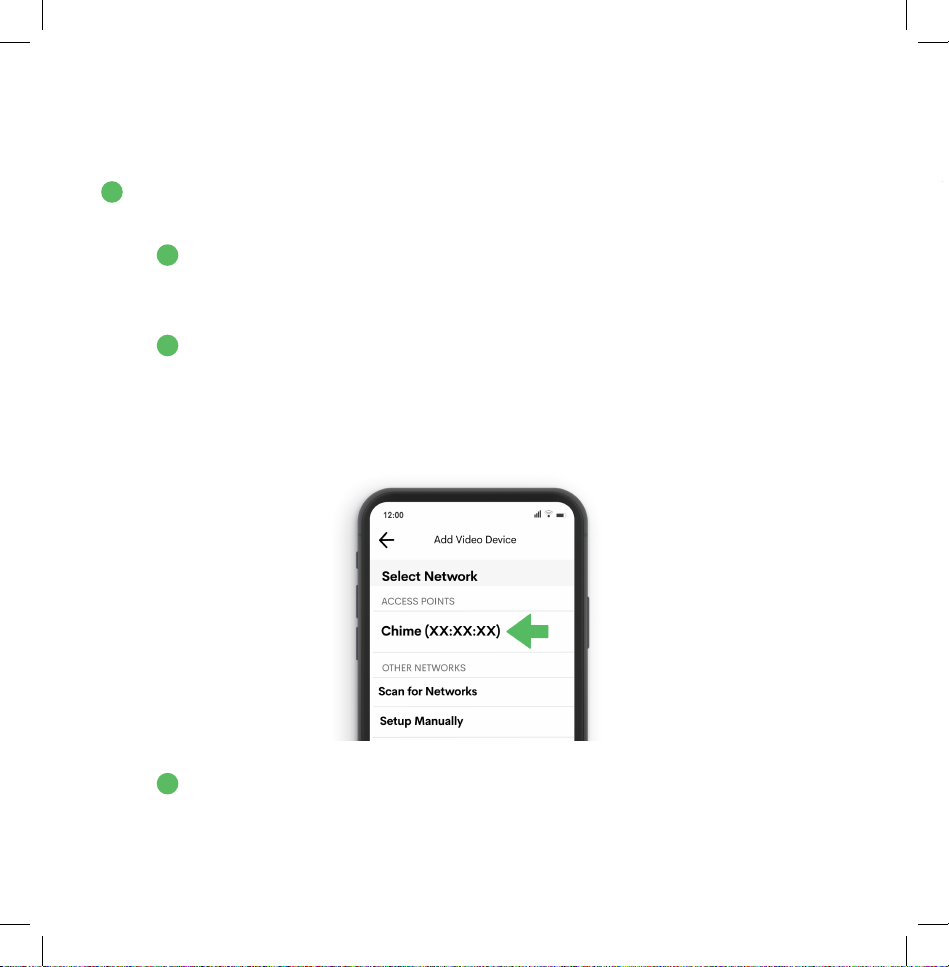
• Double check that the Smart Chime is listed within “Manage Devices” in
the app. If not, please finish setting up the Smart Chime.
• Make sure you select the “Chime (XX:XX:XX)” network after connecting
to the “ADC-VDB780B (XX:XX:XX)” network- not your home network.
INSTALLATION
Installation will consist of three parts:
1. Choosing your field of view.
2. Mounting the Standard Mounting Bracket
(and Optional Mounting Wedge, if needed).
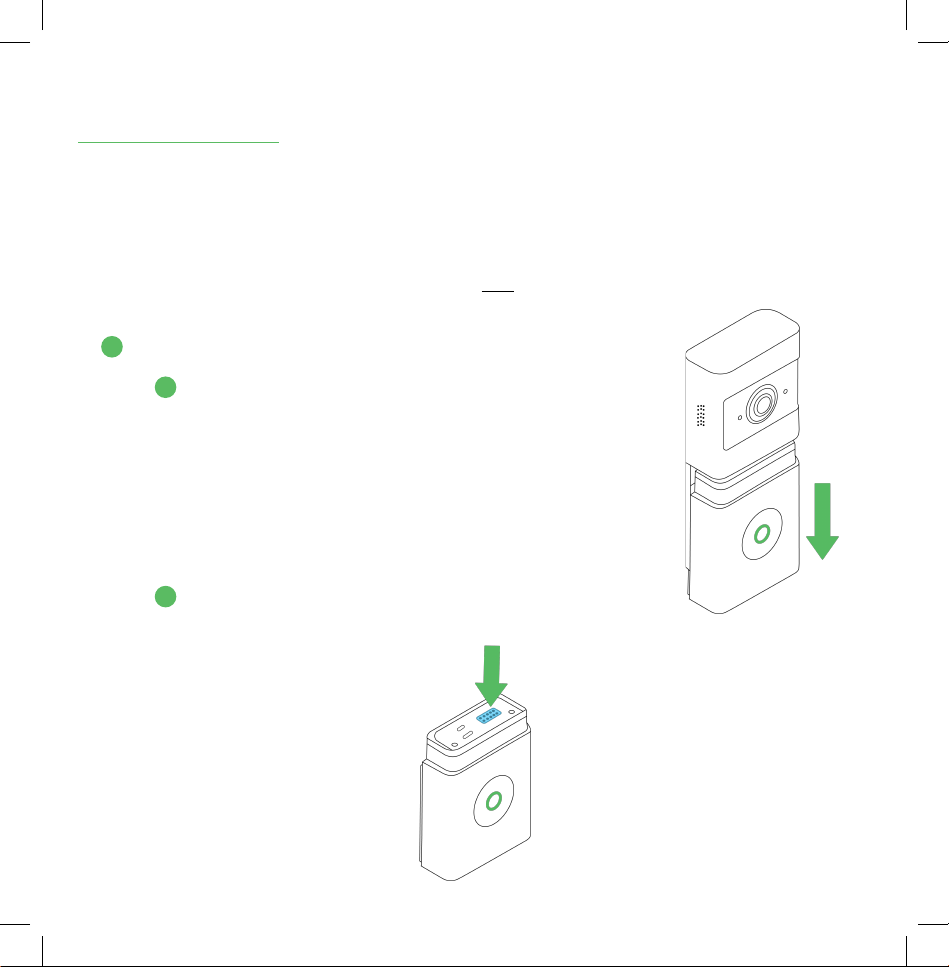
3. Attaching the Wireless Doorbell Camera.
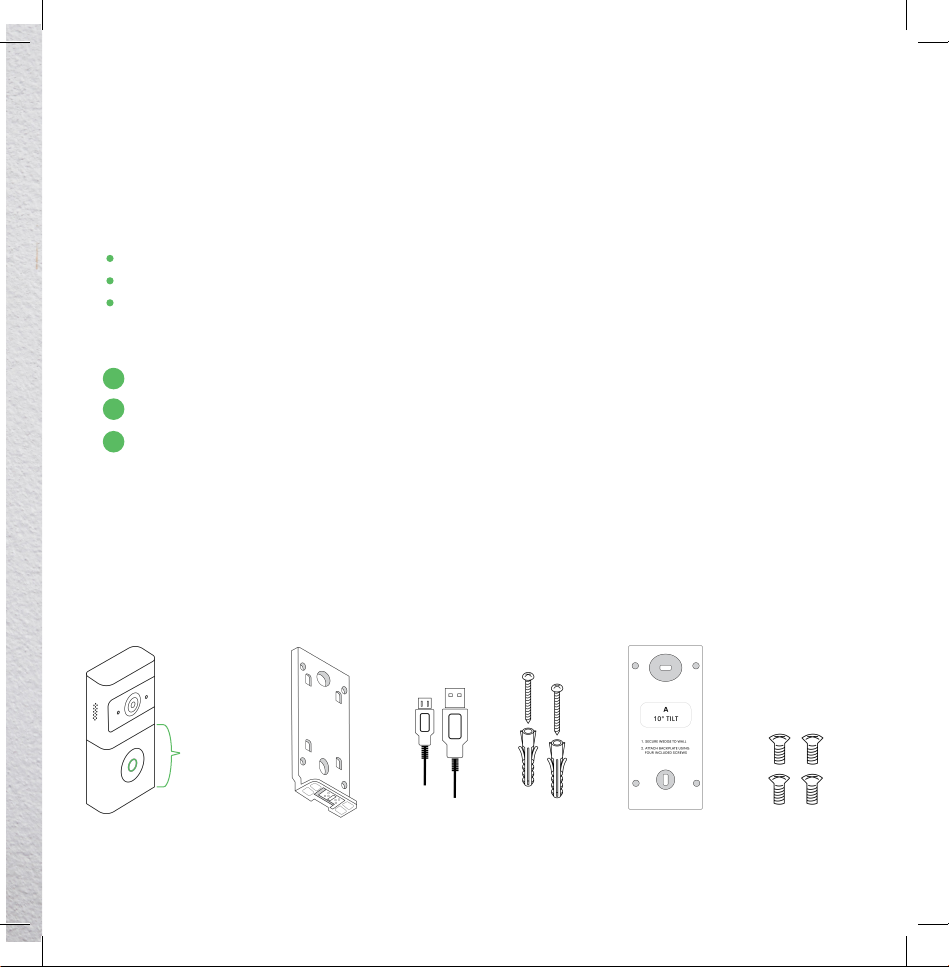
In addition to the components included in the box, you will need a power drill, a drill
bit (either 1/4" or 1/8”, explained below), and pencil. If you also have a level and
measuring tape, it will help.
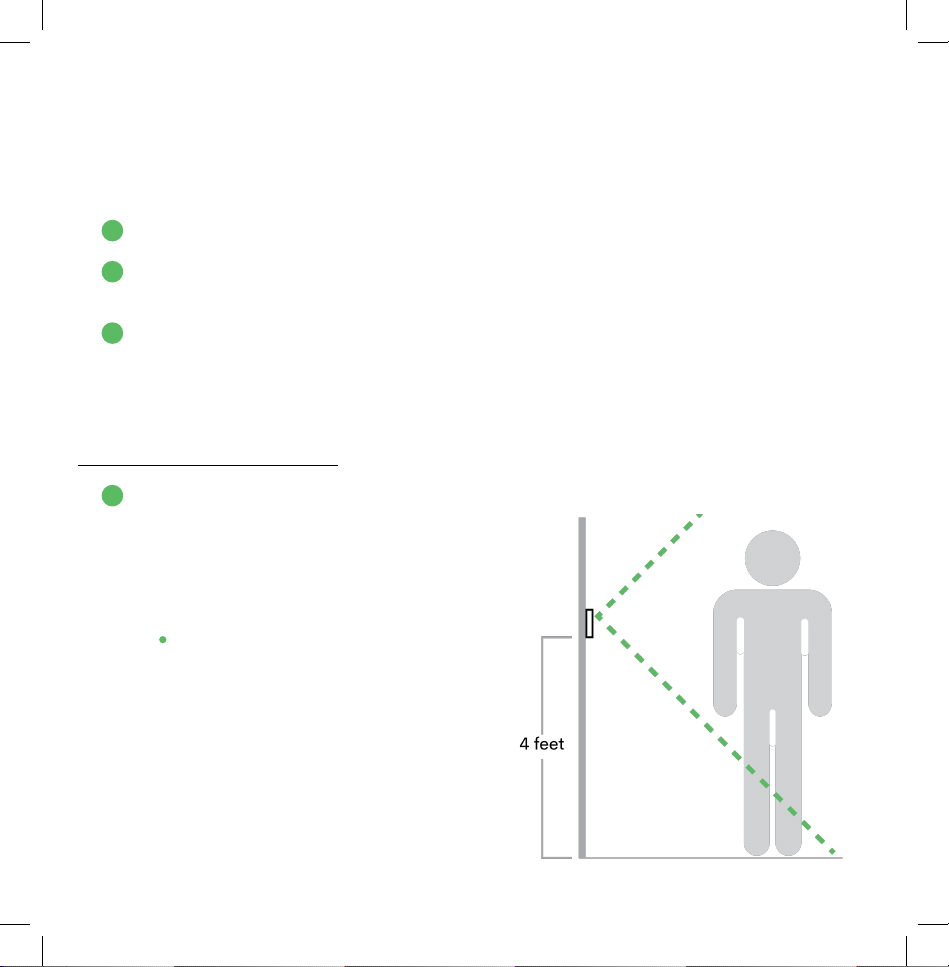
Choosing Your Field Of View
1. Choose a mounting location for your
Wireless Doorbell Camera- our security
experts recommend the side of a door
frame. Because this camera is battery-
powered, an existing doorbell is not
necessary.
• For most doorways, a position
approximately 4 feet above the
ground provides the best field
of view.
1
2
3
1
9