manuals.online logo
Brands
  1. Home
  2. •
  3. Brands
  4. •
  5. Fujitsu
  6. •
  7. Scanner
  8. •
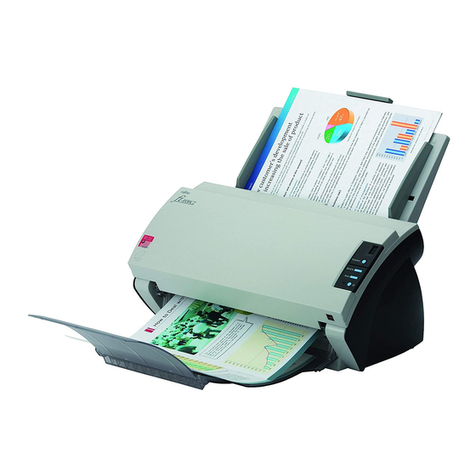
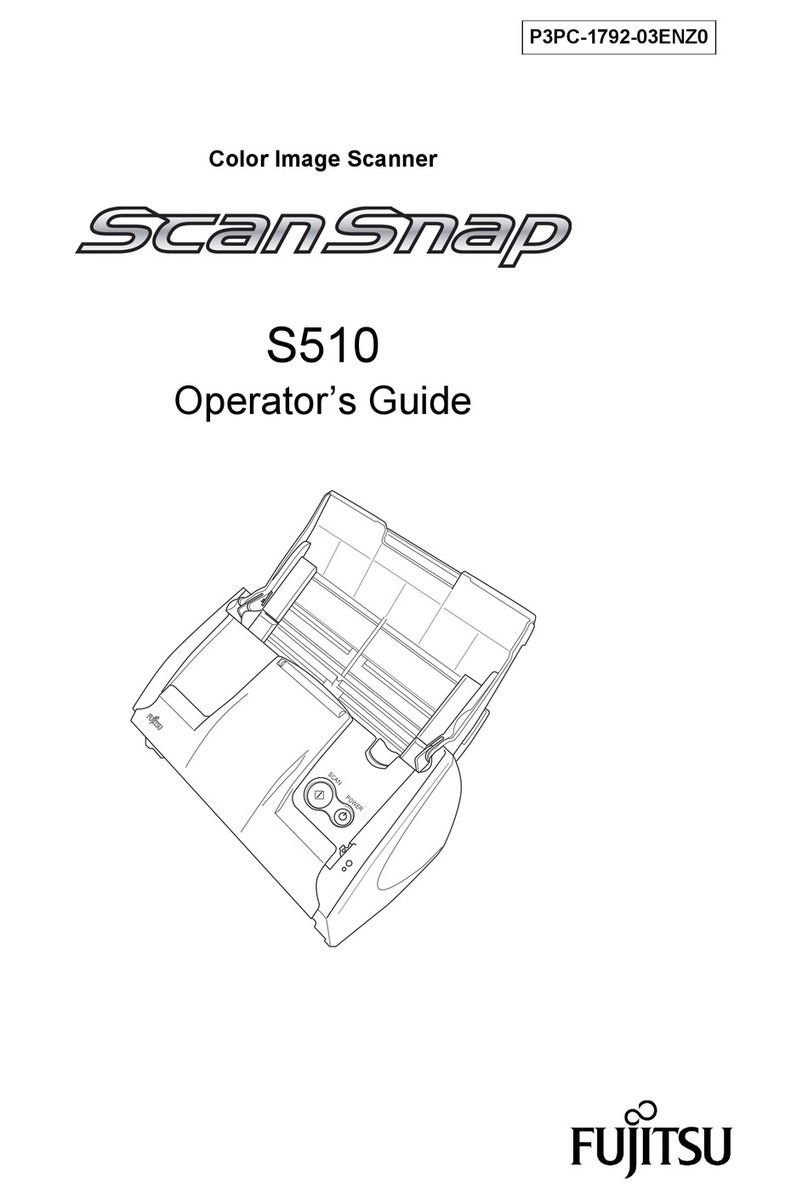
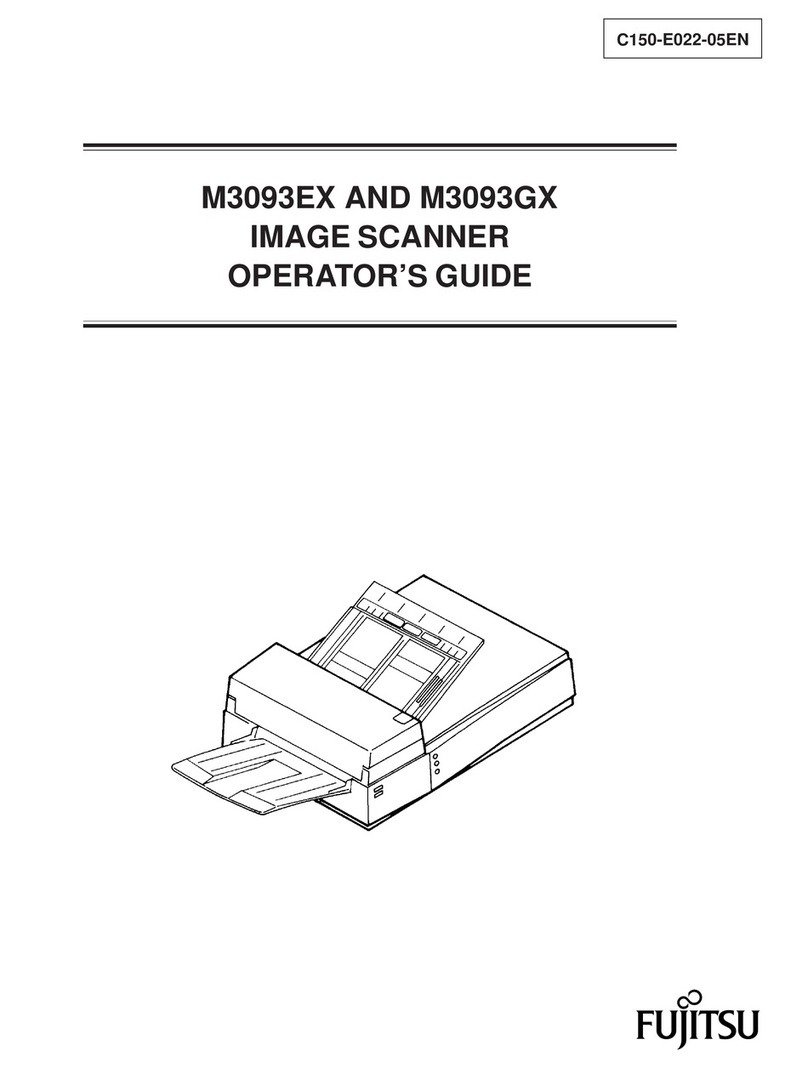
  9. Fujitsu FI-4010CU User manual

Fujitsu FI-4010CU User manual

Release the Shipping Lock
2
Check the scanner and accessories
1
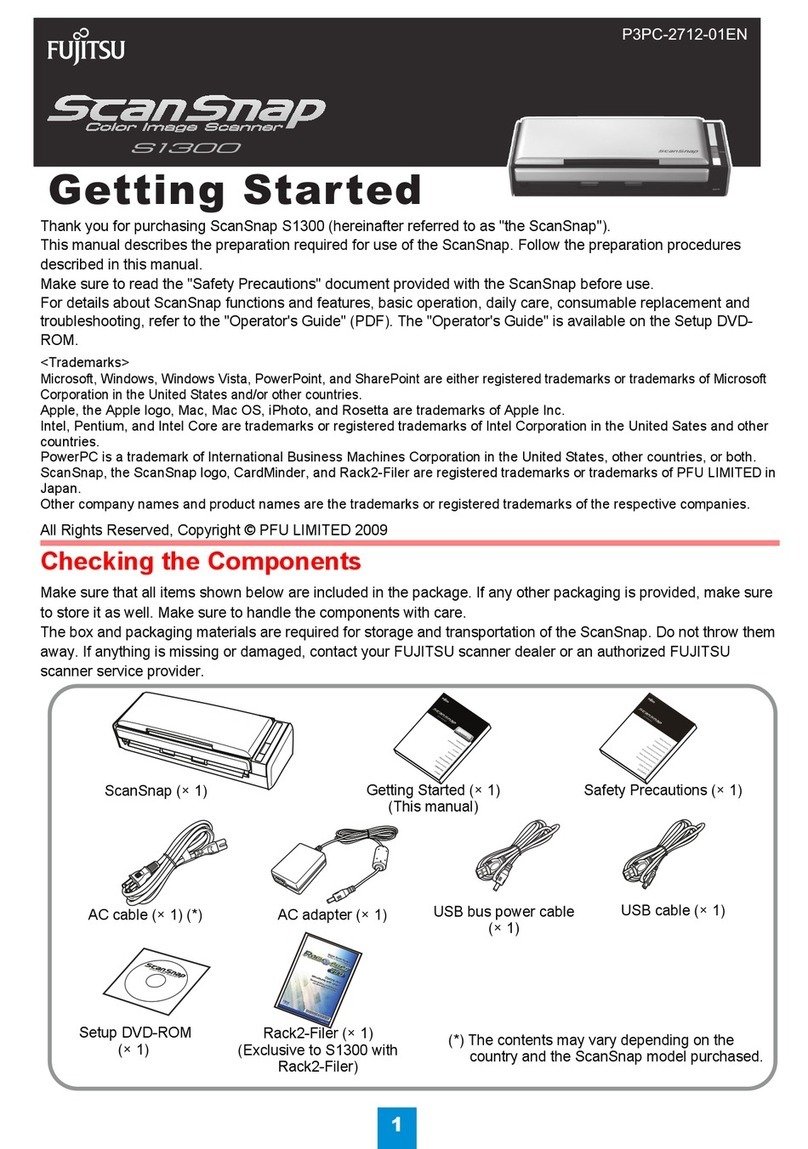
Confirm that all of the following items are included.
Scanner
AC cable fi-4010CU Quick Installation Guide
USB cable
AC adapter
Pad ASY
ADF paper chute A
ADF paper chute B
Document stopper
Lock Shipping Lock
Unlock
Slide the Shipping Lock to "Unlock"
position.
ADF paper chute B
ADF paper chute A
Document stopper
Flip out part
Continued on next page
Carefully read the "fi-4010CU Image Scanner
Operator's Guide" before using this product.
Particularly read and understand the "Safety Precautions"
before using this product.
Quick Installation Guide
Attach the ADF paper chute and Document stopper
3
1. Attach the ADF paper chute A to the ADF unit so that the side guide of the
ADF paper chute faces up.
2.Attach the ADF paper chute B to the ADF paper chute A so that the flip out of
part of the ADF paper chute B faces up.
3.Insert the clows of the document stopper into the slots of the scanner. Slide the
document stopper in the direction of the arrow marked on it to fix the stopper.
Connect the USB cable, ADF cable, and power cable
4
1. Insert smaller connector of the USB cable(the one with a core) to the USB conector
on the back side of the scanner.
2. Connect the other end of the USB cable to the PC.
3.
Connect the ADF cable to the ADF cable connector of the scanner, and fix the thumb
screws of the ADF cable connector.
4.
Connect the power cable to the AC adapter and connect the AC adapter to the AC
adapter connector of the scanner.
5.
Insert the power cable to the power outlet.
Caution
Before connecting the scanner, be sure to turn off the PC and
the scanner.
P3PC-E117-01EN
Install FUJITSU TWAIN32 Scanner driver
5
WindowsR98, WindowsRMe, Windows R2000, WindowsRXP
Be sure to install the TWAIN data source after installing the mini-driver.
If the old version of FUJITSU TWAIN32 Scanner driver has been installed on your personal computer, refer to the
"Scanner Utility for Microsoft
RWindows
RUser's Guide" on the Scanner driver CD-ROM, and update the mini-driver.
Caution
The Windows
RXP screen samples are shown below. The screen
and operations will differ slightly depending on the OS that is being
used.
Preparation
Confirm that the Scanner is connected to your personal computer
with the USB cable.
Installing the mini-driver
1. Turn on the power by pushing the power switch in the back of the
scanner.
The power lamp lights.
2. Turn on your personal computer and log on to WindowsR.
When using WindowsR2000 or WindowsRXP log on as an
administrator . The "Found New Hardware Wizard" dialog box is
displayed.
3.
Check "Install from list or
specified location", then click
[Next].
For WindowsRMe check "Specify the driver location", then click
[Next].
For WindowsR2000 and Windows R98, clicking on [Next] the select
search method screen is displayed.
• For WindowsR98 select "Find the most suitable driver for the
device being used" then click [Next].
• For WindowsR2000 select "Find the most suitable driver for the
device" then click [Next].
4. Insert the Scanner driver CD-ROM
5. Select "Find the most suitable
driver in the next location".
Check "Include the next
location" then specify
D:\Driver2 (When your CD-
ROM is the D drive). After that
click [Next].
For WindowsR98, just check "Specify search location" then specify
D:\Driver2 (When your CD-ROM is the D drive). After that click
[Next].
For WindowsRMe, select "Find the most suitable driver for the
device being used" then click [Next]. Check "Specify search location"
then specify D:\Driver2 (When your CD-ROM is the D drive). After
that click [Next].
For WindowsR2000, just check "Specify location" and then in the
next screen specify "Copy source for origination file" then specify
D:\Driver2 (When your CD-ROM is the D drive), then click [OK].
Refer to the "fi-4010CU Image Scanner Operator's Guide" when you would
like to know more about the scanner.
Refer to the "Scanner Utility for Microsoft RWindows RUser's Guide" on the
Scanner driver CD-ROM when you would like to know more detailed information
about the FUJITSU TWAIN32 Scanner driver installation.
fi-4010CU Image Scanner
Operator's Guide
fi-XXXXXXXXXXXXX
Scanner driver CD-ROM
Manual CD-ROM Adobe RAcrobat R5.0
CD-ROM
ADF cable connector
USB connector
Connect to your PC. Connect to the power outlet.
ADF cable
AC adaptor connector
Power cable
USB cable
1. Raise the scanner carefully upward so that bottom side of
the scanner faces towards you.
2. Slide the lock switch to "Unlock" position to release the
lock.
Caution
When automatic start has been set, the "SETUP DISK
START UP SCREEN" is displayed.To close this screen,
click the [Exit] button on this screen.
Installation end
7
Confirm that the scanner works correctly, as follows.
1. Place a document on the ADF paper chute.
For details on how to load documents, see " 3.2 Scanning
document with ADF" in the "fi-4010CU Image Scanner Operator's
Guide"
2. Start ScandAll 21.
In the start menu
select [Program] then
[Scanner Utility for
Microsoft Windows]
then [ScandAll 21] in
that order.
3. Specify the scanner
you are using.
Select [Select Source]
from the [Scan] menu
in ScandAll 21.
In the dialog box that is displayed, select "FUJITSU fi-4010CU"
then click [Select].
4. Click [Scan preview screen] in the toolbar.
5. In [TWAIN Driver] (Scan
conditions setting screen) set
the scan resolution, paper size
and other scanning conditions,
and click the [Scan] button.
For details on settings in the
[TWAIN Driver] dialog box, refer
to the "Scanner Utility for
Microsoft RWindows RUser's
Guide" on the Scanner driver
CD-ROM.
The document is scanned and
the image is displayed on the
ScandAll 21 screen.
If the document can be scanned then setup has been successfully finished.
See"ScandAll 21 Help" for information about ScandAll 21 functions and
operations.
6. For Windows
R
XP, the next
screen is displayed, click
[Continue] and complete the
installation.
For other operating systems
click [Next].
For Windows
R
98 there is a request to insert a disc.
When this happens, insert the Windows
R
98 CD-ROM.
7. Click [Finish] .
8. Restart the system.
After restarting the system install the TWAIN data source.
Caution
Installing TWAIN data source
When using Windows
R
2000 or Windows
R
XP log on as an
administrator.
1. Insert the Scanner Driver CD-ROM, then use the explorer to double
click on D:\Driver2\Setup\install.exe (when your CD-ROM is the D
drive).
2. Follow the instruction on the screen to complete the installation. Make
the best selection that suits your needs.
Select the language you will use during installation.
Check the names of components that need to be installed in [Select
Components]. Explanation of the component is displayed underneath
it.
Check the installation directory. If you need to change the installation
destination, click the [Change Directory] button then specify the
destination
Click the [Continue] button to start the installation.
3. When installation is finished,
confirm that the following
folder has been created. The
icons displayed differ
depending on the setting in
[Select Component] during
installation.
Continue by installing Image Capturing Software Utilities "ScandAll 21"
for Microsoft RWindows R.
Scanning documents
Continued from previous page
6
Install Image Capturing Software Utilities "ScandAll 21" for Microsoft
R
Windows
R
When using WindowsR2000 or WindowsRXP, log on as an
administrator .
1. Insert the Scanner driver CD-ROM, then use explorer to double click
on ScandAll 21.exe in the ScandAll folder in the CD-ROM drive.
2. Select the language you use
during installation in [Chooze
Setup Language] then click [OK].
This screen might not be
displayed.
3. Click [Next] in the welcome screen.
4. Carefully read the License
Agreement then click [Yes], if
you agree.
5. Confirm the name of the
destination folder then click
[Next].
6. Click [Finish].
The screen images may be changed due to improvements without notice.
If the displayed screen images are different from the screen images in this guide follow the actual screen display for installation. Please also refer to the software operation
manual and do the installation according to the actual screens.
Hint
When automatic start has been set, the "SETUP DISK START UP
SCREEN" is displayed.Installation can be started from this screen
also.

Other manuals for FI-4010CU

3

Other Fujitsu Scanner manuals

Fujitsu M3096E+ Manual

Fujitsu

Fujitsu M3096E+ Manual

Fujitsu ScanSnap iX500 User manual

Fujitsu

Fujitsu ScanSnap iX500 User manual

Fujitsu fi-60F Manual

Fujitsu

Fujitsu fi-60F Manual

Fujitsu ScanZen EK6 Configuration guide

Fujitsu

Fujitsu ScanZen EK6 Configuration guide

Fujitsu FI-6130 Configuration guide

Fujitsu

Fujitsu FI-6130 Configuration guide

Fujitsu PA03360-B615 Manual

Fujitsu

Fujitsu PA03360-B615 Manual

Fujitsu M3097DE User manual

Fujitsu

Fujitsu M3097DE User manual

Fujitsu ScanSnap FI-4110EOX2 User manual

Fujitsu

Fujitsu ScanSnap FI-4110EOX2 User manual

Fujitsu fi-6130Z User manual

Fujitsu

Fujitsu fi-6130Z User manual

Fujitsu C150-E049-02EN Installation and operation manual

Fujitsu

Fujitsu C150-E049-02EN Installation and operation manual

Fujitsu fi-4750L Manual

Fujitsu

Fujitsu fi-4750L Manual

Fujitsu ScanSnap iX100 User manual

Fujitsu

Fujitsu ScanSnap iX100 User manual

Fujitsu ScanSnap S300 User manual

Fujitsu

Fujitsu ScanSnap S300 User manual

Fujitsu M3099EX/EH Installation and operation manual

Fujitsu

Fujitsu M3099EX/EH Installation and operation manual

Fujitsu FI-5900C Manual

Fujitsu

Fujitsu FI-5900C Manual

Fujitsu fi-5220C Configuration guide

Fujitsu

Fujitsu fi-5220C Configuration guide

Fujitsu ScanSnap fi-5110C User manual

Fujitsu

Fujitsu ScanSnap fi-5110C User manual

Fujitsu Fi-5110EOX2 - ScanSnap! - Document Scanner User manual

Fujitsu

Fujitsu Fi-5110EOX2 - ScanSnap! - Document Scanner User manual

Fujitsu PA03768-B005 Manual

Fujitsu

Fujitsu PA03768-B005 Manual

Fujitsu M4097D - Fb 50PPM SCSI A3 Dupl 100Sht Adf User manual

Fujitsu

Fujitsu M4097D - Fb 50PPM SCSI A3 Dupl 100Sht Adf User manual

Fujitsu fi-5110 SERIES S500 Configuration guide

Fujitsu

Fujitsu fi-5110 SERIES S500 Configuration guide

Fujitsu M3099A/G Manual

Fujitsu

Fujitsu M3099A/G Manual

Fujitsu FI 4220C - Document Scanner User manual

Fujitsu

Fujitsu FI 4220C - Document Scanner User manual

Fujitsu ScanSnap fi-5110EOX User manual

Fujitsu

Fujitsu ScanSnap fi-5110EOX User manual

Popular Scanner manuals by other brands

Microtek ScanMaker 1000XL Brochure & specs

Microtek

Microtek ScanMaker 1000XL Brochure & specs

Veho VFS-002m manual

Veho

Veho VFS-002m manual

Mustek S400W iScan Air user guide

Mustek

Mustek S400W iScan Air user guide

Sony FVS-1000 Series Maintenance manual

Sony

Sony FVS-1000 Series Maintenance manual

Contex HD Ultra X 6000 Series user guide

Contex

Contex HD Ultra X 6000 Series user guide

Launch Creader VII+ quick start guide

Launch

Launch Creader VII+ quick start guide

Marson MR12 user manual

Marson

Marson MR12 user manual

Revopoint 3D Technologies POP 3D SCANNER instructions

Revopoint 3D Technologies

Revopoint 3D Technologies POP 3D SCANNER instructions

POS-Mate PM-BCBT2D-W instruction manual

POS-Mate

POS-Mate PM-BCBT2D-W instruction manual

Kodak i6015 Specifications

Kodak

Kodak i6015 Specifications

Viametris iMS3D operating guide

Viametris

Viametris iMS3D operating guide

Youjie YJ4600 user guide

Youjie

Youjie YJ4600 user guide

Datalogic Magellan 9300i Product reference guide

Datalogic

Datalogic Magellan 9300i Product reference guide

Motorola DS3508 Product reference guide

Motorola

Motorola DS3508 Product reference guide

Canon DR-X10C - imageFORMULA - Document Scanner Brochure & specs

Canon

Canon DR-X10C - imageFORMULA - Document Scanner Brochure & specs

UMAX Technologies AstraNET e3420 owner's guide

UMAX Technologies

UMAX Technologies AstraNET e3420 owner's guide

Genius SLIM 1200U2 user guide

Genius

Genius SLIM 1200U2 user guide

Sigmann DELTA SD161BTex operating instructions

Sigmann DELTA

Sigmann DELTA SD161BTex operating instructions

manuals.online logo
manuals.online logoBrands
  • About & Mission
  • Contact us
  • Privacy Policy
  • Terms and Conditions

Copyright 2025 Manuals.Online. All Rights Reserved.