manuals.online logo
Brands
  1. Home
  2. •
  3. Brands
  4. •
  5. Furnika
  6. •
  7. Indoor Furnishing
  8. •
  9. Furnika SB19 User manual

Furnika SB19 User manual

back wall
front wall
bottom
COMPONENT PARTS
1Guide rails (left and right) 1 set
2
Side wall (left and right) with self-tapping screws
1 set
3
Back wall holder plate (left and right)
1 set
4Front wall fastener with the self-tapping screws 2 pcs
5Plug 2 pcs
DB8181
SBH61
SBDW12
MOUNTING DIMENSIONS for START
with SBDW12
Internal body dimension=LW
4 holes h12
Dimensions for back
wall fastening
Dimensions for mounting
of front wall fasteners on the
internal surface of front wall
back wall
back wall
bottom
bottom
NL – length of guide rails from the sidewall.
Minimal internal size of body in depth (NL+3 mm)
SCHEME OF GUIDE RAILS ADDITION
Front rim of body side wall
For sizes: 270 / 300 / 350 / 400
For sizes: 450 / 500 / 550
Instruction on assembly
of START based pullout
furniture drawer
SB19
Pull out the moving elements of guide rails, insert the drawer
and push it until the side walls are fixed with the moving
elements of guide rails. The joining is to be carried out on
the second lug of the fastener.
Use the screwdriver for adjustment
DRAWER ASSEMBLY AND MOUNTING FRONT WALL DISASSEMBLY
FRONT WALL ADJUSTMENT
DRAWER REMOVING
Put together the assembled back wall and left/right
side walls.
Attach the left and right holder plates (of back wall and pot rack)
to the drawer back wall with the help of self-tapping screws.
Сlick into place
Mount the guide rails to the drawer body according to
the addition scheme.
Attach the sidewalls to the drawer bottom with the help
of self-tapping screws.
Size 37 is only for
the assembled front walls.
Insert the drawer bottom into the dapping of left and
right side walls until the back wall stops it.
Fix the front wall fasteners in the drawer front wall with
the help of self-tapping screws. Attach the front wall to
the drawer sidewalls.
Front wall holder plate must be freely inserted into the side plate.
It must be joined with the sidewall with the slight effort. Otherwise,
turn the adjusting screw with the screwdriver until it stops in the
end position.
Direction of adjusting screw rotation:
R (right side plate) clockwise
L (left side plate) counterclockwise
Horizontal adjustment of the front wall from
the right and left (±1.5 mm)
Vertical adjustment of the front wall from
the right and left (±1.5 mm)
Insert (click into place) the plastic plugs.
Сlick into place
Remove the plastic plugs
to disassemble the front wall.
Turn the adjusting screw with the screwdriver
until it stops in the end position and disassemble
the front wall.
Direction of adjusting screw rotation:
R (right side plate) clockwise
L (left side plate) counterclockwise
Turn up the lever and unlock the drawer fasteners
with the guide rails to remove the whole drawer.
Pull the drawer and pick off from the guide rails.

Other Furnika Indoor Furnishing manuals

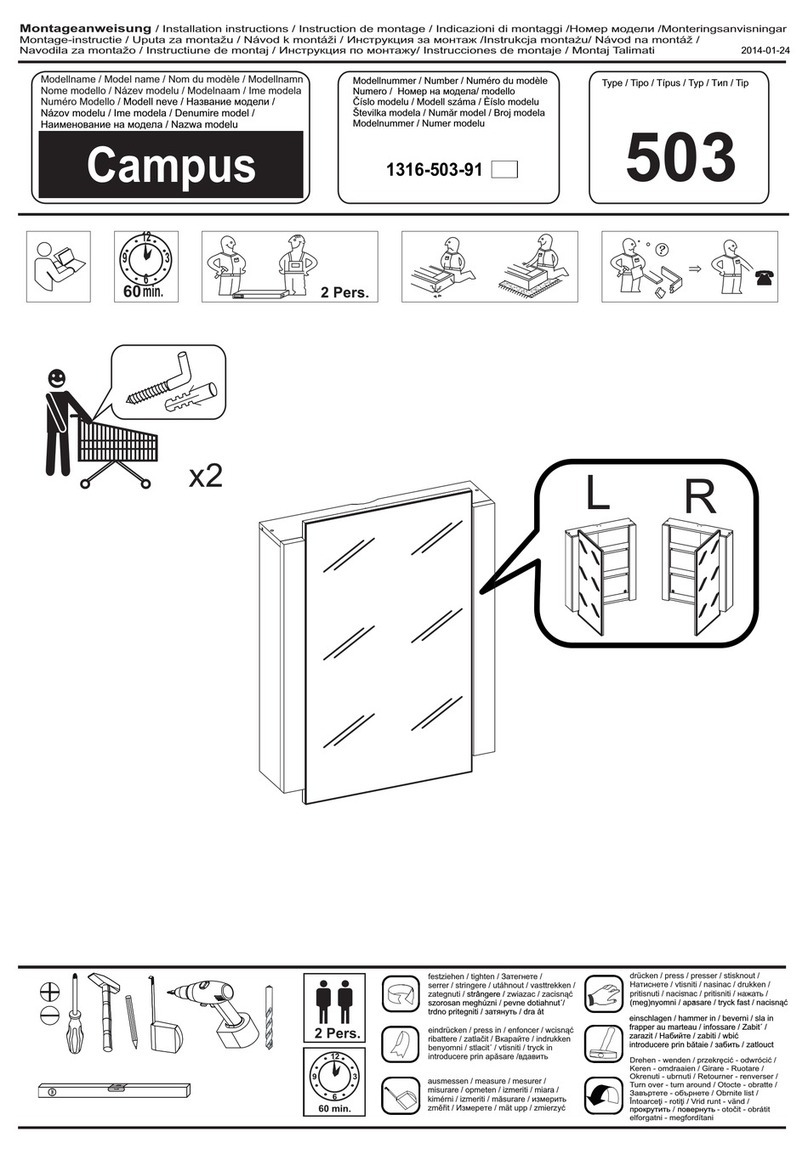
Furnika Campus 503 User manual

Furnika

Furnika Campus 503 User manual

Furnika SQUERE2 User manual

Furnika

Furnika SQUERE2 User manual

Furnika ALA2 300 User manual

Furnika

Furnika ALA2 300 User manual

Furnika SB20 User manual

Furnika

Furnika SB20 User manual

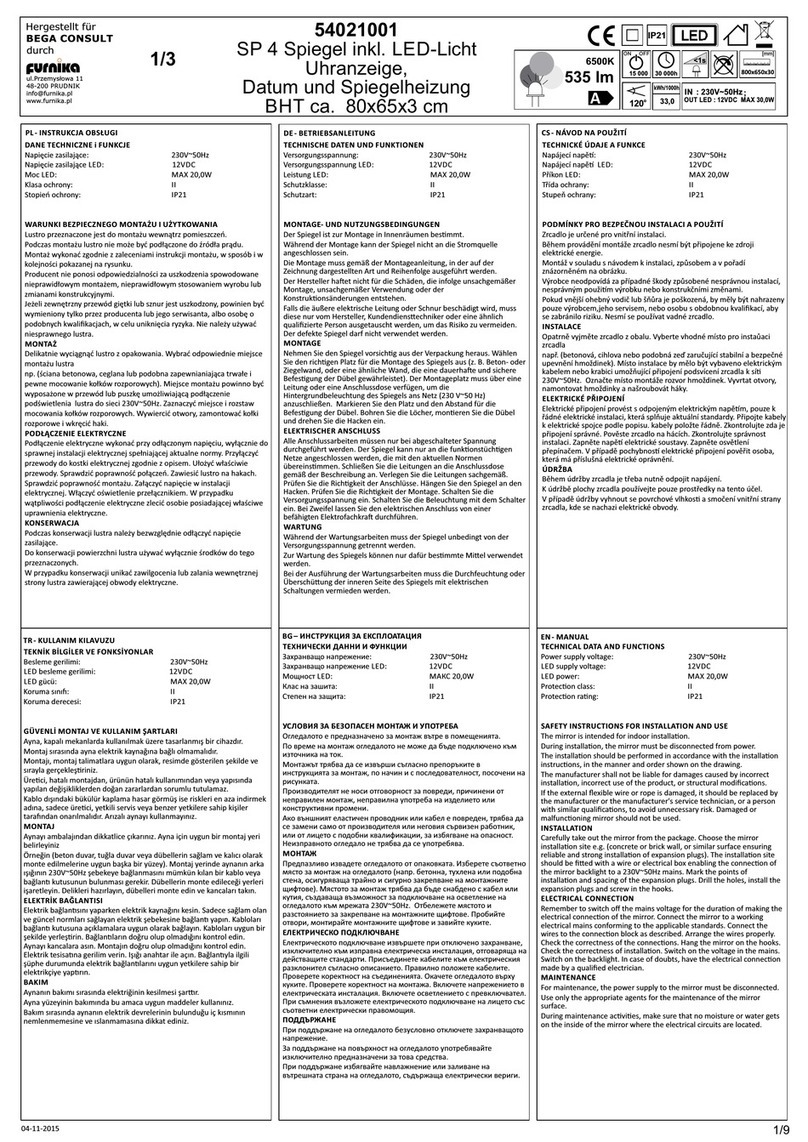
Furnika 54021001 Quick start guide

Furnika

Furnika 54021001 Quick start guide

Popular Indoor Furnishing manuals by other brands

DIVERSIFIED WOODCRAFTS 3020K Assembly instructions

DIVERSIFIED WOODCRAFTS

DIVERSIFIED WOODCRAFTS 3020K Assembly instructions

Article BASI Twin Bed Assembly instructions

Article

Article BASI Twin Bed Assembly instructions

Astonica 50104297 instruction manual

Astonica

Astonica 50104297 instruction manual

Pegasus Danbury DBCA4222 Specification sheet

Pegasus

Pegasus Danbury DBCA4222 Specification sheet

Superfront TOP BESTA Mounting instructions

Superfront

Superfront TOP BESTA Mounting instructions

SEI MS9875H0TX Assembly instructions

SEI

SEI MS9875H0TX Assembly instructions

siena GARDEN Teramo Lift Table 380.865 Assembly instruction

siena GARDEN

siena GARDEN Teramo Lift Table 380.865 Assembly instruction

Cult 5059413122835 Assembly & care instructions

Cult

Cult 5059413122835 Assembly & care instructions

Next 116306 Assembly instructions

Next

Next 116306 Assembly instructions

Sensea STUDIO Assembly, Use, Maintenance Manual

Sensea

Sensea STUDIO Assembly, Use, Maintenance Manual

Forte Solletico SLCK621 Assembling Instruction

Forte

Forte Solletico SLCK621 Assembling Instruction

Till-Hilft Ribera 88067.131 Assembly instructions

Till-Hilft

Till-Hilft Ribera 88067.131 Assembly instructions

Next BRONX T90936 Assembly instructions

Next

Next BRONX T90936 Assembly instructions

Whittier Wood Furniture 1183GACf Assembly instructions

Whittier Wood Furniture

Whittier Wood Furniture 1183GACf Assembly instructions

Mercers Furniture cor5 Assembly instructions

Mercers Furniture

Mercers Furniture cor5 Assembly instructions

New Classic Furniture GIA 5PC 42" COUNTER TABLE & 4 CHAIRS... Assembly instructions

New Classic Furniture

New Classic Furniture GIA 5PC 42" COUNTER TABLE & 4 CHAIRS... Assembly instructions

Whittier Wood 3501GACc Assembly instructions

Whittier Wood

Whittier Wood 3501GACc Assembly instructions

Baxton Studio LCF20234 Assembly instruction

Baxton Studio

Baxton Studio LCF20234 Assembly instruction

manuals.online logo
manuals.online logoBrands
  • About & Mission
  • Contact us
  • Privacy Policy
  • Terms and Conditions

Copyright 2025 Manuals.Online. All Rights Reserved.