.................................................
...............................................
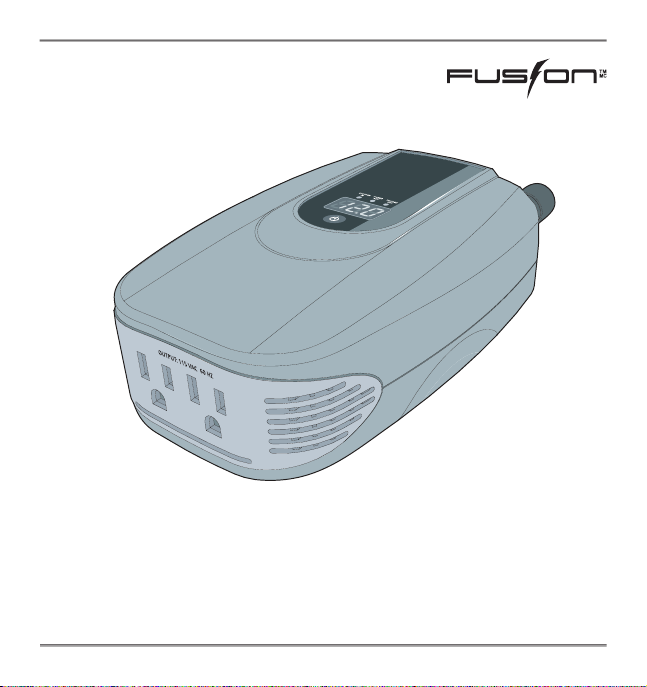
About the Inverter ...............................................About the Inverter
.................................................
. Important Safety Information
.......................................
.........................................
..................................................
..................................................
Digital Display (top) panel
................................
........................................
.......................................................
. Connecting the Inverter
...........................
..........................................
Choosing a location ..........................................Choosing a location
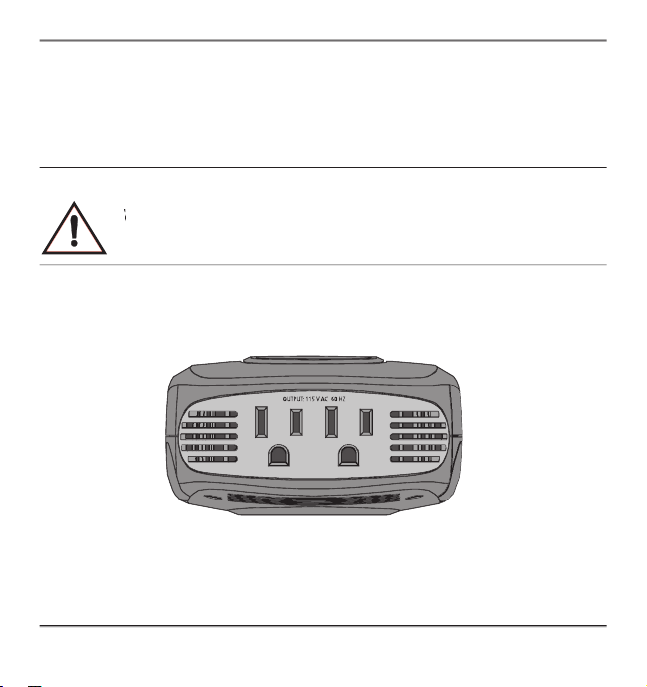
Connecting for loads under 100 W
Connecting for loads under 100 W ....................Connecting for loads under 100 W
Connecting for loads over 100 W
Connecting for loads over 100 W .......................Connecting for loads over 100 W
.............................
Operating Conditions and Guidelines
Shutting the inverter off
.....................................
Shutting the inverter off .....................................Shutting the inverter off
.....................................
Operating loads with high surge requirements