Galileo VP121 User manual


owner’s manual


1) Make sure you have the following parts, which are supplied in the package:
A) Piano cabinet
B) Right Leg
C) Left Leg
D) Rear Panel
E) Bottom crossbar with three pedals group
F) Chippendale (2x)
G) Pedal clog
H) Headphone hang
and the fixing accessories to be found into a nylon bag:
L) M6x20 TC screw (6X)
M) WL 4x20 TC screw (4x)
N) M6x40 TC screw (4x)
P) WL 4x12 TC screw (2x)
R) Adhesive clamp (5x)
S) Phillips screwdriver
2) Remove the nylon protection and white foam on the wooden parts, free the pedals cable
under the crossbar as shown in Fig. 3
3) Fix on pedals group the pedal clog (G) as shown in Fig.1.
4) Fix the right leg (B) to crossbar (E) with screws (N).
5) Fix the left leg (C) to crossbar (E) with screws (N).
6) Fix the rear panel (D) to the crossbar (E) with screws (M) and to the legs (B) and (C) with
screws (L) as shown in Fig.1.
7) Insert the two Chippendale bars (F) on the two legs (B) and (C) as shown in Fig.1.
8) Place the piano cabinet (A) on stand, fix it by using the 4 hand wheel (L) as shown in Fig.1
by paying particular attention to the position of the hook, as shown in Fig.2.
9) Fix the headphone hang (H) whit screws (P) as Fig. 1
10) Attach the adhesive clamps (R) as shown in Fig.4
11) Insert the MINI DIN pedals cable plug into the proper socket of I/O group under the piano
cabinet (A) and fix the cable on the adhesive clamp (R) of Fig. 4.
12) Place the piano in its final location and adjust on floor the clog (G) of pedals group.
Assembly instruction

TABLE OF CONTENTS
Control Panel ...................................................................................... 1
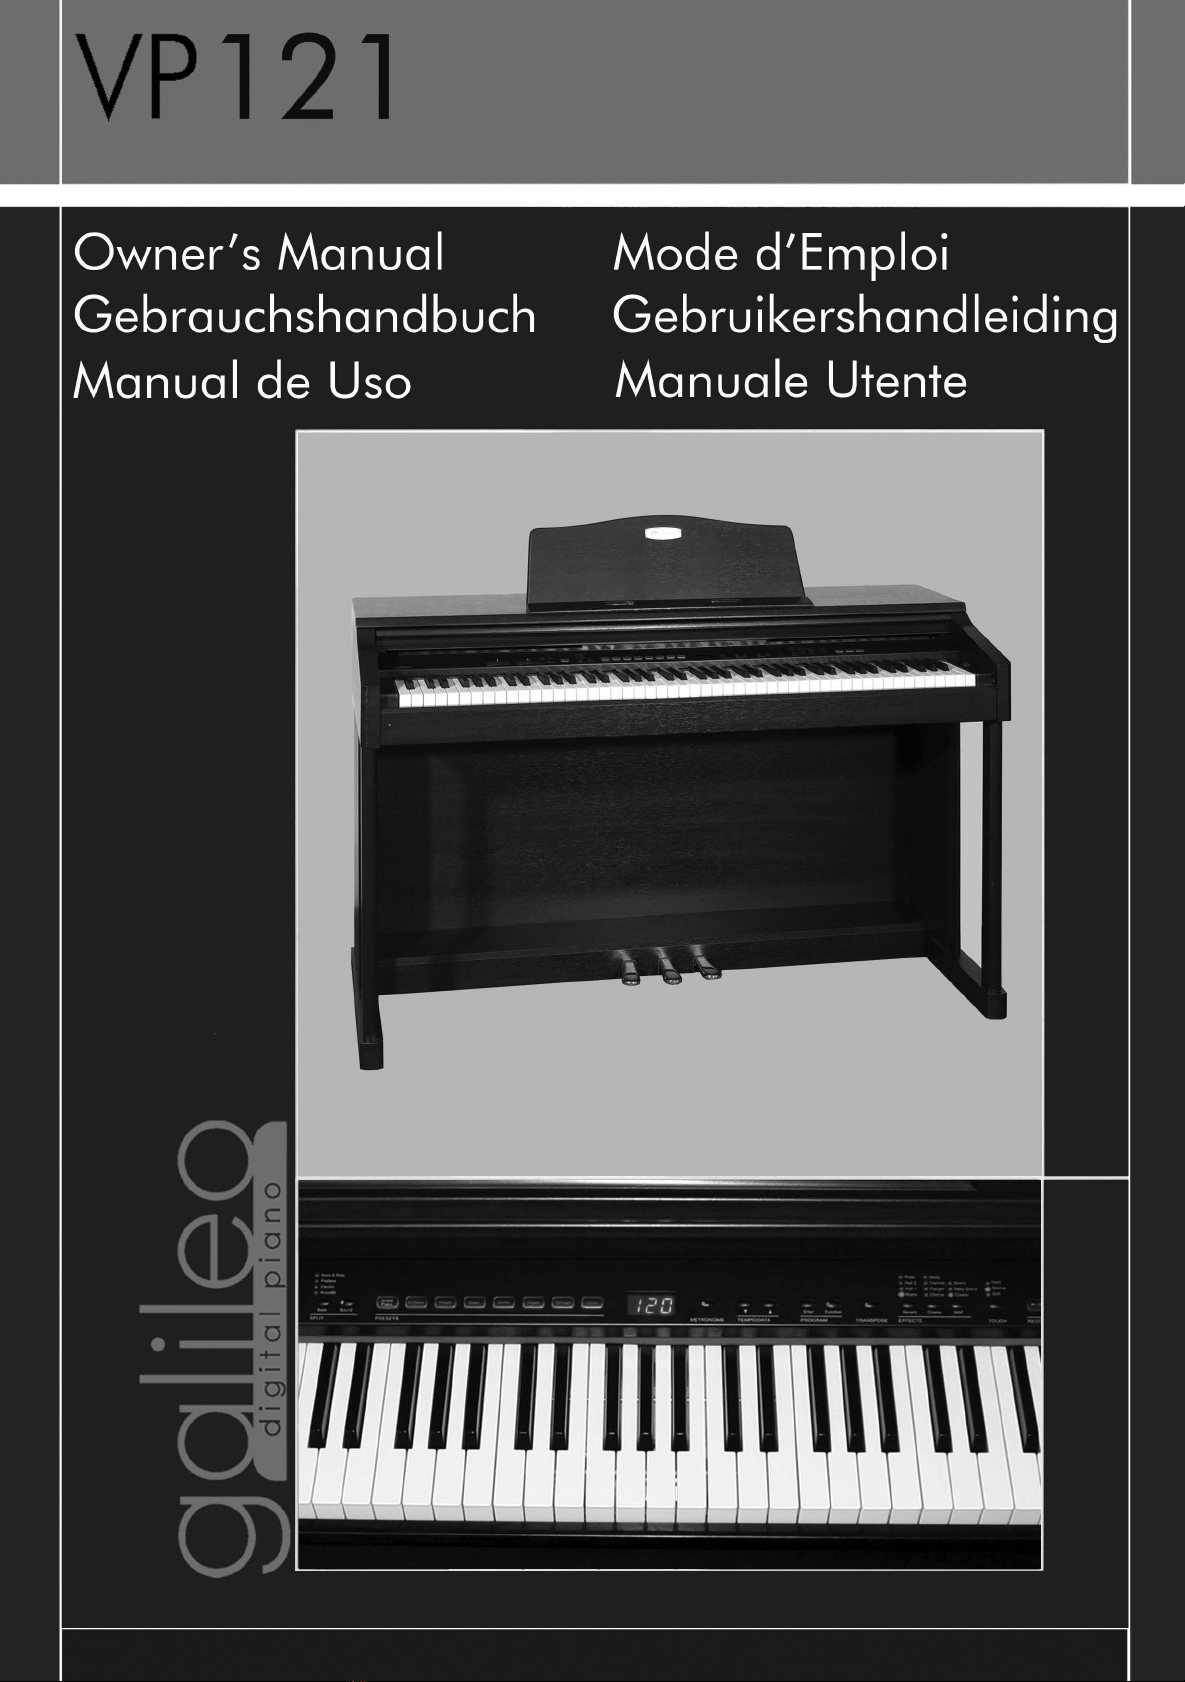
Starting instruments ............................................................................ 2
Main volume set up ............................................................................. 2
Connecting headphones ....................................................................... 2
Demo listening.................................................................................... 2
Presets selection ................................................................................. 3
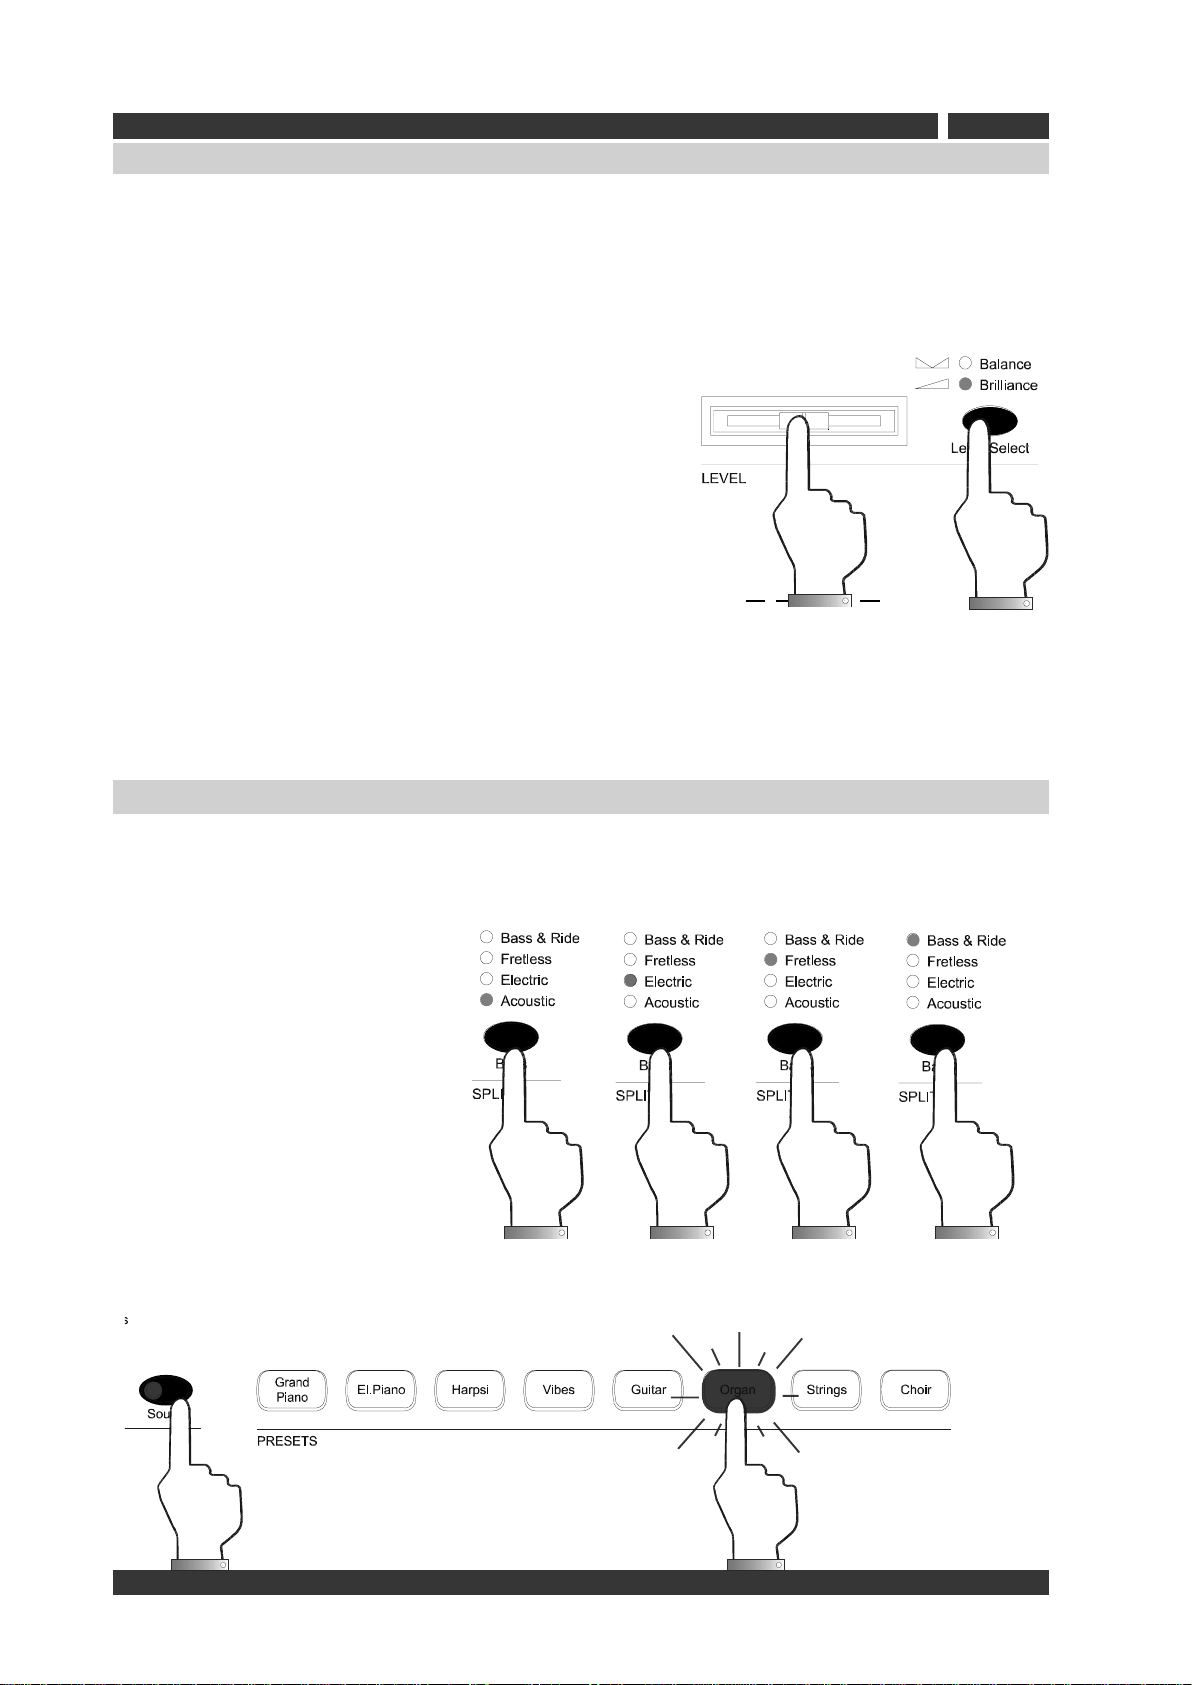
Presets Variation ................................................................................. 3
Layering Presets ................................................................................. 3
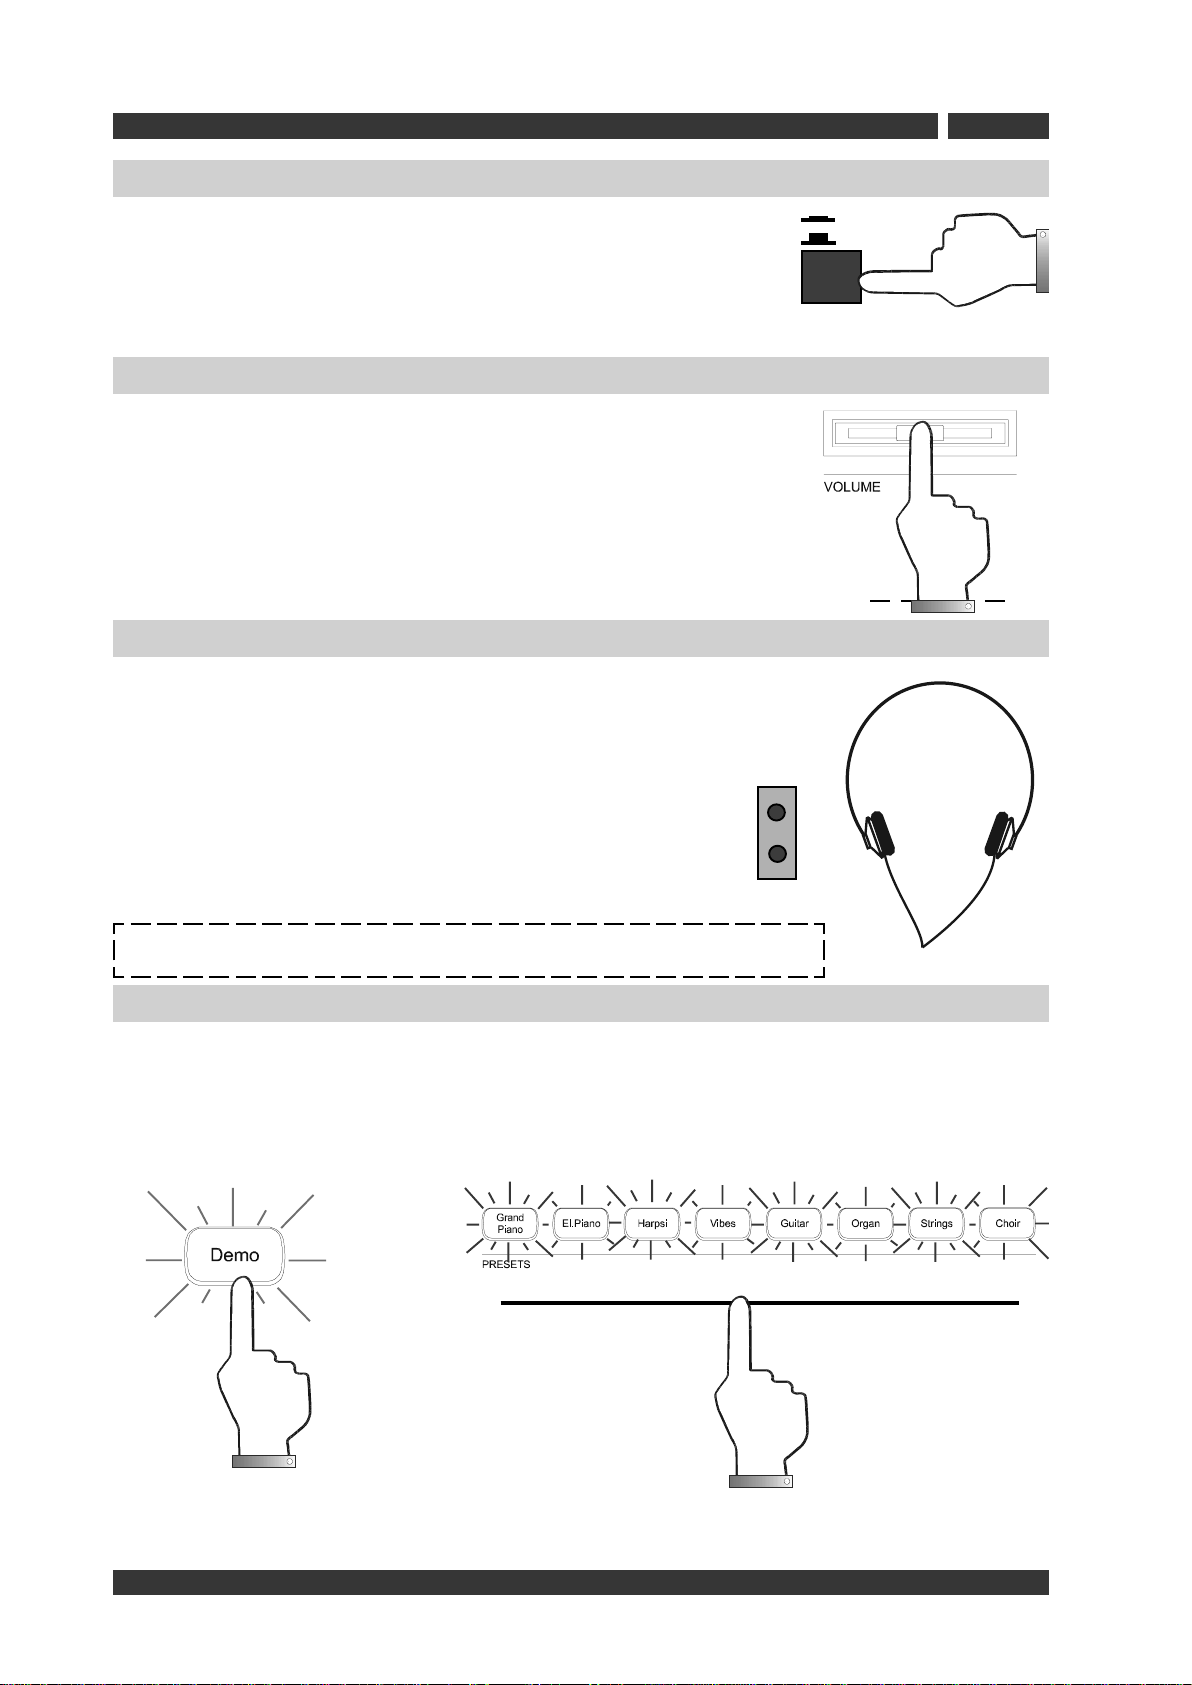
LEVEL Select ..................................................................................... 4
SPLIT ................................................................................................ 4
METRONOME ...................................................................................... 5
Metronome parameters editing ............................................................. 5
TEMPO ............................................................................................... 5
TRANSPOSE ....................................................................................... 5
REVERB ............................................................................................. 6
EFFECTS ............................................................................................ 6
MAF: Selecting MAF (Mechanical Acoustic Feel)........................................ 7
TOUCH .............................................................................................. 7
SONG PLAYER/REC .............................................................................. 8
PROGRAM .......................................................................................... 9
Function............................................................................................. 9
Piano FUNCTION menu ........................................................................ 9
Tune .............................................................................................. 10
Temperament ................................................................................. 10
Volume metronome ......................................................................... 10
Equalizer ........................................................................................ 10
Decay Env. ..................................................................................... 11
Transpose Lower ............................................................................. 11
Transpose Upper ............................................................................. 11
MIDI................................................................................................ 11
UP1 ............................................................................................... 11
UP2 ............................................................................................... 11
BAS ............................................................................................... 12
FIL ................................................................................................ 12
LOC ............................................................................................... 12
Backup ............................................................................................ 12
Speaking help ................................................................................... 12
Restore deafaults .............................................................................. 12
Release............................................................................................ 12
Preset & Variation list ........................................................................ 13
Rear Panel........................................................................................ 13
Technical Specifications ...................................................................... 14
Midi implementation chart .................................................................. 15

VP121
owner’s manual
EN 1
CONTROL PANEL
VOLUME: Adjusts
the master Volu-
me.
Level Select: Adjust
parameter of Balance/
Brillance)
Level: Adjusts the brillance or
two sounds balance.DEMO: Starts the Built-in
DEMO.
SPLIT: Divides the keyboard in two
parts and assigns a suitable bass
sound for the left part.
PRESETS: Recalls the Pia-
no Sound Presets
DISPLAY: Shows the
numeric value of the
various parameters.
METRONOME:
Switches the
metronome ON/
OFF.
TEMPO DATA:
Sets parameters
in control menus
and adjusts the
metronome
speed.
TRANSPOSE:
Allows you to
transpose the
piano (+/- 12
semitones).
Reverb/Effect:
select the different
reverb and effect
presets.
MAF: Recalls the
different MAF
effect presets
(only on the Piano
Sound).
TOUCH: select
keyboard touch
sensitive
RECORDER:
Selects
Recording
Functions (Rec.-
Stop-Play/pause)
All the functions of your digital piano can be found on the control panel.
PROGRAM:Access
the Function Menu.
Congratulations! We thank you for selecting the all-new Galileo VP121 digital piano!
Whether you are a student, teacher or professional, your piano will impress you with its
musical quality and stylish design - providing years of enjoyment. In addition, your digital
piano is equipped with a high-performance Graded Hammer Action keyboard, for a realistic
touch that allows you to express yourself in endless varieties of shade and color.
For these and many other reasons, you will discover your VP121 is an absolute pleasure to
play!
To get the absolute most out of your new piano, we recommend that you read this manual
carefully so that you can take full advantage of all the advanced and convenient functions. We
also recommend that you keep this manual in a safe and handy place for quick and easy
reference in the future.
If you’re enjoying your Galileo piano, please tell a friend!

EN 2
VP121
owner’s manual
Turn the power on
Demo listening
Connecting headphones
Master volume set up
Connect the instrument power supply to an appropriate AC outlet
and switch it on using the ON/OFF button on the front panel.
The default sound on start-up is PIANO1.
Move the volume slider on the control panel to set the instrument
volume. Moving the slider to the left will decrease the volume, moving
it to the right will increase the volume.
Warning! Excessive volume (especially with headphones connected)
can be harmful to your hearing.
In addition to the internal amplification system, You can connect
two sets of standard stereo headphones. The headphones inputs
are located underneath the left hand side of your keyboard.
Move the volume slider to set the headphone volume.
Your piano features 8 demo songs. This is a great way to become familiar with the variety of
sounds on your instrument in a quick and easy manner. To start a demo song, simply press the
corresponding button to the demo song of your choice. Min. Max.
ON
OFF
KK
KK
KKK
KK
KKK
KK
KKK
KK
KKK
KK
KKK
KK
KKK
KK
KKK
KK
K
POWER
Whenever the DEMO button is pressed the preset selection button will start flashing. You will
need to select any of the flashing buttons within 2 seconds. The demo song assigned to that
button will begin.
XX
XX
X
WW
WW
W
NOTE:The headphones connection disables the internal speaker
system.
12

VP121
owner’s manual
EN 3
Presets selection
The presets are the internal sounds on your VP 121 digital piano. Your piano has 16 professional
sounds which may be played separately, or in combinations of two. They have been selected &
optimized with the associated effects and control parameters to provide you with the most
exciting combinations.
Selecting sounds is very easy. First locate the presets section on the control panel. Next,
simply press the sound button you want to recall.
The selected preset is indicated by an illuminated blue led on the button.
The default preset is PIANO1
Presets Variation
Each of the piano sounds features one ‘variation’.
Dual Presets
Your piano allows you to easily use dual sounds (i.e.: Piano + Strings).
To select dual sounds, press two voice buttons at the same time (or press one voice button
while holding another). The voice led-light of both selected voices will be illuminated when
Dual mode is active.
Dual PIANO1 & STRINGS1
NB. When you are in
dual mode, the “level”
slider changes
automatically to adjust
the balance of the two
sounds.
NOTE: Pressing any of the sound buttons individually, your piano will switch back to Single mode.
To recall a sound variation press the same sound
button a second time. The led light will change from blue
to red. You can now play the
sound variation.
1
2

EN 4
VP121
owner’s manual
SPLIT
SPLIT Bass:
To activate the Bass Sound in the
left hand press the BASS button.
The Bass sound selection is
illustrated by the corresponding
led on the panel. Press the Bass
button to change the Bass
Sound.
SPLIT Sound:
To activate the Sound Preset of the left hand press the Sound button.
To select the different Sound presets hold the Sound button and press one of the Presets or
variation.
Balance: Allows you to modify the balance between two
sounds when you are playing in dual or split mode. If you
play the piano in “single mode” the level select is locked
to brilliance.
In the Easy Split mode you can adjust the volume between
the two sounds (Lower and upper).
If you select balance mode when you have also enabled both split and dual mode the balance
adjusts the level of dual sounds, while the split sound will play with the last memorized balance
level.
The split controls allow you to activate the split (divide the keyboard in two parts), to select
the active split sounds, and select the split points for your Bass and upper part Sounds.
XX
XX
X
WW
WW
W
LEVEL Select
The Level slider has two different functions - it can adjust the Brilliance OR Balance.
When the Brilliance led is on, the Level slider will adjust the Brilliance (or EQ) of the sound.
When the Balance led is on, the Level Slider adjusts the Balance of two sounds (dual mode).
By pressing the Level Select button you can alternatively switch between the two modes.
Whenever you change level select mode, the current level of the old mode is stored in memory,
while the last stored level of the new mode will become the current level.
Brilliance: to lower the sound brilliance – simply move
the slider to the left, moving the slider to the right will
increase brilliance. If you change mode the last brilliance
value will be stored in memory.

VP121
owner’s manual
EN 5
TRANSPOSE
TEMPO
You can change the Tempo value
(beats-per-minute) in a range from 30
to 250 (default 120), using the TEM-
PO/DATA button.
METRONOME: playing with a metronome guide
Press the METRONOME button to enable the metronome feature. The button led-light starts flashing
while the display will show the current metronome value (speed). The metronome value has a
default preset of 120 BPM (beats-per-minute) and can be changed in a range from 30 to 250 BPM.
Metronome parameters editing
By holding the METRONOME button for more than 2 seconds,
the piano will enter the metronome editing menu. The display
shows the first parameter: TIME SIGNATURE.
Using the TEMPO/DATA button you can set the meter you desire
(1/4 - 2/4 – 3/4 - 4/4 – 5/4 – 6/4 – 7/8 – 3/8 – 6/8 – 7/8 – 9/
8 – 128) .
Press the METRONOME button a second
time to turn off the metronome.
Use the TEMPO/DATA buttons to
change the current beat value.
press the METRONOME button to exit.
Your piano can be transposed by +/-12 semitones. Press and hold the
TRANSPOSE buttons on the control panel for more than 2 seconds - the
corresponding led blinks.
Press the TEMPO/DATA buttons to change the current value.
The first time you press the buttons the display will show the current value
(default=0, C=C). The next time you press the buttons the value will be
modified.
Press the TRANSPOSE button to exit the transpose edit status. The button
led stops flashing but remains ON, to show the current transposed status of
the piano.
Press the TRANSPOSE button again, to quit the transpose, restoring your
piano to normal/default mode.
decrease value increase value
default 120bpm
To recall your piano’s default value (120 bpm) press
TEMPO/DATA buttons at the same time.
Change the Split point:
To change the Split Point Press and hold the Bass button
down for two seconds, the display shows the current Split
Point. Play the note on your piano (or use the DATA buttons)
to assign a new split point. Press both of the DATA buttons
at the same time to return to the default split-point C2.
Press the Bass button again to exit from editing.
T
T
TEMPO/DATA
METRONOME
T
T
TEMPO/DATA
T
T
TEMPO/DATA
METRONOME

EN 6
VP121
owner’s manual
Each of your VP121 sounds can include a reverb effect. The reverb type (Room - Hall 1 - Hall
2 - Stage) selection is indicated by the corresponding led on the panel. Press the reverb button
to change the reverb type.
REVERB: Selecting or modifying a reverb in a preset
Edit the effect send value for a selected preset
EFX: Each of your VP121 sounds can include digital effect (Chorus - Phaser - Tremolo - Delay). The
effect type selection is illustrated by the corresponding led-light on the panel. Press the EFX button
to change the effect.
EFFECTS: Selecting or modifying a effects in a preset
Edit the "reverb send" value for a selected preset
It is possible to customize the default reverb level set from the factory. Keep the REVERB
button pressed for two seconds. The current reverb led-light will start flashing and the display
shows the current send level value (from 1 to 10).
To modify the value press the DATA button.
Note: it is possible to change the reverb send for any Sound Preset.
The preset PIANO1 has the
effect OFF (all led-light are off).
It is possible to customize the default effect level set from the factory. Keep the EFX button
pressed for two seconds. The current effect led-light will start flashing and the display shows
the current send level value (from 1 to 10).
Note: it is possible to change the effect send for any Sound Preset.
Reverb OFF
(all leds off).
decrease value increase value
Effects OFF (all
led-light off).
To modify the value press the DATA button.
decrease value increase value
EFFECTS
Reverb
Stage
Hall 2
Hall 1
Room
EFFECTS
Reverb
Stage
Hall 2
Hall 1
Room
EFFECTS
Reverb
Stage
Hall 2
Hall 1
Room
EFFECTS
Reverb
Stage
Hall 2
Hall 1
Room
EFFECTS
Reverb
Stage
Hall 2
Hall 1
Room
Effect
Delay
Tremolo
Flanger
Chorus
Effect
Delay
Tremolo
Flanger
Chorus
Effect
Delay
Tremolo
Flanger
Chorus
Effect
Delay
Tremolo
Flanger
Chorus
Effect
Delay
Tremolo
Flanger
Chorus
EFFECTS
Reverb
Stage
Hall 2
Hall 1
Room
Effect
Delay
Tremolo
Flanger
Chorus

VP121
owner’s manual
EN 7
The MAF (cabinet and mechanical sound simulation – physical modelling) selection is available
on the piano sound only. The MAF type (Classic - Baby Grand - Grand ) selection is indicated
by the corresponding led-light on the panel. Press the MAF button to change the MAF type.
MAF OFF (all led-lights off).
MAF: Selecting MAF (Mechanical Acoustic Feel)
TOUCH: selects keyboard touch sensitivities
The TOUCH parameter sets the touch sensitivity on your piano. In this way it is possible to
adapt the instrument to the piano technique that best suits your playing style.
The piano default
uses a NORMAL
touch sensitivity.
Programming a fix dynamic value
No dynamic sensitivity (fixed value)
Highest dynamic sensitivity (recommended for
those who play with a light touch)
Optimal sensitivity (default value)
Reduced dynamic sensitivity (recommended for
those who play with a heavy touch)
FIXED
SOFT
NORMAL
HARD
Select first the
TOUCH FIX mode
no light on
Keep the TOUCH button
pressed for more than
2 sec. the display shows
the current fixed
dynanic value:
Now by pressing the TEMPO/DATA buttons you can set the dynamic value transmitted by
the keyboard.
MAF OFF (all
leds off).
decrease value
1
increase value
2
min. max

EN 8
VP121
owner’s manual
SONG PLAYER/REC: recording a song
This section allows you to easily record and playback your performances.
Press the RECORD button to prepare recording.
Two record modes are possible:
1. Press the RECORD button to immediately start record.
The recorder will record all events - including what you play on the keyboard, the pedals, and
even changing the presets and effects buttons (Rev-EFX-MAF).
2. Keep the RECORD button pressed for two seconds. The button starts flashing and the
recording is enabled, when you play the first note on the keyboard the piano will start
recording.
STOP: Press the STOP button to stop recording (or playback).
Press STOP one more time, the playback starts from the
beginning of the song (Go to Start mode).
PLAY/PAUSE: press PLAY/PAUSE button to listen to your
recording.
Press PLAY/PAUSE once, the button led-light will flash -
indicating you are in pause mode.
Now press PLAY/PAUSE one more time, the playback will begin
from the same point where the song was stopped.
(Continue mode)
Recording using the metronome guide
With the sequencer it is possible to record a song using your metronome as a guide.
Set up the metronome as already explained in the previous chapter (metronome editing),
TIME SIGNATURE, VOLUME, SPEED. When these correspond to your needs, press the REC
button on the control panel.
They will be automatically memorized in the sequencer.

VP121
owner’s manual
EN 9
Function
FUNCTION button allows to enter the function menù . The
function , LED starts flashing and the display shows F 1
(first function).
To select other MENU function (F1...F12) use the DATA
buttons.
Enter
Press ENTER button to select your desired function
(F1...F12)
The display shows the current value.
Use the DATA buttons to edit the value
Press the ENTER button to confirm any modification, the
display shows the function selected.
Press the FUNCTION button to exit
Piano FUNCTION menu
PROGRAM:
The piano functions menu allows you to adjust your piano to different operating situations.
Functions parameter range
F1
F3
F4
F5
F6
F7
F8
F9
F10
F11
F12
Tune
Temperament
Volume metronome
Equalizer
Decay Env.
Transpose lower
Transpose upper
MIDI
Back-up
Help
Restore defaults
Release
From -99 to 99 cent
Equal (default), Pythagorean, Vallotti, Meantone,
Weirckmeister, Kirnberger
From 0 to 10
ON/OFF
F2
ON/OFF
(-3, -3, -1, 0, +1, +2, +3)
(-3, -3, -1, 0, +1, +2, +3)
ON/OFF
ON/OFF
Yes/No
Release software
UP1 - UP2 - BAS - FIL - LOC
T
T
TEMPO/DATA
Enter Function
PROGRAM
T
T
TEMPO/DATA
Enter Function
PROGRAM
T
T
TEMPO/DATA
Enter Function
PROGRAM

EN 10
VP121
owner’s manual
1. Equal (default)
2. Pythagorean
3. Vallotti
4. Meantone
5. Weirckmeister
6. Kirnberger
ÎÎÎÎÎÎÎÎÎÎÎÎ
ÎÎÎÎÎÎÎÎÎÎÎÎ
ÎÎÎÎÎÎ
(F2)Temperament
This function allows you to select different temperaments (type of
tunings):
the display shows the current temperament value (S1...S6)
(F1)Tune
This function allows you to adjust the piano's pitch:
the display shows the current tune value 0.0 by default.
Edit the value using the TEMPO/DATA buttons, from -99 to 99
cent of tone. 0.0=standard pitch A=440Hz
Change the temperament
using the TEMPO/DATA
buttons.
(F3)Volume metronome
This function allows you to modify the volume of metronome:
the display shows the current value (0...10)
Edit the value using the TEMPO/DATA buttons.
(F4)Equalizer
This menu turns the internal equalizer ON or OFF.
the display shows the current value (ON) by default.
Set OFF using the DATA buttons.
decrease value increase value

VP121
owner’s manual
EN 11
(F5)Decay Env.
This new function enables you to select two different modes for the damper pedal for the
decay of strings, pads, organs etc. sounds. If using dual sounds (piano+strings) for example,
you can select DECAY ENV. ON (which is the factory default), allowing the string sound to
decay at a pre determined decay envelope. By turning this feature to OFF, the Strings, (Pads,
Organ etc.) will remain “held” until you release the damper pedal.
Pressing the DATA button the display shows the current value (ON by default).
(F6)Transpose Lower
This function allows you to traspose the Lower part.
Pressing ENTER button the displays the current
value, Default: 0. (No traspose)
Press the TEMPO/DATA button to edit the value
(-3, -2, -1, 0, +1, +2, +3)
(F7)Transpose Upper
This function allows you to traspose the Upper part.
Pressing ENTER the display shows the current value,
Default: 0. (No traspose)
Press the TEMPO/DATA button to edit the value (-
3, -2, -1, 0, +1, +2, +3)
(F8) MIDI
This function allows you to edit the piano MIDI confi
gurations on your piano.
The ENTER button allows you to choose one of these
functions:
UP1 - UP2 - BAS - FIL - LOC
Select a function by using the TEMPO/DATA button.
Press ENTER to edit the function.
UP1: This function allows you to edit the Upper 1 MIDI IN/OUT confi guration. (1-16).
Default: MIdi channel 1.
UP2: This function allows you to edit the Upper 2 MIDI IN/OUT confi guration, (1...16).
Default: MIdi channel 2.
Edit the the value using the TEMPO/DATA buttons.
Press ENTER to confirm.
Edit the the value using the TEMPO/DATA buttons.
Press ENTER to confirm.
Set OFF using the DATA buttons.
T
T
TEMPO/DATA
T
T
TEMPO/DATA
T
T
TEMPO/DATA
T
T
TEMPO/DATA
Enter Function
PROGRAM

EN 12
VP121
owner’s manual
BAS: This function allows you to edit the Bass section MIDI IN/OUT confi guration, (1...16).
Default: MIdi channel 3.
FIL: If you are using the piano to control other instruments connected via MIDI, it may be
necessary to filter the Control and Program change messages from the MIDI transmission.
Pressing the TEMPO/DATA button the display shows the current value (OFF by default).
Set the filter type using the TEMPO/DATA buttons.
LOC: This function allows you to properly connect the piano to a computer MIDI network,(ON/
OFF)
Default: ON.
Set OFF using the TEMPO/DATA buttons.
Edit the value using the TEMPO/DATA buttons.
Press ENTER to confirm.
0OFF
1Program Change
2 Control Change
3Program Change + Control Change
(F9) Backup
With this menu you can decide if the default start set up of the piano will be factory set or user set.
(F10) Speaking help
To disable or enable the voice-help in the function menu.
Default: ON.
(F11) Restore deafaults
This will Restore Factory Settings on the piano. The sequencer memory will be erased.
Default: YES.
Set NO using the TEMPO/DATA buttons.
Set YES and press ENTER to confirme the factory reset: the piano will re-start.
Press ENTER to confirme.
(F12) Release
This function will illustrate the software release number on your
VP121 piano.
Set OFF using the DATA buttons.
Default: ON.
Set OFF using the DATA buttons.
T
T
TEMPO/DATA
Enter Function
PROGRAM

VP121
owner’s manual
EN 13
REAR PANNEL
MAIN OUT
Right e Left/Mono Connect the instrument to an external speaker system.
(1)
(2)
(3)
(4) INPUT
Right e Left/Mono Connect an instrument to the internal speaker system (CD, MIDI
player, etc.)
MIDI
In-Thru-Out
Socket to connect the pedals (Damper, Soft, Sostenuto)
PEDAL
Standard MIDI connection
PRESET E VARIATION LIST
prg Preset prg Variation prg Bass
1
2
3
4
5
6
7
8
9
10
11
12
13
14
15
16
Grand Piano (MAF) Upright Piano (MAF)
Vibraphone
Digital Piano
Harpsichord Clavi
El. Vintage Piano
Nylon Guitar
Church Organ
Strings Ensamble Slow Strings Ensamble
Choir Warm Pad
Jazz Organ
Jazz Guitar
Marimba
17 Acoustic
18 Electric
19 Fretless
20 Acou+Ride
(1) (2) (3) (4)

EN 14
VP121
owner’s manual
Technical Specifications
keyboard 88 keys with graded hammer action
poliphony 64 note max
volume, balance/brillance, demo, split, metronome, play, stop, rec, tem-
po/data, transpose, preset and variation selection, split, , reverb (send
edit), efx (send edit), MAF 3 preset: Classic - Baby Grand - Grand -
OFF, touch (3 dynamic curves + fix mode), functions menu: global tune,
temperament (6 types),volume metronome, equalizer on/off, decay env.
on/off, transpose lower, transpose upper, midi menu (receive/transmit
channel progr., local control, midi filter), back up mode.
Whole, Layer, Dual (volume balance adjustable), Split (progr.)
20 presets
ISS2 piano technology
MAF technology (Mechanical Acoustic Feel).
sounds
operating mode
controls
technology
digital effects 4 reverber and 4 modulation ,assignable with separate sends.
sequencer 3 tracks, 64.000 events, metronome 8 demo songs.
display led 3 digits
connections stereo in/out L (mono)/R, MIDI (In/thru/out), Headphone X 2, AC In
pedals damper, soft, sostenuto
cabinet
amplification
dimensions(WxDxH)
weight
50W + 50W
Hig Gloss black - Rosewood (with a sliding keyboard cover)
(54,134” x 20,177” x 41,22”)
137,35 pounds
TECHNOLOGY
graded hammer feeling
keyboard with graded weighting for
a realistic touch
Speaking Help
Vocal guide helps using
the advanced system
functions
MAF technology (Mechanical Acoustic Feel).
Reproduction of sympathetic vibration of free
strings, reproduction of the mechanical noises
of the acoustic piano, simulation of the piano
type ranging from concert grand piano, to bodoir
grand piano and upright piano.
ISS2 piano technology
Interpolated spectral synthesis,
based on advanced convolution
processes and multisample
processing.
Easy to use
Simple and easy control
panel.
Table of contents
Languages:
Other Galileo Musical Instrument manuals

Galileo
Galileo Milano 3G User manual

Galileo
Galileo VP110 User manual

Galileo
Galileo Organ User manual

Galileo
Galileo Maestro II User manual

Galileo
Galileo Milano 3G User manual

Galileo
Galileo my1stpiano User manual

Galileo
Galileo Concerto User manual

Galileo
Galileo YP300 User manual

Galileo
Galileo VP111 User manual

Galileo
Galileo Milano II User manual