703201 Rev B Game Ready 2008
Storage Instructions
CoolSystems, Inc.
1201 Marina Village Pkwy. Suite 200
Alameda, CA 94501
1.510.868.2100
www.gameready.com
RECHARGEABLE BATTERY PACK KIT # 573197
Battery Connector Cable
AC Charger
Thank you for choosing the Game Ready Rechargeable Battery Pack Kit. To assure you have the best
possible experience, please be sure to read these instructions carefully prior to use.
Battery Pack Features
Can be used with Game Ready Control Unit models #500055, 550250, 550350, 550550-xx.
Use when AC power is unavailable or inconvenient.
Will provide power to Control Unit for approximately seven hours of treatment.
Fully charges in just a few hours.
Easy power level reading with push-button fuel gauge.
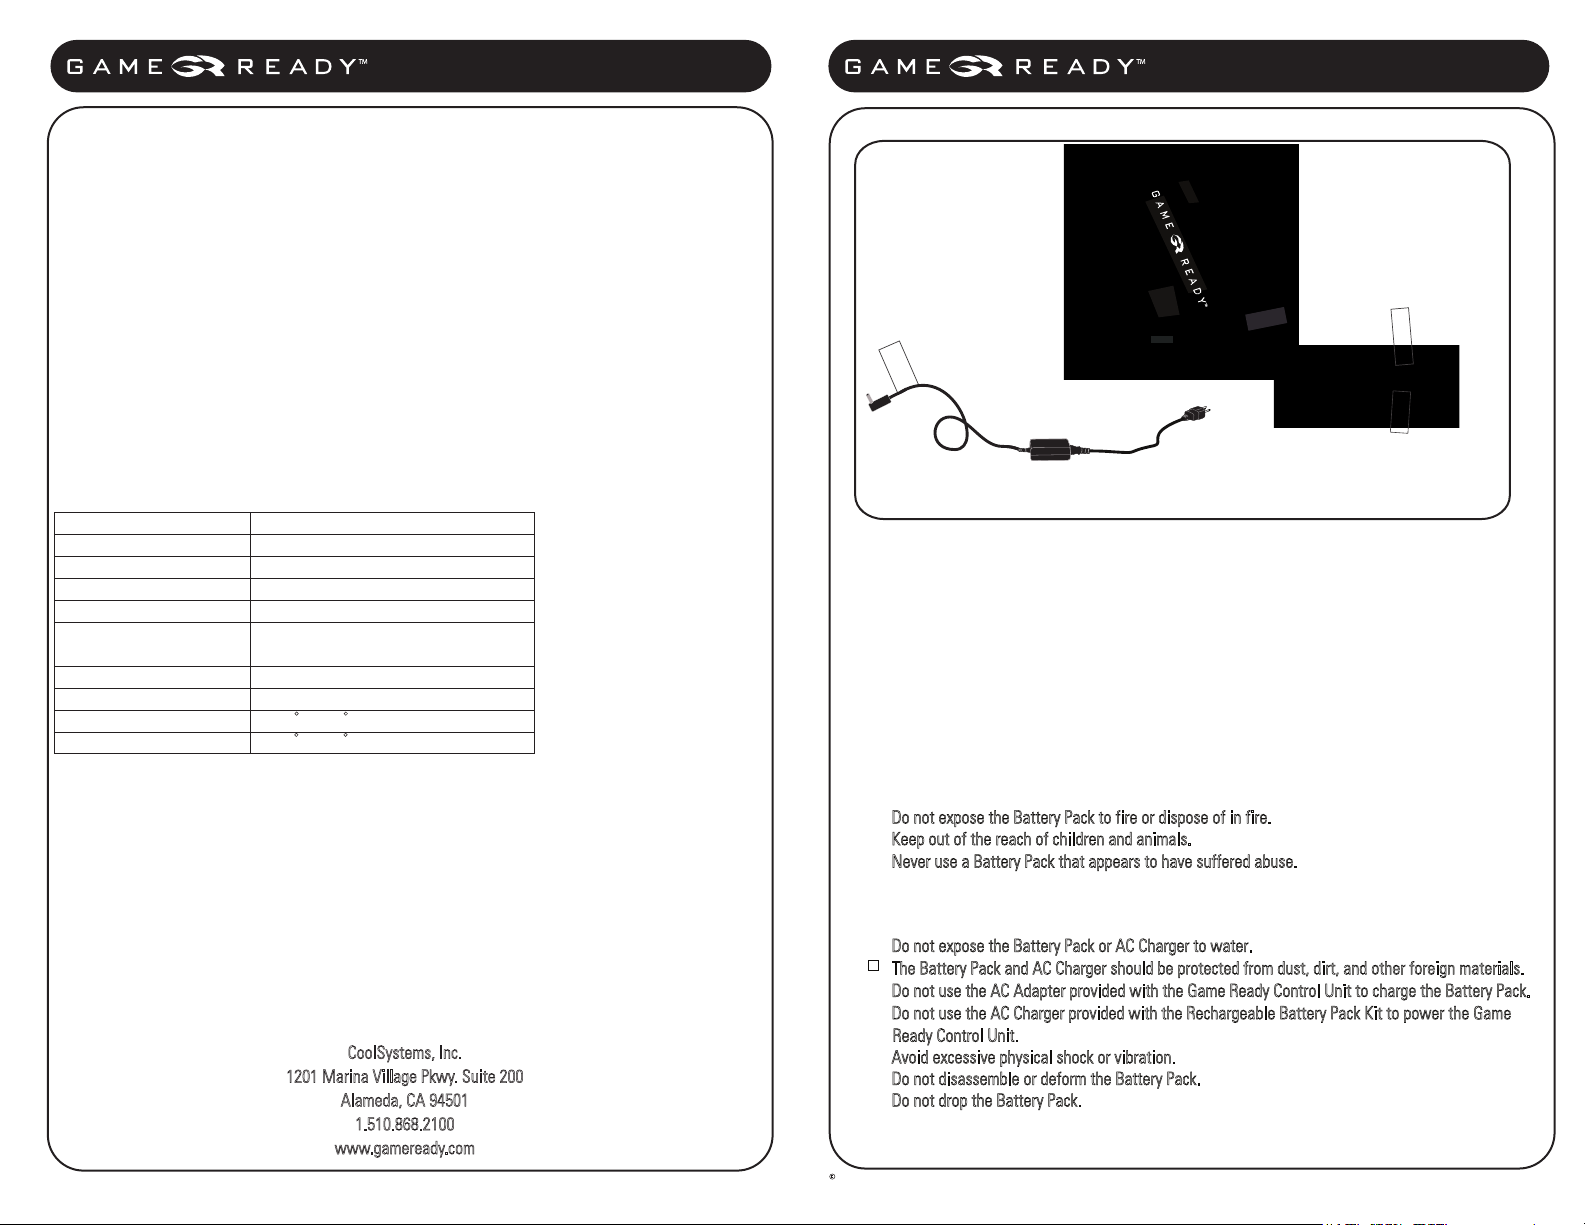
WARNINGS
Do not expose the Battery Pack to fire or dispose of in fire.
Keep out of the reach of children and animals.
Never use a Battery Pack that appears to have suffered abuse.
CAUTION
To avoid damage to the Battery Pack and Game Ready Control Unit:
Do not expose the Battery Pack or AC Charger to water.
The Battery Pack and AC Charger should be protected from dust, dirt, and other foreign materials.
Do not use the AC Adapter provided with the Game Ready Control Unit to charge the Battery Pack.
Do not use the AC Charger provided with the Rechargeable Battery Pack Kit to power the Game
Ready Control Unit.
Avoid excessive physical shock or vibration.
Do not disassemble or deform the Battery Pack.
Do not drop the Battery Pack.
Warranty Information
The Rechargeable Battery Pack Kit is warrantied to be free from defects in material and workmanship for three
months from date of purchase. (Proof of purchase required)
Extent of Limited Warranty
This limited warranty does not cover damages due to external causes, including, without limitation, accident,
usage not in accordance with product instructions, misuse, neglect, alteration or repair.
Store in a cool, dry and well-ventilated area.
Optimum storage is achieved at room temperature. Elevated temperatures will reduce Battery Pack life.
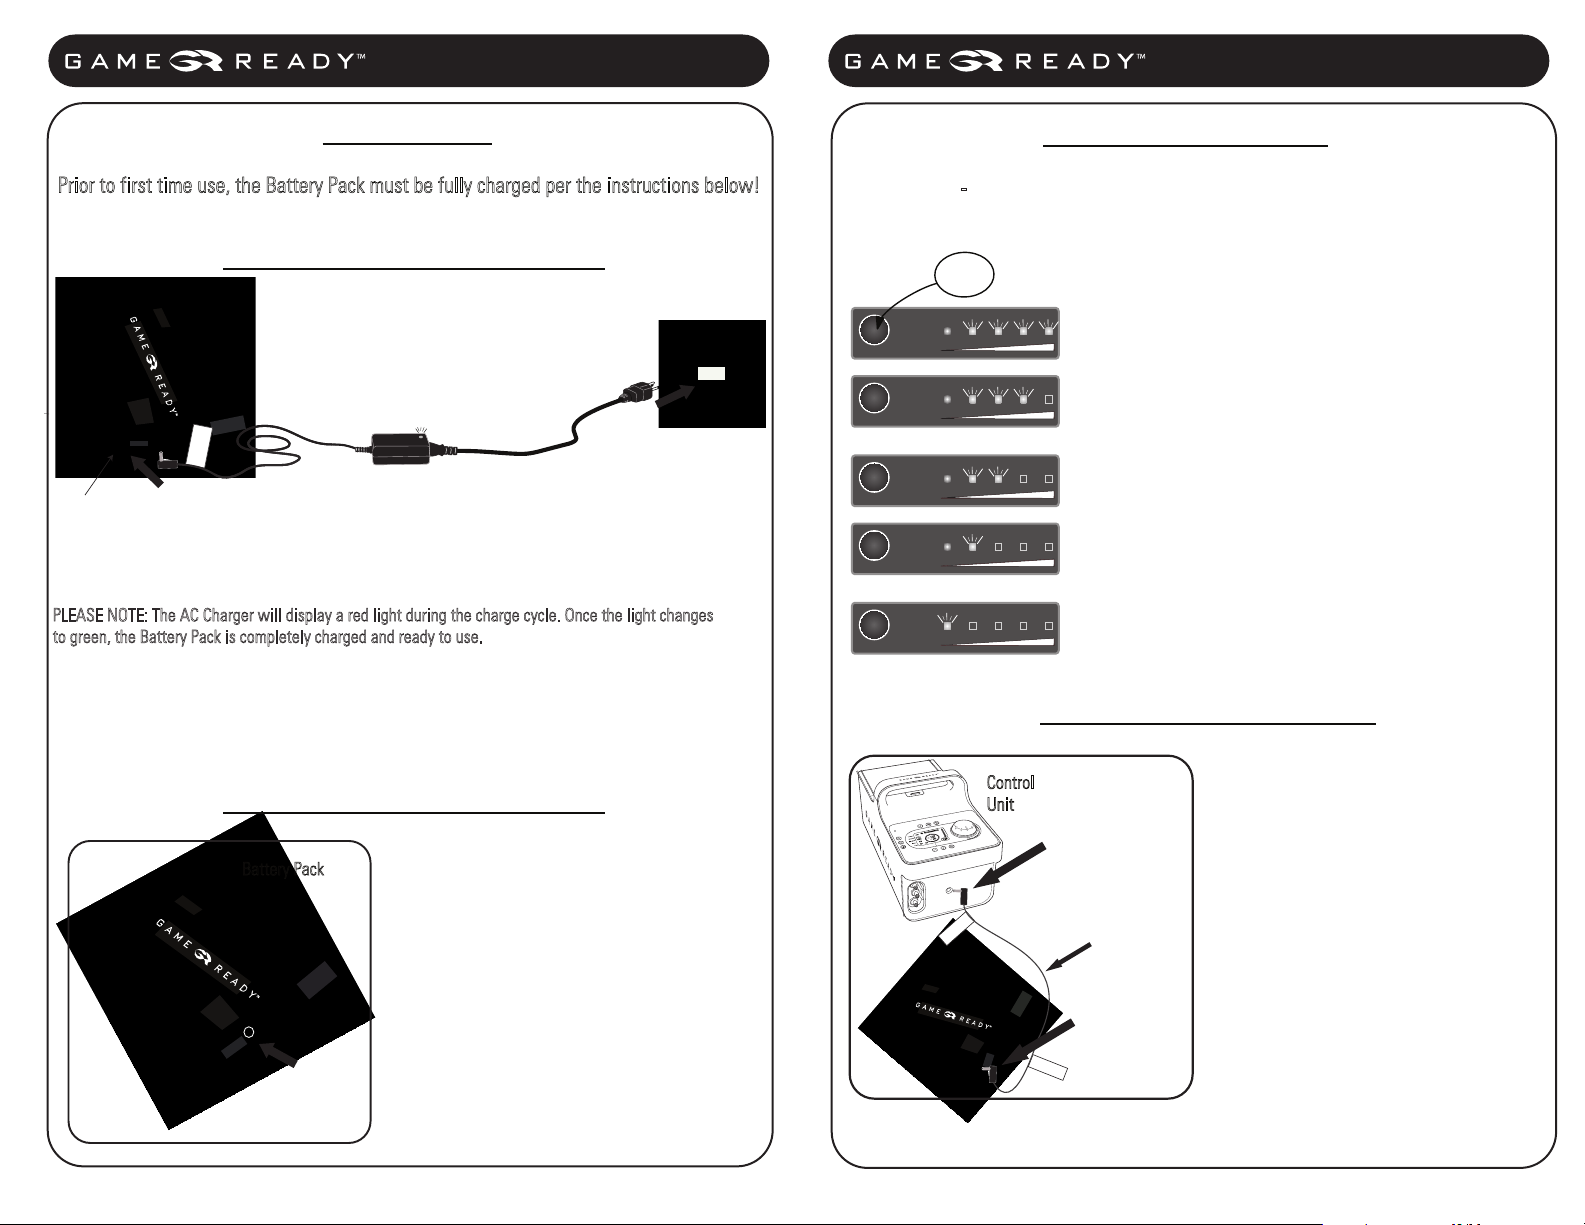
Battery Packs are shipped with 30 - 50% remaining capacity to give some residual power prior to fully
charging. (Note: It is recommended to fully charge the Battery Pack prior to first time use)
It is recommended that the Battery Pack is periodically recharged if long storage is required to preserve
the electronic integrity of the Battery Pack.
Disposal
Regulations for disposal of Battery Packs vary for different countries. Please dispose of in accordance with local
regulations.
PLEASE NOTE: Battery Pack capacity will diminish over time with age and use.
Environmental/Safety Specifications
Connect to
Battery
Page 1
Page 4
102788 Rev A
Manufactured by Inspired Energy (MFG P/N #NI2020CS)
573197 - Rechargeable Battery Pack Kit573197 - Rechargeable Battery Pack Kit
Lithium Ion Battery
Capacity 100Wh
Input Voltage 12.0V
Output Voltage 9V - 12.6V
Input Current (Max) 3.5A
Output Current (Max) 9A
Protection over-charge/over-discharge
excess current/short circuit
Fuel Gauge 5 LED indicators
Size/Weight 185x125x22mm/780g
Operations Temperature -10 to +40 C
Storage Temperature -20 to +50 C (60% power remaining)
Connect to
Battery
Connect to
Control Unit
Battery Pack