manuals.online logo
Brands
  1. Home
  2. •
  3. Brands
  4. •
  5. CyberPower
  6. •
  7. Batteries Pack
  8. •
  9. CyberPower BCA Series User manual

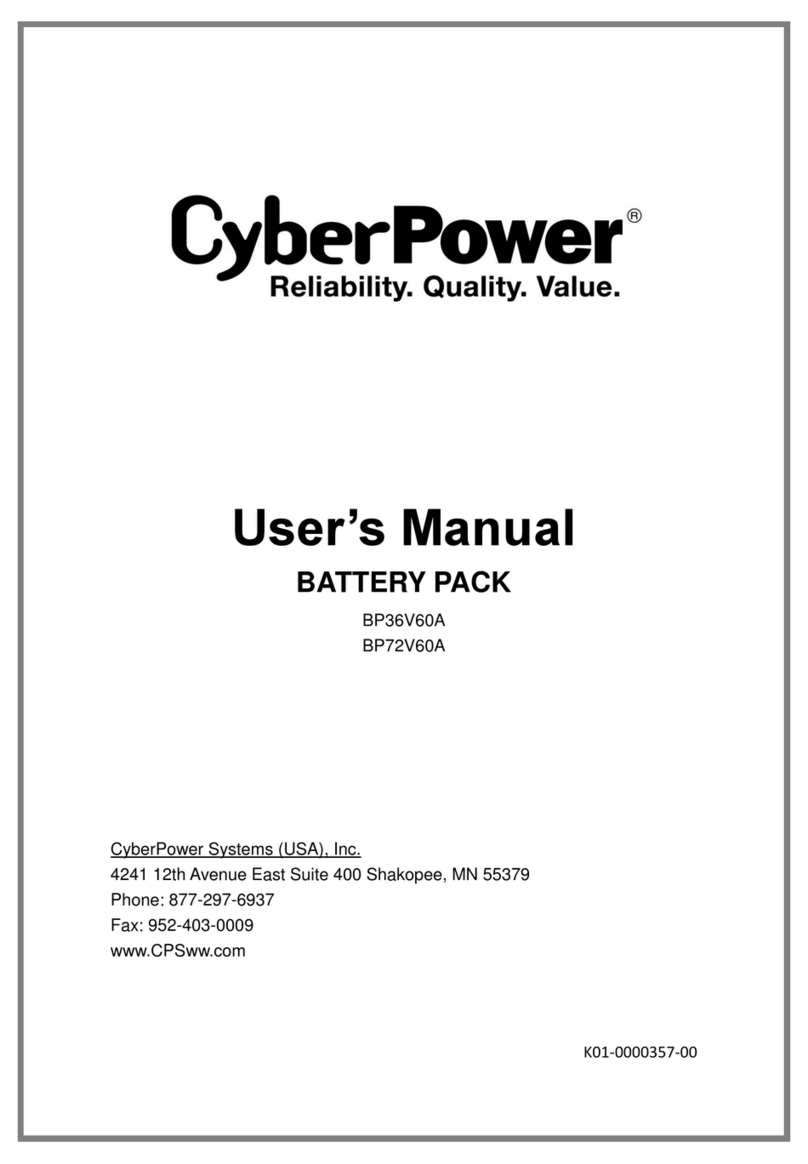
CyberPower BCA Series User manual

This manual suits for next models

1

Other CyberPower Batteries Pack manuals

CyberPower BPE36V60ART2US User manual

CyberPower

CyberPower BPE36V60ART2US User manual

CyberPower BPL48V75ART2U User manual

CyberPower

CyberPower BPL48V75ART2U User manual

CyberPower BP48V75ART2UTAA User manual

CyberPower

CyberPower BP48V75ART2UTAA User manual

CyberPower BPSE36V45ART2U User manual

CyberPower

CyberPower BPSE36V45ART2U User manual

CyberPower BP36V60ART2U User manual

CyberPower

CyberPower BP36V60ART2U User manual

CyberPower BP48V45ART2U User manual

CyberPower

CyberPower BP48V45ART2U User manual

CyberPower BPE240V30AS User manual

CyberPower

CyberPower BPE240V30AS User manual

CyberPower BPE36V60AS User manual

CyberPower

CyberPower BPE36V60AS User manual

CyberPower CS20A-EBP User manual

CyberPower

CyberPower CS20A-EBP User manual
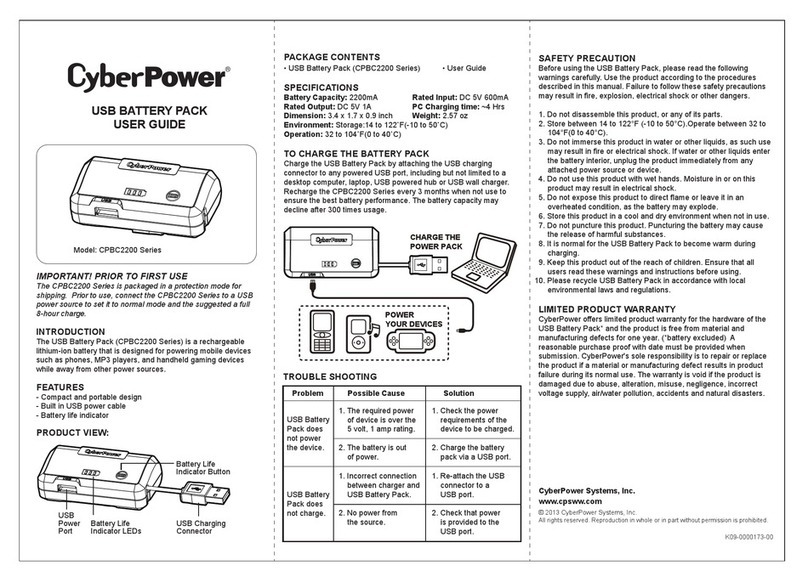
CyberPower CS150U48V3 User manual

CyberPower

CyberPower CS150U48V3 User manual

CyberPower BP36V60A User manual

CyberPower

CyberPower BP36V60A User manual

CyberPower BP36V60ART2U User manual

CyberPower

CyberPower BP36V60ART2U User manual

CyberPower BP48V45ART2U User manual

CyberPower

CyberPower BP48V45ART2U User manual

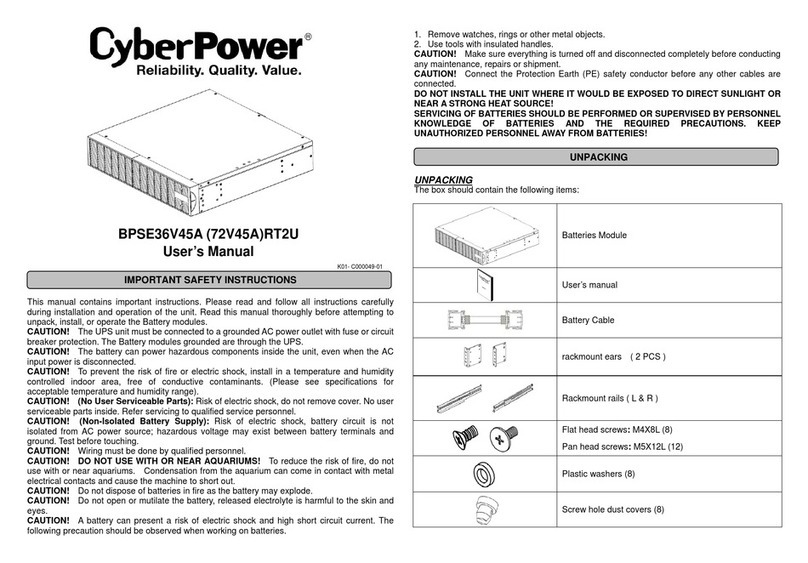
CyberPower CPBC2200 Series User manual
CyberPower

CyberPower CPBC2200 Series User manual

Popular Batteries Pack manuals by other brands

Acumentrics PACK-POWER SYSTEM Quick reference guide

Acumentrics

Acumentrics PACK-POWER SYSTEM Quick reference guide

ACDC Dynamics SPF12-50 user manual

ACDC Dynamics

ACDC Dynamics SPF12-50 user manual

Aegis ABL-72020P user manual

Aegis

Aegis ABL-72020P user manual

Dyness TowerESS user manual

Dyness

Dyness TowerESS user manual

Growatt APX 5.0P-S0-US user manual

Growatt

Growatt APX 5.0P-S0-US user manual

Dometic PLB40 operating manual

Dometic

Dometic PLB40 operating manual

V-TAC VT-48280-W2 instruction manual

V-TAC

V-TAC VT-48280-W2 instruction manual

Valence RT user guide

Valence

Valence RT user guide

Nikon MB-D14 user manual

Nikon

Nikon MB-D14 user manual

Clas Ohlson PW-290A quick start guide

Clas Ohlson

Clas Ohlson PW-290A quick start guide

EINHELL MULTI-Ah Power X-Change Plus Original operating instructions

EINHELL

EINHELL MULTI-Ah Power X-Change Plus Original operating instructions

IOGear GBP24V Series user manual

IOGear

IOGear GBP24V Series user manual

Samsung EB-U3300 quick start guide

Samsung

Samsung EB-U3300 quick start guide

ECTIVE LC Series instruction manual

ECTIVE

ECTIVE LC Series instruction manual

Narada 12REXC70 Operation manual

Narada

Narada 12REXC70 Operation manual

Festool BP 12 Original instructions

Festool

Festool BP 12 Original instructions

Simons Voss Technologies CR2450 quick guide

Simons Voss Technologies

Simons Voss Technologies CR2450 quick guide

Huawei LUNA2000-2.0MWH Series user manual

Huawei

Huawei LUNA2000-2.0MWH Series user manual

manuals.online logo
manuals.online logoBrands
  • About & Mission
  • Contact us
  • Privacy Policy
  • Terms and Conditions

Copyright 2025 Manuals.Online. All Rights Reserved.

Installation manual for BCA series
BCA40N250A
Copyright © Cyber Power Systems, Inc. All rights reserved.
WWW.CYBERPOWER.COM
1
Suitable battery
Apply to 40Ah battery of BB/Yuasa/CSB etc.
Accessory List
Item
Description
Quantity
Case
Front panel
1 pcs
Rear panel
1 pcs
Top panel
1 pcs
Side panel
8 pcs
Bracket
4 pcs
Breaker cover
1 pcs
Cable
L1 25mm2- 1510mm
2 pcs
L2 25mm2- 200mm
20 pcs
L3 25mm2- 540mm
16 pcs
L4 25mm2- 800mm
2 pcs
L6 25mm2- 1730mm
2 pcs
L7 25mm2- 1130mm
2 pcs
Breaker
250A breaker
1 set
Screw
4 pcs
Screw
M3/M5
14 pcs/1 pcs
Label
Ground / Breaker / Name
1 pcs of each
Snap bushing
3 pcs
Copyright © Cyber Power Systems, Inc. All rights reserved.
WWW.CYBERPOWER.COM
2
Procedure
Step 1. Buckle the first bracket between the front and rear panels.
Step 2. Fixed the breaker on the rear panel (M4 screw*4pcs).
Copyright © Cyber Power Systems, Inc. All rights reserved.
WWW.CYBERPOWER.COM
3
Step3. Install the snap bushing*3pcs (Note: User can cut the snap bushing to insert
the cable) and paste the label on the rear panel then fixed the screw
(M5*1pcs) on the ground(It is for ground connection).
Step 4. Put the batteries on the bracket and connect the cables (let the terminals had
a little angle that could easy to install).
(Battery*10pcs/ L2*5pcs/L3*4pcs/L1*1pcs)
L1: Connect to battery1(+) (Prepared in advance but not shown)
Copyright © Cyber Power Systems, Inc. All rights reserved.
WWW.CYBERPOWER.COM
4
Step 5. Install the second bracket and put the batteries then connect the cables
(Battery*10pcs/Cable: L2*5pcs/L3*4pcs/L4*1pcs/L6*1pcs/L7*1pcs)
L4: From battery11(+) to battery10(-)
L6: Connect to battery11(+)(Prepared in advance but not shown)
L7: Connect to battery20(-)(Prepared in advance but not shown)
Copyright © Cyber Power Systems, Inc. All rights reserved.
WWW.CYBERPOWER.COM
5
Step 6. Install the third bracket and put the batteries then connect the cables
(Battery*10pcs/ L2*5pcs/L3*4pcs/L1*1pcs)
L1: Connect to battery21(+) (Prepared in advance but not shown)
Copyright © Cyber Power Systems, Inc. All rights reserved.
WWW.CYBERPOWER.COM
6
Step 7. Install the fourth bracket and put the batteries then connect the cables
(Battery*10pcs/ L2*5pcs/L3*4pcs/L6*1pcs/L7*1pcs)
L4: From battery31(+) to battery30(-)
L6: Connect to battery31(+)(Prepared in advance but not shown)
L7: Connect to battery40(-)(Prepared in advance but not shown)
Step 8. Connect the cables to breaker
L1: From battery1(+) to breaker(+)
L1: From battery21(+) to breaker(+)
L6: From Battery11(+)to breaker(N)
L6: From Battery31(+)to breaker(N)
L7: Battery20(-)to breaker(-)
L7: Battery40(-)to breaker(-)
Please refer to the equivalent circuit and installation
Copyright © Cyber Power Systems, Inc. All rights reserved.
WWW.CYBERPOWER.COM
7
1 2 38 9 10 1112 13 18 19 20
2122 23 28 2930 3132 33 38 39 40
+-
N
L1 L1 L7L7
L6 L6
Breaker
Copyright © Cyber Power Systems, Inc. All rights reserved.
WWW.CYBERPOWER.COM
8
Step 9. Put on the side panels (from bottom to top).
Step 10. Put on the top panel and tighten the screw(M3 screw*1pcs).
Please let the cables connect with breaker when you want to connect battery
cabinet from UPS.
Copyright © Cyber Power Systems, Inc. All rights reserved.
WWW.CYBERPOWER.COM
9
Step 11. Fixed the breaker cover (M3 screw*12pcs).