GARDASOFT RC100 User manual

RC100/120 LED
Lighting Controllers
Issue 003
User manual
www.gardasoft.com

RC1xx - User Manual
Copyright and disclaimer notice
Except as prohibited by law:
All hardware, software and documentation is provided on an ‘as is’ basis. This
information is for guidance only. Installers must perform their own risk assessment
specific to each installation.
It is essential that the users ensure that the operation of the product is suitable for
their application.
The users must ensure that incorrect functioning of this equipment cannot cause any
dangerous situation or significant financial loss to occur.
Deliberate acts of endangerment and vandalism are not covered by this document and
must be considered by the installer.
While care has been taken in the preparation of this document Gardasoft Vision Ltd and
Gardasoft Products Ltd will not accept any liability for consequential loss of any kind
except those required by law.
All trademarks acknowledged. Hardware, software and documentation are Copyright
2002 – 2016 Gardasoft Vision Ltd.
EC conformity declaration
The EC Certificate of Conformity is available from Gardasoft Vision Ltd on request
Issue status of this document: Issue 003(July 2016)

RC1xx - User Manual
Contents
1 Getting started 1
1.1 RC1xx features - a summary 1
2 Safety precautions 2
2.1 Heat 2
2.2 Electrical 2
2.3 General 2
2.4 Installation guidance (disclaimer) 3
3 Sicherheitsvorkehrungen 4
3.1 Hitze 4
3.2 Elektrik 4
3.3 Allgemeines 5
3.4 Haftungsausschluss 5
4 Mesures de sécurité 6
4.1 Chaleur 6
4.2 Électricité 6
4.3 Général 7
4.4 Clause de non-responsabilité 7
5 Mounting the RC1xx 8
5.1 Environmental considerations 8
6 Connecting the RC1xx 9
6.1 Power 9
6.2 Lighting output 9
6.3 Trigger input 10
6.4 Ethernet (RC120) 11
6.5 Connectors (general) 11
7 General description 12
7.1 Pulse and duty cycle limits 12
7.2 Triggering 13
7.2.1 Trigger input options 13
7.2.2 Internal trigger 14
7.3 SafeSense 15
7.4 SafePower 15
7.5 Flags 15
7.6 Fault detection 16
7.7 Factory settings 16
8 Ethernet address (RC120) 17
8.1 IP address 17
8.1.1 DHCP 18
8.1.2 Fixed IPaddress 18
9 Webpage configuration (RC120) 19
9.1 Main page 19
9.2 Configuration page 20
9.3 General setup page 21
10 Configuration commands 22
10.1 Lighting setup 22
10.2 Front panel commands 22

RC1xx - User Manual
10.2.1 Startup 22
10.2.2 Setting the light rating 24
10.2.3 Setting up continuous output 24
10.2.4 Setting up switched output 25
10.2.5 Setting up pulsed operation 25
10.2.6 Setting time periods 26
10.2.7 Setting the internal trigger timer 27
10.2.8 Using the key lock 28
10.2.9 Viewing the trigger status 29
10.2.10 Viewing the output current 29
10.3 Ethernet commands (RC120) 30
10.3.1 Ethernet communication 30
10.3.2 Command structure 30
10.3.3 General commands 32
10.4 Command summary 36
11 RC1xx reference information 38
11.1 Specifications and ratings 38
11.2 Restrictions 39
11.2.1 Continuous mode 39
11.2.2 Switched mode 39
11.2.3 Pulse mode 39
11.3 Event codes 41
11.4 Error codes 42

RC1xx - User Manual
1 Getting started
Before you use this product, make sure that you have read and
understood Section 2, Safety precautions (or Section 3,
Sicherheitsvorkehrungen, or Section 4, Mesures de sécurité) and Section
11.1, Specifications and ratings, and that you have checked the RC1xx
fulfils your requirements.
Mount the RC1xx(see Section 5, Mounting the RC1xx) and connect it up
as required (see Section 6, Connecting the RC1xx).
Set up the RC1xx for the desired operation as described in Section 10,
Configuration commands.
We recommend that you visit www.gardasoft.com for application notes on
this product.
There is also a support web page there, which has information on trouble-
shooting problems.
1.1 RC1xx features - a summary
The RC1xx product is a single channel LED lighting controller for use in
machine vision applications. It can deliver 1A for the RC100 and 2A for the
RC120in pulse mode. The RC120 has Ethernet connectivity and may be
controlled through a web portal.
The RC1xx has SafeSense™ which allows the controller to automatically
sense the characteristics of your lights which are not triniti enabled. The
RC1xx also has SafePower™ which ensures low heat dissipation and the
ability to deliver higher currents with no need for heat sinking.
—1—

RC1xx - User Manual
2 Safety precautions
Read this before using the RC1xx. Always observe the following safety
precautions. If in doubt, contact Gardasoft Vision Ltd. The following
symbols are used in this guide:
Warning: Read the instructions to understand the
possible hazards.
Warning: Surface may get hot.
Where these symbols appear in this guide, refer to the text for the
precautions you should take.
2.1 Heat
Ensure the RC1xx is mounted correctly (see Section 5, Mounting the
RC1xx), and that you do not exceed any of the ratings for the unit (see
Section 11.1, Specifications and ratings).
At its maximum ratings, the RC1xx’s enclosure can exceed 65°C which is
sufficient to cause a burn if touched. Place in a position where personnel
cannot accidentally touch it and ensure there is a free flow of air around
the unit.
2.2 Electrical
The RC1xx produces high energy pulses. Take care to connect the
outputs correctly and protect the output wiring and load from any short-
circuits. When switched off, energy remains stored in the RC1xx for about
15 seconds.
The RC1xx does not have complete tracking isolation of input and output.
Transients caused by inductive loads must be supressed externally to the
RC1xx.
Warning: This is a Class A product. Its use in residential areas may cause
radio interference, and such use should be avoided unless special
measures are taken by the user to restrict emissions to a level that allows
the reception of broadcast transmissions.
2.3 General
The RC1xx must not be used in an application where its failure could be a
danger to personal health or damage to other equipment.
If the equipment is used in a manner not specified by the manufacturer,
the protection provided by the equipment may be impaired.
—2—

RC1xx - User Manual
2.4 Installation guidance (disclaimer)
This information is for guidance only. Installers must perform their own risk
assessment specific to each installation. While Gardasoft Vision Ltd has
taken every care in the preparation of this advice, Gardasoft Vision Ltd
and Gardasoft LLC accept no liability for damages of any kind except
those required by law.
Deliberate acts of endangerment and vandalism are not covered by this
document and must be considered by the installer.
—3—

RC1xx - User Manual
3 Sicherheitsvorkehrungen
Bitte lesen Sie dieses Dokument, bevor Sie die RC1xx verwenden.
Beachten Sie immer die folgenden Sicherheitshinweise. Bei Fragen
wenden Sie sich an Gardasoft Vision Ltd. Die folgenden Symbole werden
in dieser Anleitung verwendet:
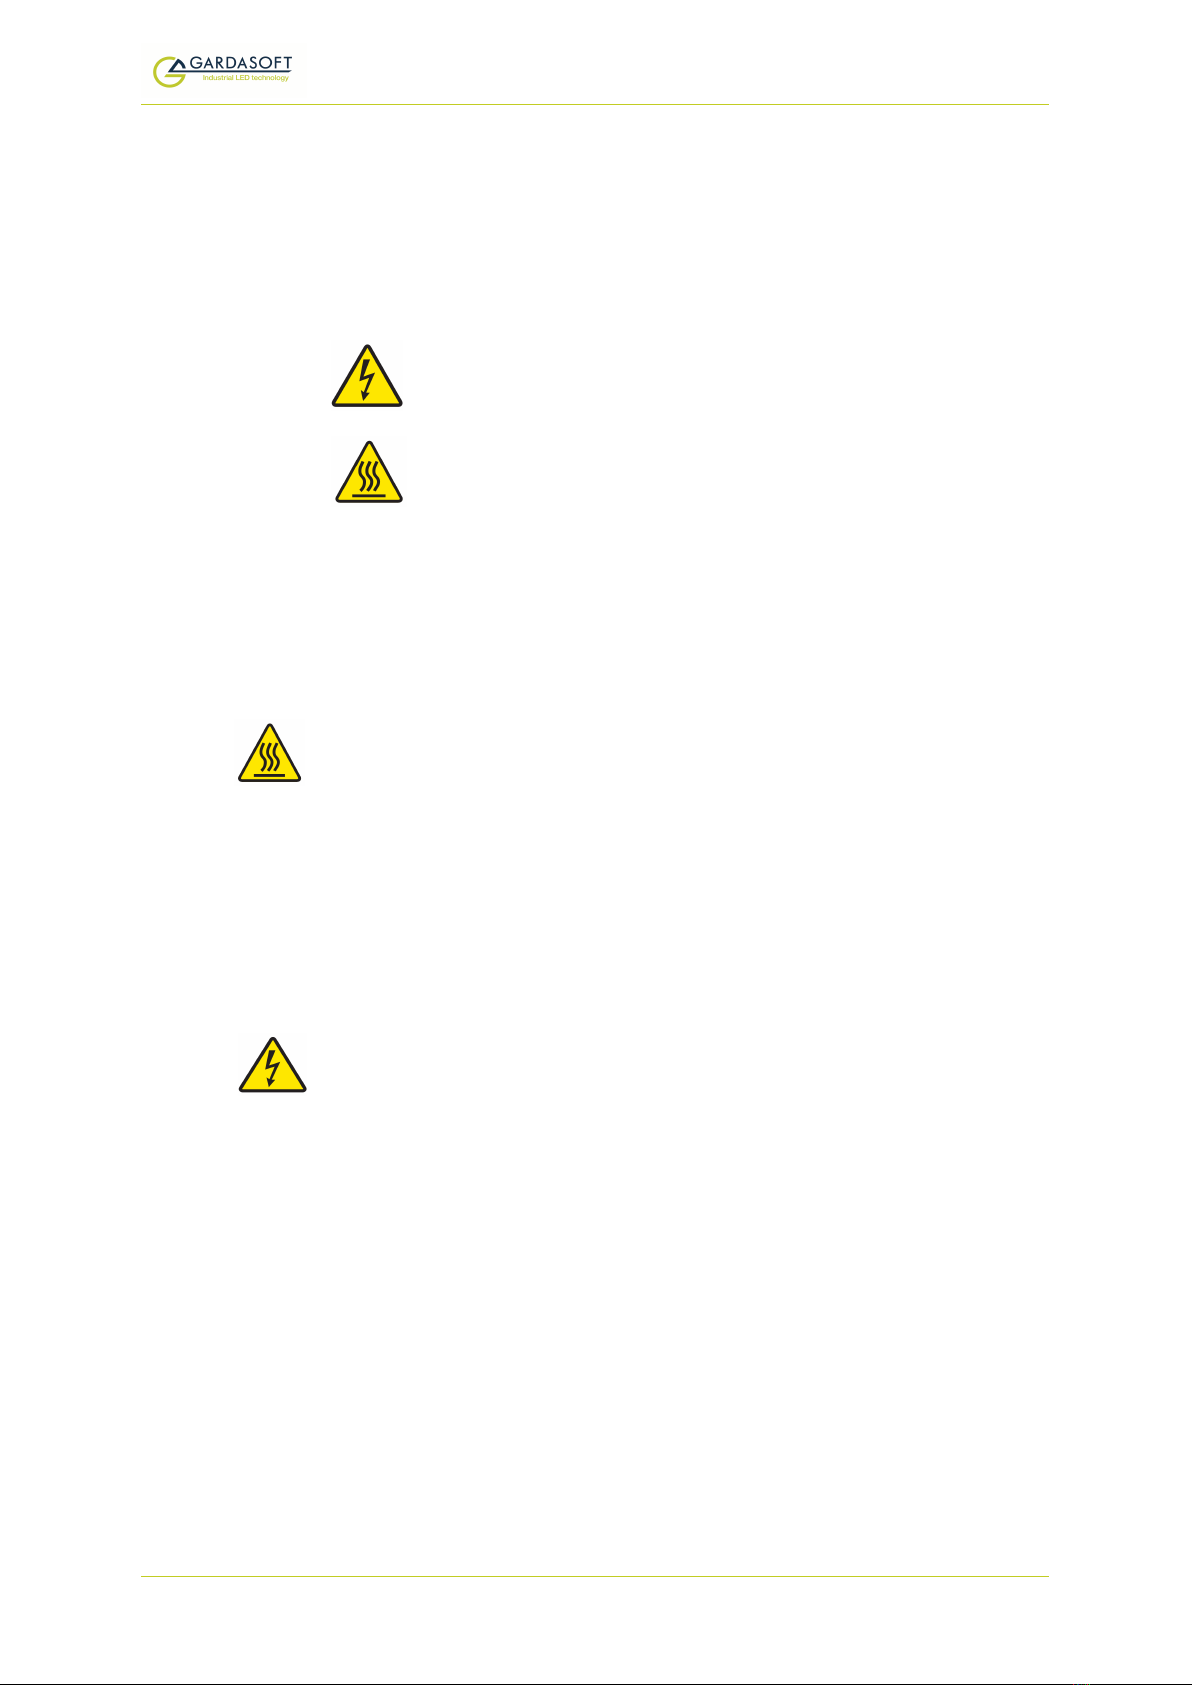
Warnung: Lesen Sie die Anleitung, um mögliche
Gefahrenquellen zu verstehen.
Warnung: Oberfläche kann heiß werden.
Wenn diese Symbole in dieser Anleitung erscheinen, finden Sie im
beistehenden Text die zu ergreifenden Vorsichtsmaßnahmen.
3.1 Hitze
Stellen Sie sicher, dass die RC1xx ordnungsgemäß montiert wurde (siehe
Section 5, Mounting the RC1xx) und dass Sie keinen der Werte für diese
Einheit überschreiten (siehe Section 11.1, Specifications and ratings).
Bei ihren Maximalwerten kann das Gehäuse der RC1xx mehr als 65° C
erreichen und folglich bei Berührung Verbrennungen verursachen.
Positionieren Sie sie an einem Ort, an dem sie nicht aus Versehen von
Personal berührt werden und an dem die Luft um die Einheit zirkulieren
kann.
3.2 Elektrik
Die RC1xx produziert energiereiche Pulse. Achten Sie darauf, die
Ausgänge korrekt anzuschließen und die Ausgangsverdrahtung und die
Verbraucher vor Kurzschlüssen zu schützen. Nach dem Ausschalten wird
die Energie noch etwa 15 Sekunden lang in der RC1xx gespeichert.
Die RC1xx verfügt über keine vollständige Nachlauf-Isolierung des Ein-
und Ausgangs.
Spannungsspitzen am RC1xx aufgrund von induktiven Ladungen müssen
extern unterdrückt werden.
Warnung: Dies ist ein Produkt der Klasse A. Es kann bei Benutzung im
Wohnbereich Funkstörungen verursachen. Aus diesem Grund wird von
einer derartigen Nutzung abgeraten, sofern vom Benutzer keine
besonderen Maßnahmen ergriffen wurden, um die Emissionen auf ein
Niveau zu begrenzen, das den Empfang von Rundfunksendungen erlaubt.
—4—

RC1xx - User Manual
3.3 Allgemeines
Die RC1xx darf nicht in Bereichen verwendet werden, in denen bei Ausfall
eine Gefahr von Personen- oder Sachschäden besteht.
Wenn das Gerät nicht entsprechend den Herstellerangaben eingesetzt
wird, kann der durch das Gerät bereitgestellte Schutz beeinträchtigt
werden.
3.4 Haftungsausschluss
Diese Angaben dienen lediglich der Orientierung. Der Monteur muss für
jede Installation eine eigene spezifische Risikobewertung durchführen.
Gardasoft Vision hat bei der Zusammenstellung dieser Empfehlungen
größtmögliche Sorgfalt walten lassen. Gardasoft Vision und Gardasoft LLC
übernehmen über das gesetzlich erforderliche Maß hinaus keine Haftung
für Schäden aller Art.
Vorsätzliche Gefährdungen und Vandalismus werden von diesem
Dokument nicht abgedeckt und sind vom Monteur zu berücksichtigen.
—5—

RC1xx - User Manual
4 Mesures de sécurité
Veuillez lire la notice avant d’utiliser le RC1xx. Respectez toujours les
mesures de sécurité qui suivent. En cas de doute, contactez Gardasoft
Vision Ltd. Les symboles suivants sont utilisés dans ce manuel:
Attention: Lisez les consignes afin de bien comprendre
les dangers encourus.
Attention: La surface peut devenir chaude.
Veuillez vous référer aux consignes du manuel pour connaître les
précautions à suivre au regard de ces symboles.
4.1 Chaleur
Assurez-vous que le RC1xx est monté correctement (voir Section 5,
Mounting the RC1xx) et que vous ne dépassez pas les charges pour
l’unité (voir Section 11.1, Specifications and ratings).
À ces charges maximales, le boitier du RC1xx peuvent dépasser 65 °C,
ce qui est suffisant pour occasionner des brûlures en cas de contact.
Assurez-vous que le personnel ne peut pas y toucher accidentellement et
que l’air circule autour de l’unité.
4.2 Électricité
Le RC1xx produit de fortes pulsations énergétiques. Assurez-vous que les
sorties sont bien connectées et que les fils de sortie et les charges sont
bien à l’abri d’éventuels courts circuits. Une fois l’appareil éteint, l’énergie
résiduelle reste stockée dans le RC1xx pendant environ 15 secondes.
Le RC1xx ne dispose pas de système complet d’isolation des entrées et
sorties.
Les transitoires causés par les charges inductives doivent être supprimés
à l’extérieur du RC1xx.
Attention : Ce produit est de catégorie A. Son utilisation en zone
résidentielle peut causer des interférences radio, et devra alors être évitée
sauf si des mesures spéciales ont été prises par l’utilisateur pour
restreindre les émissions à un niveau permettant la réception des
transmissions radiodiffusées.
—6—

RC1xx - User Manual
4.3 Général
Le RC1xx ne doit pas être utilisé dans une situation où toute panne de
celui-ci mettrait en danger la santé des personnes ou risquerait
d’endommager d’autres équipements.
Si l’appareil est utilisé d’une manière différente de celle recommandée
par le fabricant, la protection offerte par l’appareil pourra en être altérée.
4.4 Clause de non-responsabilité
Ces informations sont seulement à titre indicatif. Les installateurs doivent
établir leur propre évaluation de risques pour chaque installation. Gardsoft
Vision a préparé minutieusement ces conseils, mais Gardasoft Vision et
Gardasoft LLC déclinent toute responsabilité concernant les dommages
de toute nature à l’exception de ceux requis par la loi.
Les actes malveillants d’endommagement et de vandalisme ne sont pas
couverts par ce document et doivent être pris en compte par l’installateur.
—7—

RC1xx - User Manual
5 Mounting the RC1xx
5.1 Environmental considerations
Mount the RC1xx unit vertically or horizontally on the DIN rail to allow the
display to be read easily.
If the average output power exceeds 15W, the RC1xx must be mounted
vertically to allow air to pass through it. Leave 25mm clear either side of
the RC1xx to aid cooling.
The RC1xx has an ingress rating of IP20 and it should be sited so that
water or dirt cannot enter the unit.
—8—

RC1xx - User Manual
6 Connecting the RC1xx
Refer to Section 11.1, Specifications and ratings for the ratings of the
connections. The RC1xx's connections are shown below (an RC120 is
illustrated):
6.1 Power
Any power supply derived from mains electricity must have a Safety Extra
Low Voltage (SELV) output. Route low voltage wiring to the RC1xx
controller separately from mains electricity wiring.
If this is not possible, make sure the low voltage wiring has an insulation
rating that is appropriate or supplementary insulation is used. The
connections are shown below:
6.2 Lighting output
Note: Make sure you set up the current or voltage rating for the light
before you connect it See Section 10.1, Lighting setup.
The lighting output connections must not be comoned to any other
controllers or grounded in any way. The connections are shown overleaf:
—9—

RC1xx - User Manual
6.3 Trigger input
The trigger input is a Smart Input; it accepts a range of trigger sources with
minimal extra circuitry. Refer to Section 7, General description for further
information.
Note: The Smart Input is not isolated, it is ground referenced to the power
supply negative connection.
In operating environments
where there is a high level of
radiated electrical noise, use
a shielded cable for the
trigger input as shown
opposite:
—10 —

RC1xx - User Manual
6.4 Ethernet (RC120)
The RJ45 connector fitted to the RC120 requires a straight-through cable
to connect to a network switch, hub or router. The connection is 10Base-T
and operates at 10MBits per second.
6.5 Connectors (general)
The connectors required to mate with the RC1xx controller’s connectors
are as follows:
Connector Description Suppler / Part number
Power input Würth 351 series
2 way screw ter-
minal free socket
Würth 691351500002
Farnell 164-1952
Trigger input Würth 361 series
4 way screw ter-
minal free socket
Würth 691361100004
Farnell 184-1351
Lighting output Würth 348 series
2 way screw ter-
minal free socket
Würth 691348500002
—11 —

RC1xx - User Manual
7 General description
Three modes of operation are provided for the light output:
Continuous – the output is constant, but variable between 0% and 100%
in steps of 0.1%.
Pulse (strobe) – the output is pulsed once per trigger. The delay from
trigger to pulse, the pulse duration and the brightness can all be set.
Switched – the trigger input can be used to switch the output current on
and off.
The set-up is non-volatile, so the RC1xx resumes the same operation after
a power cycle.
7.1 Pulse and duty cycle limits
The output is off by default. Upon being triggered, the RC1xx pulses to the
output after a delay. The delay, pulse width, re-trigger delay, and pulse
intensity are all configurable (see Section 10, Configuration commands).
In pulse and switched modes, the brightness can be set up to 1000% of its
rating for short periods and low duty cycles. To avoid damage to the
lighting, the RC1xx limits the duty cycle by ignoring triggers that are too
soon after the previous trigger. The maximum pulse width and duty cycles
are shown below:
Output brightness Maximum
pulse
width
Maximum
duty
cycle
0 to 100% 100ms 100%
101% to 200% 30ms 30%
201% to 300% 10ms 20%
301% to 500% 2ms 10%
501% to 1000% 1ms 5%
So for example, if the brightness is set to 250%, then the RC1xx does not
allow pulses greater than 10ms long. With 10ms pulses, any trigger
occurring within the next 50ms is ignored as the duty cycle would be
greater than 20%.
The RC100 pulsed current cannot exceed 1.0A, so for a lighting rating of
0.1A, 1000% brightness is possible. For 0.25A lighting rating the maximum
brightness is 400%.
Similary the RC120 pulsed current cannot exceed 2A, so for a lighting
rating of 0.2A, 1000% brightness is possible. For 0.5A lighting rating the
maximum brightness is 400%.
—12 —

RC1xx - User Manual
7.2 Triggering
Trigger pulses should have a minimum pulse width of 2µs. You can set the
sense of the RC1xx trigger input. Do this by setting the P flag from the front
panel (see Section 10.2, Front panel commands), the web page (see
Section 9, Webpage configuration (RC120)) or the RE command (see
Section 10.3.3, General commands). The effect of setting the P flag is
summarised below:
Mode P Flag Output
Continuous Unused Output is on.
Switched P Flag = 1 Output is off when trigger is off,
Output is on when trigger is on.
P Flag = 0 Output is on when trigger is off,
Output is off when trigger is on.
Pulsed P Flag = 1 Pulse is triggered on rising edge.
P Flag = 0 Pulse is triggered on falling edge.
Note: The P flag inverts the sense of the trigger.
7.2.1 Trigger input options
You can connect the following types of trigger to the Smart Input:
3V to 24V voltage source
Any voltage between 0V and 0.9V
is taken as logic 0.
Any voltage between 3V and 24V
is taken as logic 1.
TTL signal
You can connect a TTL signal to
the RC1xx's input. However, a
3.3V TTL signal only works if it can
drive 8kohm without dropping
below 2.7V.
If the P flag is set to ‘1’, the RC1xx
output turns on when the TTL
driver goes HIGH. To reverse this,
set the P flag to ‘0’ (see Section
7.2, Triggering).
—13 —

RC1xx - User Manual
NPN signal
You can connect an NPN open
collector drive to the RC1xx's
input. Use the connections shown
opposite.
If the P flag is set to ‘1’ the RC1xx
output turns on when the driving
transistor turns on. To reverse
this, set the P flag to ‘0’. (see
Section 7.2, Triggering).
Opto-coupler
You can connect an opto-coupler
as an NPN drive to the RC1xx's
input. This prevents a ‘ground
loop’ and reduces spurious
triggering in high-interference
environments.
If the P flag is set to ‘1’ the RC1xx
output turns on when the driving
transistor turns on. To reverse
this, set the P flag to ‘0’ (see
Section 7.2, Triggering
PNP signal
You can connect a PNP open
collector drive to the RC1xx's
input. Use the connections shown
opposite. The PNP transistor
should not pull up to more than
24V.
If the P flag is set to ‘1’ the RC1xx
output turns on when the driving
transistor turns on. To reverse
this, set the P flag to ‘0’ (see
Section 7.2, Triggering).
7.2.2 Internal trigger
You can set the RC1xx to generate its own trigger pulses. The period of
these pulses can be set in increments of 100µs from approximately 10µs
to 5000ms.
You can set the RC1xx to produce a single pulse for testing purpose. This
is set by either a TR1 command (see Section 10.3.3, General commands)
or using the webpage Trigger button (see Section 9, Webpage
configuration (RC120)).
—14 —

RC1xx - User Manual
7.3 SafeSense
The SafeSense feature of the RC1xx operates automatically. After setting
the rating for the light, the RC1xx senses the light on connection for its
type and characteristics. The unit does not need to sense the light again
unless the light has changed or the RC1xx has been power-cycled.
For further information on this feature, see the application note, APP936 –
SafeSense Technology, available from www.gardasoft.com/Downloads/.
7.4 SafePower
The RC1xx's SafePower needs no intervention from the user for its
operation. The advantages of SafePower are:
Heat dissipation in the controller is very low
The load voltage can be higher than the supply voltage
High continuous currents can be output with a reduced need for heat-
sinking
For further information on this feature, see the application note, APP966 –
SafePower Technology, available from www.gardasoft.com/Downloads/.
7.5 Flags
You can set flags on the RC1xx controller to alter its operation. They can
be set from the unit’s front panel, the webpage or through the RE
command (see Section 10.3.3, General commands). The following
configuration flags are available:
E Flag – Enables or disables fault detection. Error checking is enabled as
the default setting.
P Flag – Sets the trigger input active high or active low. The default setting
is active high. Refer to Section 7.2.1, Trigger input options for a detailed
description of the settings.
S Flag – Sets the SafeSense feature of the RC1xx. When cleared it
removes the SafeSense light detection and the controller assumes a light
is connected. The default setting is for SafeSense to be enabled. This flag
cannot be used when the light is set according to its voltage rating. The
S flag cannot be changed from the RC1xx's front panel.
—15 —

RC1xx - User Manual
7.6 Fault detection
The RC1xx can detect a range of errors when connected to a light. The
displayed error codes are shown below with their reasons.
Error Reason
PO Internal power dissipation is too high. Output turned off.
OP Output current to lighting is too low. The light is open circuit
or there is not enough supply voltage for the requested out-
put current.
SH Output voltage is too low. The RC1xx detects that the out-
put is short-circuited.
HI The voltage required for the lighting has increased too
much. Check for ageing of the light or a failed LED.
LO The voltage required for the lighting has decreased too
much. Check for ageing of the light or a failed LED.
Note: When the output current falls below 100mA, some fault detection is
disabled. Press SEL to cancel the error and allow the RC1xx to sense the
light again.
7.7 Factory settings
You can clear the RC1xx configuration to return it to its factory settings:
The lighting rating is cleared and the light does not illuminate.
Clear the configuration from the front panel by pressing and holding SEL
and qfor about 5 seconds, until COL is displayed. You can also clear the
configuration by using the CL command (see Section 10.3.3, General
commands).
You can start the RC1xx from a powered down state (cold boot) with the
front panel keypad locked; this process removes the keypad lock.
—16 —
Other manuals for RC100
1
This manual suits for next models
1
Table of contents
Other GARDASOFT Lighting Equipment manuals
Popular Lighting Equipment manuals by other brands

THT-EX
THT-EX L1601C operating instructions

American DJ
American DJ RGBW4C User instructions

Banner
Banner EZ-STATUS WLS27 Series instruction manual

Sengled
Sengled Soft White A19 Bulbs user guide

STEINEL
STEINEL Halogen DUO operating instructions

Lightmybricks
Lightmybricks LEGO HOGWARTS EXPRESS COLLECTORS EDITION installation guide