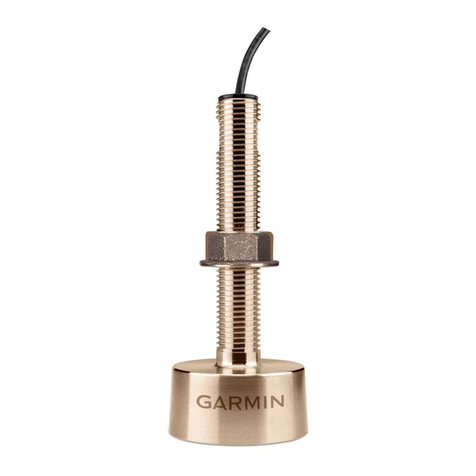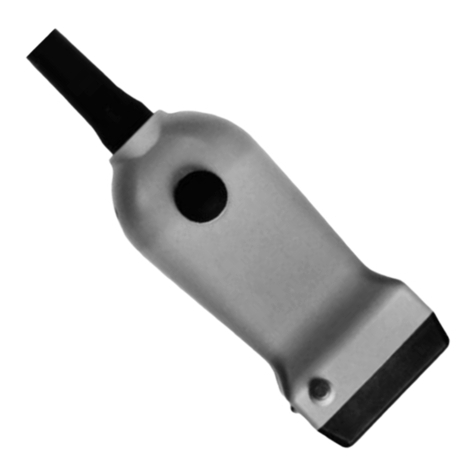
Testing the Mounting Location
Before you permanently mount the transducer, you should test the transducer feedback at your mounting
location with the boat in the water. You should compare the transducer feedback at your mounting location to
the transducer feedback when the bottom of the transducer is submerged outside the boat.
1Place the transducer inside a thin plastic bag.
2Fill the bag with enough water to cover the bottom of the transducer, and secure the bag with a zip tie.
3Wet the surface of the hull.
4Place the bagged transducer on the mounting location.
5Observe the feedback of the transducer on your chartplotter or fishfinder.
6If the transducer does not function as expected, select a new mounting location and repeat steps 3 through
5.
Installing the In-Hull Tank and Transducer
Before you install the in-hull tank and transducer, you must figure the deadrise angle (Deadrise Angle, page1),
and select the tank that provides the most-level installation of the transducer.
1Sand the tested mounting location (Testing the Mounting Location, page2) with 220-grit sandpaper.
2Clean the tested mounting location with alcohol.
3Apply marine-grade adhesive to the bottom of the tank.
4Place the tank in the boat hull with the top of the tank level with the water line, and with the arrow pointing
to the boat keel.
5When the adhesive is dry, insert the O-ring in the groove of the tank.
6Fill the tank with RV/marine antifreeze fluid or mineral oil.
7Insert the transducer into the tank, aligning the arrow on the transducer and the notch on the tank
8Using the enclosed screws, secure the transducer to the tank.
NOTE: Do not overtighten the screws.
9Route the cable, and connect the transducer to your chartplotter or fishfinder.
2

