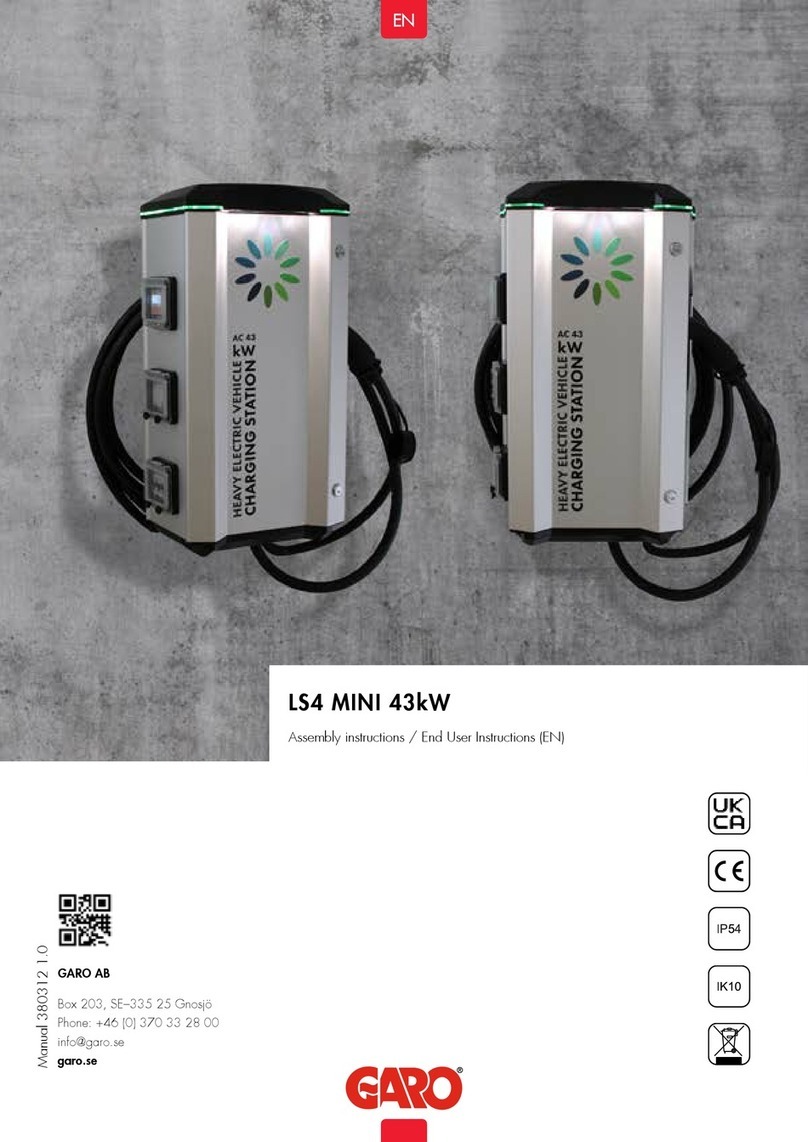
GARO LS4 Wallmounted Quick start guide

LS4 & GLB+
Operational Instructions

• Component Overview
◦ Interior Bottom................................
◦ Interior Lower Middle.....................
◦ Interior Upper Middle.....................
◦ Interior Top......................................
• Connecting the Power........................
• Accessing the Web-Interface.............
• Adding the RFID cards........................
• Setting DLM + External Meter............
◦ Explanation of DLM Parameters....
◦ Setting up External Meter...............
◦ Setting up DLM Slaves....................
• Schematic for looped chargers..........
• Schematic for individual chargers.....
Contents
2
2
3
3
4
5
7
8
9
10
12
13
14

Interior Bottom
Interior (Lower Middle)
2

3
Interior (Upper Middle)
Interior (Top)

4
Connecting the Laptop computer

5
This description applies to charging stations with two controllers configured as
master and slave connected through a USB - MicroUSB cable.
1. Connect the computer to the right controllers (slaves) micro USB port
2. Open up the web browser of the computer
3. In the address field; type in 192.168.123.123/operator and press ENTER to navi-
gate to the web interface startup page where you get to choose which controller
(master or slave) you want to connect to.
Access to the charging stations web interface
1. Right click on the ”Slave” and chose ”Open link in new tab”
2. Left click on ”Master”.
3. Now two tabs is shown in the browser. One for the master (left) and one for the
slave (right). Shift between these tabs to configure respectively controllers.

6
The Categories of the web interface
The web interface is divided in five different categories. These has different levels of
accessibility:
•State (read only) – The startup page of the web interface gives an overview of the charger
status for charging sessions, meter values, connectivity, firmware and alarms. The state view
can only be used for reading values and parameters. Nothing can be changed from here,
”State” is accessible for everyone with access to the web interface address (192.168.123.123)
• Settings – Here you can access the most fundamental settings for operating and backend
connection of the charger. From here you can configure type of connection, OCPP protocol
and backend address. You can also activate or de‐activate the chargers. RFID‐readers and
turn down the current limit of the outlets.
”Settings” demands ”operator” or ”manufacturer” permission.
• Operator – Here you’ll find all the parameters from the “Settings” view and also more
advanced settings when it comes to connectivity, communication, monitoring, authentication
and behavior during operation.
”Operator” demands “operator” or “manufacturer” permission. (operator / yellow_zone )
version 4.2) (operator / cherry_zone )version 4.3)
• Manufacturer – Here you have access to all hardware settings of the charger, such as
charging equipment, max hardware current limit, model, vendor, serial number and the mas-
ter/slave setup.
These settings should not be changed after the charger has left the factory unless the charger is
rebuilt or modified.
”Manufacturer” demands “manufacturer” permission. Be aware that wrongly made changes of
these parameters could result in serious consequenses of the chargers operating behavior.
• Documentation – Is divided into two subcategories;
•Error Documentation, where error codes are listed together with possible cause and solu-
tion and OCPP Keys Documentation, which lists OCPP‐commands/keys for the currently
running FW version.
”Documentation” is accessible for everyone with access to the web interface address
(192.168.123.123).
7
Adding RFID Cards
Connect USB /usb micro to RHS slave controller config port & to laptop. Enter
192.168.123.123/operator
• SelectMASTER
• Select OPERATOR
• Enter user: operator
• Enter password: yellow_zone (for version4.2)
Cherry_zone (for version4.3)
• Scroll down to Free Charging (approx. half‐way)
• Select “if in doubt allow charging”
- select ON
- Select SAVE on Laptop
- Plug in CAR or TEST Equipment to master socket (LHS) Activate CP Button
- Place new RFID card to RFID reader
- When charging “STARTS” select save on laptop
- Switch OFF charging
Start Charging again and place new card to RFID reader
- Select SAVE on laptop
- Continue as required.
- Change “if in doubt allow charging” back to OFF
- Select SAVE
EXIT

8
Setup of DLM with external
(Secondary) Meter

9
Explanation of DLM Master parameters
(With, or without, secondary meter)
Dynamic Load
Management
DLM Network ID
DLM Algorithm
EVSE Sub‐Distribution
Limit (L1/L2/L3)[A]
Operator EVSE Sub‐
Distribution Limit
(L1/L2/L3)[A]
External Input 1 Config
External Input 2 Config
DLM Master with internal DLM‐Slave
Define the role of the controller in the DLM cluster as the
Master with its own charging equipment connected to it.
0
Shows which ID (could be any between 0‐255). The DLM
Slaves will use this ID to find their specific Master.
FIFO
First In First Out – The only available Algorithm in 4.2X‐4.3X.
More on the way.
32 32 32
Defines the mutual main fuse for all the controllers in the DLM
cluster (In the specific case 32A on all phases).
32 32 32
Same as the one above, but this is configurable downwards
from the backend. (Can never be higher than the EVSE Sub-
‐Distribution Limit (L1/L2/L3)[A])
DISABLE
(Not yet implemented on the LS4)
DISABLE
(Not yet implemented on the LS4)

10
Explanation of DLM Master parameters
(Secondary meter)
External Meter Suport
Main Distribution Limit
(L1/L2/L3)[A]
External Meter Disconnected
Fallback (L1/L2/L3)[A]
External Meter Location
External Meter Sample Rate
Minimum Current Limit [A]
Disconnected Limit [A]
On
Defines if a secondary meter (measuring the whole buildings
total load) is installed.
63 63 63
The maximum main fuse of the entire premise (build-
ing/area/grid).
9999 9999 9999
In case of a disconnection from the external meter the DLM
Master will assume this is the load that is being drawn from
the meter. A high value (as in this case) will terminate all
charging sessions.
Including EVSE Sub‐Distribution
Shows that the external meter is measuring both external
load and charging points.
30 Sec
The time interval which the DLM Master will read the exter-
nal meter for changes in the load.
6
The minimum current the chargepoint need to start charging
a car.
6
No function for the DLMMaster.

11
Setting up the secondary meter and Phase
rotation on the DLM Master
Meter configuration
(Second)
Phase rotation of the
ChargePoint
Model of the external meter.
This meter should be addressed “2” and be connected to
the DLM masters meter bus.
RST (L1/L2/L3, Standard Reference Phasing
The phase rotation from the grid on the posts incoming
terminals.

12
Setting up the DLM Slaves
Dynamic Load
Management
DLM Network ID
Minimum Current
Limit [A]
Disconnected Limit
[A]
DLM Slave (Master‐Auto‐Discovery)
Define the role of the controller in the DLM cluster as a Slave that
automatically will find its master and follow its lead.
0
Shows which ID (could be any between 0‐255). The DLM Slaves
will use the is ID to find their specific Master.
6
The minimum current the chargepoint need to start charging a car.
6
The maximum current the DLM Slave will be allowed to use if
disconnected from the DLM Master. If disconnected the DLM
Master will assume that the DLM Slave is using this current on all
phases and use this in its calculations.
Setting up the DLM Slaves (Phase rotation)
Phase rotation of the
ChargePoint
RST (L1/L2/L3, Standard Reference Phasing
The phase rotation from the grid on the posts incoming terminals.
(The phase rotations is just as important on the DLM Slaves as on
the DLM Masters).

13

14
Other manuals for LS4 Wallmounted
3
This manual suits for next models
1
Table of contents
Other GARO Automobile Batteries Charger manuals