C nsumer Supp rt
Tr ublesh ting TipsOperating Instructi nsSafety Instructi ns
9
L ading and using the washer.
Always follow fabric manufacturer’s care label when laundering. www.geappliances.ca
Sorting Wash Loads
Sort by color (whites, lights, colors), soil level,
fabric type (sturdy cottons, easy care, delicates)
and whether the fabric produces lint (terry cloth,
chenille) or collects lint (velveteen, corduroy).
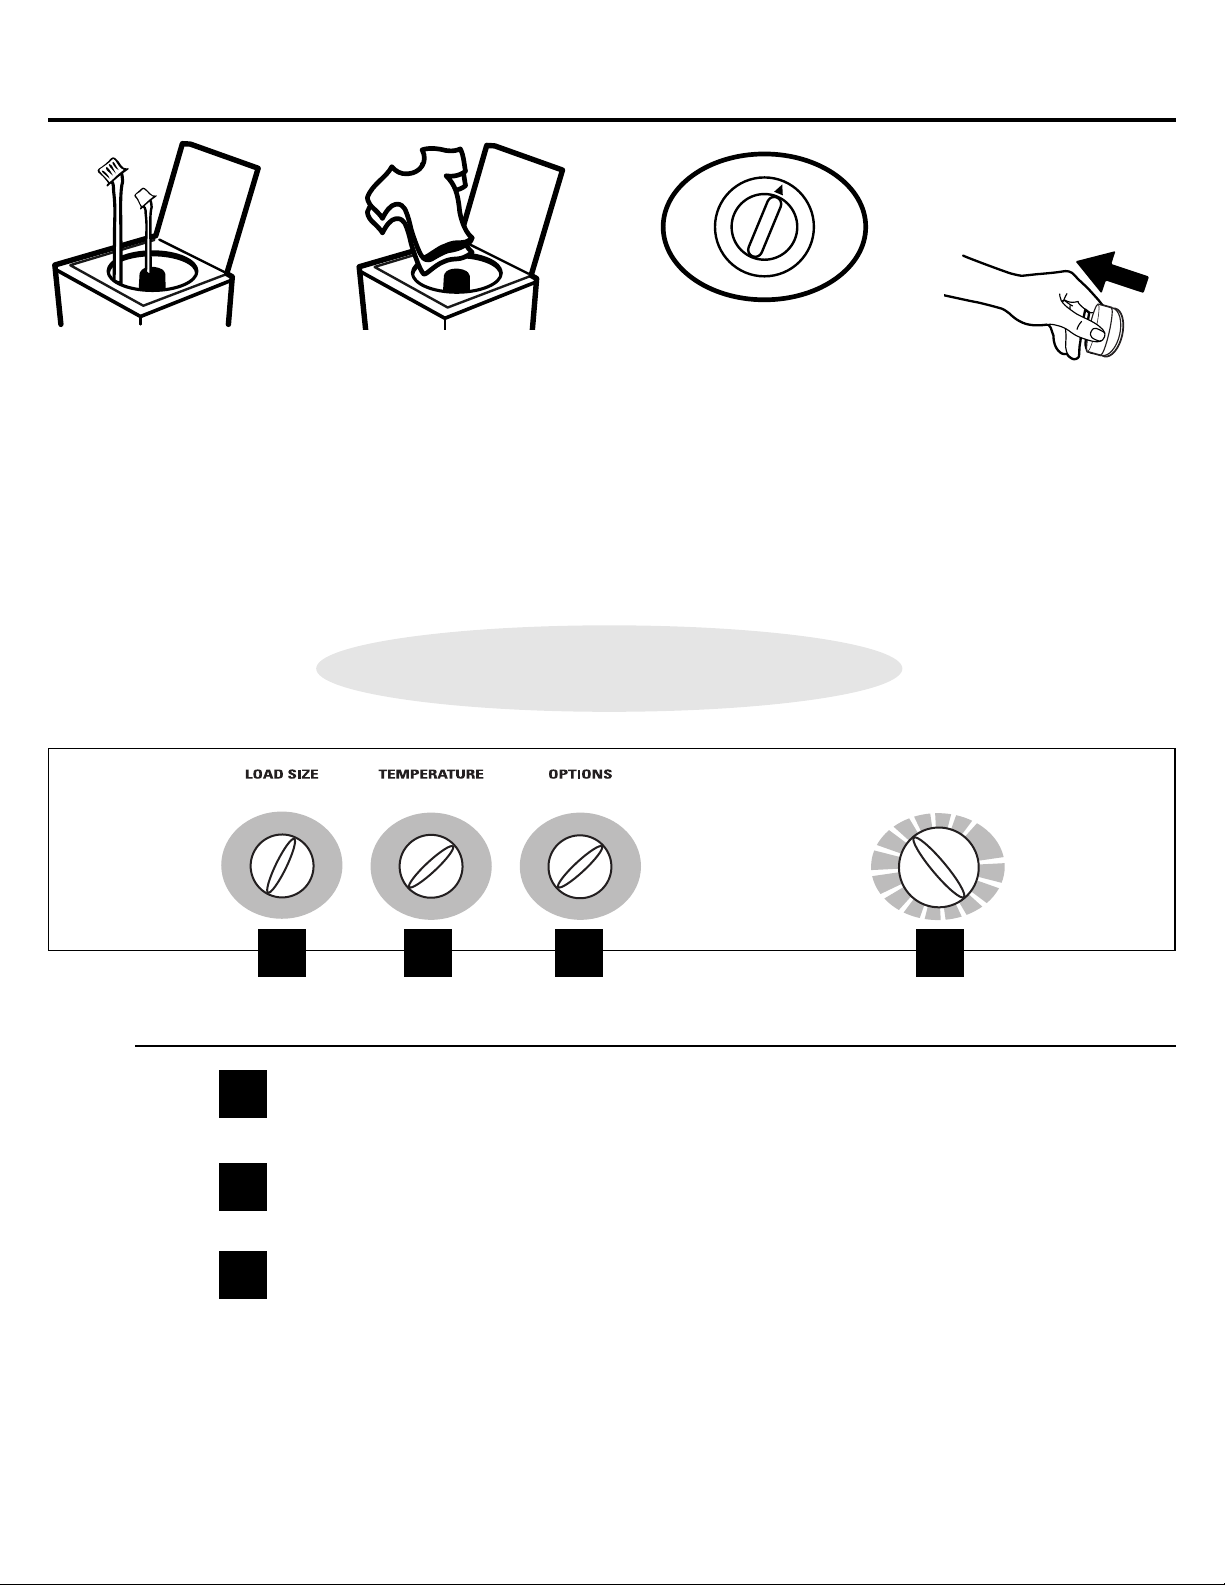
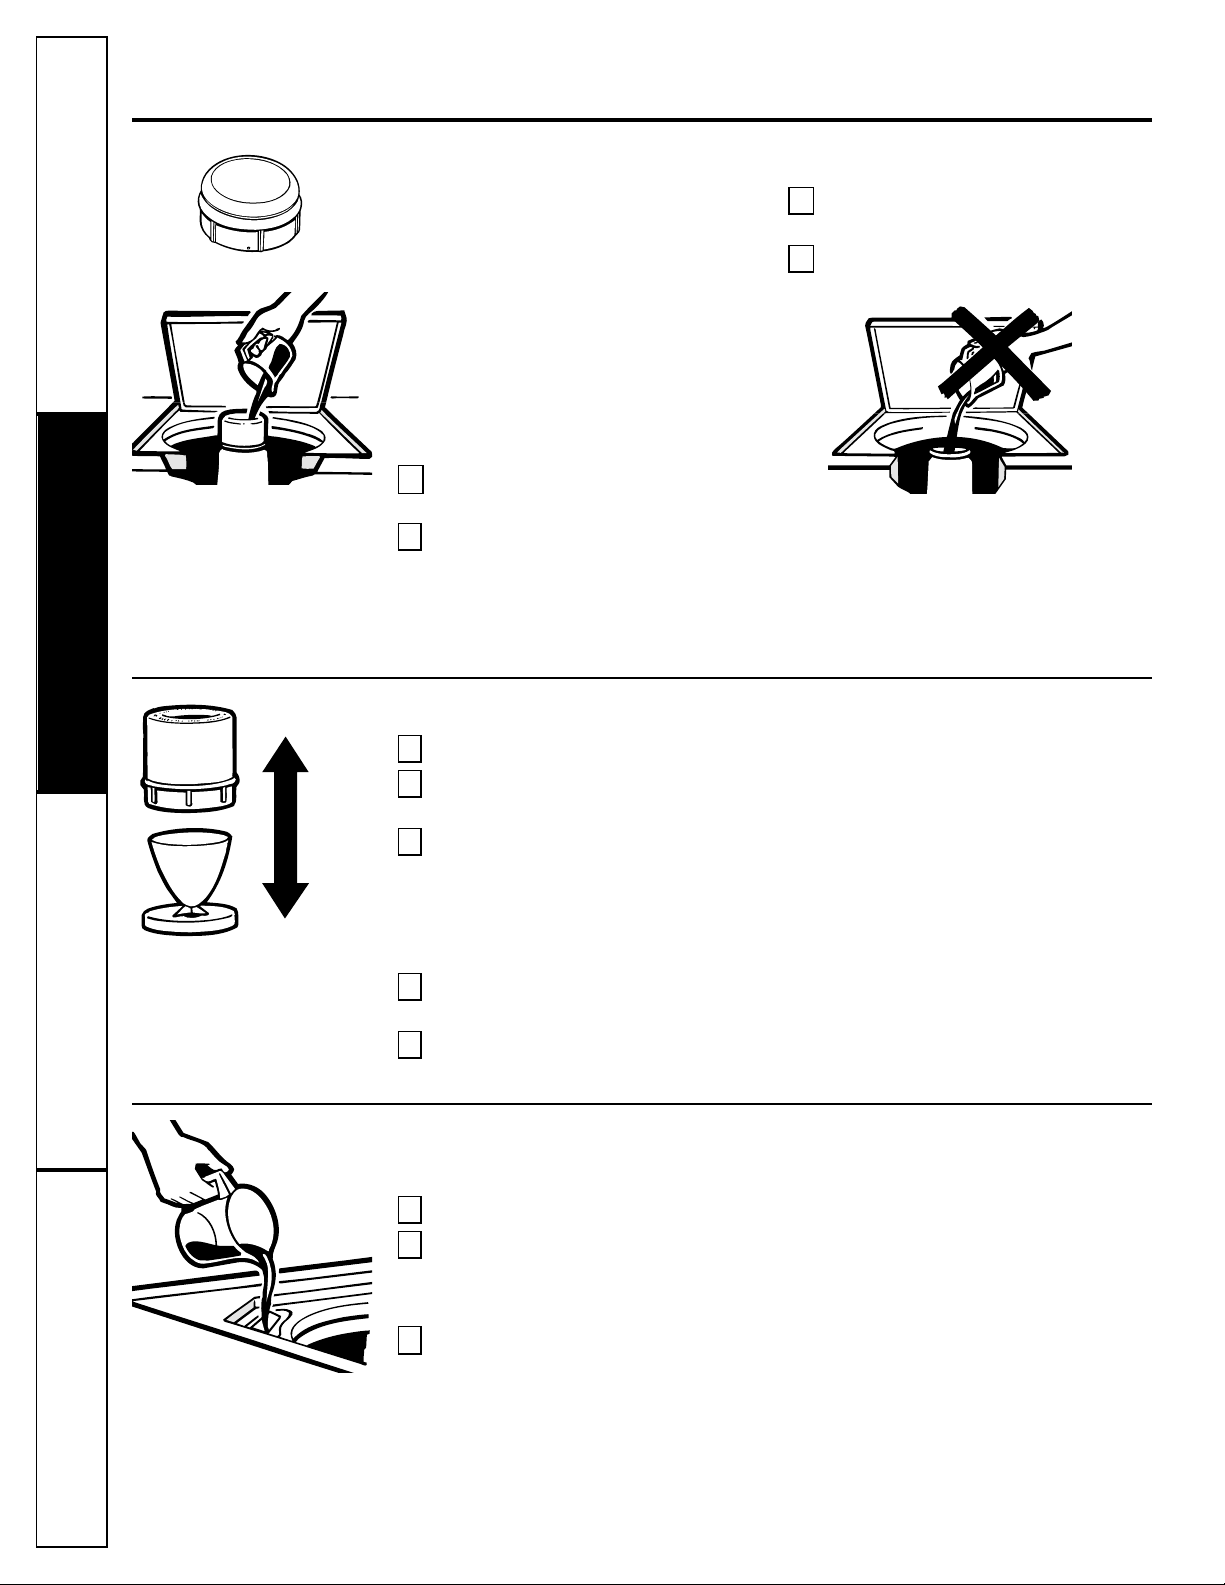
Proper Use of Detergent
Add detergent and start the washer before adding
clothes so that the detergent can work effectively.
sing too little or too much detergent is a common
cause of laundry problems.
You can use less detergent if you have soft water,
a smaller load or a lightly soiled load.
GE recommends the use of High Efficiency (HE)
detergents in all Energy Star rated washers. HE
detergents are formulated to work with low water
wash and rinse systems. HE detergents reduce the
oversudsing problems commonly associated with
regular detergents.
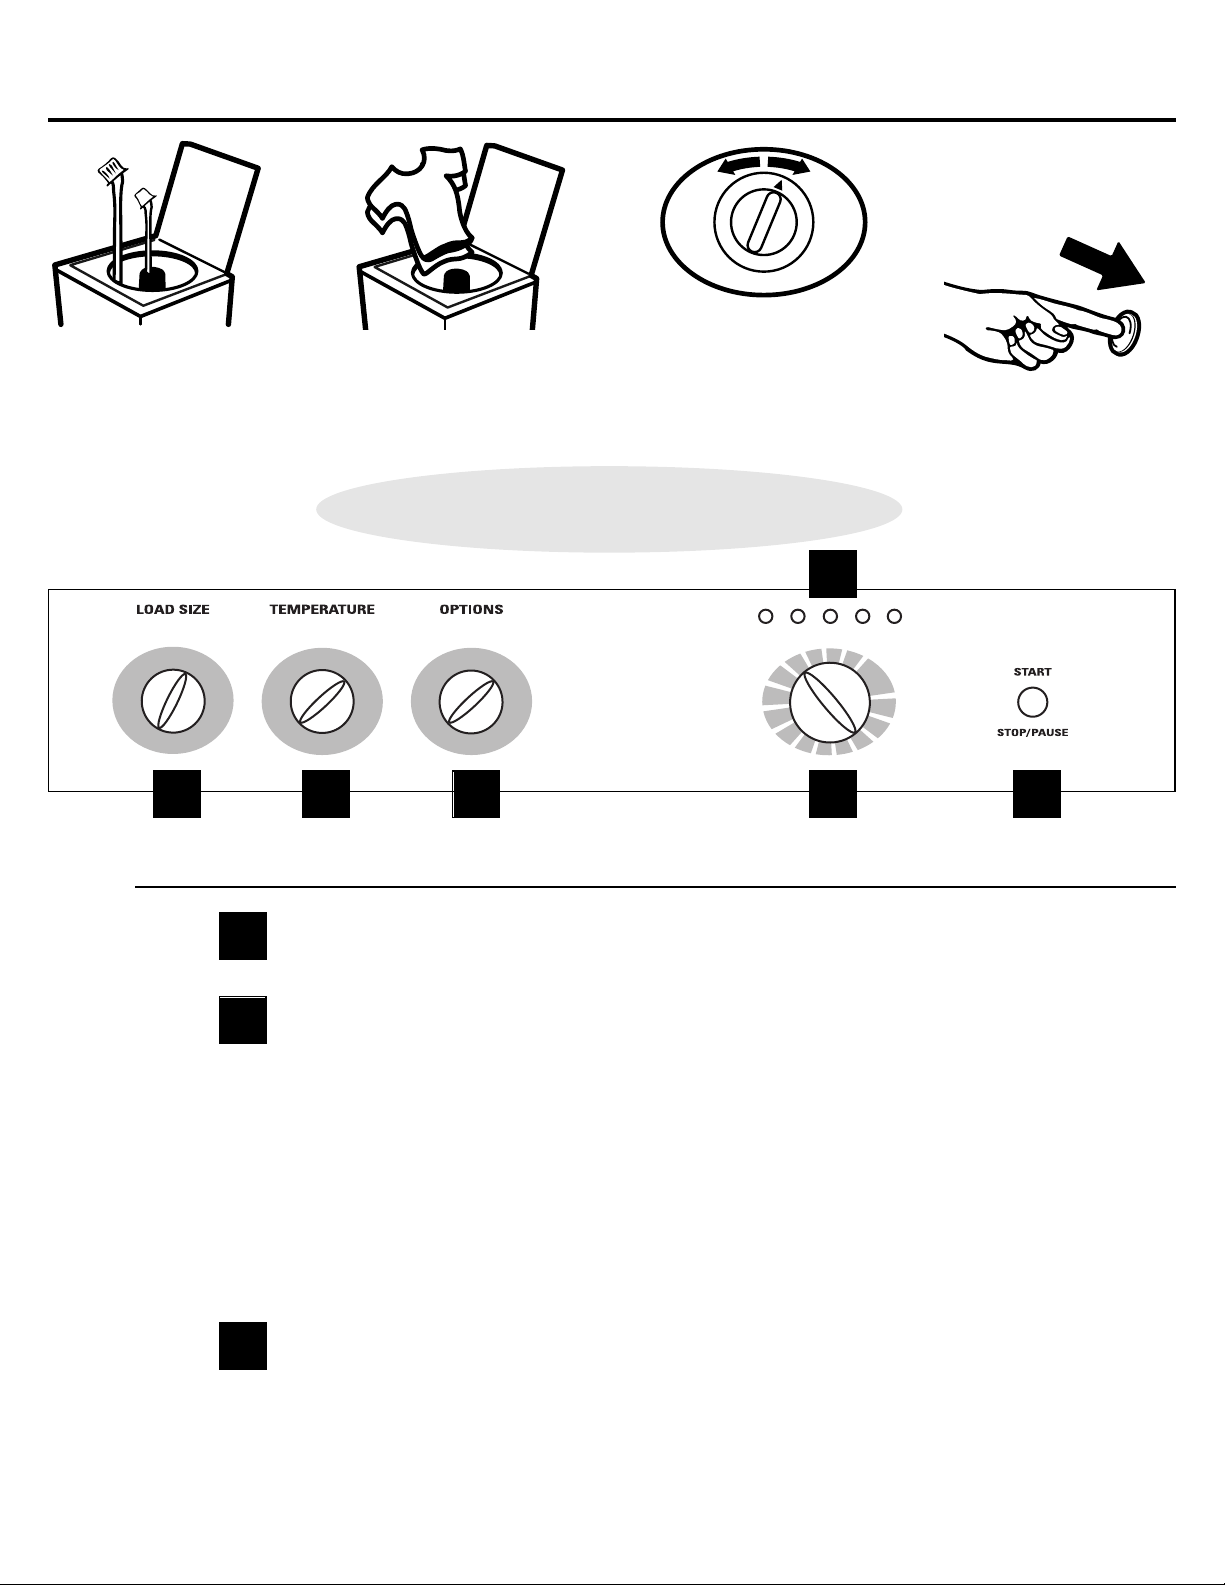
Loading the Washer
Load dry items loosely, no higher than the top row of
holes in the washer basket. When loading wet items,
make sure you set the load/water level high enough
to allow the items to move freely. Water level should
just cover the clothes. To add items after washer has
started, lift the lid and submerge additional items next
to the agitator.
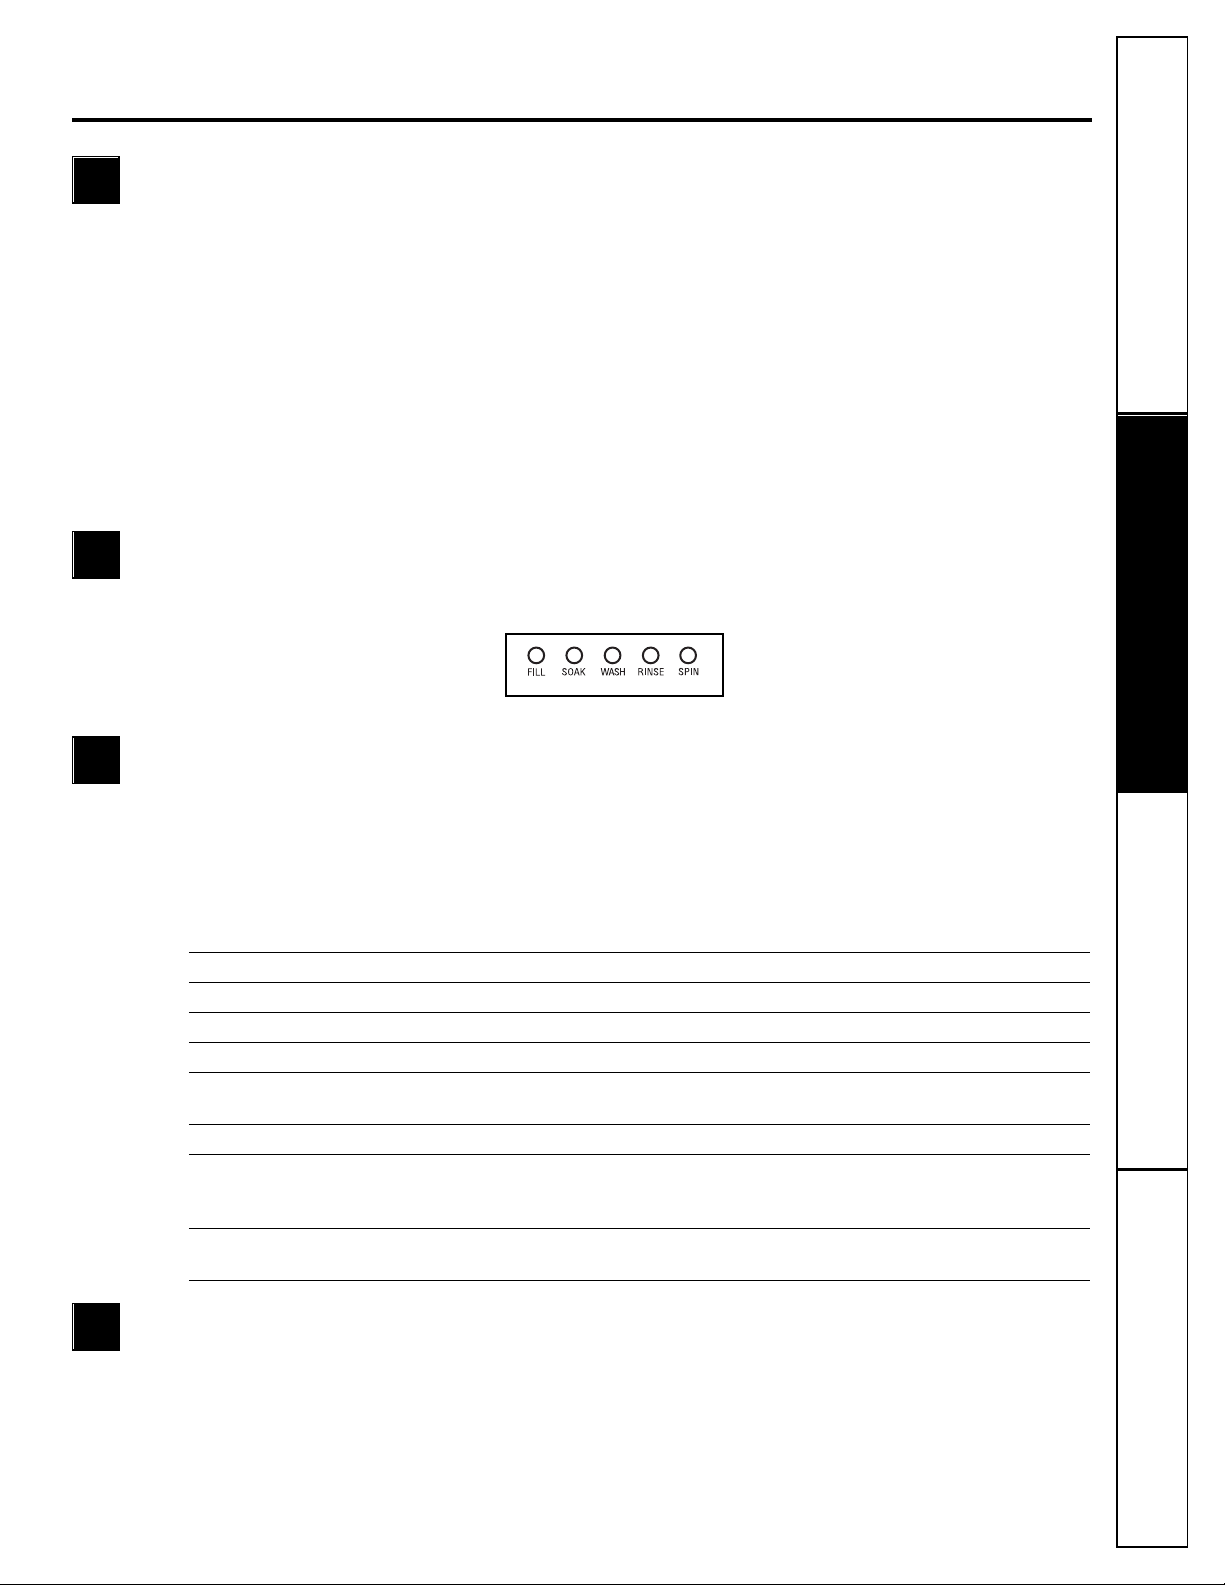
■Do not wrap long items li e sheets or pants
around the agitator.
■Do not wash fabrics containing flammable
materials (waxes, cleaning fluids, etc.).
■Agitation will not start with the lid up.
Wash Basket: Leave the lid open after washing to
allow moisture to evaporate. If you want to clean
the basket, use a clean soft cloth dampened with
liquid detergent; then rinse. (Do not use harsh or
gritty cleaners.)
Fill H ses: GE recommends changing the hoses
every 5 years.
Exteri r: Immediately wipe off any spills. Wipe
with damp cloth. Try not to hit surface with
sharp objects.
Interi r: The occasional use of a cycle that contains
bleach will keep the inside of the washer clean.
M ving and St rage: Ask the service technician to
remove water from drain pump and hoses. See the
Installation Instructions packed with product for
information on how to reinstall the shipping rod
to keep the tub stationary when moving the washer.
For more information, write to: Manager, Consumer
Relations, Mabe Canada Inc., 1 Factory Lane, Suite
310, Moncton, N.B. E1C 9M3. Do not store
the washer where it will be exposed to the weather.
L ng Vacati ns: Be sure water supply is shut off at
faucets. Drain all water from hoses if weather will
be below freezing.
Care and cleaning f the washer.