manuals.online logo
Brands
  1. Home
  2. •
  3. Brands
  4. •
  5. Geeetech
  6. •
  7. 3D Printer
  8. •
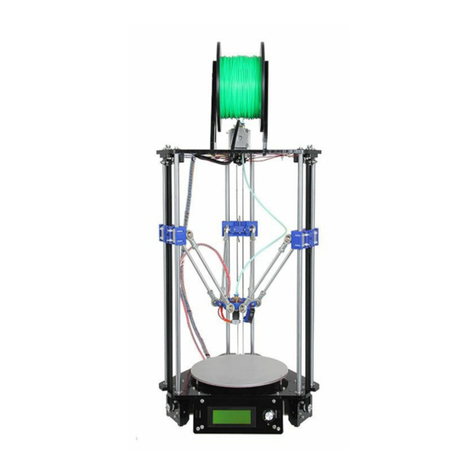
  9. Geeetech Delta Rostock mini G2 Instruction Manual

Geeetech Delta Rostock mini G2 Instruction Manual

ShenZhenGETECHCO.
,
LTD
GEEETECH
Delta Rostock mini G2& G2s
Building instruction

www.geeetech.comTel:+8675526584110Fax:+8675526584074‐858

GEEETECH

www.geeetech.comTel:+8675526584110Fax:+8675526584074‐858

ShenZhenGETECHCO.
,
LTD
Safety Instructions
Building the printer will require a certain amount of physical dexterity, common sense
and a thorough understanding of what you are doing. We have provided this detailed
instruction to help you assemble it easily.
However ultimately we cannot be responsible for your health and safety whilst
building or operating the printer, with that in mind be sure you are confident with
what you are doing prior to commencing with building or buying. Read the entire
manual to enable you to make an informed decision.
Building and operating involves electricity, so all necessary precautions should be
taken and adhered to, the printer runs on 12V supplied by a certified power supply, so
you shouldn’t ever have to get involved with anything over 12V but bear in mind
there can still be high currents involved and even at 12V they shouldn’t be taken
lightly.
High temperatures are involved with 3D Printing, the Extrusion nozzle of the hot end
can run about 230°C, the heated bed runs 110°C and the molten plastic extruded will
initially be at around 200°C, so special care and attention should be made when
handling these parts of the printer during operation.
We wouldn’t recommend leaving your printer running unattended, or at least until you
are confident to do so. We cannot be held responsible for any loss, damage, threat,
hurt or other negligent result from either building or using the printer.
GEEETECH

www.geeetech.comTel:+8675526584110Fax:+8675526584074‐858

ShenZhenGETECHCO.
,
LTD
Preparation
1. Unpack the kit and check if all parts are in the box and check the condition of each
part, there might be some damage during shipping. To help you with this, there is
BOM in the box and each bag was labeled with part number.
2. Contact our customer service immediately by email or through the website if you
find any missing or damaged parts. And on the bottom of the BOM, there is a
signature of reviewer, please take a picture of it and attach the picture in your mail.
3. Read through each chapter of these instructions to gain an over-all idea of what is
involved and how long it might take, before starting on the work described.
4. Before you start, you can put all the part in order to save your time especially those
screws and nuts. Do not mix them up.
5. Ensure you have the necessary skills to carry out the work, or enlist the help of
someone who does.
6. Work on a big firm table or bench in a clean dry well-lit area.
7. This kit contains tiny parts; please keep them away from kids under 3.
8. Ask for help if you run into any problems - our contact details are on the website
and we will always do our best to resolve any problems encountered.
ShenZhenGETECHCO.
,
LTD
GEEETECH
Chapter1 Base Assembly
1.1 Motor end assembly
Name
Part NO. qty Pic
Stepper motor
53
3
Pulley
33
3
Motor holder
A3
3
Motor holder
support
A4
6
Square nut
14
6
M3 X 12 Screw
18
12
M3 X 16 Screw
19
6
M3 washer
5
18

www.geeetech.comTel:+8675526584110Fax:+8675526584074‐858

ShenZhenGETECHCO.
,
LTD
GEEETECH
Step1. Mount the pulley on the motor shaft, one of the screws should be screwed on
the cross section of the shaft. Do not screw too tight to turn smoothly.
Step2. Assemble A3 and 2 A4 together, and screw up with M3 X 16 screw and M3
square nut.
Step3. Mount the motor on A3; screw it up with M3 X 12 screw.

www.geeetech.comTel:+8675526584110Fax:+8675526584074‐858

ShenZhenGETECHCO.
,
LTD
GEEETECH

www.geeetech.comTel:+8675526584110Fax:+8675526584074‐858

ShenZhenGETECHCO.
,
LTD
GEEETECH
Repeat the steps for the other 2 motor ends
1.2 Connect motor ends to base plate
Name
Part NO. qty Pic
base plate
A2
1
Square nut
14
9
M3 X 16 Screw
19
9

www.geeetech.comTel:+8675526584110Fax:+8675526584074‐858

ShenZhenGETECHCO.
,
LTD
GEEETECH
M3 washer
5
9
Step1. Mount the 3 assembled motor ends on the base plate (A1); screw it up with
M3x16 screws and M3 square nuts.
Repeat the step for the other 2 motor ends

www.geeetech.comTel:+8675526584110Fax:+8675526584074‐858

ShenZhenGETECHCO.
,
LTD
GEEETECH
1.3 Mount the LCD panel
Name
Part NO. qty Pic
LCD frame
A8
1
LCD support
A9
2
LCD2004
54
1

www.geeetech.comTel:+8675526584110Fax:+8675526584074‐858

ShenZhenGETECHCO.
,
LTD
GEEETECH
Square nut
14
4
M3 X 16 Screw
19
4
M3 X 12 Screw
18
4
Spacer
34
4
M3 washer
5
8
Knob
55
1
Step1. Assemble the LCD frame and support plate together, screw up with M3 X 16
Screws and M3 square nuts.

www.geeetech.comTel:+8675526584110Fax:+8675526584074‐858

ShenZhenGETECHCO.
,
LTD
GEEETECH
Step2. Plug the aircraft- type spacer into the 4 screw hole on the LCD2004.

www.geeetech.comTel:+8675526584110Fax:+8675526584074‐858

ShenZhenGETECHCO.
,
LTD
GEEETECH
Step3. Screw up the frame and LCD2004 with 4 M3 X 12 Screws.
Step4. Cover the knob and screw it up on the cross section, the screw is in the hole.

www.geeetech.comTel:+8675526584110Fax:+8675526584074‐858

ShenZhenGETECHCO.
,
LTD
GEEETECH

www.geeetech.comTel:+8675526584110Fax:+8675526584074‐858

ShenZhenGETECHCO.
,
LTD
GEEETECH
Step5. Mount the assembled LCD kit onto the base plate. Screw it up with 2 M3 X 16
screws and M3 square nuts.

www.geeetech.comTel:+8675526584110Fax:+8675526584074‐858

ShenZhenGETECHCO.
,
LTD
GEEETECH
1.4 Mount the fan
Name
Part NO. Qty Pic
Fan(40x40x10)
45
1
M3 X 16 Screw
19
1
M3 x 25 screw
21
2
M3 Square nut
14
1
M3 nut
10
2
M3 washer
5
3
Step1. Mount the fan on the fan mount; screw it up with 2 M3 X 25 screw and M3 nut
and washer.

www.geeetech.comTel:+8675526584110Fax:+8675526584074‐858

ShenZhenGETECHCO.
,
LTD
GEEETECH
Step2. Mount the assembled fan mount on A2 with a M3 X 16 screw and M3 nut and
washer.

www.geeetech.comTel:+8675526584110Fax:+8675526584074‐858

ShenZhenGETECHCO.
,
LTD
GEEETECH
1.5 Mount the control board.
Name
Part NO. Qty Pic
Control board
GT2560
52
1
Spacer
34
4
M3 X 12 Screw
18
4
M3 washer
5
4
Step1. Plug the aircraft- type spacer into the 4 screw hole on the control board.
The directions of the spacer are as the arrow showing.

www.geeetech.comTel:+8675526584110Fax:+8675526584074‐858

ShenZhenGETECHCO.
,
LTD
GEEETECH
Step2. Screw the control board to the base plate (A2) with 4 M3 X 12 Screws and m3
washer.
1.6 Mount the print bed.
Name
Part NO. Qty Pic
Building
platform
36
1
Heatbed
44
1
Hex
Counter-
sunk-head screw
15
3
Spring
3.5 x 20mm
27
3
Wing nut
13
3

www.geeetech.comTel:+8675526584110Fax:+8675526584074‐858

ShenZhenGETECHCO.
,
LTD
GEEETECH
M3 washer
5
6
*for your convenience, the heatbed for you is pre-soldered, you can mount them
directly.
step1. Stack the heatbed and the building platform together.
Step2. Thread the M3X30 screw through the two plates and add washers and spring at
this end.

www.geeetech.comTel:+8675526584110Fax:+8675526584074‐858

ShenZhenGETECHCO.
,
LTD
GEEETECH
Step3. Lock the other end with a wing nut.

www.geeetech.comTel:+8675526584110Fax:+8675526584074‐858


Other manuals for Delta Rostock mini G2

2

This manual suits for next models

1

Other Geeetech 3D Printer manuals

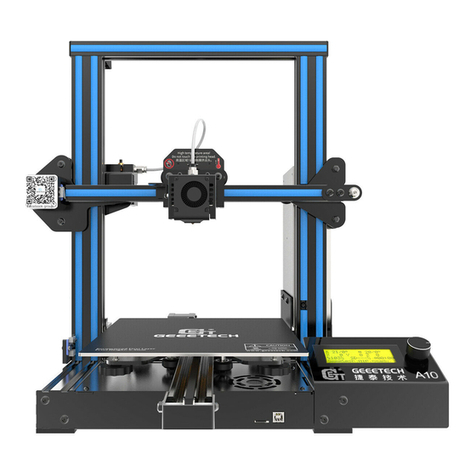
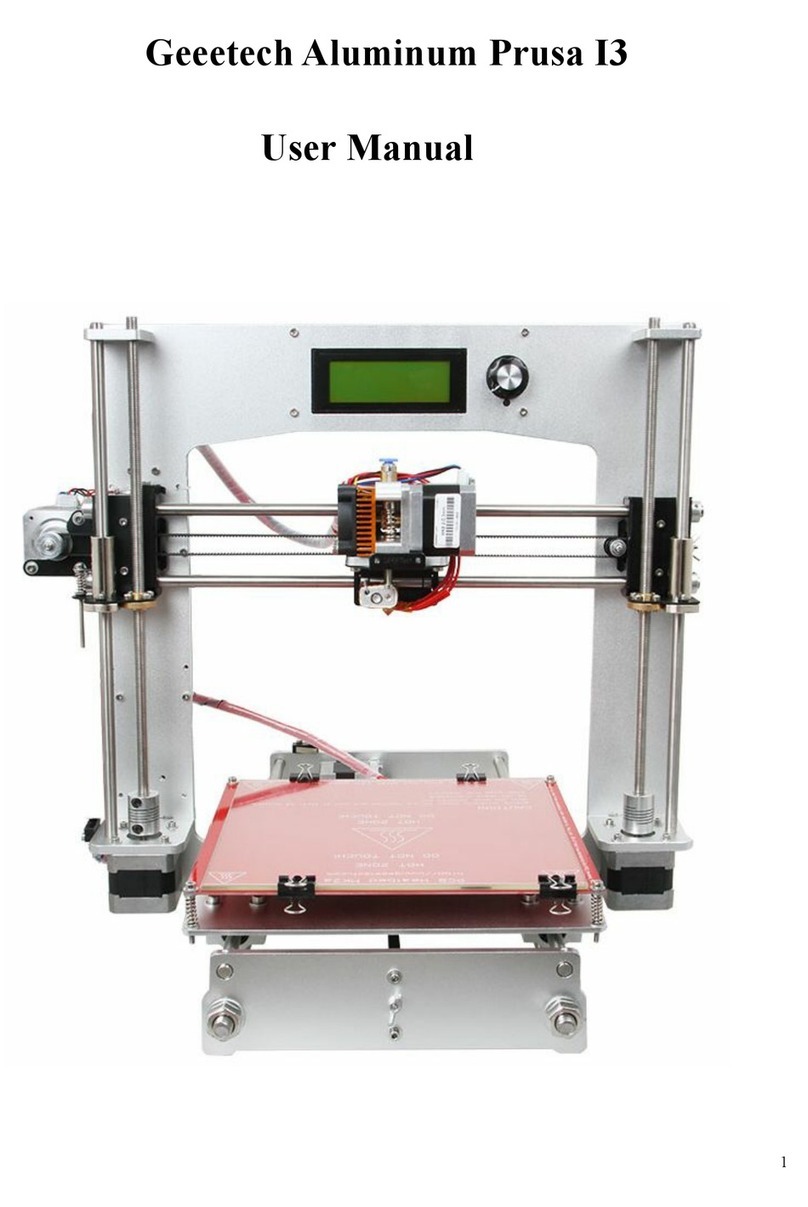
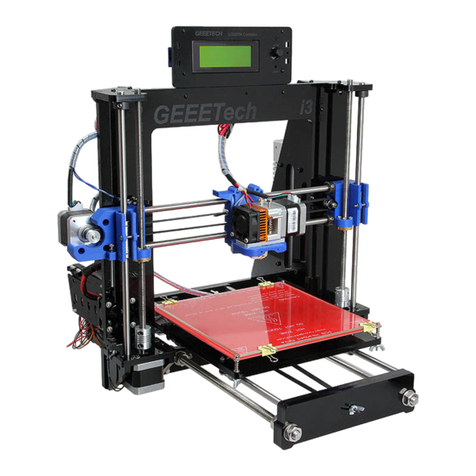
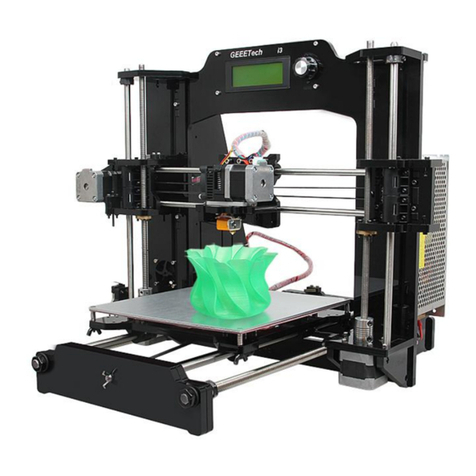
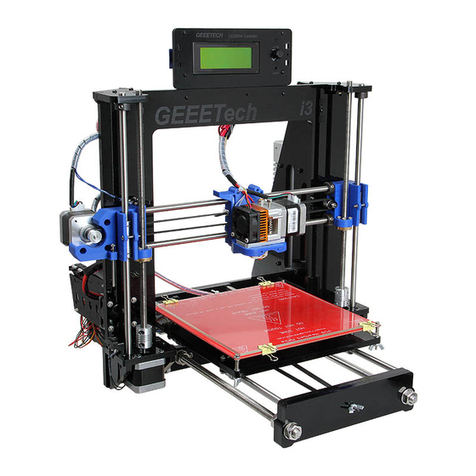
Geeetech Aluminum Prusa I3 User manual
Geeetech

Geeetech Aluminum Prusa I3 User manual

Geeetech A20 User manual

Geeetech

Geeetech A20 User manual

Geeetech DP200 User manual

Geeetech

Geeetech DP200 User manual

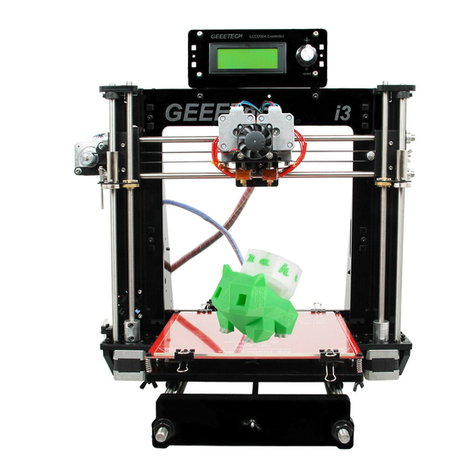
Geeetech acrylic Prusa I3 User manual

Geeetech

Geeetech acrylic Prusa I3 User manual
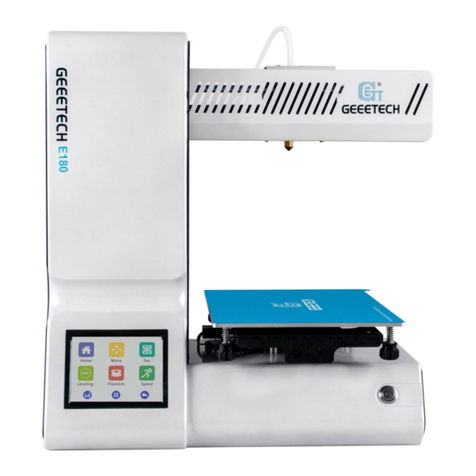
Geeetech E180 User manual

Geeetech

Geeetech E180 User manual

Geeetech Prusa I3 X Instruction Manual

Geeetech

Geeetech Prusa I3 X Instruction Manual

Geeetech Aluminum Prusa I3 User manual

Geeetech

Geeetech Aluminum Prusa I3 User manual

Geeetech Delta Rostock mini G2 pro User manual

Geeetech

Geeetech Delta Rostock mini G2 pro User manual

Geeetech Prusa I3 M201 User manual

Geeetech

Geeetech Prusa I3 M201 User manual

Geeetech PrusaI3 X User manual

Geeetech

Geeetech PrusaI3 X User manual

Geeetech Delta Rostock mini G2 pro Instruction Manual

Geeetech

Geeetech Delta Rostock mini G2 pro Instruction Manual

Geeetech Acrylic I3 Pro User manual

Geeetech

Geeetech Acrylic I3 Pro User manual

Geeetech Prusa I3 A pro User manual

Geeetech

Geeetech Prusa I3 A pro User manual

Geeetech acrylic Prusa I3 User manual

Geeetech

Geeetech acrylic Prusa I3 User manual

Geeetech A10T User manual

Geeetech

Geeetech A10T User manual

Geeetech prusaI3 pro C User manual

Geeetech

Geeetech prusaI3 pro C User manual

Geeetech Acrylic I3 Pro User manual

Geeetech

Geeetech Acrylic I3 Pro User manual

Geeetech A10M User manual

Geeetech

Geeetech A10M User manual

Geeetech Acrylic I3 Pro Operation instructions

Geeetech

Geeetech Acrylic I3 Pro Operation instructions

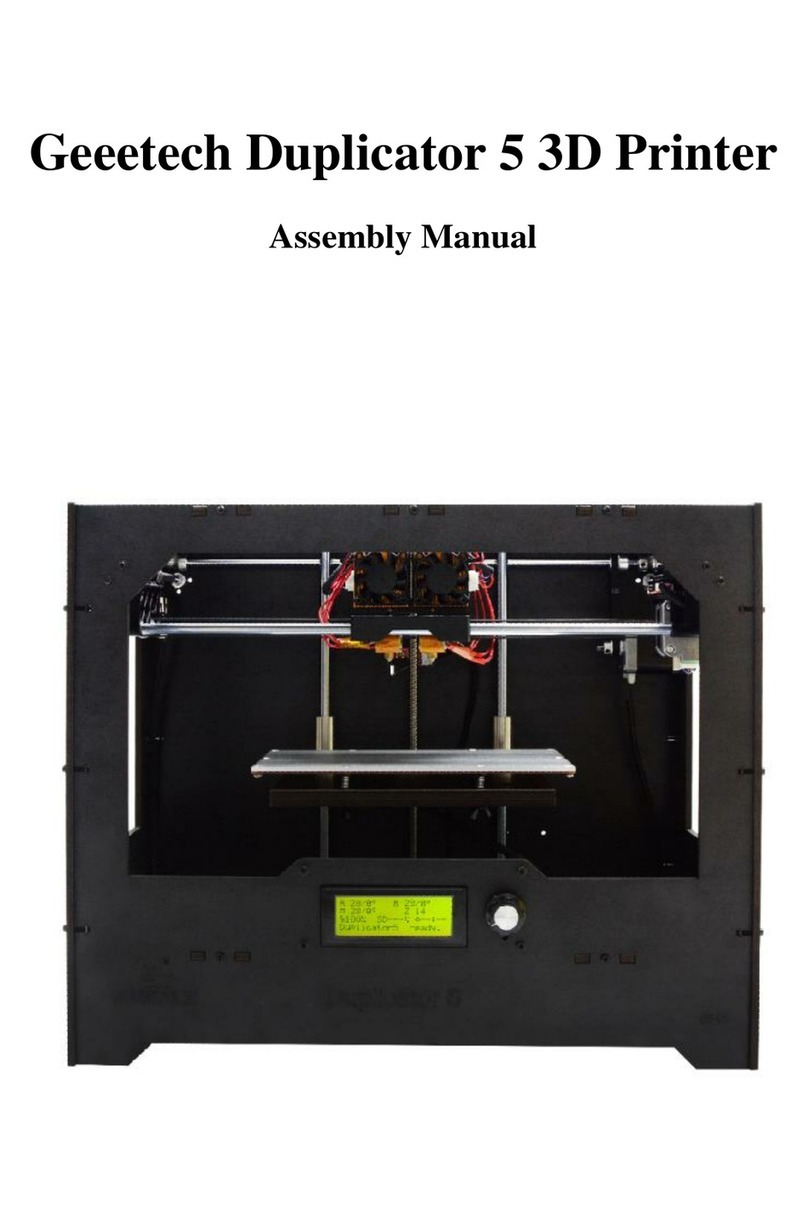
Geeetech Duplicator 5 User manual

Geeetech

Geeetech Duplicator 5 User manual

Geeetech Prusa I3 X User manual

Geeetech

Geeetech Prusa I3 X User manual
Geeetech acrylic Prusa I3 Operation instructions
Geeetech

Geeetech acrylic Prusa I3 Operation instructions

Geeetech A30 User manual

Geeetech

Geeetech A30 User manual
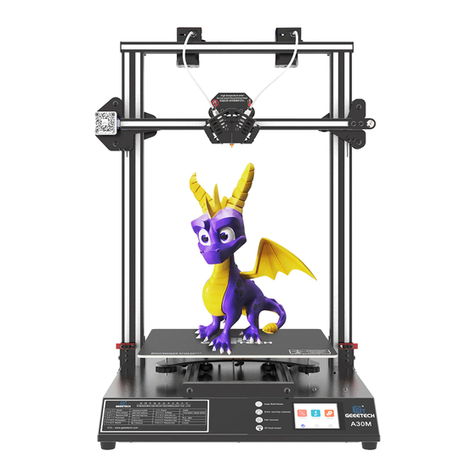
Geeetech A30M User manual

Geeetech

Geeetech A30M User manual

Popular 3D Printer manuals by other brands

Createc Prusa i3 instruction manual

Createc

Createc Prusa i3 instruction manual

Ender Ender-3 Pro Instructions for assembly

Ender

Ender Ender-3 Pro Instructions for assembly

Dremel DigiLab 3D40 FLEX quick start guide

Dremel

Dremel DigiLab 3D40 FLEX quick start guide

CoLiDo Heat Bed Installation

CoLiDo

CoLiDo Heat Bed Installation

MakerBot Replicator 2 Extruder How-to

MakerBot

MakerBot Replicator 2 Extruder How-to

Ouring 3DTALK-Knight installation instructions

Ouring

Ouring 3DTALK-Knight installation instructions

Creality CR-200B Pro quick start guide

Creality

Creality CR-200B Pro quick start guide

Peroworx Infinito user manual

Peroworx

Peroworx Infinito user manual

zortrax M200 Plus Troubleshooting: Camera Preview Is Blurred

zortrax

zortrax M200 Plus Troubleshooting: Camera Preview Is Blurred

pro3dure medical CD-2 Working instructions

pro3dure medical

pro3dure medical CD-2 Working instructions

Prusa i3 Hephestos Assembling Guide

Prusa

Prusa i3 Hephestos Assembling Guide

WEEFUN TINA2 S user manual

WEEFUN

WEEFUN TINA2 S user manual

3D Joy JoysMaker R2 Assembly guide

3D Joy

3D Joy JoysMaker R2 Assembly guide

Createbot MINI-Pro instructions

Createbot

Createbot MINI-Pro instructions

Silhouette Alta Getting started

Silhouette

Silhouette Alta Getting started

CraftBot Flow installation manual

CraftBot

CraftBot Flow installation manual

mbot 3d PLY user manual

mbot 3d

mbot 3d PLY user manual

weistek IdeaWerk Product user manual

weistek

weistek IdeaWerk Product user manual

manuals.online logo
manuals.online logoBrands
  • About & Mission
  • Contact us
  • Privacy Policy
  • Terms and Conditions

Copyright 2025 Manuals.Online. All Rights Reserved.