manuals.online logo
Brands
  1. Home
  2. •
  3. Brands
  4. •
  5. Genie CCTV
  6. •
  7. Security Camera
  8. •
  9. Genie CCTV MVD83SPX/12 Manual

Genie CCTV MVD83SPX/12 Manual

■How to Use the Camera ■How to Use the Camera
3. Set up a selected item by using the Left and Right buttons.
4. To finish and save the settings, select 'EXIT MENU' and press the SET button.
SETUP
PRESETS
EXPOSURE..
WDR
WHITE BALANCE
DAY&NIGHT
IMAGE ADJ..
SPECIAL..
EXIT MENU.
NORMAL
MIDDLE
ATW
AUTO..
Select the function using
the UP or DOWN button. Change the status using
the LEFT or RIGHT button.
PRESETS
WDR
EXPOSURE
Note
• An item with the .. icon also has sub-menus. To select a sub-menu,
press the SET button.
SETUP
PRESETS
EXPOSURE..
WDR
WHITE BALANCE
DAY&NIGHT
IMAGE ADJ..
SPECIAL..
EXIT MENU.
NORMAL
MIDDLE
ATW
AUTO..
SETUP
PRESETS
EXPOSURE..
WDR
WHITE BALANCE
DAY&NIGHT
IMAGE ADJ..
SPECIAL..
EXIT MENU.
NORMAL
MIDDLE
ATW
AUTO..
● NORMAL : Normal environment.
● INDOOR : Indoor environment.
● OUTDOOR : Outdoor environment.
● BACKLIGHT : Backlight environment.
High Resolution colour for
crisp, clear video
ㆍ690TVL Effective
Day & Night
The camera identifies whether it
is day or night and automatically
switches to the appropriate mode,
depending on its environment.
By day, the camera switches to
colour mode in order to maintain
optimal colour. At night, it switches
to B/W mode so as to obtain better
picture definition.
High Sensitivity for low-light
images
The built-in high sensitivity
PIXIM SEAWOLF Sensor enables
a clear image even at 0.1Lux
Motion Detection
Since the camera detects motion
without any additional external
sensor, you can monitor activity
more efficient.
Programmable GAMMA
Processing
Additional Functions
SENS-UP, FREEZE,
FLIP (H/V-REV), D-ZOOM,
SHARPNESS and PRIVACY
functions are provided.
Controlled by OSD Menu
The camera can be controlled by
selecting text displayed on the
monitor screen.
Wide Dynamic Range (WDR)
The camera delivers clear, high
quality pictures even in backlight,
by increasing exposure in dark
areas while decreasing it in bright
areas; a corrected image with
clear details results.
ㆍ120dB maximum dynamic range
DNR (Digital Noise Reduction)
The amount of low illuminance noise
has been significantly reduced, and
the signal-to-noise ratio (S/N ratio)
as well as horizontal resolution,
have been improved resulting in a
clear and sharp image image even
in low light.
■Features
3 Axis built-in Vandal Resistant
Dome Housing
Weather Proof (IP66)
■Installation Of Camera
■Dimensions
ㆍFix the BASE HOUSING to the
desired place with screws supplied.
ㆍAdjust desired scene by turning and
moving the CAMERA BRACKET and
fix it with STOPPER RING by turning
it by hand.
ㆍPut the DOME COVER over the
BASE HOUSING and turn it clockwise
by hand.
ㆍTo fix DOME COVER tight, use SET
SCREW.
■ Surface mount
ㆍUse "Ceiling processing sticker" on
the desired place to install camera
and make a hole on that place.
ㆍPlace the BASE HOUSING on the
hole and fix it with screws supplied.
ㆍAdjust desired scene by turning and
moving the CAMERA BRACKET
and fix it with STOPPER RING by
turning it by hand.
ㆍPut the DOME COVER over the
BASE HOUSING and turn it
clockwise by hand.
■ Flush mount
(Unit : mm)
■Cable Connections
57.0
88.0
3.9
67.0
77.0
3
58.5
57.0
3.9
72.0
80.0
60.5
37.0
POWER
VIDEOOUT
POWER
VIDEOOUT
DOWN button
SET button
RIGHT button
LEFT button
UP button
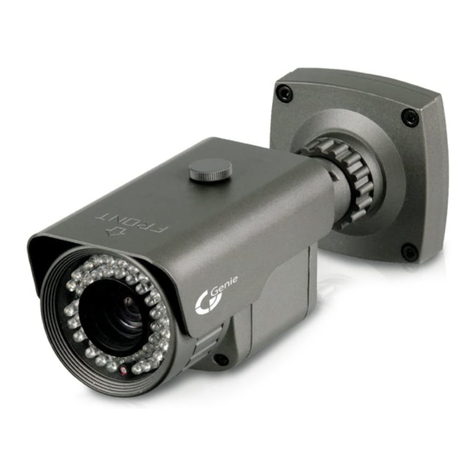
Pixim Digital Day/Night
Mini Vandal Dome Camera
Instruction Guide
Model : MVD83SPX /12
Edition. GN-OCTOBER 2011
GENIE CCTV LTD.
CCTV House, City Park, Watchmead, Welwyn Garden City, Hertfordshire, AL7 ILT
Tel : +44 (0) 1707 330541 Fax : +44 (0) 1707 330543
www.geniecctv.com
●
EXPOSURE MODE : To select the number of fields and number of
exposure cycles.
-
50i/25p selectable
●
AGC (AUTO GAIN CONTROL) : In dark environments, the higher the
gain level, the brighter the screen but the higher the noise.
-
OFF / LOW / MEDIUM / HIGH selectable
●
DNR (Digital Noise Reduction) : The level of background noise in low
light decreases automatically as the level of gain changes.
-
OFF / LOW / MIDDLE / HIGH selectable
●
HIGHLIGHT : To optimise the scene when high dynamic range lighting
is detected.
-
ON : bright parts of the image are most visible.
-
OFF : dark parts of the image are most visible.
●
COLOR ROLL : To control a detector that finds colour fluorescent roll.
-
OFF / LOW selectable
●
SENS-UP : When it is night or dark, the camera automatically detects
the light level and maintains a clear picture if this mode is activated.
-
2X, 4X, 8X, 16X, 32X
-
OFF : Deactivates the SENS-UP function.
●
LENS SELECT : Using this function, you can control the screen brightness.
-
DC / Manual : Select Lens Type.
EXPOSURE
LENS SELECT
BLC
EXPOSURE MODE
AGC
DNR
HIGHLIGHT
COLOR ROLL
SENS-UP
PREVIOUS PAGE..
MANUAL..
OFF
50i
MEDIUM
MIDDLE
ON
OFF
2X
LENS MENU
DC GAIN
AI THRESH
PREVIOUS PAGE..
0 120 255
-48
-48 60
●
BLC : To optimize the scene when there is a strong backlight behind
the object.
-
ON / OFF selectable
ADVANCED BLC SETUP
PERCENTILE
PREV. SAVE. CANCEL.
10 5035
When the SETUP menu screen is displayed, select‘EXPOSURE’by
using the Up and Down buttons so that the arrow indicates‘EXPOSURE’.
SETUP
PRESETS
EXPOSURE..
WDR
WHITE BALANCE
DAY&NIGHT
NORMAL
MIDDLE
ATW
AUTO..
Use the White Balance function to adjust the screen colours.
1. Position the cursor to point to WHITE BAL on the SETUP menu screen,
select using the Up and Down buttons.
2. Select the desired mode using the Left and Right buttons.
WHITE BALANCE
●
WDR : When the image has simultaneous bright and dark areas, the
Wide Dynamic Range makes both areas distinct.
- LOW / MIDDLE / HIGH / USER selectable.
WDR LEVEL
BIAS
LIMIT
PREVIOUS PAGE..
2
36
-30 30
0 36
SETUP
PRESETS
EXPOSURE..
WDR
WHITE BALANCE
DAY&NIGHT
IMAGE ADJ..
NORMAL
MIDDLE
ATW
AUTO..
※Select one of the following 5 modes, as appropriate.
● ATW : The ATW mode continuously monitors.
● INDOOR : Select when the colour temperature is between 4000˚K and 8500˚K
● OUTDOOR : Select when the colour temperature is between 2000˚K and 11000˚K
● AWB : To obtain the optimum state under the current luminance levels,
direct the camera to point toward a sheet of white paper and press the
SET button. If the environment changes, including the light source, the
white balance will require re-adjustment.
● MANUAL : Select to "fine-tune" the White Balance manually. Set White
Balance first using the ATW or AWB mode. Afterwards switch to MANUAL
mode, fine-tune the White Balance and then press the SET button.
MANUAL WHITE BALANCE
RED
BLUE
PREVIOUS PAGE..
-18
13
-20 20
-20 20
■How to Use the Camera
■
How to Use the Camera
■
How to Use the Camera
■
How to Use the Camera
Note
• Under the following conditions White Balance may not work properly.
In such cases, select the AWC mode.
①When the colour temperature of the subject environment has a very
high temperature range (e.g. clear sky, or sunset)
②When the ambient illumination of the subject is low.
③If the camera is directed toward a fluorescent light, or is installed in
a place where illumination changes dramatically, the White Balance
operation may become unstable.
SETUP
PRESETS
EXPOSURE..
WDR
WHITE BALANCE
DAY&NIGHT
IMAGE ADJ..
SPECIAL..
EXIT MENU.
NORMAL
MIDDLE
ATW
AUTO..
● AUTO : This camera has a function which automatically changes to the
appropriate mode according to lighting levels. To set up the switching
time for the AUTO mode press the SET button.
DAY&NIGHT
● COLOR : The picture is displayed in colour.
● B/W : The picture is always displayed in black and white.
● FREEZE : View still pictures.
- OFF / ON selectable
● FLIP : OFF / HORIZ / VERT / BOTH selectable
● SHARPNESS : The outline of the video image becomes cleaner and
more distinctive as the level of SHARPNESS increases. If the level gose
up excessively, however, it may affect the video image and generate noise.
- The available range of level is -8 ~ 8
● COLOR GAIN : To control the colour level in the video.
- The available range of level is -8 ~ 8
● GAMMA : Users can change the gamma setting between 25 and100
●
FOCUS : To adjust the lens focus.
BOTHVERT
HORIZ
OFF
SPECIAL
When the SETUP menu screen is displayed, select 'SPECIAL' by using
the Up and Down buttons so that the arrow indicates 'SPECIAL'.
SETUP
PRESETS
EXPOSURE..
WDR
WHITE BALANCE
DAY&NIGHT
IMAGE ADJ..
SPECIAL..
EXIT MENU.
NORMAL
MIDDLE
ATW
AUTO..
■
Specifications
ITEM
Image Sensor
Signal processing
Transfer Format
Sync. System
Effective Pixels
Dynamic Range
Horizontal Resolution
Min. Illumination
Day & Night
White Balance
WB Range
Shutter Speed
Sens-up
Privacy Masking
AGC
Image Flip
Camera ID
S/N Ratio
Video Output
OSD
Operating Humidity
Operating Temp.
Weatherproof
Weight
Power Consumption
PIXIM 1/3" High Sensitivity Digital Sensor
17-bit Digital Signal Processing
Progressive with Segmented Frames
Internal
758(H) x 540(V)
120dB(Max), 102dB(Typical)
690TVL Effective
0.1Lux
AUTO / COLOR / B/W
ATW / AWB / INDOOR / OUTDOOR / MANUAL
2000˚K~11,000˚K
up to 1/30, 720 sec
AUTO / OFF (Selectable x2 ~ x32)
12 Zones
OFF / LOW / MEDIUM / HIGH
OFF / HORIZ / VERT / BOTH
ON / OFF
More than 50dB
Composite video output 75 ohm terminated
Built-in
30% ~ 90% RH
-10˚C to 50˚
IP66
Appro. 230g
12VDC (Max.150mA)
SPEC.
SETUP
PRESETS
EXPOSURE..
WDR
WHITE BALANCE
DAY&NIGHT
IMAGE ADJ..
SPECIAL..
NORMAL
MIDDLE
ATW
AUTO..
IMAGE ADJ.
When the SETUP menu screen is displayed, select 'IMAGE ADJ.' using
the Up and Down buttons.
IMAGE
FREEZE
FLIP
SHARPNESS
COLOR GAIN
GAMMA
FOCUS..
PREVIOUS PAGE..
OFF
OFF
-8 0 8
0
-8 8
2545 100
FOCUS DETECTOR
FOCUS METER
SET FOCUS REGION..
PREVIOUS PAGE..
88
SET FOCUS REGION
● DZOOM : Digital P/T/Z are used to create a zoom lens effect.
Zoom Factor (1X to 4X), Pan (±100%, center of image can be moved
to left and right edges of screen), Tilt (±100%, center of image can be
moved to top and bottom edges of screen)
● MOTION : This product has a feature that allows you to observe
movements of objects in on the screen, hence a single individual can
conduct supervision efficiently.
The camera detects an object's movement by sensing disparity of
outline, and level of brightness and colour.
DZOOM
ZOOM
PAN
TILT
PREVIOUS PAGE..
1
0
0-100 100
14
-100 100
VIDEO STANDARD
VIDEO SELECT
VIDEO LEVEL
SYNC LVL
BURST LVL
COLOR BAR
PREVIOUS PAGE..
0
0OFF
PAL
80 110 150
-16 15
-16 15
● CAMERA ID : User can enter a unique name for the respective camera.
The maximum length of the ID is ten characters.
ㆍYou can choose the ON and OFF with the selector. If you select ON,
the entered camera ID is displayed at the selected position in the video
picture (normal operation).
ㆍPlease select the setup button while in On mode.
ㆍSelect the desired position with the selector.
① Move the cursor to the letter required by using the Set-Up button.
② Select an ID from A,B~Y,Z, a,b~y,z, 0,1~8,9 by using the LEFT and
RIGHT buttons.
③ Repeat the above steps until the ID is complete.
CAMERA ID
ID
POSITION
PREVIOUS PAGE..
CAM-001
UP-LEFT
CAMERA ID
ID
POSITION
PREVIOUS PAGE..
CAM-001
UP-LEFT
SPECIAL
CAMERA ID
VIDEO OUT..
DZOOM
MOTION
PRIVACY MASK..
RESET
PREVIOUS PAGE..
OFF
OFF
OFF
① Select the position where the ID is to be displayed by using the
LEFT and RIGHT buttons.
● VIDEO OUT : Move the cursor to select the video system
- VIDEO STANDARD : You can control NTSC / PAL, Video level,
Sync level, Burst level.
MOTION DETECTION
ACTIVITY THR.
MESSAGE TIME
SETUP MOTION ZONE..
PREVIOUS PAGE..
0 25 255
1 3 10
MOTION ZONE SETUP
● PRIVACY MASK : Hide an area you want to hide on the screen.
ㆍWhite : MOTION ZONE Position movement
Green : MOTION ZONE Size enlargement
Red : MOTION ZONE Size reduction
ㆍFor MOTION ZONE Confirm, long press SET button
PRIVACY MASK SETUP
PRIVACY MASK
MASK COLOR
PREVIOUS PAGE..
OFF
WHITE
ENABLE MASKS (1 to 6)
MASK 1
MASK 2
MASK 3
MASK 4
MASK 5
MASK 6
PREV. NEXT.
ON
OFF
OFF
OFF
OFF
OFF
ENABLE MASKS (7 to 12)
MASK 7
MASK 8
MASK 9
MASK 10
MASK 11
MASK 12
PREVIOUS PAGE..
OFF
OFF
OFF
OFF
OFF
OFF
ㆍWhite : PRIVACY-ZONE Position
movement
Blue : PRIVACY-ZONE Size
enlargement or reduction
ㆍFor PRIVACY-ZONE Confirm, long
press SET button
● RESET : Resets the camera.
EXIT MENU
VERSION :
SAVE&EXIT
DEFAULT
CANCEL
7.3.2-7.0.281
EXIT MENU.
● VERSION : 7.3.2-7.0.281
● SAVE&EXIT : Saves all the setting menus and then exits.
● DEFAULT : Resets the camera settings to the factory defaults.
● CANCEL : Cancel to the camera settings.
DAY&NIGHT SETUP
NIGHT MODE
TIME DELAY
PREVIOUS PAGE..
BW+burst
BW
COLOR
1
0255

Other Genie CCTV Security Camera manuals

Genie CCTV GANPRCAM User manual

Genie CCTV

Genie CCTV GANPRCAM User manual

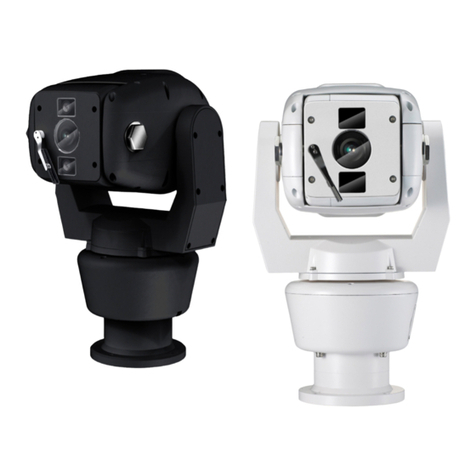
Genie CCTV Raptor II Ruggedized PTZ User manual

Genie CCTV

Genie CCTV Raptor II Ruggedized PTZ User manual

Genie CCTV HDB2810IR User manual

Genie CCTV

Genie CCTV HDB2810IR User manual

Genie CCTV WAHD2B User manual

Genie CCTV

Genie CCTV WAHD2B User manual

Genie CCTV GD5324/2.9 Manual

Genie CCTV

Genie CCTV GD5324/2.9 Manual

Genie CCTV W70MDIR User manual

Genie CCTV

Genie CCTV W70MDIR User manual

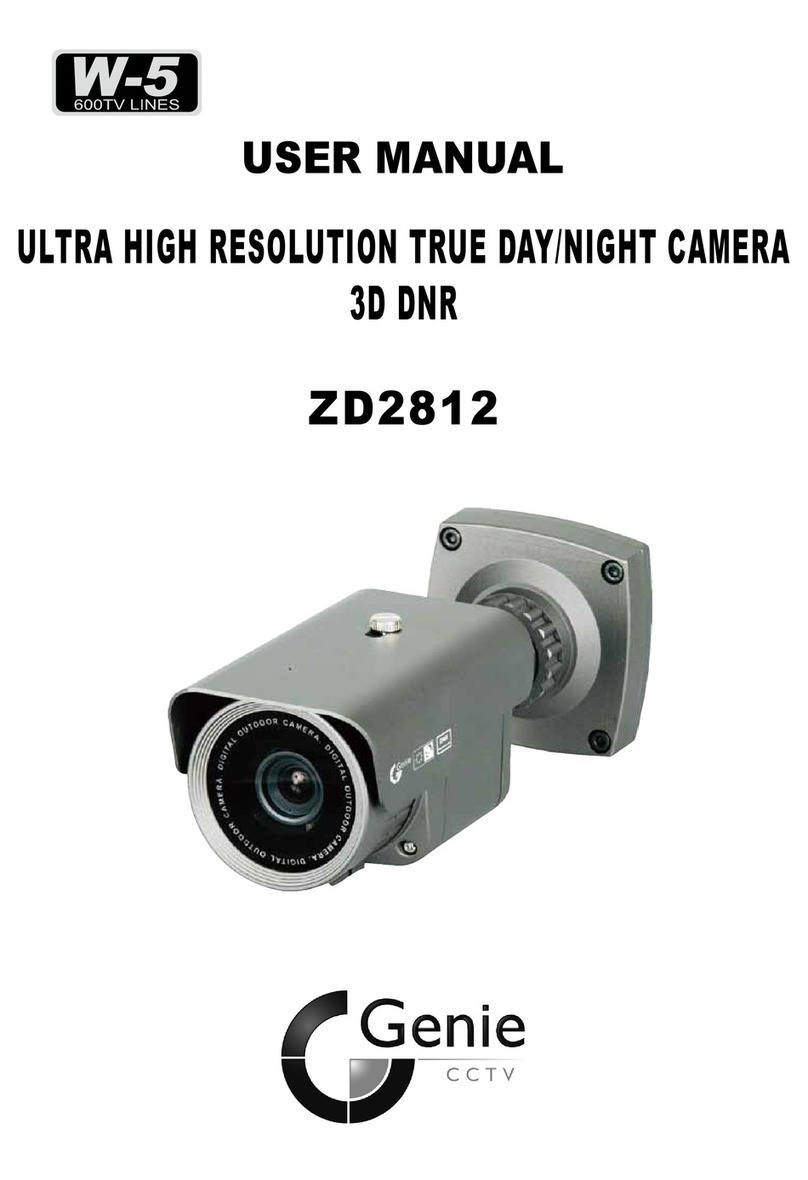
Genie CCTV ZD2812 User manual

Genie CCTV

Genie CCTV ZD2812 User manual

Genie CCTV GD103CHVAI/SMO User manual

Genie CCTV

Genie CCTV GD103CHVAI/SMO User manual

Genie CCTV GMC3CH User manual

Genie CCTV

Genie CCTV GMC3CH User manual

Genie CCTV VRD73 User manual

Genie CCTV

Genie CCTV VRD73 User manual

Genie CCTV ZD5501 User manual

Genie CCTV

Genie CCTV ZD5501 User manual

Genie CCTV TD-D62 User manual

Genie CCTV

Genie CCTV TD-D62 User manual

Genie CCTV GSH901D User manual

Genie CCTV

Genie CCTV GSH901D User manual

Genie CCTV VRCD-5351 Manual

Genie CCTV

Genie CCTV VRCD-5351 Manual

Genie CCTV ZD9221 User manual

Genie CCTV

Genie CCTV ZD9221 User manual

Genie CCTV HDC201 User manual

Genie CCTV

Genie CCTV HDC201 User manual

Genie CCTV AVRCD-6351 Manual

Genie CCTV

Genie CCTV AVRCD-6351 Manual

Genie CCTV DNR300OZ Manual

Genie CCTV

Genie CCTV DNR300OZ Manual

Genie CCTV DN83TSPX Manual

Genie CCTV

Genie CCTV DN83TSPX Manual

Genie CCTV PIXIM VRD83SPX Manual

Genie CCTV

Genie CCTV PIXIM VRD83SPX Manual

Genie CCTV 1000TVL User manual

Genie CCTV

Genie CCTV 1000TVL User manual

Genie CCTV VRD43/12 User manual

Genie CCTV

Genie CCTV VRD43/12 User manual

Genie CCTV LTVD52811 Manual

Genie CCTV

Genie CCTV LTVD52811 Manual

Genie CCTV TPC 8389 Series User manual

Genie CCTV

Genie CCTV TPC 8389 Series User manual

Popular Security Camera manuals by other brands

Videofied DCV601 Installation sheet

Videofied

Videofied DCV601 Installation sheet

DÖRR SNAPSHOT MINI 5.0 PRO instruction manual

DÖRR

DÖRR SNAPSHOT MINI 5.0 PRO instruction manual

L-Sniper I-Sniper EL-1000W instruction manual

L-Sniper

L-Sniper I-Sniper EL-1000W instruction manual

Reolink Argus PT Lite quick start guide

Reolink

Reolink Argus PT Lite quick start guide

Speco O3FDP9 user manual

Speco

Speco O3FDP9 user manual

Brickcom MD-500Ap Series Hardware user manual

Brickcom

Brickcom MD-500Ap Series Hardware user manual

Sony IPELA SNC-CS10 user guide

Sony

Sony IPELA SNC-CS10 user guide

Panasonic AK-HC1500G operating instructions

Panasonic

Panasonic AK-HC1500G operating instructions

American Dynamics SpeedDome Optima LT installation guide

American Dynamics

American Dynamics SpeedDome Optima LT installation guide

dallmeier DF5200HD-IR-ANPR Commissioning

dallmeier

dallmeier DF5200HD-IR-ANPR Commissioning

Vimar ELVOX TVCC 46226.312FM quick start guide

Vimar

Vimar ELVOX TVCC 46226.312FM quick start guide

ARTRAY ARTCAM-098 II Instruction booklet

ARTRAY

ARTRAY ARTCAM-098 II Instruction booklet

Speco HTSD10X Specification sheet

Speco

Speco HTSD10X Specification sheet

Lorex VANTAGE LBC5451 instruction manual

Lorex

Lorex VANTAGE LBC5451 instruction manual

Burg Wächter BWNC-442RINA quick guide

Burg Wächter

Burg Wächter BWNC-442RINA quick guide

ROHS 6400AK Series user manual

ROHS

ROHS 6400AK Series user manual

Axis P3807-PVE user manual

Axis

Axis P3807-PVE user manual

ACTi ACM-1230 Series Quick installation guide

ACTi

ACTi ACM-1230 Series Quick installation guide

manuals.online logo
manuals.online logoBrands
  • About & Mission
  • Contact us
  • Privacy Policy
  • Terms and Conditions

Copyright 2025 Manuals.Online. All Rights Reserved.