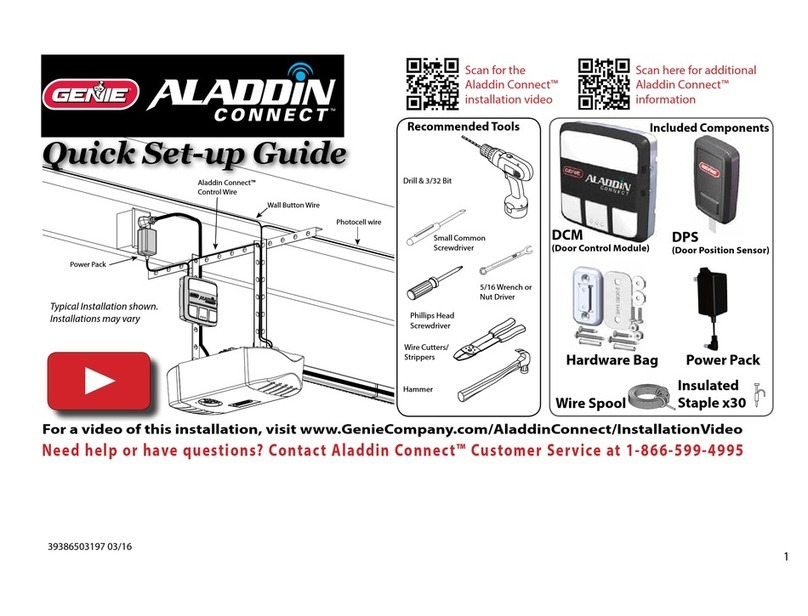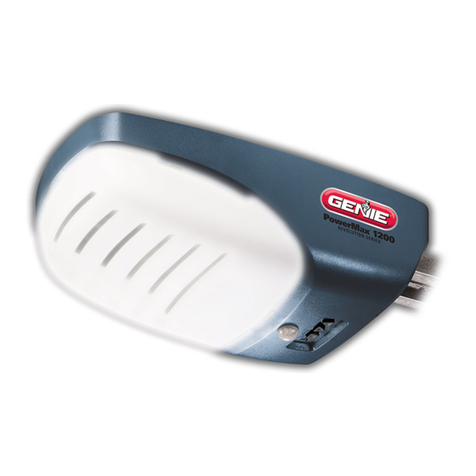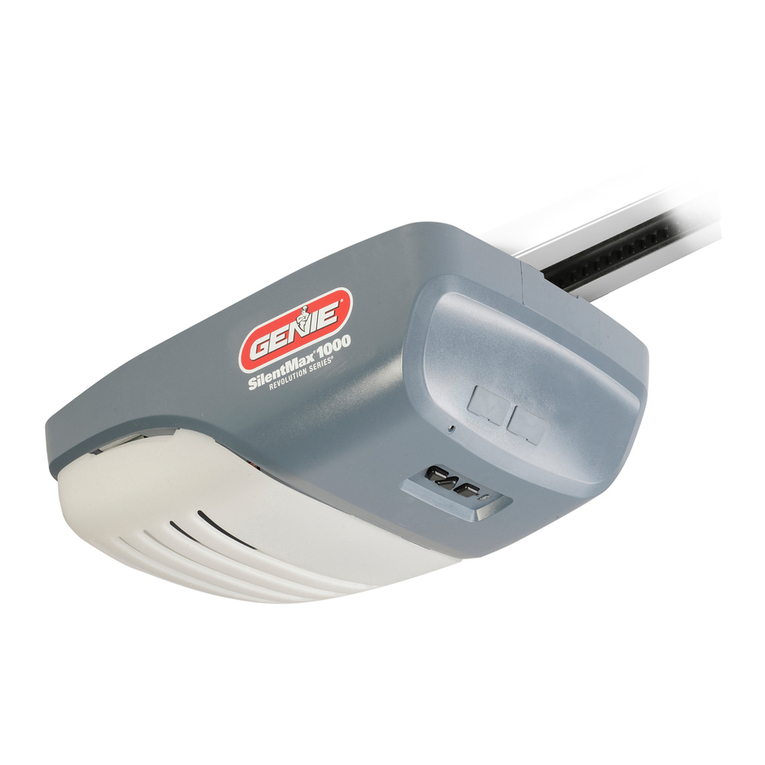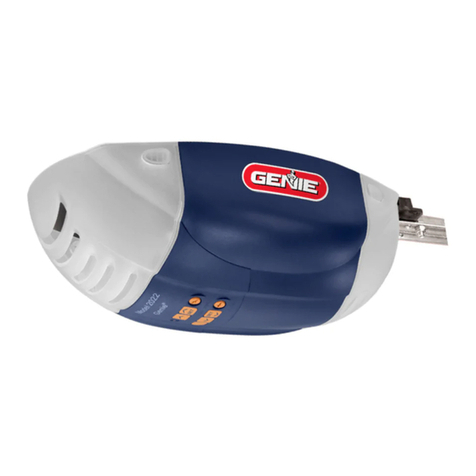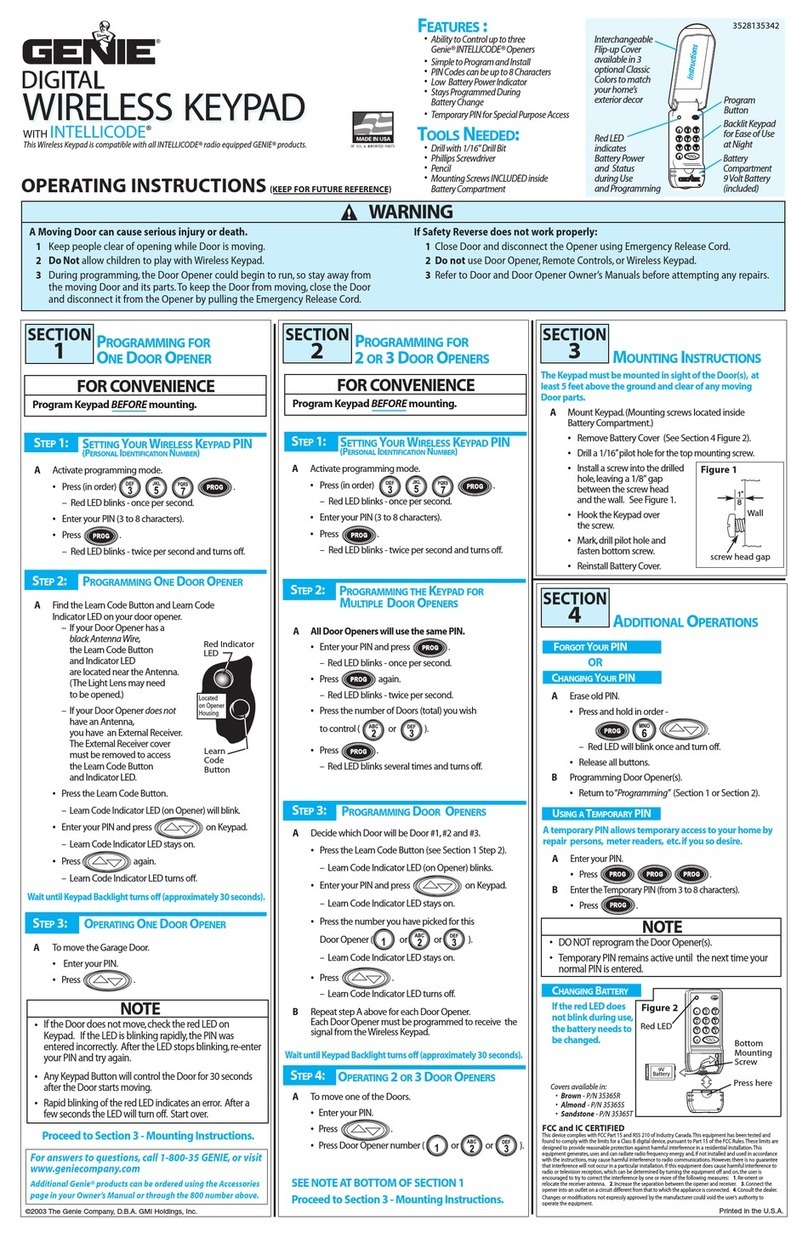
Rafter or Truss
(2) 5/16" x 1-3/4" Lag
Mounting
Bracket
Method 2 - Angle Iron Mount
Method 3 - Horizontal Mount
Fasten a second perforated angle iron (not provided) to
the powerhead mounting angle iron as shown using
two 5/16" nuts and bolts (not provided).
Attach the mounting plate to the perforated angle iron
using two more 5/16" nuts and bolts (not provided).
C. Slide the Battery Back-Up unit into the mounting plate.
NOTE:
It is recommended that the battery be allowed to
charge for 24 to 48 hours prior to initial testing.
Initially, the opener may not run in the Battery
Back-Up mode if the battery charge is too low.
B.
Plug the Connection Cable into the Battery Back-Up unit.
NOTE:
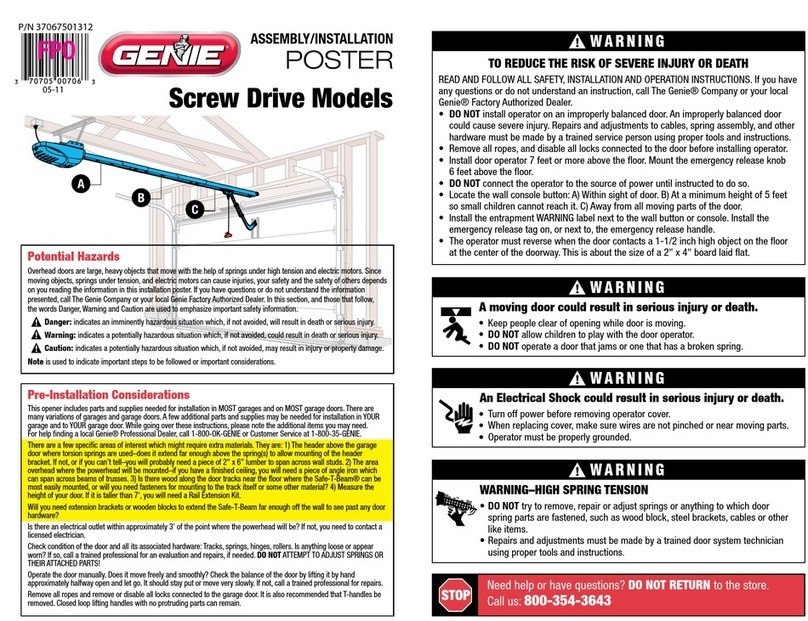
Remember when replacing the battery—DO NOT REVERSE
POLARITY [(+) and (–)] as this WILL damage the circuit board.
Ceiling
Angle Iron (not provided)
5/16-18 nut
and bolt
(not provided)
Mounting
Bracket
Opener
TOPREVENTPOSSIBLE
SERIOUSINJURY or DEATH
fromelectrocutionANDREDUCERISKofFIRE
—DisconnectALLelectricpowersourcesandbattery
powerBEFOREperformingANYserviceormaintenance.
InstallonlyinDRYlocations-NOTINTENDEDFOROUTDOOR USE.
ForuseONLYwithGenie®modelSeries30XXor40XXResidential
GarageDoorOpeners.
UseonlyGenieP/N36959Aforreplacement battery.
TheGenieCompany
ModelGBB-BX
CAUTION
PARAEVITAR POSIBLES
LESIONES GRAVESOMUERTE
porelectrocucióny PARA REDUCIREL RIESGODE FUEGO
—Desconectetodas lasfuentesdeenerguaeléctrica y la
bateríaantes derealizarningúnservicionimantenimiento.
Instalarsóloenlugaressecos — NO ES PARAUSOENEXTERIORES.
ParasuusosóloconGenie®modelodelaserie30XXo 40XX
abrepuertas residencialesparapuertas de garaje.
UtilicesóloGenie® P/N 36959Acomobateríaderepuesto.
TheGenieCompany
ModelGBB-BX
PRECAUCIÓN
37340A
Installez uniquementdansdesendroitssecs—PASDESTINEAETRE
UTILISEENPLEINAIR.
Autilizeruniquement avecGenie®modèledelasérie30XXou 40XX
pourportesdegaragerésidentielles.
UtilisezuniquementdesGenie®P/N36959Acommebatterie
dereplacement.
POURÉVIERLESBLESSURES
GRAVESOU LAMORTpar
électrocutionetPOURRÉDUIREESRISQUESDEFEU
—Débranchestoutes lessourcesd’alimentationélectriqueset
labetterieavant touteréparationoul’entretien.
ATTENTION
®
US
TheGenieCompany
ModèleGBB-BX
2
YELLOW GREEN RED
BBU
NETWORK
BATTERY
BACK-UP
CONNECTION
CABLE
OPERATOR
POWERHEAD
No user required tasks for normal use. Opener will run at a
slower speed while using battery power.
There are three (3) LEDs
on the front housing;
GREEN, YELLOW and
RED. Use the CHART.
NOTE
:To conserve battery power during a power failure (in Battery
Back-Up mode), the motion detector & work light will not function.
OPERATION
BATTERY REPLACEMENT* SEE BELOW
COLOR INDICATION ACTION REQUIRED
Green LED Normal operation None required
Yellow LED Battery is charging None required
Red LED Battery voltage is
below operational
level.
If red LED stays on over
48 hours, the battery has
failed to charge.
Check Connection Cable
connections and battery.
To remove the Connection Cable connector from the
Battery Back-Up port on the powerhead, you must
depress the disconnect latch before pulling the
connector out of the port.
Use a small screwdriver or similar device.
Attempting to remove the connector without first
depressing the latch will damage the circuit board.
DISCONNECT LATCH SCREWDRIVER
Step 4. Testing
A. Turn off power to the garage door opener by
A.
Run the opener using the Wall Console or Remote
Transmitter to ensure it is working properly.
unplugging its power cord from its grounded
outlet, or turn off the breaker in the permanently
installed power circuit.
B.Press the OPEN/CLOSE button on the wall control to
operate the opener. It should operate the door at a
lower speed.
NOTE: If the opener does not operate, recheck the
connections of the Connection Cable at both the
powerhead and the Battery Back-Up and try again,
(SEE CAUTION BELOW.)
C. After successfully completing the test, return power to
the garage door opener.
REMINDER: Battery Back-Up will not turn on until power is
restored to the opener.
A.
B.
B.
.
Remove the connector port cover for the Battery Back-Up
(marked "BBU") on the Powerhead.
A. ENSURE the locking TABS are at the bottom and attach
mounting plate with (2) two 5/16" x 1-1/2" lag screws.
A.
Remove power to the opener (unplug or turn off breaker)
and unplug Connection Cable from Battery Back-Up.
B. Slide unit out of mounting bracket.
C. Remove cover (4 screws).
D. Slide connectors off battery.
E. Remove old battery and insert its replacement.
F. Attach connectors, RED (+) and BLACK (–),
to battery terminals.
G.
.
Replace cover (4 screws).
HSlide unit onto mounting bracket.
.JPlug in power cord.
.IPlug in Connection Cable.
C.
Plug the Connection Cable into the operator powerhead
Battery Back-Up port.
ARemove power from garage door opener (unplug or
turn off breaker).
D. Restore power to the garage door opener.
E.
Battery Back-Up will NOT turn on until the opener has
power.
www.geniecompany.com 37260500131 01-2013
TOPREVENTPOSSIBLE
SERIOUSINJURY orDEATH
fromelectrocution ANDREDUCERISKofFIRE
—DisconnectALLelectricpower sourcesandbattery
powerBEFOREperformingANYserviceormaintenance.
InstallonlyinDRYlocations-NOTINTENDEDFOROUTDOORUSE.
ForuseONLYwithGenie®modelSeries30XXor40XXResidential
GarageDoorOpeners.
UseonlyGenieP/N36959Aforreplacementbattery.
TheGenieCompany
ModelGBB-BX
CAUTION
PARAEVITARPOSIBLES
LESIONESGRAVESOMUERTE
porelectrocución yPARAREDUCIRELRIESGODEFUEGO
—Desconectetodaslasfuentesdeenergua eléctricayla
bateríaantesderealizar ningúnservicionimantenimiento.
Instalarsóloenlugaressecos—NOESPARAUSOENEXTERIORES.
ParasuusosóloconGenie®modelodelaserie30XXo40XX
abrepuertasresidencialesparapuertasdegaraje.
UtilicesóloGenie®P/N36959Acomobateríaderepuesto.
TheGenieCompany
ModelGBB-BX
PRECAUCIÓN
37340A
Installezuniquement dansdes endroitssecs—PASDESTINEAETRE
UTILISEENPLEINAIR.
AutilizeruniquementavecGenie®modèle de la série30XXou40XX
pourportesdegaragerésidentielles.
Utilisezuniquement des Genie®P/N36959Acommebatterie
dereplacement.
POURÉVIERLESBLESSURES
GRAVESOULAMORTpar
électrocution etPOURRÉDUIREESRISQUESDEFEU
—Débranchestouteslessources d’alimentationélectriques et
labetterieavanttoute réparationoul’entretien.
ATTENTION
®
US
TheGenieCompany
ModèleGBB-BX
Step 3. Wiring to powerhead
Rafter or Truss
(2)
5/16" x 1-1/2" Lag
Mounting
Bracket
LOCKING TABS
* BE SURE YOU READ AND FOLLOW ALL SAFETY WARNINGS & CAUTIONS PRIOR TO PERFORMING THESE INSTRUCTIONS!
mounting
bracket


