MAKE DRIP COFFEE WITH COFFEE POWDER DIRECTLY
1. Open the water tank cover, pour clean cold water into water
tank as needed.
Note: 1) The coffee you get would less than the water you pour
in as some water had been absorbed by coffee powder.
2) Never pour hot water, milk, coffee powder or tea into water tank.
3) Please don’t fill the water tank exceed 10 mark indicated on
water gauge.
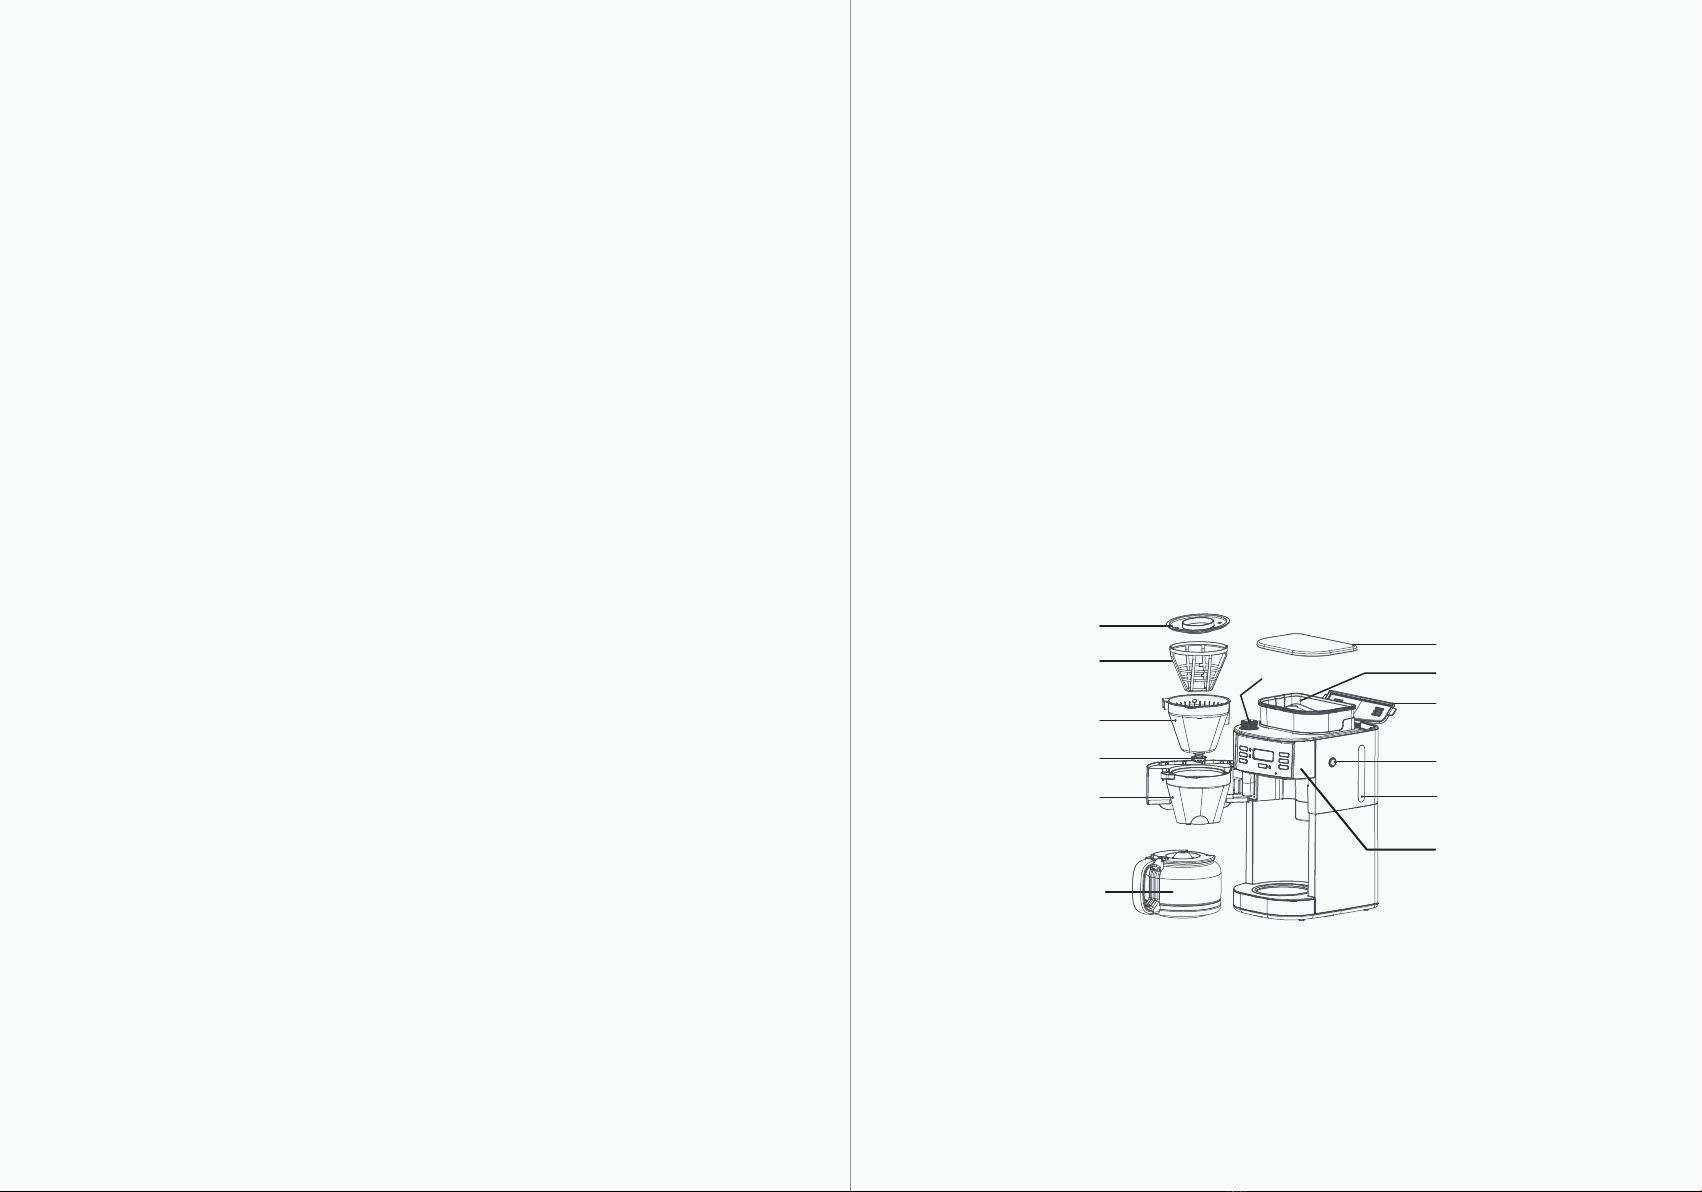
2. Press Funnel Press Key once and rotate the funnel support to
left, ensure the filter is inside of the Funnel Support. Add
desired coffee powder into the filter according to your
experience, then turn the Funnel Support to right until it is
locked.
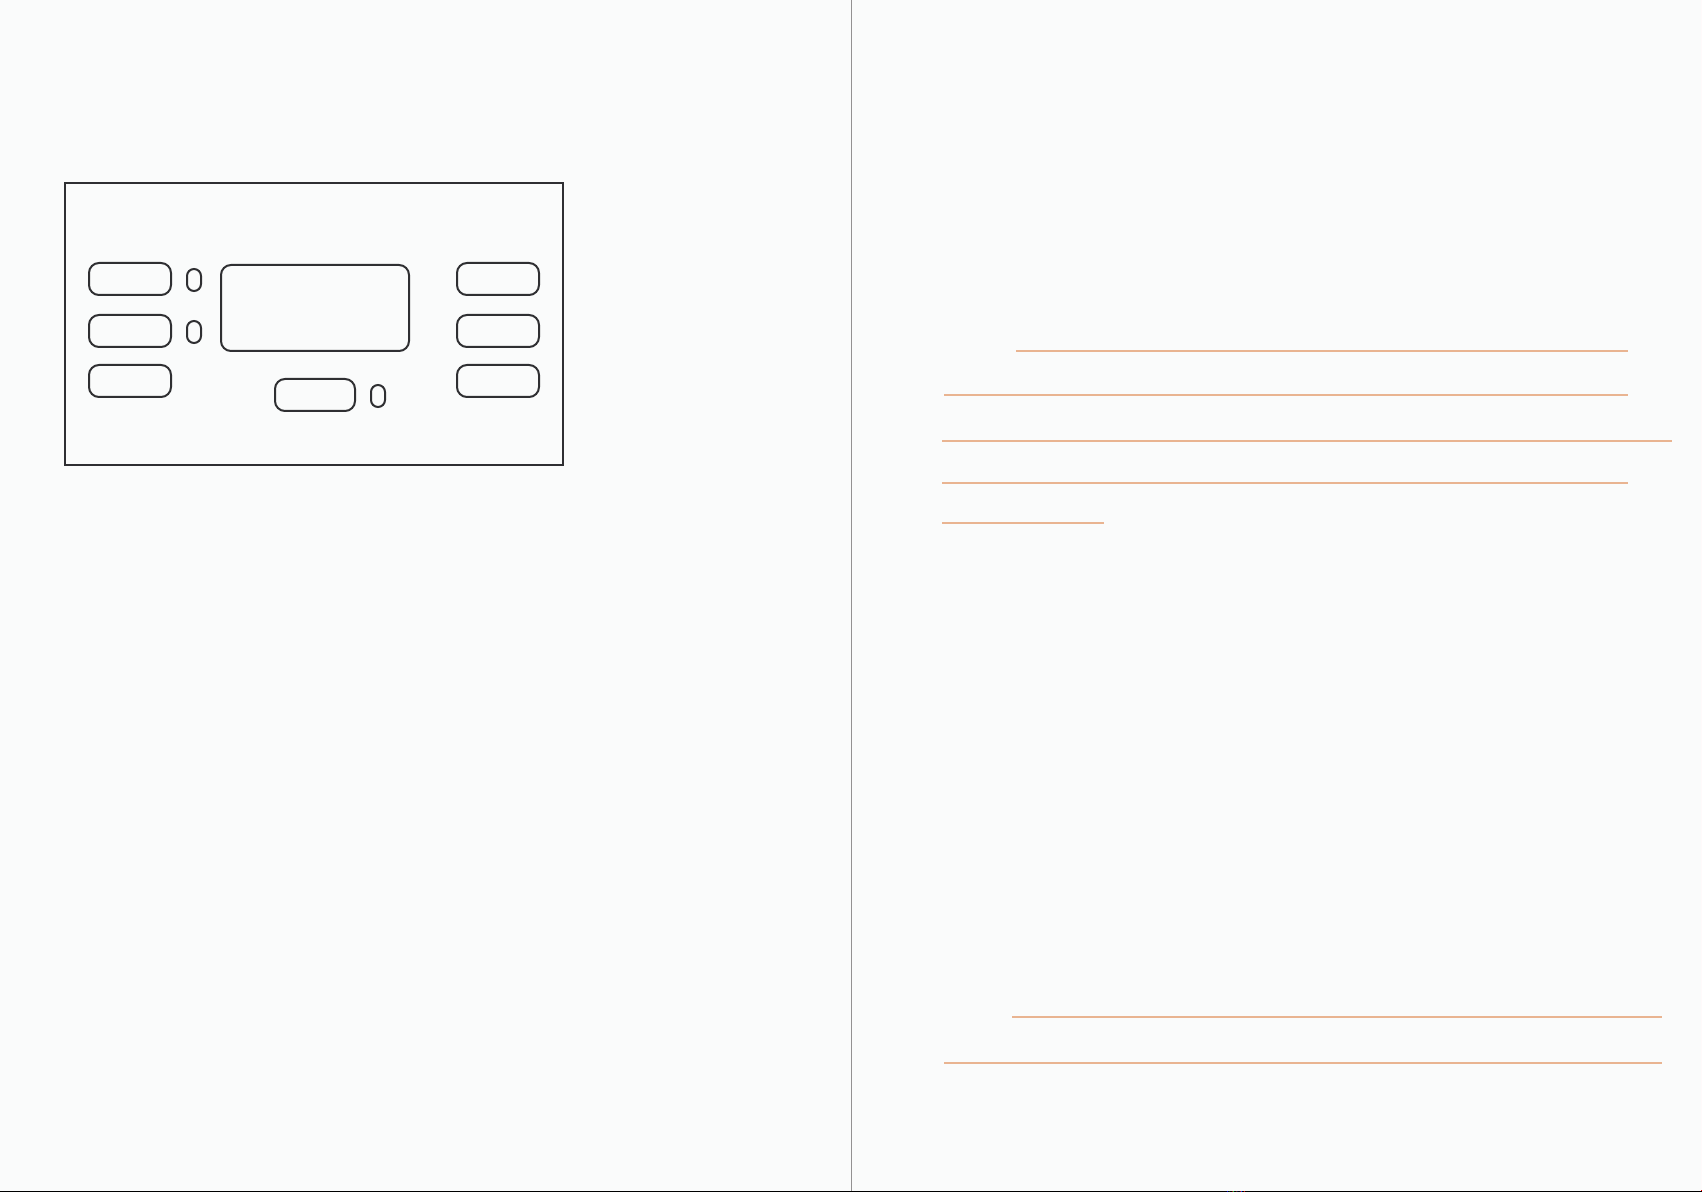
3. Plug into the outlet. The display will show “12:00”
(see “control panel”), and the number will flash, then press
‘HOUR ’and‘ MIN ’button to set time.
Note: Number will flash until Pressing Hour or Min button to set
time, the unit is not available when number is flash.
4. Set the number of cup (2,4,6,8,10) through press
“CUP 2-10” button (see “control panel”), if you do not press
the “CUP 2-10” button to set the number of cup, the default
number of cup is 10 .
6. Set the number of cups (2,4,6,8,10) through press “ CUP 2-10 ”
button (see “control panel”), if you do not press the “CUP 2-10 ”
button to set the number of cup, the default number of cup is 10.
Then you can turn the Knob to set the thickness of coffee powder.
NOTE: 1) Please ensure the cup size is the same as the water amount
filled in water tank, when brewing the unit will finish boiling all of the
water in water tank is finished.
2) You can adjust the coffee powder coarseness by turning the knob,
we recommend you turn the knob to the middle position.
7. Press “STRENGTH CONTROL ” to select coffee strength.
8. Press the “ON/OFF ” button one time, waiting for about 3 seconds,
the grinder will start grinding, after grinding, wait for about 3
seconds, the LCD will display the Photo of “ ”, the brewing
process begins.
9. After brewing, the “ ” on the LCD will disappear, and buzzer
will sound 3 times.
10. When finish brewing, if you do not unplug the power cord from
the power outlet, the coffee can be warmed in the carafe for
some time, after some time, the appliance will cut off power
automatically. The whole process Of warming lasts for two
hours.