manuals.online logo
Brands
  1. Home
  2. •
  3. Brands
  4. •
  5. GF
  6. •
  7. Plumbing Product
  8. •
  9. GF ELGEF Plus User manual

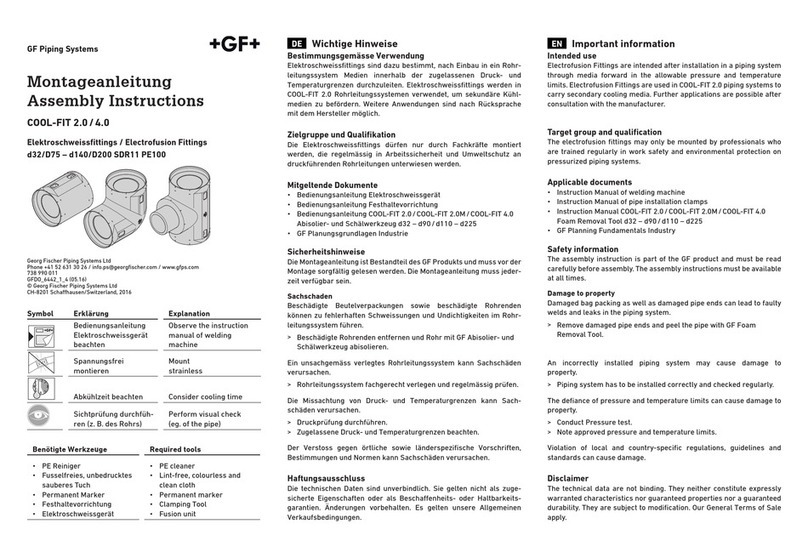
GF ELGEF Plus User manual

Georg Fischer Piping Systems Ltd.
Ebnatstrasse 111, 8201 Schaffhausen/Switzerland
Phone +41 (0)52 631 11 11, Fax +41 (0)52 631 28 00
info.ps@georgfischer.com, www.gfps.com
173.282.643
GFDO_6268_1_4 (11.13)
© Georg Fischer Piping Systems Ltd.
CH-8201 Schaffhausen/Switzerland, 2013
Printed in Switzerland
Zastosowanie instrukcji montażu
Instrukcja montażu stanowi część dostarczonego produktu i jest ważna dla
zachowania bezpieczeństwa. Nieprzestrzeganie zasad w niej zawartych
może prowadzićdo poważnych uszkodzeńciała bądźśmierci.
•Przeczytaj i stosuj siędo zaleceńz poniższej instrukcji.
•Instrukcja powinna być dostępna z produktem.
•Przekaż instrukcję osobom instalującym produkt.
Zakres stosowania
Produkt jest przeznaczony wyłącznie do transportowania medium w
dopuszczalnych zakresach ciśnienia i temperatury lub do kotrolowania
przepływu w systemach rurowych, na których zostałzamontowany. Aplikacje
SDR11: systemy rurowe PE do przesyłania wody pitnej do 16 bar lub gazu do
10 bar. Zastosowanie w innych aplikacjach po uprzedniej konsultacji z
producentem.
Dotyczy dokumentu
Poniższy dokument zawiera wszystkie informacje potrzebne do
prawidłowego montażuproduktu.
Rodzaj opisanego produktu
Poniższa instrukcja dotyczy elektrooporowego odejścia siodłowego
ELGEF Plus z zakresu d280 - 630mm PE100 SDR11.
Dokumenty powiązane z poniższąinstrukcją
• PodręcznikużytkowaniasystemówrurowychzPE.
•Instrukcjaobsługimaszynydozgrzewania.
•Instrukcja obsługi przyrządu mocującego Topload 630.
•Poradnik techniczny Georg Fischer do przemysłu.
Dokumenty można uzyskaćw lokalnych oddziałach Georg Fischer lub na
stronie www.gfps.com.
Bezpieczeństwo i odpowiedzialność
Wceluzachowaniabezpieczeństwaużytkownikpowinienstosowaćsiędo
poniższychzaleceń:
•Produkt należy stosowaćzgodnie z jego przeznaczeniem.
•Montaż powinien być wykonywany przez wykwalifikowany personel.
•Rurociąg powinien być wykonany przez profesjonalistów a jego
funkcjonalność regularnie sprawdzana.
•Personel powininen być przeszkolony w zakresie bezpieczeństwa pracy
i ochrony środowiska dla ciśnieniowych systemów rurowych.
Personel jest odpowiedzialny za:
• Przeczytanie,zrozumienieiprzyswojeniezagadnieńzawartychwtej
instrukcji.
Transport i składowanie
•Produkt należy transportowaći przechowywaćw oryginalnym
opakowaniu.
•Produkt należy chronić przed zabrudzeniem, kurzem, wilgocią,
działaniem wysokich temperatur oraz promieniowaniem UV
Zrzeczenie sięodpowiedzialności
Danetechniczneniesąwiążąceiniemogąbyćpodstawądogwarancji
wytrzymałościlubzachowaniaposzczególnychcech.Zastrzegasię
możliwośćwprowadzaniazmian.Obowiązująnaszeogólnewarunki
sprzedaży.
GF Piping Systems
Instrukcja montażu
Installation manual
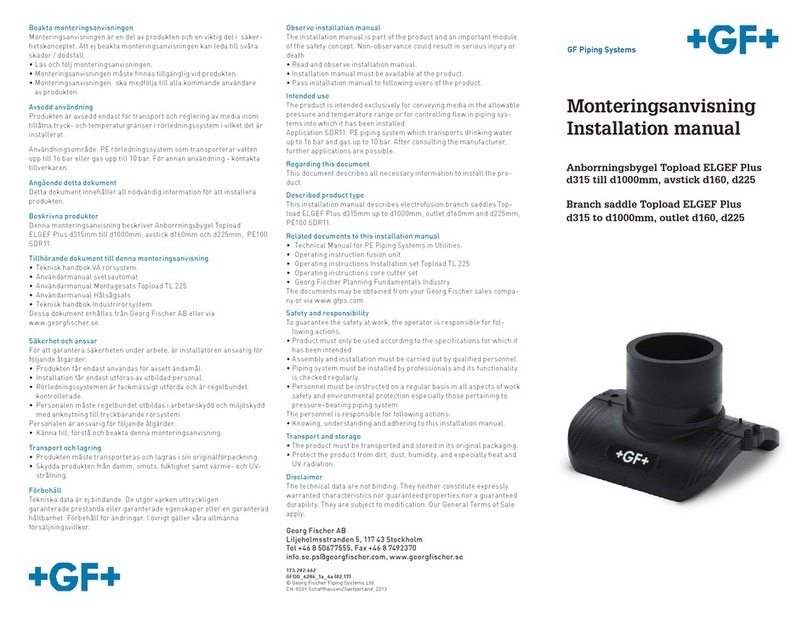
Odejście siodłowe Topload
ELGEF Plus d280 - d630mm
Branch fitting topload ELGEF Plus
d280 to d630mm
Observe installation manual
The installation manual is part of the product and an important module of the
safetyconcept.Non-observancecouldresultinseriousinjuryordeath
•Readandobserveinstallationmanual.
•Installationmanualmustbeavailableattheproduct.
•Passinstallationmanualtofollowingusersoftheproduct.
Intended use
Theproductisintendedexclusivelyforconveyingmediaintheallowablepressu-
re and temperature range or for controlling flow in piping systems into which it
has been installed.
Application SDR11: PE piping system which transports drinking water up to
16 bar and gas up to 10 bar. After consulting the manufacturer, further appli-
cations are possible.
Regarding this document
This document describes all necessary information to install the product.
Described product type
This installation manual describes electrofusion branch fittings topload
ELGEF Plus d280mm to d630mm PE100 SDR11.
Related documents to this installation manual
• TechnicalManualforPEPipingSystemsinUtilities.
• Operatinginstructionfusionunit.
• OperatinginstructionsclampingdeviceTopload.
• GeorgFischerPlanningFundamentalsIndustry.
ThedocumentsmaybeobtainedfromyourGeorgFischersalescompanyorvia
www.gfps.com.
Safety and responsibility
To guarantee the safety at work, the operator is responsible for following actions:
•Productmustonlybeusedaccordingtothespecificationsforwhichithasbeen
intended.
•Assemblyandinstallationmustbecarriedoutbyqualifiedpersonnel.
•Pipingsystemmustbeinstalledbyprofessionalsanditsfunctionalityische-
cked regularly.
•Personnelmustbeinstructedonaregularbasisinallaspectsofworksafety
andenvironmentalprotectionespeciallythosepertainingtopressure–bearing
piping system.
The personnel is responsible for following actions:
•Knowing,understandingandadheringtothisinstallationmanual.
Transport and storage
•Theproductmustbetransportedandstoredinitsoriginalpackaging.
•Protecttheproductfromdirt,dust,humidity,andespeciallyheatandUV
radiation.
Disclaimer
The technical data are not binding. They neither constitute expressly warranted
characteristics nor guaranteed properties nor a guaranteed durability. They are
subjecttomodification.OurGeneralTermsofSaleapply.
Instalacja
Wymagane narzędzia:
• Skrobak obrotowy
•Czysta, bezwłóknowa odzież robocza
•Śr odek czyszczący do PE
•Miarka
•Śr ubokręt
•Marker permanentny
•Zgrzewarka elektrooporowa
•Przyrząd do montażu - Topload 630
Installation
Requiredtools:
•Rotarypeeler
•Lint-free,colourless,cleancloth
•PEcleaner
•Yardstick
•Screwdriver
•Permanentmarker
•Electrofusionunit
•ClampingdeviceTopload
Dogrzewanie odejścia topload do rury głównej
Fusion of branch fitting topload with main pipe
2
Odmierz izaznacz powierzchnię,ktorąnależyoskrobać(długość obejmy +4cm)
za pomocąmiarki imarkera permanentnego.
Measureareawhichmustbepeeled(lengthofthebranchsaddleplus4cm)with a
yardstick on the pipe and mark with a permanent marker.
6
Wypozycjonuj odejście i załóżuchwyt mocujący.
Positionbranchfittingandsetclampingdevice.
7
Upewnij się, że wtyki sąodpowiednio umiejscowione.
Ensure that the terminals are in the correct position.
5
ZamontujprzyrządToploadnarurze.Załóżpasyiciasnojeściągnij.Wyjmijobejmęz
opakowaniatużprzedinstalacją,niedotykajstrefyzgrzewuobejmy.Sprawdźczyobejma
nieposiadawidocznychuszkodzeń.Mount Topload tool on pipe. Attach and fully tighten
se-curitystraps.Removebranchfittingimmediatelybeforeinstallationfrompackaging
without touching the fusion zone.
Dogrzewanie elementu do odejścia Topload
Fusion branch fitting topload outlet with attaching
element
UWAGA
Wadliwe połączenie zgrzewane
Nieodpowiednie przygotowanie może prowadzić do wadliwego połączenia
oraz obniżenia fukcjonalności i żywotności produktu. Dane towarzyszące
poniższej instrukcji można znaleźć w <<Podręczniku użytkowania systemów
rurowych PE>> oraz instrukcji obsługi maszyny do zgrzewania.
NOTICE
Defective fusion connection
Insufficientpreparationscanleadtoadefectivefusionconnection.
The functionality and life-time of the product may be affected.
Adhere to this installation manual, the data in the «Technical Manual for
PE Piping Systems in Utilities» and the operating instructions for fusion
units.
Procedura /Procedure
1
Oczyść powierzchnięzgrzewanąrury PE.
Clean working area on the PE pipe roughly
3
Dokonaj skrobania powierzchni rury PE za pomocąskrobaka obrotowego na całej
zaznaczonej długości. Minimalna grubość zeskrobanej powierzchni to 0.2 mm
przy zachowaniu minimalnej dopuszczalnej średnicy zewnętrznej rury. Peel the PE
pipe with a rotary peeler. Peel offthemarkingofthepermanentmarker.Notemin.
shavingthicknessof0.2mm as well as the min. allowable outside pipe diameter.
4
Oczyśćoskrobanąpowierzchnięruryprzeznaczonymdotegośrodkiemczyszczącym
Tangitipoczekajażodparuje.Niedotykajoczyszczonejpowierzchni,niedopuśćdo
jejzanieczyszczenia.Clean pipe only in the peeled area with Tangit PE cleaner and
lint-free, colourless and clean cloth in circumferential direction, let the cleaner
exhaust. Do not touch thefusionzoneandavoidcontamination.
8
Dociśnijodejściedorurydokręcając w pierwszej kolejności
mocnoirównomiernieramionamocujące (1). Clamp
branch fitting first of all with the clamping handles(1)
evenlyandfirmlytothepipe.
9
Po dociśnięciu odejścia, szczelina pomiędzy krawędziami a
rurąnie powinna przekroczyć0.5mm. Sprawdzenia
odpowiedniej wielkości szczeliny można dokonaćpoprzez
wsunięcie w niączystej karty magnetycznej. Following
assembly, the gap between saddle and pipe aroundthe
peripheryshouldneverexceedamaximumof0.5mm.
Thesizeofthisgapmaybeeasilycheckedsliding a clean
magnetic card into the space between two components.
10
Wsuń kartę magnetyczną pomiędzy rurę a obejmę, przesuwaj kartę w lewo i prawo na
wysokości grota strzałki (ok. 5mm od krawędzi karty). Dokręcaj równomiernie ramiona
mocujące do momentu zakleszczenia się karty a następnie delikatnie je poluzuj, aby wyjąć
kartę. On the crown of the pipe, slide the magnetic card between pipe and saddle, moving
 thecard totheleftandright,uptothearrowhead(approx.5mm).Tightenclamphandles
evenlyuntilthecardispinched.Thenloosenslowlyuntilthecardcanbejusteasedout.
10a
Dokręćręcznieśrubystopujące(2)iponowniesprawdźszczęlinęwichokolicachza
pomocączystejkartymagnetycznej.Thentightenstopscrews(2)evenlybyhandand
checkthegap in the area of the stop screws again with a clean magnetic card.
13
Poczekaj do zakończenia procesu chłodzenia a następnie zdemontuj uchwyt
mocujący.Waittheminimumcoolingtime(seebarcodelabel)fortapping,then
dismountclampingdevice.
12
W trakcie i po zakończeniu procesu zgrzewania skontroluj wskaźniki
poprawności zgrzewu. Po zakończeniu zgrzewania sprawdźinformacje na
wyświetlaczu maszyny. W kolejnym kroku odłącz przewody do zgrzewania.
During and after fusion, check fusion indicators on the product. After fusion check
messageonthefusionunit.Afterwardsremovefusioncables.
15
Rozpocznijzgrzewaniezgodniezinstrukcjąobsługimaszyny.Kontroluj proces
zgrzewania. Upewnij się, że dogrzewany element jest w odpowiedniej pozycji. Fuse
branch fitting outlet inaccordancetotheusermanualofthefusionunit.Controland
supervisefusionprocess. Ensure attaching element remains in correct position.
14
Przygotujelementdogrzewanyzgodniezinstrukcjąobsługianastępniewsuńgo
wodejściesiodładooporu.Dokręćopaskęmocującąnaodejściuizaznacz
głębokośćwsunięciaelementu.Prepare attaching ele-ment according to
installation manual and push into the branch fitting up to the stop. Tighten screws of
integrated clamping alternately. Mark insertion depth.
17
Próbęciśnieniowąmożna wykonaćpo zakończeniu procesu
chłodzenia.Wait the minimum cooling time for pressure test,
afterwards conduct pressure test.
Czas chłodzenia/cooling time d 280-630mm:
30min.(p≤ 6bar)lub/or90min.(p≤ 18bar)
16
Wtrakcieipozakończeniuprocesuzgrzewaniaskontrolujwskaźnikipoprawności
zgrzewu.Pozakończeniuzgrzewaniasprawdźinformacjenawyświetlaczumaszyny.
Wkolejnymkrokuodłączprzewodydozgrzewania.Podczasprocesuchłodzenia
wykonanepołączeniepowinnobyćwolneoddodatkowychnaprężeń.During and after
fusion, check fusion indicators on the product. After fusion check message on the
fusion unit. After-wardsremovefusioncables.Keeptensionfreeuntilcoolingtime
(seebarcodelabel)haselapsed.
11
Rozpocznij zgrzewanie zgodnie z instrukcjąobsługi maszyny. Kontroluj
proces zgrzewania. Fuse in accordance to the usermanualofthefusionunit.
Controlandsupervisefusionprocess.
10b
Umieść dysk dociskowy w odejściu i dokręć do oporu za
pomocą pokrętła. Insert clamping rod with pressure disk
and press up to the stop.
Pobrano ze strony:
gambitsystems.pl

Other GF Plumbing Product manuals

GF JRG CleanLine 1870.025 Manual

GF

GF JRG CleanLine 1870.025 Manual

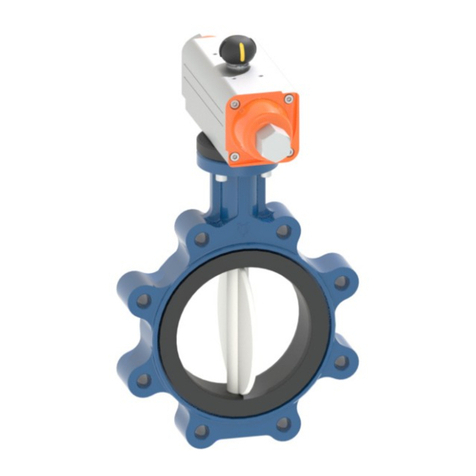
GF Type PA 30 FC/FO/DA User manual

GF

GF Type PA 30 FC/FO/DA User manual

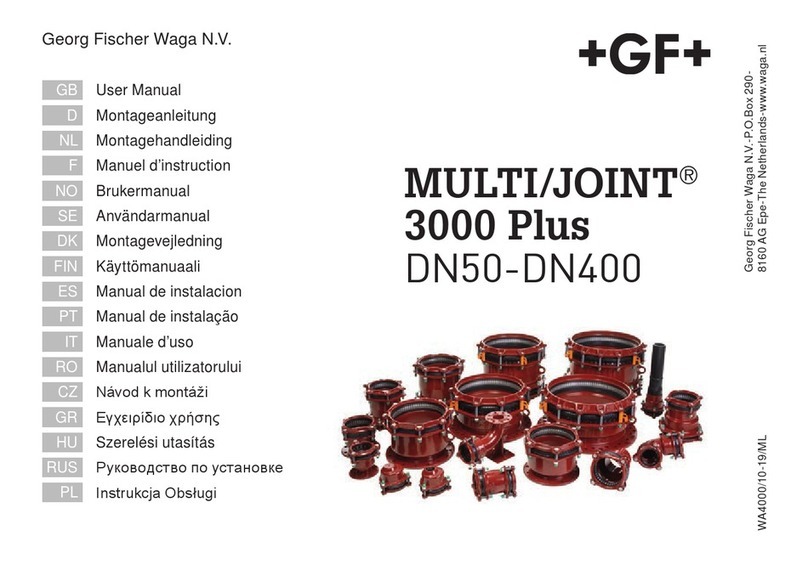
GF MULTI/JOINT 3000 Plus User manual

GF

GF MULTI/JOINT 3000 Plus User manual

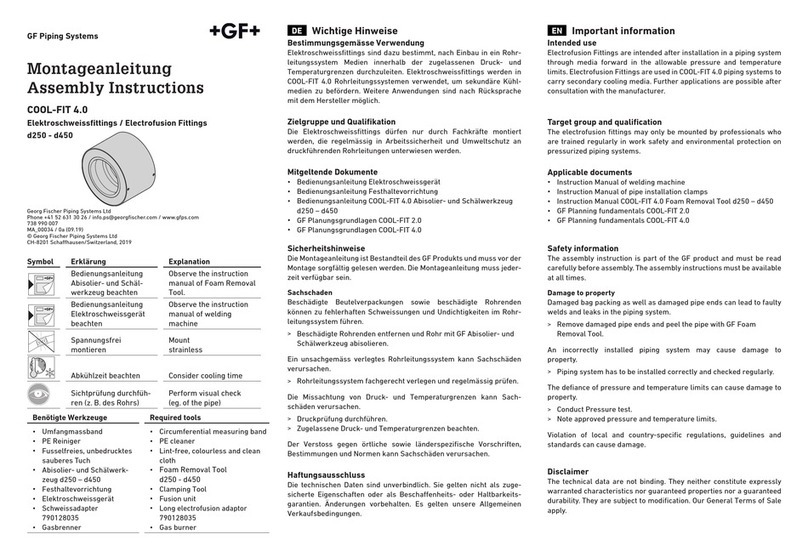
GF COOL-FIT 4.0 d250 User manual

GF

GF COOL-FIT 4.0 d250 User manual

GF COOL-FIT 4.0 User manual

GF

GF COOL-FIT 4.0 User manual

GF ELGEF Plus Series User manual

GF

GF ELGEF Plus Series User manual

GF MULTI/JOINT 3000 Plus User manual

GF

GF MULTI/JOINT 3000 Plus User manual

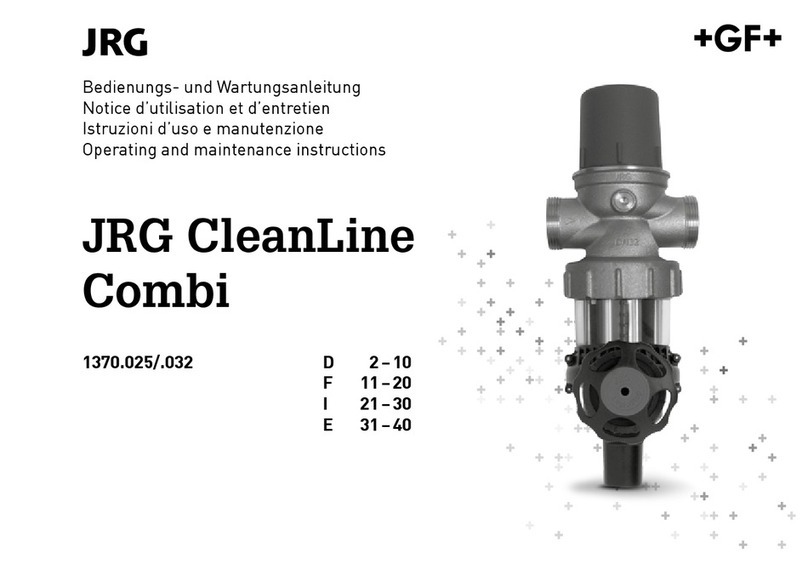
GF JRG CleanLine Combi 1370.025 Manual

GF

GF JRG CleanLine Combi 1370.025 Manual

GF COOL-FIT 2.0 User manual

GF

GF COOL-FIT 2.0 User manual

GF 565 User manual

GF

GF 565 User manual

GF Topload ELGEF Plus User manual

GF

GF Topload ELGEF Plus User manual

GF MULTI/JOINT 3000 Plus User manual

GF

GF MULTI/JOINT 3000 Plus User manual

GF Signet 3719 User manual

GF

GF Signet 3719 User manual

Popular Plumbing Product manuals by other brands

Moen SANI-STREAM 8797 manual

Moen

Moen SANI-STREAM 8797 manual

Grohe Allure Brilliant 19 784 manual

Grohe

Grohe Allure Brilliant 19 784 manual

Cistermiser Easyflush EVO 1.5 manual

Cistermiser

Cistermiser Easyflush EVO 1.5 manual

Kohler Triton Rite-Temp K-T6910-2A installation guide

Kohler

Kohler Triton Rite-Temp K-T6910-2A installation guide

BEMIS FNOTAB100 Installation instruction

BEMIS

BEMIS FNOTAB100 Installation instruction

Hans Grohe ShowerTablet Select 700 13184000 Instructions for use/assembly instructions

Hans Grohe

Hans Grohe ShowerTablet Select 700 13184000 Instructions for use/assembly instructions

Akw Stone Wash Basin Installation instructions manual

Akw

Akw Stone Wash Basin Installation instructions manual

Enlighten Sauna Rustic-4 user manual

Enlighten Sauna

Enlighten Sauna Rustic-4 user manual

Moen ShowHouse S244 Series quick start guide

Moen

Moen ShowHouse S244 Series quick start guide

Sanela SLWN 08 Mounting instructions

Sanela

Sanela SLWN 08 Mounting instructions

Franke 7612982239618 operating instructions

Franke

Franke 7612982239618 operating instructions

Heritage Bathrooms Granley Deco PGDW02 Fitting Instructions & Contents List

Heritage Bathrooms

Heritage Bathrooms Granley Deco PGDW02 Fitting Instructions & Contents List

Tres TOUCH-TRES 1.61.445 instructions

Tres

Tres TOUCH-TRES 1.61.445 instructions

STIEBEL ELTRON WS-1 Operation and installation

STIEBEL ELTRON

STIEBEL ELTRON WS-1 Operation and installation

Miomare HG00383A manual

Miomare

Miomare HG00383A manual

BELLOSTA revivre 6521/CR1 quick start guide

BELLOSTA

BELLOSTA revivre 6521/CR1 quick start guide

American Standard Heritage Amarilis 7298.229 parts list

American Standard

American Standard Heritage Amarilis 7298.229 parts list

BorMann Elite BTW5024 quick start guide

BorMann

BorMann Elite BTW5024 quick start guide

manuals.online logo
manuals.online logoBrands
  • About & Mission
  • Contact us
  • Privacy Policy
  • Terms and Conditions

Copyright 2025 Manuals.Online. All Rights Reserved.