A word regarding Specular Reverb V2 / V3
The algorithms from our award-winning Specular Reverb V2 / V3 pedals have all been ported to
Specular Tempus, improved and expanded with additional parameters and features for deeper
tweaking. Some of those algorithms appear with different names in Specular Tempus.
SpecularReverbV2SpecularTempusAddedParameters
NormalReverbSpatiumHigh‐cut,Low‐cut,WetPanning,Modulation
ModulatedVortexHigh‐cut,Low‐cut,WetPanning
ShimmerShimmerHigh‐cut,Low‐cut,WetPanning,Perfect5thvoicing
Echo+EchoesHigh‐cut,Low‐cut,WetPanning,ReverbTime
TrembleTrembleHigh‐cut,Low‐cut,WetPanning
VoicesVoicesHigh‐cut,Low‐cut,WetPanning,Modulation
InfinityInfinityHigh‐cut,Low‐cut,WetPanning,Unlimitedlayering
Please visit the following page for complete reference and information (pdf file is also available) on
the algorithms :
http://www.gfisystem.com/algorithms.html
However we will now elaborate on one reverb algorithm : INFINITY, which uses a peculiar foot-
switch operation for it to work.
15
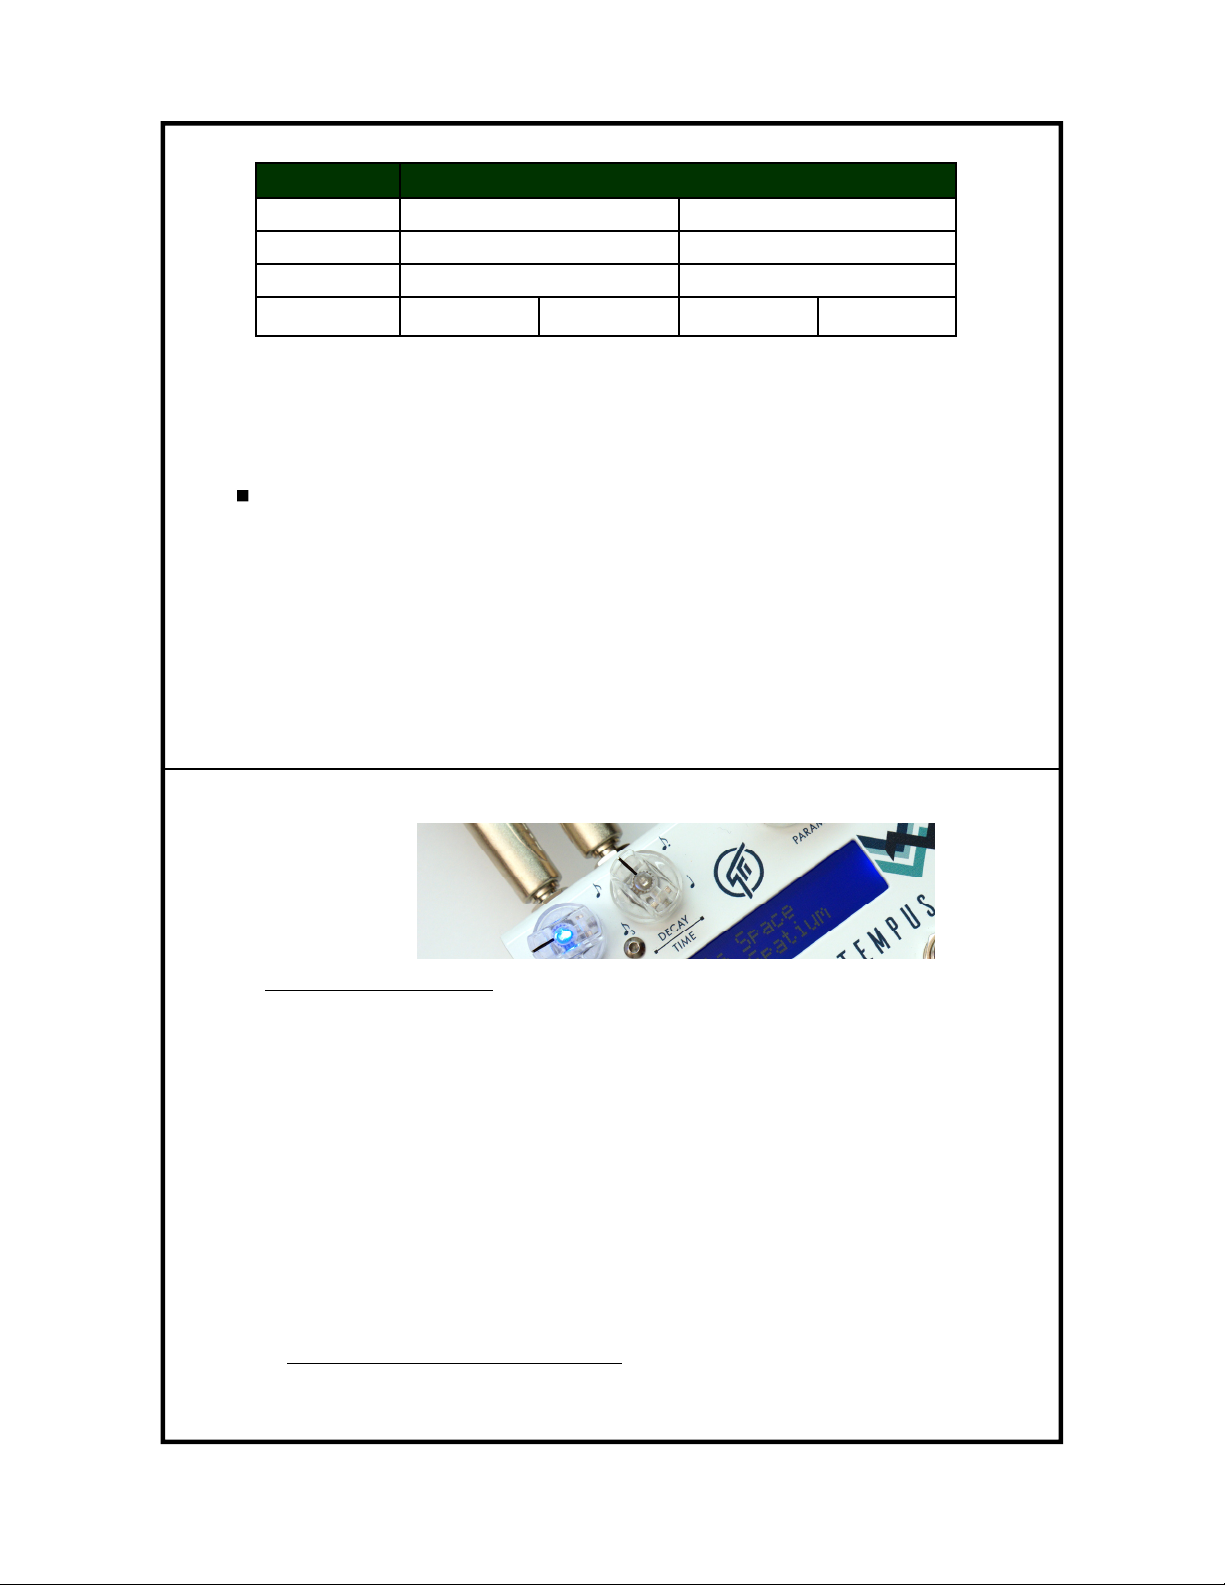
INFINITY
This mode allows you to capture a brief snapshot of the sound you are playing, and hold it indefinitely,
then you can play over it (with reverberation). There are 2 operation modes to choose from:
1-Layer mode* : You can fade out the sustained sound, and immediately fade in a new one.
N-Layers mode** : You can add infinite number of layers of sustained sound, creating an ever-dense
ambience goodness!
Here’s how you do it :
1. Adjust Blend and Decay knob to get the desired amount of reverb mix and reverb time. Leave
Param and Intensity knobs at midpoint.
2. Press and hold down both footswitches***, when the LEDs start flashing the pedal began to con-
tinu-
ously capture a snapshot of whatever you are playing. When you release the footswitch, the pedal will
take the last 0.25 seconds of the captured sound and hold it indefinitely.
3. Now adjust Intensity and Param to get the desired level and tonality for the sustained sound. The
Intensity knob runs backward : sound gets louder as knob is turned counter-clockwise.
Now you can play over the sustained sound, and when you want to change the sustained sound with
a new one, simply repeat step-2; the current sustained sound will fade out and then you can fade in a
new one. The new sound will fade in to the level you’ve set previously. Alternatively, use the N-Layers
mode to add more-and more layers on top of existing ones.
16