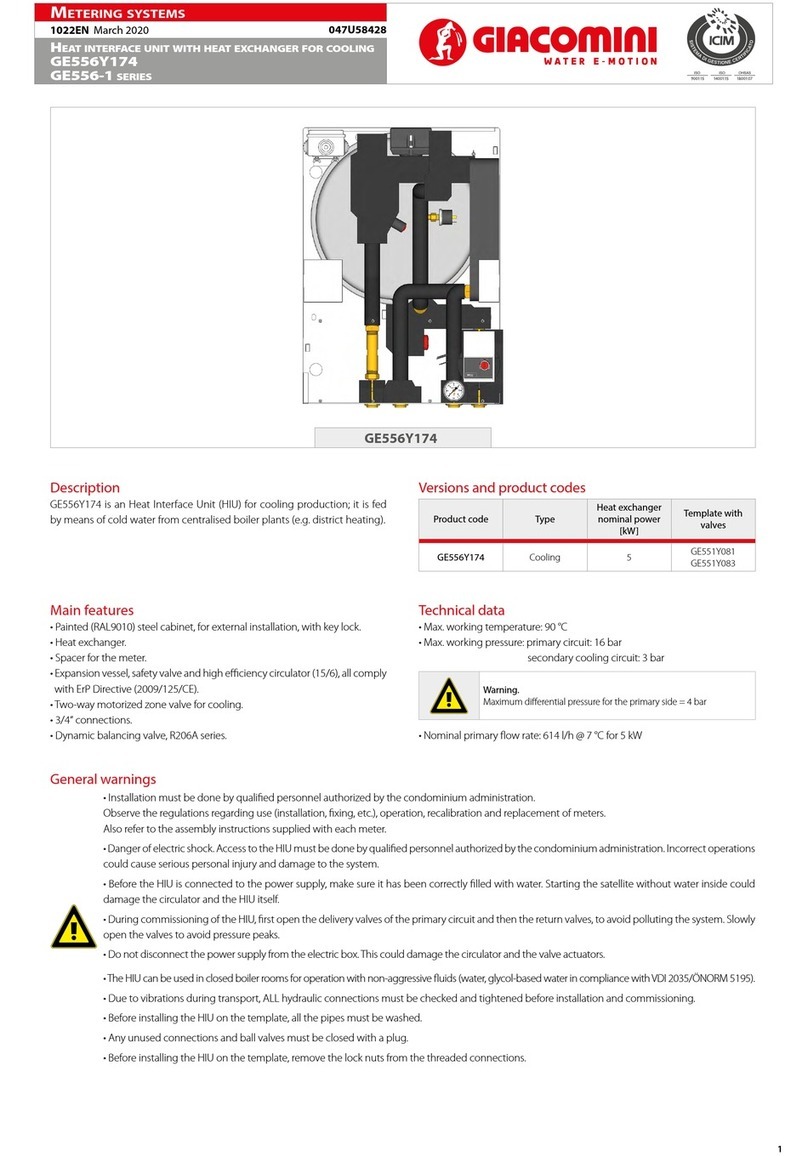
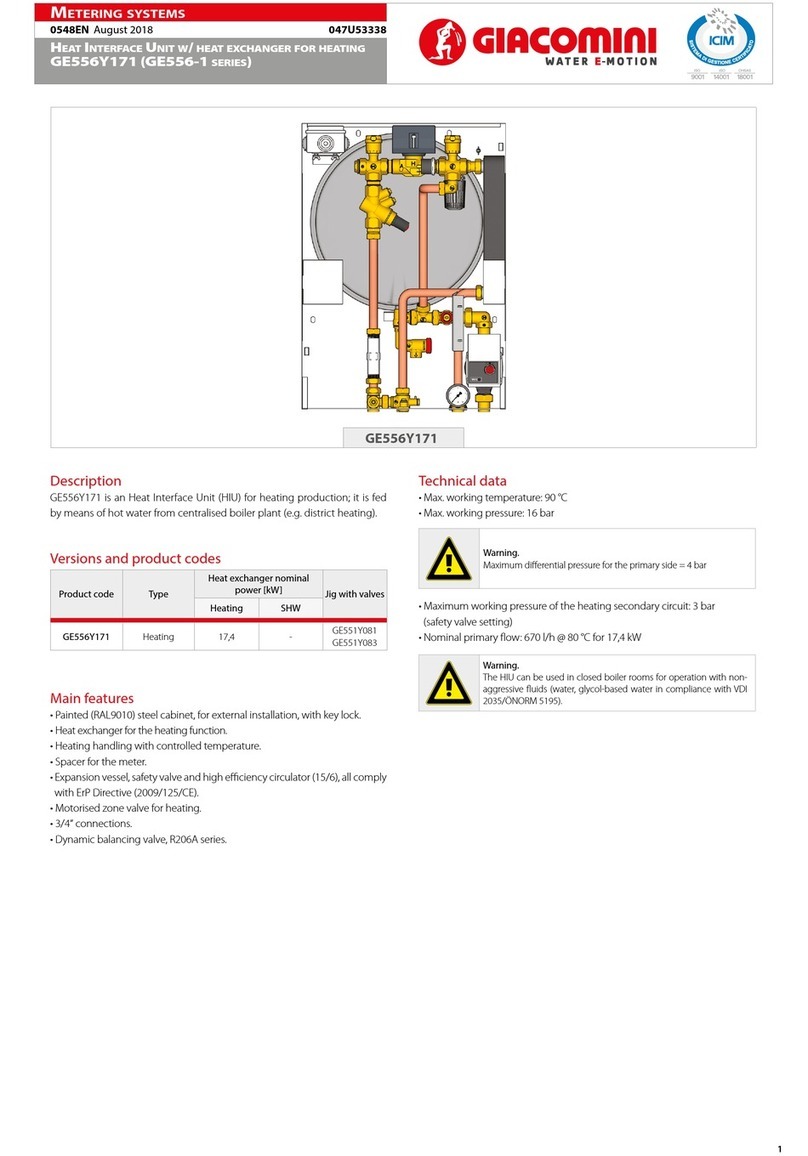
Giacomini K470H Series User manual

1
0660EN July 2017
Accessories for rAdiAtors
Chronothermostat for radiators, K470h series
Programming Key for Chronothermostat, K471 series
K470H K471
Components
1
3
5
6
2
4
Mo Tu We Th Fr Sa Su
:
AUTO
MANU
0 246 12 18
9
11
1314
10
8
7
15
12
Legend
1Battery compartment 9“Child protection”function indicat.
2Temperature sensor 10 Battery replacement indicator
3Wheel selector 11 Indicator of active “anti-freeze /
window open” function
4Function keys: MENU – OK – 12 Indicator of active ECONOMY
5Mini-USB connector for
connecting K471 13 Indicator of active COMFORT
6LCD display 14 Indicator of active TRAVEL
7Area with the 4 alphanumerical
gures 15 Indicator of AUTO or MANUAL
mode
8Prole indicators: day and time bands for comfort/economy mode
Operation
Manual mode
In manual mode, the chronothermostat adjust the temperature set via the
wheel selector.
Auto mode (automatic program)
In automatic program mode, the chronothermostat adjusts the temperature
on the basis of the “comfort” or “economy” functions dened in the relative
time bands of the programmed ambient prole. The comfort and economy
times can be dened via programmed timing. Up to eight daily switchovers
can be selected (four“comfort” and four “economy”).
The chronothermostat has the following factory settings:
• heating at“comfort”temperature, with the rst switchover at 7.00 am
• reduction to“economy”temperature, with the rst switchover at 10.00 pm
In this way, one daily heating time band is set (from 7.00 am to 10.00 pm) for
the whole week.
Setting the comfort/economy times
Up to four daily “comfort” switchovers (heating active) and four “economy”
switchovers (temperature reduction) can be dened for each of the seven
days of the week, or for three groups of several days.
In the menu, the indications“DAY1”-”DAY7”refer to the days of the week (from
DAY1 Monday to DAY7 Sunday). The days are also shown in abbreviated form
(Mo, Tu, We, Th, Fr, Sa, Su) beneath the hourly timings bar.
The indications “D1-5”, “D1-6” and “D1-7” refer to groups of several days,
allowing you to quickly program a number of days at the same time:
D1-5 = group of days from Monday to Friday
D1-6 = group of days from Monday to Saturday
D1-7 = group of days from Monday to Sunday
Note:
Any days that are not programmed remain set with the factory values.
The“comfort”and“economy”temperatures are factory-set at 21 °C and
16 °C respectively.
Description
The K470H chronothermostat for radiators is a technologically advanced
device that is quiet and compact - it measures no more than a normal
thermostatic head. The K470H chronothermostat is equipped with a ring nut
with standard thread M30x1,5 mm and one adaptor, for use with a wide range
of radiator valves. The function keys, wheel selector and LCD display enable
easy menu navigation for programming the chronothermostat and selecting
the various operating modes.
Versions and product codes
Product code Description
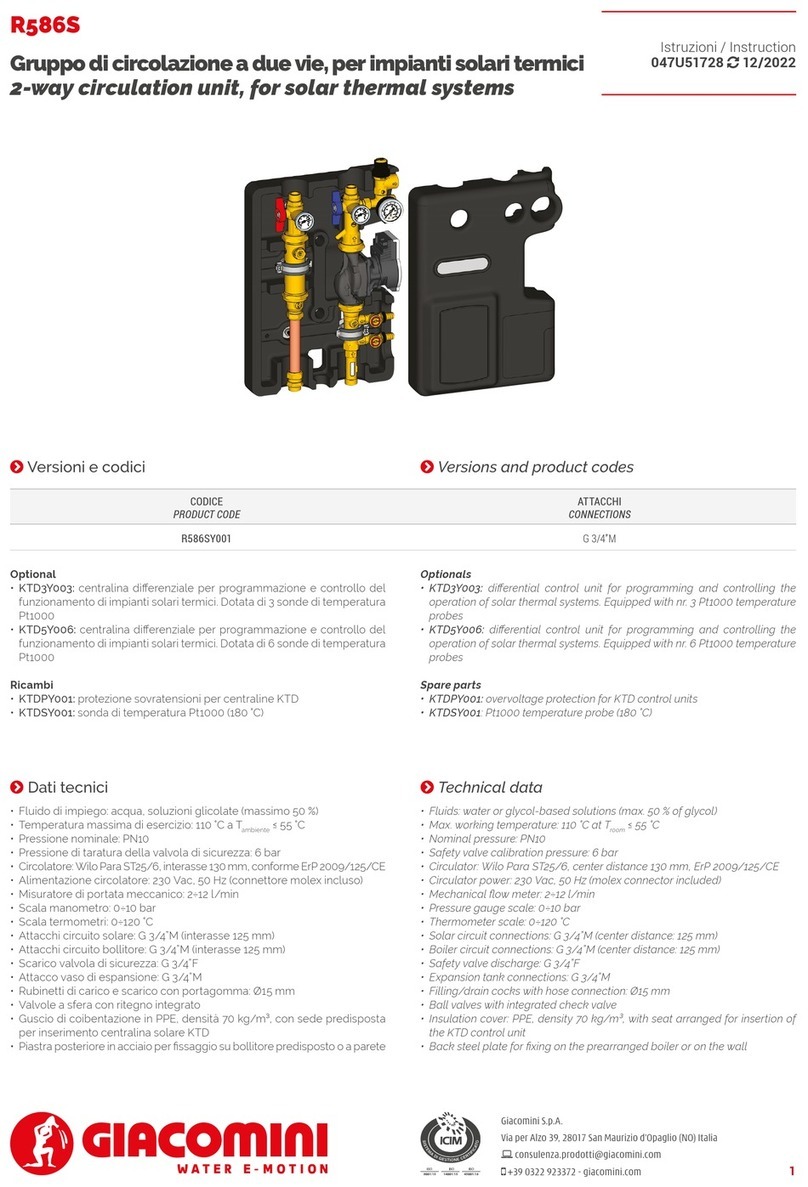
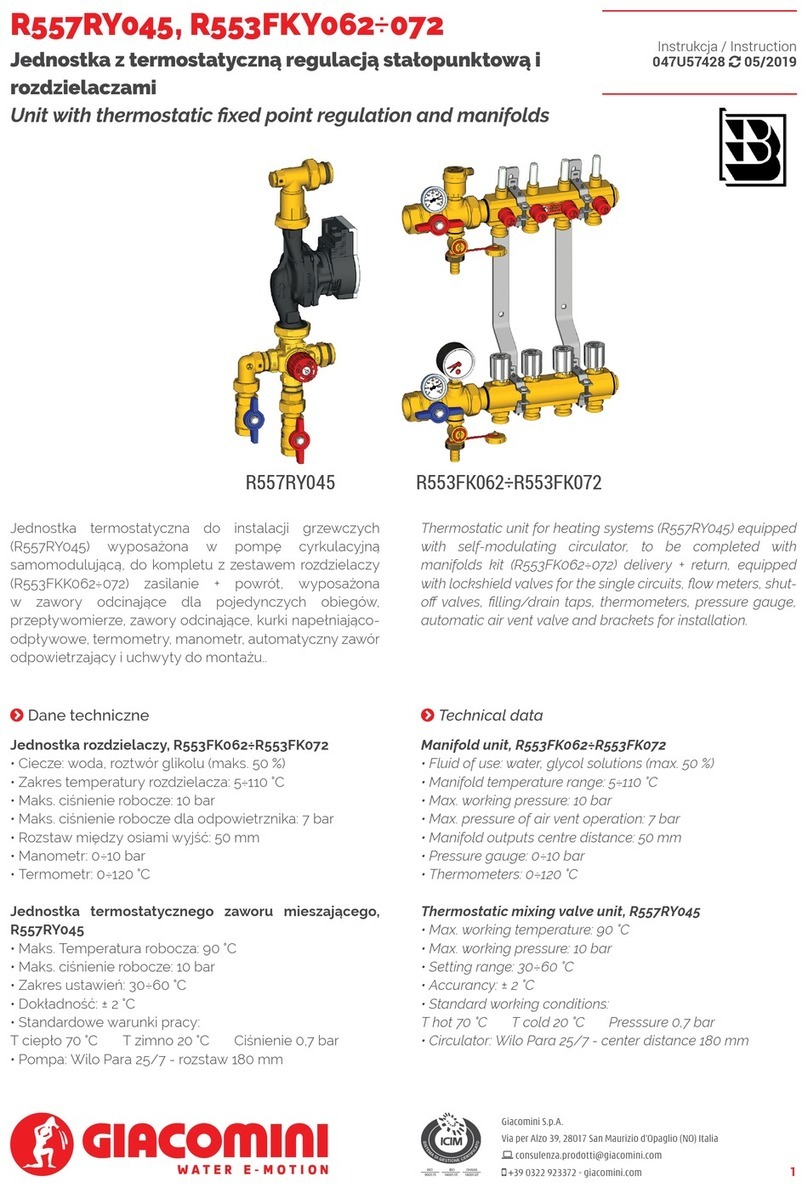
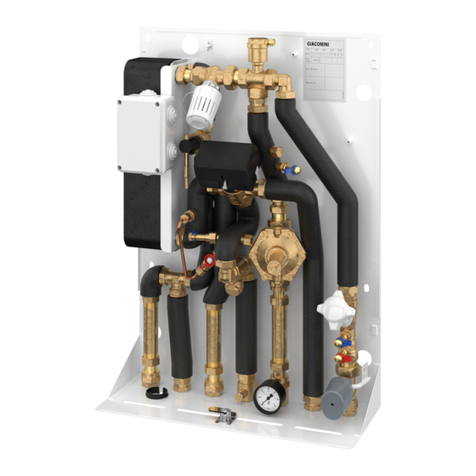
K470HX001 Chronothermostat for radiators
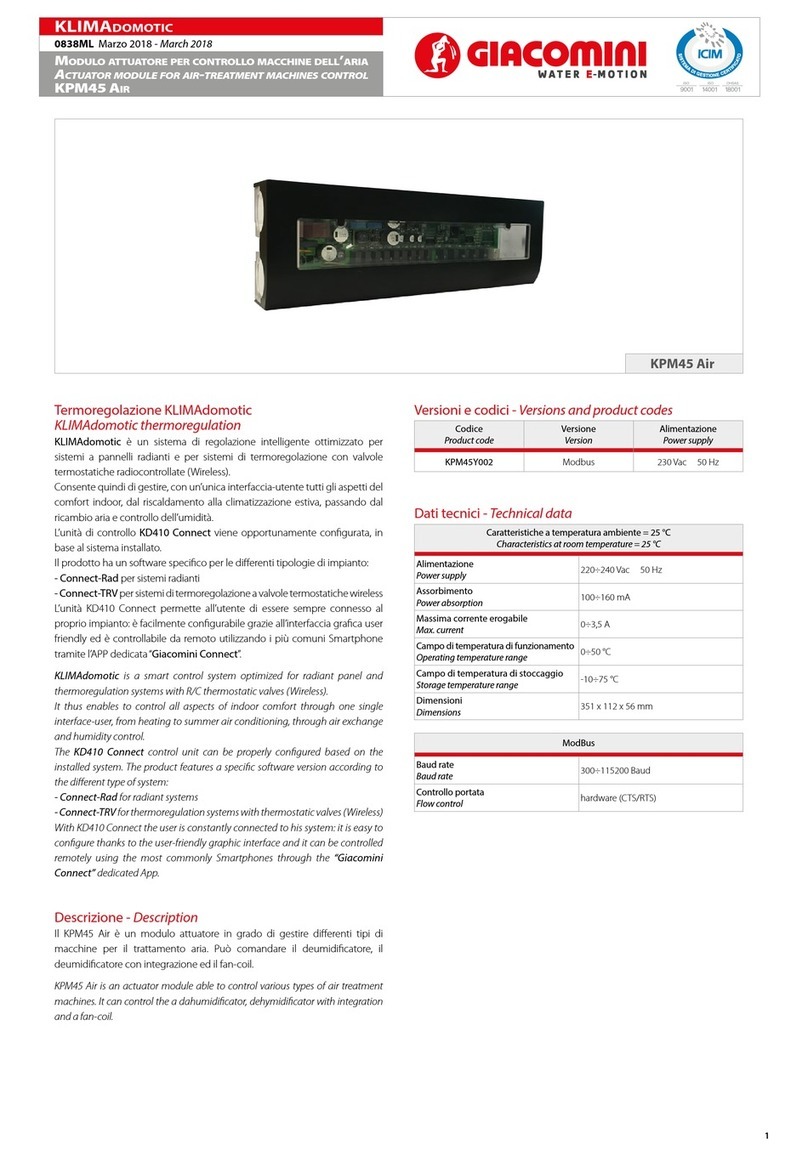
K471X001 Programming key for chronothermostat K470H
Technical data
Chronothermostat K470H
• Power supply: 2 AA batteries 1,5 V
• Regulation type: PID with answer time lower than 3 minutes.
•Serial port to programmer K471: proprietary interface and protocol
•No. of programmable time bands: 4 daily time bands
• Protection degree: IP30
•Working temperature: 0÷50 °C
•Storage temperature: -20÷70 °C
•Type of casing: White ABS
•Casing dimensions (LxHxW): 52x86x65 mm
•Ring nut connection: M30x1,5 mm (with adaptor for other valve bodies)
Attention.
Use alkaline batteries only.
Do not use any type of rechargeable battery.
Programming key K471
• Power supply: 5V DC max. 100 mA via USB port
•Serial port to PC: USB 2.0
•Serial port to K470H: proprietary interface and protocol
•System requisites: Windows XP® SP3 or higher
•Local signalling: 2 LEDs
• Protection degree: IP30
•Working temperature: 0÷50 °C
•Storage temperature: -20÷70 °C
•Casing: plastic
Attention.
The device's“Mini-USB” connector is only compatible with the cable of
the programmer K471; do not connect any other devices tted with a
Mini-USB port, as this could irreversibly damage the chronothermostat.
The key K471 cannot be used as a portable mass memory.

2
0660EN July 2017
Accessories for rAdiAtors
Chronothermostat for radiators, K470h series
Programming Key for Chronothermostat, K471 series
Installation
Installation on Giacomini valves with thermostatic option, with
connection M30x1,5 mm
The chronothermostat isinstalled on allthe Giacominivalves withthermostatic
option of the H series, with connection M30x1,5 as shown below:
• Tighten the ring nut (B) of the chronothermostat on the radiator valve (A).
B
A
Installation on other Giacomini valves with thermostatic option
When installing on other Giacomini valves with thermostatic option, use the
contents of the bag R453HY012 (included in the chronothermostat package).
• Fit the threaded ring nut (C), coupling it with the reference pins (P) on the
radiator valve (D).
C
D
P
• Tighten the ring nut (B) of the chronothermostat on the radiator valve (C+D).
B
C+D
Note:
The chronothermostat must be in“INST”or “ON” mode in order to x it
to the ring nut without too much eort.
If the chronothermostat is installed at a later time, select the “INST”
menu before xing it to the ring nut.
To ensure better temperature adjustment, you are advised to install
the chronothermostat with the display facing upwards.
Removing the chronothermostat
To remove the chronothermostat from the ring nut:
• Set the maximum temperature via the wheel selector (the display will show
“ON”) and wait at least one minute.
• Unscrew the ring nut (B) of the chronothermostat from the radiator valve.
B
Advanced functions
TIMER function
The timer function is selected with the timer-button .
With this function a user-dened temperature for a programmable period can
be entered. This can be very useful in case of a party, for example. Press
First, the time for which the time programme has been deactivated is shown.
Conrm with OK Now, the desired temperature can be set. Conrm with OK
. In the selected period it is not possible to change the temperature manual, the
wheel is locked. Press Menu and unlock it.
Setting the OFFSET
Elements like shelves and curtains near a radiator can impede good
heat diusion, inevitably aecting the room temperature detected by
the chronothermostat and its subsequent adjustment. In these cases, if
the room temperature is very dierent from the temperature set on the
chronothermostat, you can insert a correction factor (called OFFSET):
Note:
Before implementing an OFFSET value, it is necessary to measure the
room temperature with the aid of a precision thermometer.
Example: if the “comfort” temperature set on the chronothermostat
is 21 °C but the real temperature in the room is only 19 °C, enter a
correction factor of +2 °C.
WINDOW function
The chronothermostat has an “open window” function: when the window is
opened and the temperature therefore drops suddenly, the chronothermostat
temporarily closes the valve (for a set time) to save energy. During this time,
the “anti-freeze” symbol will be shown on the display. At the end of the timed
period, the chronothermostat returns to normal operating mode.
TRAVEL function
In the event of a prolonged absence, you can set the temperature for that
period (or even the closure of the valve), along with the date and time of
your return.
CHILDREN SAFETY function
This function allows you to deactivate the keys and wheel selector to prevent
unauthorised persons from accessing the menu.
Heating shut-o (valve closure)
If necessary, you can close the valve to deactivate the heating in a room.
The valve closes and thereby deactivates the heating function, but the anti-
calcication function still remains active.
By resetting “AUTO” mode at any time, the chronothermostat will start up
again and implement the programmed prole.
Restoring the factory congurations
With this function, you can delete all the programming operations made
and thereby restore the chronothermostat's initial factory programming
conditions.
Automatic protection functions
Regardless of the programming and operating modes, the chronothermostat
has two automatic protection functions:
Anti-freeze function: if the room temperature falls below 6 °C, the
chronothermostat opens the valve until the temperature rises to 8 °C. This
prevents the water in the pipes from freezing.
Anti-calcication function: once a week (on Friday morning), the
chronothermostat performs a valve opening/closing cycle to prevent the
valve from calcifying.
3
0660EN July 2017
Accessories for rAdiAtors
Chronothermostat for radiators, K470h series
Programming Key for Chronothermostat, K471 series
Reference Standards
•The “Chronothermostat K470H” meets the requisites laid down by Directive
2004/108/EC.
•The “Programming key K471” meets the requisites laid down by Directive
2004/108/EC.
Product specications
K470H
Chronothermostat for radiators equipped with adaptors for the installation
on Giacomini “TG” or “H” series valves. Complete with function keys, wheel
selector and LCD display for easy menu navigation. The menu is used to
programme the chronothermostat and select the various operating modes.
Power supply - 2 AA batteries 1,5 V. Regulation PID with answer time lower
than 3 minutes. Serial port to the programmer K471 (proprietary interface and
protocol). 4 programmable daily time bands. Protection degree IP30. Working
temperature 0÷50 °C. Storage temperature -20÷70 °C. Casing in white ABS.
Dimensions (LxHxW) 52x86x65 mm. Compliance with Directive 2004/108/EC.
K471
Programming key for chronothermostat for radiators (K470H series). USB
connection to the PC and Mini-USB to the chronothermostat. Using the key
K471 and viewing the graphic interface on the PC, you can easily programme
the daily time bands for the “comfort” (Tmax) and “economy” (Tmin)
temperatures of the chronothermostat. Once the temperature proles of the
various rooms have been stored on the key K471, they can be uploaded onto
the chronothermostat K470H which thus automatically acquires the current
time and date. This means that any pre-setting by the user is superuous.
Programming via key K471
The chronothermostat can be directly programmed via the programming
key K471, ensuring quick and easy chronothermostat conguration thanks to
the exchange of data via the Mini-USB connector.
Using the key K471 and viewing the graphic interface on the PC, you can easily
programme the daily time bands for the “comfort” (Tmax) and “economy”
(Tmin) temperatures of the chronothermostat.
Once the temperature proles of the various rooms have been stored on the
key K471, they can be uploaded onto the chronothermostat K470H which
thus automatically acquires the current time and date.
This means that any pre-setting by the user is superuous.
Note:
Initial chronothermostat start-up.The transfer of the weekly prole to a
chronothermostat presupposes that the device is already installed on
the valve, as its good functioning depends on the positive outcome of
the initial start-up sequence.
For more details, refer to the installation and user instructions of the
chronothermostat K470H.
Insert the “Mini-USB”
connector of the
programmer in the
relevant connector
on the side of the
chronothermostat.
The standard indications disappear from the display and are replaced with
the code “P01” (“Ambient prole 1”).
Using the chronothermostat knob, select the required ambient prole;
choose the numerical index of the ambient prole from those previously
programmed with the software.
When you press the “OK” key, the parameters of the selected prole are
transferred from the key to the chronothermostat.
As soon as the chronothermostat has been programmed, the standard
information returns to the display.
Note:
If the list of ambient proles is not viewed via the chronothermostat
wheel within 10 seconds, the display will resume the usual indications.
In this case (and if necessary), take the key out and then insert it again.
Dimensions
A
C
B
A [mm] B [mm] C [mm]
52 86 65

4
0660EN July 2017
Accessories for rAdiAtors
Chronothermostat for radiators, K470h series
Programming Key for Chronothermostat, K471 series
Additional information
For more information, go to www.giacomini.com or contact our technical assistance service: '+39 0322 923372 6+39 0322 923255 *[email protected]
This document provides only general indications. Giacomini S.p.A. may change at any time, without notice and for technical or commercial reasons, the items included herewith.
The information included in this technical sheet do not exempt the user from strictly complying with the rules and good practice standards in force.
Giacomini S.p.A. Via per Alzo, 39 - 28017 San Maurizio d’Opaglio (NO) Italy
This manual suits for next models
3
Other Giacomini Industrial Equipment manuals

Giacomini
Giacomini GE556-6 Series Operating instructions

Giacomini
Giacomini GE556-1 Series User manual

Giacomini
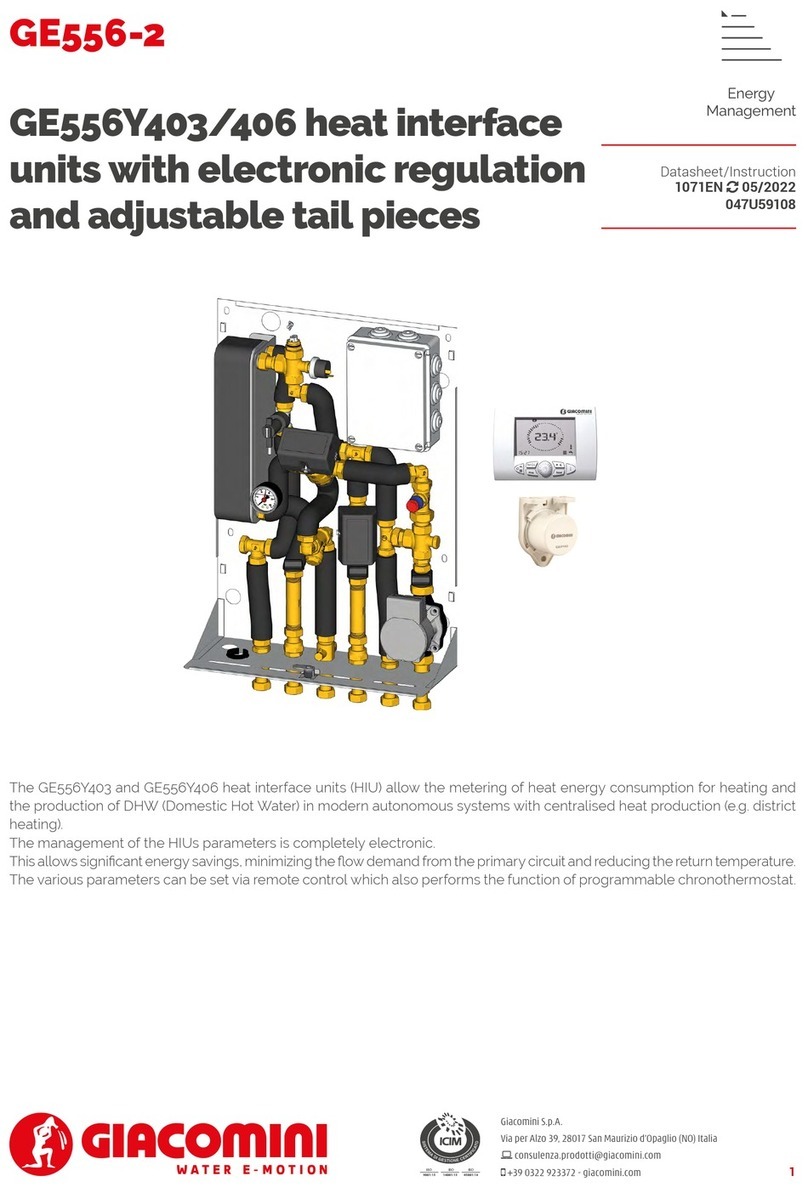
Giacomini GE556Y403 User manual

Giacomini
Giacomini GE556-4 Series Operating instructions

Giacomini
Giacomini K470WX021 User manual

Giacomini
Giacomini GE556Y171 User manual

Giacomini
Giacomini KLIMAdomotic KPM45Y002 User manual

Giacomini
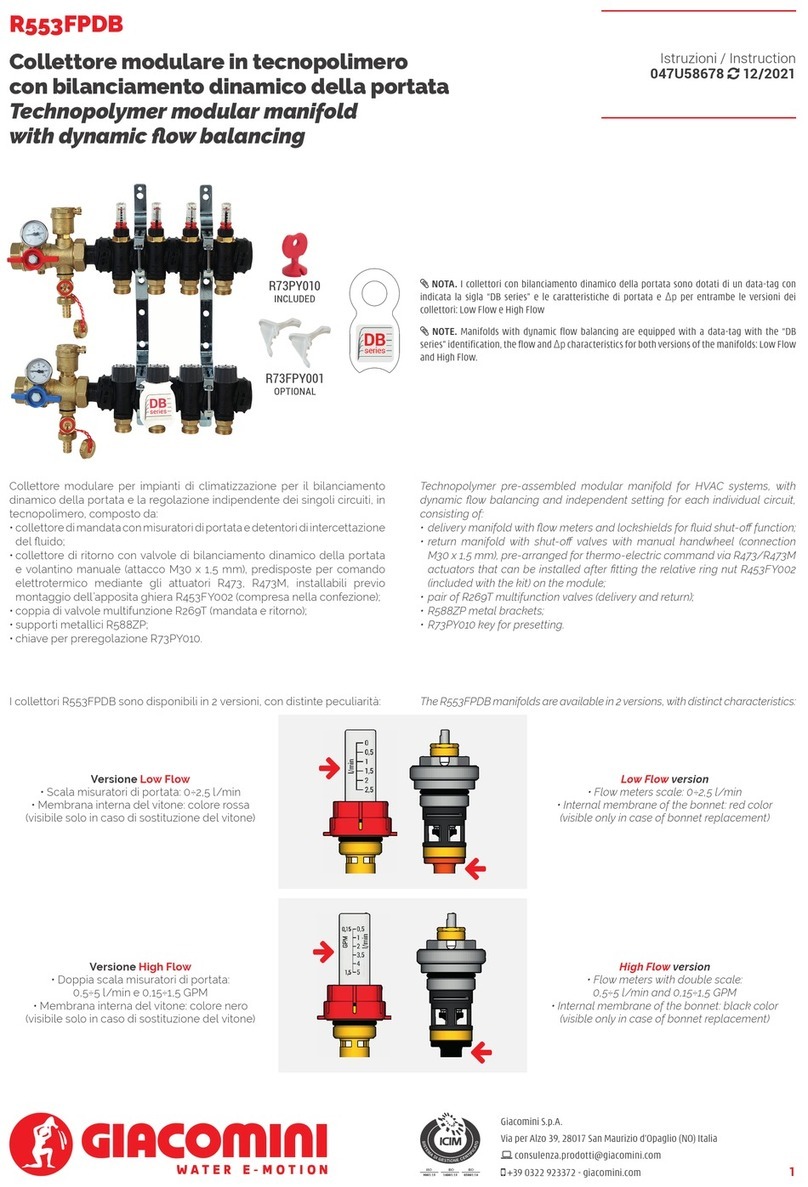
Giacomini R553FPDB User manual

Giacomini
Giacomini GE556-5 Operating instructions

Giacomini
Giacomini R557RY045 User manual