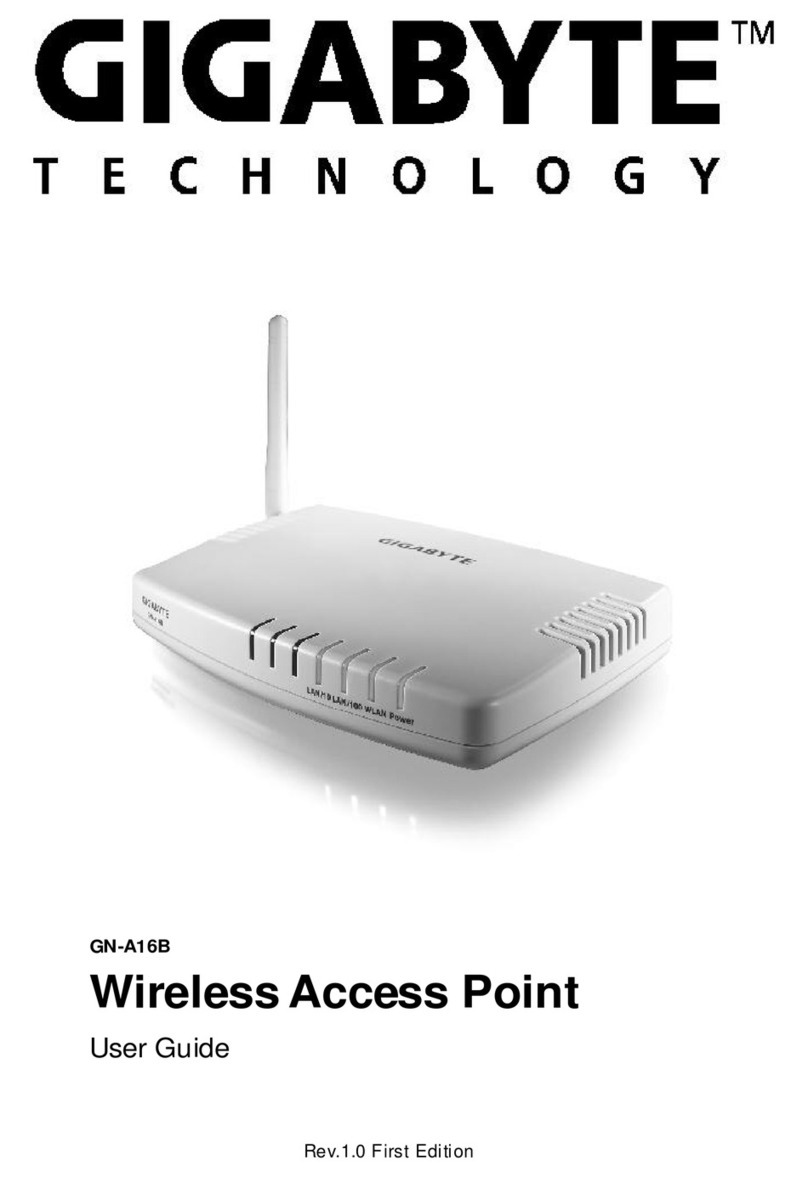
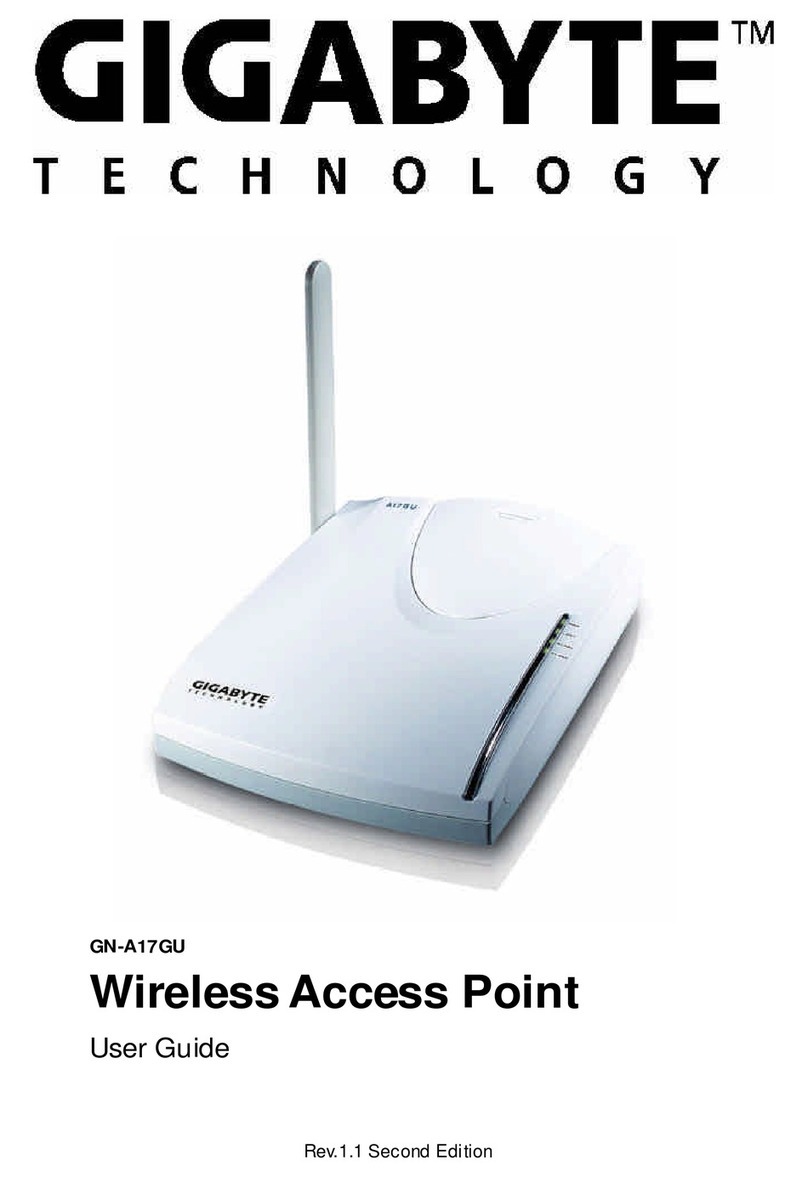
Gigabyte GN-A16B User manual

GN-A16B
Wireless Access Point
UserGuide
Copyright©2003GigabyteTechnologyCo., Ltd.All RightsReserved.
http://www.gigabyte.com.tw
Rev.1.0FirstEdition
25A08-0A16B-F00

2
GN-A16BWireless Access PointUserGuide
FederalCommunication Commission Interference Statement
Thisequipmenthasbeen tested and found tocomplywiththe limitsforaClass Bdigital
device,pursuanttoPart15 ofthe FCC Rules.Theselimitsaredesigned toprovide
reasonableprotection againstharmfulinterferenceinaresidentialinstallation.This
equipmentgenerates,usesand can radiateradiofrequency energyand,ifnotinstalled
and used inaccordancewiththe instructions,maycauseharmfulinterferencetoradio
communications.However,thereisno guarantee thatinterferencewill notoccurina
particularinstallation.If thisequipmentdoescauseharmfulinterferencetoradioortelevision
reception,whichcan be determined byturning the equipmentoff and on,the useris
encouraged totrytocorrectthe interferencebyone ofthe following measures:
-Reorientorrelocatethe receiving antenna.
-Increasethe separation betweenthe equipmentand receiver.
-Connectthe equipmentintoan outleton acircuitdifferentfromthattowhichthe
receiverisconnected.
-Consultthe dealeroranexperienced radio/TVtechnician forhelp.
FCCCaution:Toassurecontinuedcompliance,any changes or modifications
not expressly approved by the party responsible for compliance could void the user’s
authority to operate this equipment.
ThisdevicecomplieswithPart15 ofthe FCC Rules.Operationissubjecttothe following
twoconditions:(1)Thisdevicemaynotcauseharmfulinterference,and (2)thisdevice
mustacceptanyinterferencereceived,including interferencethatmaycauseundesired
operation.
IMPORTANTNOTE:
FCC RadiationExposureStatement:
ThisequipmentcomplieswithFCC radiationexposurelimitssetforthforan uncontrolled
environment. Thisequipmentshouldbe installed and operated withminimumdistance
20cmbetween the radiator&yourbody.
Thistransmittermustnotbe co-located oroperating inconjunction withanyotherantenna
ortransmitter.

GN-A16BWirelessAccess PointUserGuide
3
Contents
Chapter1 Introduction.................................................................4
Overview..........................................................................................................................4
Features............................................................................................................................4
PackageContents............................................................................................................5
The Rear Panel.................................................................................................................5
The Front Panel LEDs.....................................................................................................6
Chapter 2 Installation..................................................................7
Hareware Requirements..................................................................................................7
System Requirements......................................................................................................7
Internet Configuration Requirements.............................................................................7
Hareware Installation.......................................................................................................8
Connect to Access Point.................................................................................................8
Illustration.........................................................................................................................9
Chapter3. Access Point Manager.............................................11
Installing the Access Point Manager............................................................................11
Using the Access Point Manager..................................................................................15
Upgrade Firmware.........................................................................................................28
Uninstall AP Utility.........................................................................................................29
Chapter4 Web-Based Configuration Utility..............................31
Chapter5 Troubleshooting........................................................41
Appendix A: Glossary.................................................................43
Appendix B: Specification.........................................................46
Physical Interface............................................................................................................46
802.11b System Specification......................................................................................46
Appendix C: Configuration of the PCs......................................47
The Setting under Windows 2000.................................................................................47
The Settings under Windows 95/98/Me.........................................................................50
The Settings under Windows XP....................................................................................53

4
GN-A16BWireless Access PointUserGuide Chapter1Introduction
Overview
Features
GN-A16Baccess pointarecomposed ofthe Realtek802.11b and 10/100 Ethernet. This
productadoptsthe directsequencespread spectrum(DSSS)technologyand theDBPSK,
DQPSK,and CCKmodulation mode toprovide averystablewireless communication
qualityand an excellentsignalreceivercapability.Thisproductfeaturesthe compactsize,
lowpowerconsumption,and powermanagementfunctions,and providesahigh-speed
wireless datacommunication.
The GigabyteWireless systemcan connectPCsthroughoutyourpremiseswithoutthe
headache ofrunning cable.It isaeffectivewaytotietogetherlaptop PCs,mobileworkers,
floating workers,temporaryworkersand offices.It isthe idealwaytoprovide Internetand
Ethernetconnectivitytolecturehalls,warehouses,retail salesfloors,gymnasiumsand
factories,including large spaceswhereradiotransmission echo haspreviouslybeen a
problem.
nConformstoIEEE 802.11b specification.
nTransmitsdatarateup tothe maximumspeed of11Mbps.
nDynamicallyscalesthe datarateto11,5.5,2,and 1Mbps.
nSupports64-bit/128-bitWEP encryption.

GN-A16BWirelessAccess PointUserGuide
5
TheRearPanel
The router’s portsarelocated onthe router’s rearpanel.
RJ-45,Auto-sensing and Auto-MDI/MDIXfor10/100MEthernetWANconnection
Initialreset(Inittofactorydefault)
The powerportiswhereyou connectthe poweradapter.
nOneEthernetWAN Port
nInitBottom
nWireless antenna
One 2.4GHzantenna
nPower
Package Contents
Beforethe installation procedures,pleaseensurethe componentsarenotdamaged dur-
ing the shipping.The shipmentofthe GN-A16Bincludes:
-One GN-A16BWireless Broadband Router
-OneACPowerAdapter
-One Installation CDwiththe AP Managerand UserGuide Soft Copy
-One UserGuide
Pleasecontactyourlocaldistributororauthorized resellerimmediatelyforanymissing or
damaged components.If you requirereturning the damaged product, you mustpack itin
the originalpacking materialorthe warrantywill be voided.

6
GN-A16BWireless Access PointUserGuide
TheFrontPanelLEDs
The router’s LEDsdisplayinformation aboutthe router’s status.
nPower
nWLAN
(Green Light)
(Green Light)

GN-A16BWirelessAccess PointUserGuide
7
Chapter2Installation
SystemRequirements
nAComputerwithWindows,Macintosh,orLinux-based operating system.
nAJavascript-enabled web browserprogramwhichsupportsHTTPupIoadssuchas
Microsoft InternetExplorerorNetscape Navigatorversion 4.0orabove.
InternetConfiguration Requirements
In order to connect your Access Point to the AP Manager, you will need the following
configuration parameters to configure the TCP/IP setting of your computer:
vStatic IP Address: 192.168.1. x (e.g, 2 ~ 253)
vSubnet mask: 255.255.255.0
vDefault Gateway: 192.168.1.254
Hareware Requirements
To use the Wireless Access Point on your network, each computer may need the
following requirements:
nAn installed 802.11b wireless adapter.
nAnEthernetLANswitchorhub.
na wired RJ-45 Ethernet cable

8
GN-A16BWireless Access PointUserGuide
Followthesestepstoinstallthe Wireless Access Point.
HarewareInstallation
1.ChooseaproperplaceforAccess Point. Ingeneral,the bestlocation isatthe center
ofyourwireless coverage area,withinline ofsighttoall wireless devices.Keeping
clearofmetalobstructionsand awayfromdirectsunlight.
2.Placethe Access Pointinthe desired location.Normally,the higheryou placethe
antenna,the betterthe performancewill be.The antenna’s position enhancesthe
receiving sensitivity.
3.Attachone end ofan RJ-45 Ethernetcabletothe Access Pointand attachthe other
end toanetworkhub,switch,router,orpatchpanel(possiblyon awall).
4.Attachone end oftheACpoweradaptertothe Access Pointand the otherend toa
poweroutlet. (Note:Onlyusethe poweradaptersupplied byGigabyteinthe product
package.Using adifferentadaptermayresultinproductdamage.)
Forthe average home,signalrange shouldnotbe an issue.If you experienceloworno
signalstrengthinareasofyourhomethatyou wishtoaccess,considerpositioning the
Access Pointinalocationdirectlybetween the computerswithwireless adapters.Addi-
tionalAccess Pointscan be connected toprovide bettercoverage inroomswherethe
signaldoesnotappearasstrong asdesired.
WiredEthernetCable
ConnecttoAccess Point
You can connectaLANcablefromyourcomputer’s NetworkcardtotheAccess Point
withoutusing aNetworkswitchorhub.
WirelessConnection
If youareusing the wireless connection,youcan connecttotheAccess Pointusing the
GigabyteAccess PointManagerwithoutawired Ethernetcable.

GN-A16BWirelessAccess PointUserGuide
9
Illustration
Therearetwoinstallation mode foryourreferenceasfollow:
Method 1:StaticIPaddress
If you areNotusing aDHCPserverinyournetwork,youcan configurethe AP byconnect-
ing tothe computerdirectly.
PC(AP Manager) 192.168.1.x
DHCP(Disable)
192.168.1.1(default)
AP
1.Youwillneed toassignaStaticIPAddress tothe computerthatyou areusing to
configuretheAccess Pointonthe samesubnet.
Forinstance,the defaultIPaddress oftheAccess Pointis192.168.1.1and the subnet
mask 255.255.255.0.Youcan enterIPaddress 192.168.1.20 (assuming thatitisnot
alreadyassigned toanothernetworkdevice),subnetmask 255.255.255.0toyour
computer.
Note:If you need the instructionson howtodo this,pleaserefertoAppendixC,
“Configuration ofthePCs”
2.ConnecttotheAccess Pointone byone and assignastaticIPtoeachAccess Point.
Forexample,192.168.1.2or192.168.1.y,etc.(If the IPaddress ofyournetworkis
10.1.5.xthen yourAccess Pointcan be assigned to10.1.5.y.)
3.MakesurethateveryAccess Pointhasaunique IP.
4.AfterallAccess Pointshavebeen configured successfully,then you can useAP
Managertocontrol/monitorallAccess Pointsnetwork.
PC(AP Manager) 192.168.1.x
DHCP(Disable)
192.168.1.1 192.168.1.2192.168.1.y

10
GN-A16BWireless Access PointUserGuide
Method 2:NumerousAccess Pointssetting
If requiretosetup asmanyAccess Pointsatthe sametime.Youcansetup aDHCPServer
and letitassign IPtoallthe Access Pointssoithasitsownunique IPaddress.Afterthe
setup isfinished,and then removeordisabledDHCPServeratlast. Now,you canusethe
AP Managertofind allAccess Pointsinyournetwork,and then setup theN-Access Points
asstaticIPaddress one byone.Notice:AfterassignstaticIPaddress toeveryAccess
Points,be suretosetthe PC(AP Manager) tothe samesubnet.
UsingDHCPservertosetup theIPAddress thenremoveDHCPserver
PC(AP Manager)
DHCPServer
Switch/Hub
PC(AP Manager)
Switch/Hub
e
ObtainIPAddressAutomatically-DHCPServerEnabled
If you areusing aDHCPserverinyournetwork,youcan connectaDHCPserverwiththe
Access Pointand anAP Managerthrough aswitch/hub.The IPaddress ofthe Access
Pointshouldbe configuredto“ObtainanIPaddress automatically”(whichisdefaultsetting).
The DHCPserverwill assignthe IPaddress tothe Access Point. The PC(AP Manager)
shouldusethe IPonthe samesubnetasthe Access Point. Or,you can configurethe PC
(AP Manager) to“ObtainanIPaddress automatically”and assign IPbythe sameDHCP
server.
PC(AP Manager) DHCPServer
Switch/Hub
AP

GN-A16BWirelessAccess PointUserGuide
11
Chapter3.Access PointManager
The Wireless Access Pointcan be configured one oftwoways,throughthe AP Manager
Utilityorthe Web-based configurationUtility.The GigabyteAccess PointManagerisused
toconfigureGigabyteAccess Points.
Note:The performanceofwireline linkisbetterthan wireless linkbetween theAP
Managerand eachAccess Point. Tousethe wireline linktomanage the
Access Pointisrecommended.
Installing theAccess PointManager
Pleasefollowthesestepstoinstallthe GigabyteAP Managerinthe Windows.
Step1. Insertthe installationCD and click InstallGigabyteAPManageron the CD
autorun screen.
Step2.Pleasewaitawhile!
Step3.Click “Next”.

12
GN-A16BWireless Access PointUserGuide
Step4.Type the UserInformation thenclick “Next”.
Step5.Click “Next”toacceptthe defaultdirectoryor“Browse”toanotherlocation.

GN-A16BWirelessAccess PointUserGuide
13
Step6.Click “Next”.
Step7.Click “Next”.

14
GN-A16BWireless Access PointUserGuide
Step8.Pleasewaitawhile.
Step9.Click “Finish”tocompletesetup.

GN-A16BWirelessAccess PointUserGuide
15
Using theAccess PointManager
YoucanlaunchGigabyteAP ManagerthroughStart\Programs\GigabyteAPManager
Utility\GigabyteAPManager.
Enterthe defaultpassword“admin”and click “OK”button.
It will automaticallysearchforAccess Pointsonthe samesubnetwhenyou open the
GigabyteAP Manager.You mayclick the icon tosearching forAccess Points
manually.
Menu bar
Toolbar
Tree view
Statusbar
Page Control
Progress bar

16
GN-A16BWireless Access PointUserGuide
nTree structure
ESSID(ap16b666)
APName(AP16B)
MACAddress (0020ED001700)
nMenu bar
ToolsAllowyouto“Search”forAP byESSID,APName,MACAddress,
and IPAddress and “ConnecttoAPbyIP”.And allowyouto“Save”,
“Load”the AP configuration and “Copy”,“Paste”the configuration
atthe currentpage.Besides,itincludesboth“SystemReboot”and
“LoadDefault”.
PasswordAllowyou tochange the AP Managerpasswordand setthe SNMP
communitystring.
AboutAnonline helpand theAP Managerversion.
ExitExitthe AP Manager.
Note:Whenyou searchforAPbyAPName(Tools->Search->ByAPName).You can
press the “searchnext”tocontinue tosearchthe samenameofAP.

GN-A16BWirelessAccess PointUserGuide
17
nToorbar
FindAccess Point
SaveAPConfiguration
PageCopy
SystemReboot
ConnecttoAPbyIP
LoadAPConfiguration
PagePaste
LoadDefault
Find all AP inthe samesubnet.
Saveall setting ofthe AP toatempfile.
Load the setting ofthe tempfilethatyousaved beforetothe currentAP.
Copythe setting ofthe currentpage.
Pastethe setting youhascopied tothe currentpage.(Youcan pastethe setting
ofAP1toAP2atthe sametab page.)
Rebootthe Access Point.
Setthe Access Pointtothe manufacturedefault.
If you wanttomanage theAP inthe differentsubnet, usethisfunction and key
inthe IP.

18
GN-A16BWireless Access PointUserGuide
SystemPage
The SystemPage displays the DeviceInformation and the Change CommunityString
function.
1Device Information
The DeviceInformationinclude theAP name,MACaddress,devicedescription,the
version information and the devicetype.You canchange the AP Nametowhatever
unique name,whichcan representthisAP.
1ChangeCommunityString
Thisfunctioncan letyou change the communitystring tothe AP.You can change a
newcommunitystring onpurposetoprohibitotherAP Manageraccess and manage
yourAP.Afteryou change the communitystring toAP,you need todo twofollowing
actions.
1.UsePassword->SetCommunityString on the MenuBartosetthe community
string totheAP manager.The AP Managerand the AP shouldhavethe same
communitystring.OtherwisetheAP Managerwillnotbe abletofind the AP with
differentcommunitystring

GN-A16BWirelessAccess PointUserGuide
19
2.Pleasememorizethe communitystring orwriteitdownatsomewhere.
Incaseyouforgetthe communitystring,you havetopress the AP initbuttonand
thenthe AP setting (include communitystring)will be restoretodefaultvalue.
Initbottom
Note:The SNMPcommunitystring definesthe relationshipbetween an SNMPmanager
system(APManager) and the agentsystems(allAPs).Thisstring actslikeapass
wordtocontrolthe APManagertoaccess the AP.The defaultvalue ofthe
communitystring is“public”.Youcan change the communitystring ofAPManager
byusing Password->SetCommunityString on the Menu Bar.

20
GN-A16BWireless Access PointUserGuide
IPConfigPage
1ObtainanIPaddress automatically
The IPConfiguretab allowsyou toconfigurethe IPparametersofthe access point.
You cancheck thisselectiontogetIPaddress fromtheDHCPserverautomatically
on yournetwork.
.
1Use thefollowing IPaddress
You can check thisselection toassign IPaddress byyourself.
IPAddress Usethisoption toassign anIPaddress tothe access point. The
defaultIPaddress is192.168.1.1.Pleasemakesurethe assigned
IPaddress isunique on yournetwork.
SubnetMask Specifythe subnetmask ofthe access point. The defaultsubnet
mask is255.255.255.0.
Gateway Enterthe IPaddress ofthe defaultroute.The defaultgatewayis
192.168.1.254
Afteryouchange theIPaddress oftheAP,pleasealsochangethe PC’s (AP Manager)
IPaddress tothe samesubnet.And then click the “Find Access Point”icon;AP
managerwill searchthe AP on the network.
Other manuals for GN-A16B
1
This manual suits for next models
1
Table of contents
Other Gigabyte Wireless Access Point manuals

Gigabyte
Gigabyte AirCruiser G User manual

Gigabyte
Gigabyte GN-AP02G User manual

Gigabyte
Gigabyte GN-A15AG User manual

Gigabyte
Gigabyte GN-A16B User manual

Gigabyte
Gigabyte GN-A11G User manual

Gigabyte
Gigabyte GN-A17GU User manual

Gigabyte
Gigabyte AirCruiser MIMO GN-AP03GM User manual

Gigabyte
Gigabyte AirCruiser G GN-AP05G User manual

Gigabyte
Gigabyte GN-AP101B User manual

Gigabyte
Gigabyte GN-BRO1G User manual