DOWNLOAD THE APP
For any help or support visit
www.gluehome.com/support
Thank you for purchasing this Glue Smart lock (GL04X.AX) and Glue Wi-Fi
Hub (GL01X.AX)
Handling Guidelines
•
•
•
•
•
•
•
•
•
Baery Handling
•
•
•
•
•
•
•
•
Restricons of use
•
•
•
•
•
•
•
Frequency Range
Maximum RF Power output
FW
Return policy
Faulty Device(s)
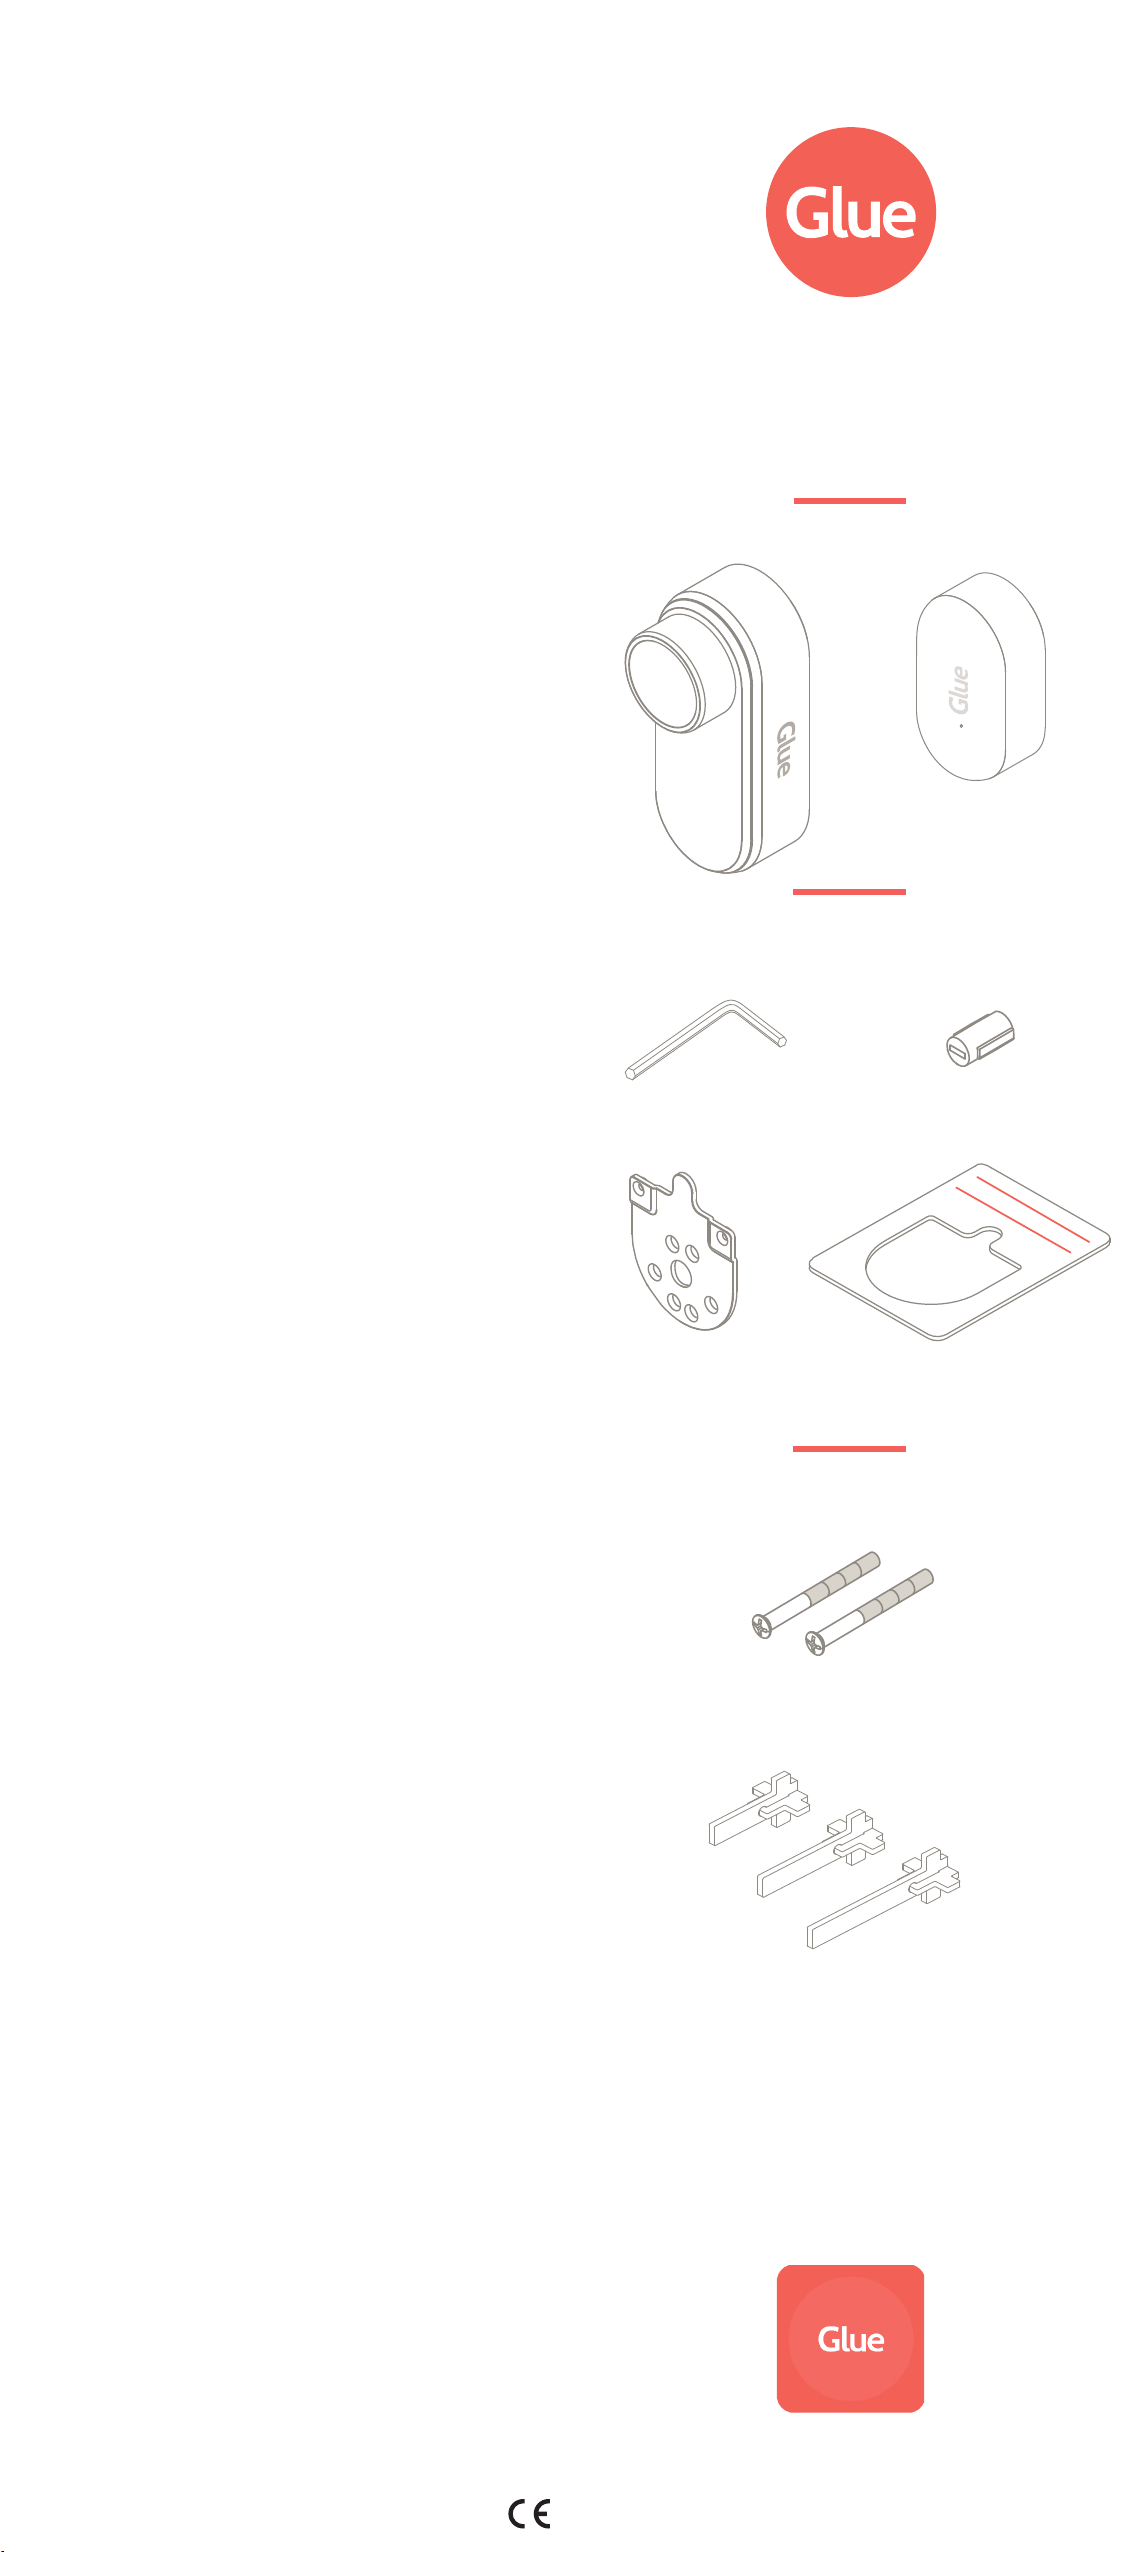
CONTENTS
PLATE
INSTALLATION
TAIL PIECES
SE CE