manuals.online logo
Brands
  1. Home
  2. •
  3. Brands
  4. •
  5. Glyph
  6. •
  7. Storage
  8. •
  9. Glyph GT0501F-120 Instruction manual

Glyph GT0501F-120 Instruction manual

SCSI
Hard Drive
Quickstart Manual
www.glyphtech.com
About his Manual
This manual covers all SCSI Glyph products including the
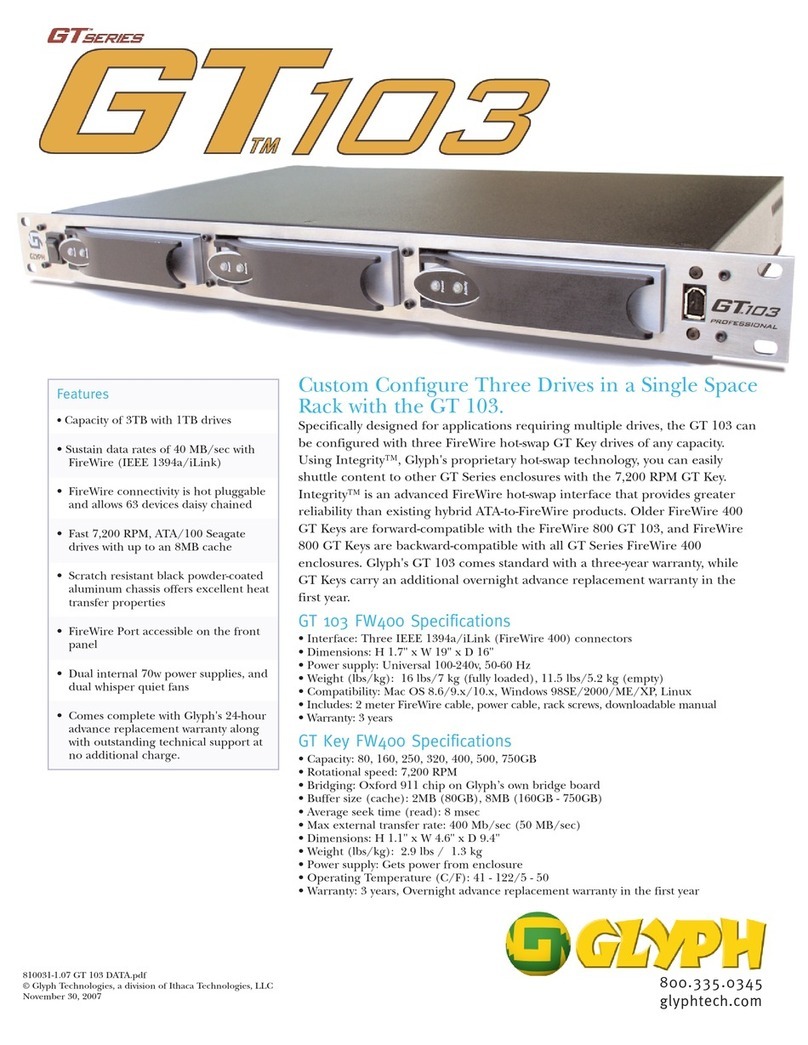
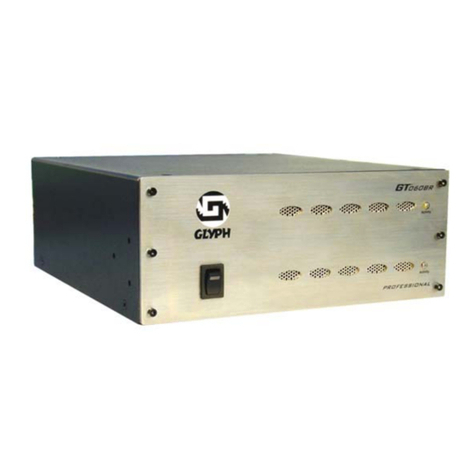
GT Series (GT 050 SCSI, GT 308 with hot-swappable SCSI
drives), 1U rack, 2U rack, 3U Trip rack, tabletop SCSI
drives, and SCSI drives in hot-swap trays. Since the general
SCSI principles are the same throughout these product
lines, this manual may not reference your exact product.
This manual does not cover information about the drive
mechanism (like drive specs, wiring schematic, pin outs).
Since opening your Glyph enclosure voids your warranty,
our documentation covers the setup & use of the product,
not the drive inside it.
If you have questions or comments of a technical nature,
we urge you to check out our web site for technical
resources at www.glyphtech.com, or contact the Glyph
Technical Support Department at (607)275-0154.
he importance of the addendum.
As technology changes, so do our products. In an effort to
make sure you have the most up-to-date information and
regarding your drive, we occasionally include addendum
sheets or electronic documents (in PDF form) in your
packing materials. Please read these documents for specific
information about compatibility and formatting issues
which may apply to your situation.
22
www.glyphtech.com
Unpacking, Inspection & General Info
Your Glyph drive and accessories are packaged in a sturdy
shipping container. Please inspect the container for
evidence of shipping damage and mishandling. If such
evidence is found, file a report with the carrier or your
Glyph dealer immediately and do not attempt to unpack
and operate the Glyph drive until the carrier or dealer
confirms the damage. Glyph products are factory sealed
and you should not accept a box which has been previously
opened.
Open the box. Get all excited. Now, proceed with
unpacking the Glyph drive and verify that all of the
following items are present. Standard configurations will
include in the box:
1. The Glyph drive itself
Tabletop -or- Rack Mountable
2. One (1) SCSI Cable
3. One (1) Terminator
4. One (1) Power Cable
5. Rack Screws (rack mounted drives only)
6. Documentation CD
Custom configurations (such as Naked 2U and 3U racks,
and custom combinations) may not include these items in
the box. If you think items are missing, contact the party
from whom the drive has been purchased to verify.
• It is a good idea to keep the shipping container and
packing materials for storing or shipping the product at a
future date.
• Save the serial number/part number document for your
records. this is very important should you ever need tech
support or service.
33
www.glyphtech.com
Parts Identification
Take a moment to look at the diagrams below & on the
following page. You will be connecting cables and setting
switches on the drive shortly, so it will be helpful to know
the layout of the physical connections.
There are many variations of Glyph tabletop and rack
mounted SCSI configurations. If you don’t see yours in the
diagram, don’t fret. The same principles apply to all Glyph
SCSI drives.
44
Power Button
SCSI ID Switch
Fan
Power Input
SCSI Connectors
Power Light
Power Button
SCSI ID Switch
Fan
Power Input
SCSI Connectors
Power Light
Power Button
SCSI ID Switch
Fan Power Input
SCSI Connectors
Power Light
www.glyphtech.com
55
Power Button
SCSI ID Switch
Fan Power InputSCSI Connectors
Power Button
SCSI ID Switches
Fans
Power InputSCSI Connectors
www.glyphtech.com
Configuring your Glyph SCSI Drive for Install
Your drive will interface with your SCSI host adapter card
through the SCSI cable which is supplied with your drive,
or with a cable specified by your SCSI card manufacturer.
Follow the instructions in the card’s manual for proper
installation. If you have an incompatible card, Glyph can
provide currently compatible cards for most applications.
Connectivity
SCSI is an interface specification that facilitates high speed
data transfer between devices. The specification allows the
connection of up to sixteen (16) peripheral devices to one
bus, each taking a SCSI ID. One ID is reserved for the SCSI
host adapter, usually ID 7. However, a more realistic, “Real
World”application would be to daisy chain up to eight (8)
devices together with up to 1.5 collective meters of cable
(don’t forget to factor in six inches of internal cabling per
drive).
Connecting the Glyph Ultra Wide Hard Disk
To connect your Glyph drive, locate the following items
from inside your new hard drive’s package:
Rack Mount Drive -or- Tabletop Drive
•The Glyph drive itself
•Power cable
•SCSI interface cable(s)
•Active Terminator
66
www.glyphtech.com
Installing Glyph Hard Drive Hardware
Step 1 - Install your SCSI host adapter card
Carefully ... follow the installation instructions in the
manual which came with your SCSI card. The card must be
installed correctly in order for your computer to
communicate with your Glyph Hard Drive.
If you are having difficulty with any aspect of the
installation of your card, please contact the manufacturer
of the card for technical assistance.
Step 2 - Position the Drive
If you are using a rack mount drive, mount the drive (using
the four supplied screws) into your rack, or find a level,
solid surface on which to place the unit.
If you are using a tabletop drive, find a level, solid surface
on which to place the unit.
Step 3 - Connect Power Cable (Power Off)
Make sure that the power is off on all of your computer
equipment and the Glyph drive. Connect the power cable
to the back of the Glyph drive. Plug the three prong power
plug into an appropriate power receptacle, preferably with
surge and spike protection.
77
www.glyphtech.com
Step 4 - Connect SCSI Cable
The pins of SCSI cables are extremely easy to damage, so
be very careful plugging and unplugging them. Carefully ...
connect the SCSI cable to the SCSI card which you have
already installed. Then connect the remaining 68 pin end
to the back of the Glyph drive in either the top or bottom
68 pin connector. These two connectors are functionally
identical and the open connector can be used for adding
more devices or for termination (more on termination in
this guide).
Glyph uses a 68 pin High Density connector for our SCSI
drives, so we’ve supplied a 68 to 68 pin LVD 320 SCSI
cable with each Glyph drive. If you already have one or
more SCSI devices connected to your card, you need to
daisy chain your drives together. If your SCSI card uses a
connector other than the 68 pin connector pictured above,
you need to purchase a cable with the correct connection.
Please call your Glyph dealer for more information.
88
68 pin LVD 320 SCSI Cable
Both ends have 68 pins
www.glyphtech.com
Step 5 - SCSI ermination
Like we mentioned earlier, the SCSI interface specification
allows up to sixteen (16) peripheral devices connected to
one SCSI bus. The bus wants to know where the first and
last devices connected are. This is accomplished by adding
active termination to the peripheral devices. Active
termination can be implemented in many different ways.
Glyph has supplied a small rectangular 68 pin terminator
that plugs into the remaining 68 pin connector on the end
of the SCSI chain.
When to Use ermination
on your Drive(s)
When deciding if you need to use the terminator for your
Glyph drive, use the following as a guide:
* In this case, make sure that none of the “middle” devices are terminated. Only the first and last devices should be
terminated.
SCSI devices are physically connected together by cables in
a “daisy chain”. When we refer to first or last devices, we
refer to the physical location of the device in a daisy chain
rather than the SCSI ID number of the device.
99
Situation Terminator
The Hard Drive is the only SCSI
device connected to the Computer. ON
The Hard Drive is the last SCSI device
in a chain of three or more devices. ON*
The Hard Drive is NOT the last
device in a chain of two or more devices. OFF
www.glyphtech.com
Step 6 - SCSI ID Selection Switch
The SCSI ID Selection Switch sets the
drive’s SCSI identification number. Each
device connected to your SCSI card must
have a unique SCSI identification
number. The sixteen (16) possible
identification numbers are 0 through 15.
When you select a number for the Glyph
drive, be sure that no other SCSI device,
or your SCSI card (which is usually set to ID 7), has the
same number.
Setting the ID Switch
Based on the previous discussion, you are now ready to set
the SCSI ID Selector Switch on your new Glyph drive. The
Glyph tabletop’s SCSI ID Switch is located either on the
front of the unit or on the back of the unit. The Glyph Hot
Swap Tabletop’s ID Switch is found on the back of the unit,
above the power cable input. The Glyph rack mounted
drive SCSI ID Switch is on the front panel of the unit, or
on the back of the unit.
Make sure that you select a unique SCSI ID number for
the Glyph drive that is not currently in use. Push the plus
or minus button on the SCSI ID selector switch to
increment or decrement the SCSI ID number. Once it is
set, you will not have to change it again unless you add
more devices to your SCSI bus.
Important!!! You must turn off the power to both the
computer & Glyph drive when switching SCSI ID numbers
and then restart in order for the drive to recognize the
SCSI ID change.
1100
SCSI ID Switch
www.glyphtech.com
Step 7 - Power Up the Glyph Hard Drive
Check that you have:
•A well ventilated location for the drive
•The drive off and the power cord plugged into the drive
•The SCSI cable connected to the SCSI card and the Glyph
Drive.
•Termination if necessary
•The SCSI ID# set correctly
Power up your Glyph drive. Make sure that the power light is
on. Always turn on SCSI drives first and let them spin up
before switching on your computer.
Step 8 - Power Up Your Computer
Now that the drive is on, power up your computer. Your
Glyph drive has been preformatted for Macintosh in our
production facility, so in most cases your drive will mount
automatically on a Mac, but if you have a stand-alone DAW
or PC- compatible you must reformat the drive before
using it.
Step 9 - Power Off Sequence
When you are ready to shut down your computer and
Glyph drive, remember to shut down the computer first.
Turning off the power to the drive while the computer is
booted can result in loss of data.
Your Mission ... should you choose to accept it ...
Your SCSI Glyph Hard Drive should now be ready for you
to go forth and make the art you were destined to create.
Again, the technical support staff is here to help you if you
run into problems along the way.
1111
www.glyphtech.com
1122
Glyph Technologies • 227 Cherry St •
Ithaca, NY 14850 07.275.0345 Fax
07.275.94 4

Other manuals for GT0501F-120

2

This manual suits for next models

13

Other Glyph Storage manuals

Glyph GT 050 Q User manual

Glyph

Glyph GT 050 Q User manual

Glyph GT205-1000 User manual

Glyph

Glyph GT205-1000 User manual

Glyph GT060BR-1000 User manual

Glyph

Glyph GT060BR-1000 User manual
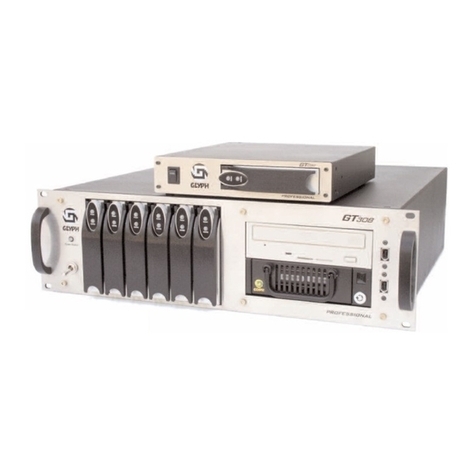
Glyph V Series CY-miSAN-V User manual

Glyph

Glyph V Series CY-miSAN-V User manual

Glyph R22-1000 Instruction manual

Glyph

Glyph R22-1000 Instruction manual

Glyph GT205-1000 User manual

Glyph

Glyph GT205-1000 User manual

Glyph GT 051 User manual

Glyph

Glyph GT 051 User manual

Glyph NDFW1B-160 Instruction manual

Glyph

Glyph NDFW1B-160 Instruction manual

Glyph ForteRAID User manual

Glyph

Glyph ForteRAID User manual

Glyph GT060BR-1500 User manual

Glyph

Glyph GT060BR-1500 User manual

Glyph GPT50 User manual

Glyph

Glyph GPT50 User manual

Glyph GT0621F-1000 User manual

Glyph

Glyph GT0621F-1000 User manual

Glyph StudioRAID mini User manual

Glyph

Glyph StudioRAID mini User manual

Glyph GT308-120 User manual

Glyph

Glyph GT308-120 User manual
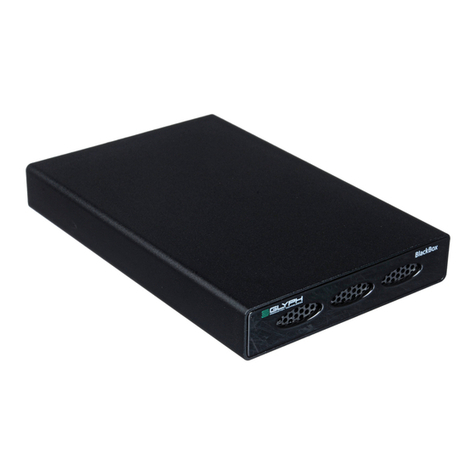
Glyph GT 051 User manual

Glyph

Glyph GT 051 User manual

Glyph PGFW8001B-100 User manual

Glyph

Glyph PGFW8001B-100 User manual
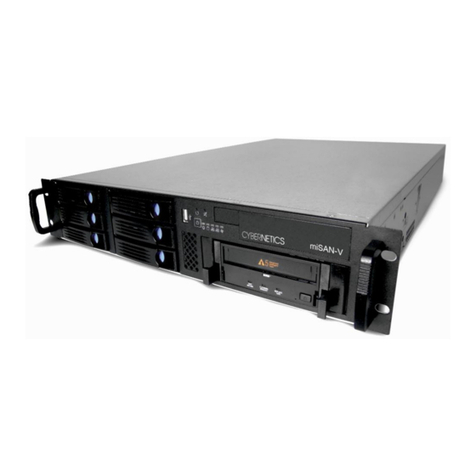
Glyph Studio Mini User manual

Glyph

Glyph Studio Mini User manual

Glyph GT051800-1000 User manual

Glyph

Glyph GT051800-1000 User manual

Glyph GT0501F-120 User manual

Glyph

Glyph GT0501F-120 User manual

Glyph R34-1000 Owner's manual

Glyph

Glyph R34-1000 Owner's manual

Glyph PGFW8004B-500 User manual

Glyph

Glyph PGFW8004B-500 User manual

Glyph X-Project-120 User manual

Glyph

Glyph X-Project-120 User manual

Glyph GT050Q1F-1000 User manual

Glyph

Glyph GT050Q1F-1000 User manual

Glyph GT103800-1000 User manual

Glyph

Glyph GT103800-1000 User manual
Popular Storage manuals by other brands

IBM Manager 3105 Appliance Manual

IBM

IBM Manager 3105 Appliance Manual

U-Line S-19003 manual

U-Line

U-Line S-19003 manual

Fantec MWiD25 manual

Fantec

Fantec MWiD25 manual

Seagate Exos Enterprise 7E8 product manual

Seagate

Seagate Exos Enterprise 7E8 product manual

Western Digital Caviar WD1001FALS Specifications

Western Digital

Western Digital Caviar WD1001FALS Specifications

Fujitsu MPG3XXXAH product manual

Fujitsu

Fujitsu MPG3XXXAH product manual

Seagate Ultra Touch user manual

Seagate

Seagate Ultra Touch user manual

Overland Storage LTO-5 quick start guide

Overland Storage

Overland Storage LTO-5 quick start guide

Freecom NETWORK DRIVE XS user manual

Freecom

Freecom NETWORK DRIVE XS user manual

WiebeTech SIS2-SR user manual

WiebeTech

WiebeTech SIS2-SR user manual

Lexar MEMORY CARD - DATASHEET FOR CAMERA PHONES datasheet

Lexar

Lexar MEMORY CARD - DATASHEET FOR CAMERA PHONES datasheet

Seagate ST500LX003 product manual

Seagate

Seagate ST500LX003 product manual

EMC CelerraNS-120 installation guide

EMC

EMC CelerraNS-120 installation guide

Hootoo HT-IM003 Online guide

Hootoo

Hootoo HT-IM003 Online guide

Stormblue MemoryDrive MD-S user manual

Stormblue

Stormblue MemoryDrive MD-S user manual

HP StorageWorks 4000/6000/8000 - Enterprise Virtual... release note

HP

HP StorageWorks 4000/6000/8000 - Enterprise Virtual... release note

Western Digital WDBAAF6400EBK - My Book Essential Specifications

Western Digital

Western Digital WDBAAF6400EBK - My Book Essential Specifications

Ykk ap YES 45 FS installation manual

Ykk ap

Ykk ap YES 45 FS installation manual

manuals.online logo
manuals.online logoBrands
  • About & Mission
  • Contact us
  • Privacy Policy
  • Terms and Conditions

Copyright 2025 Manuals.Online. All Rights Reserved.