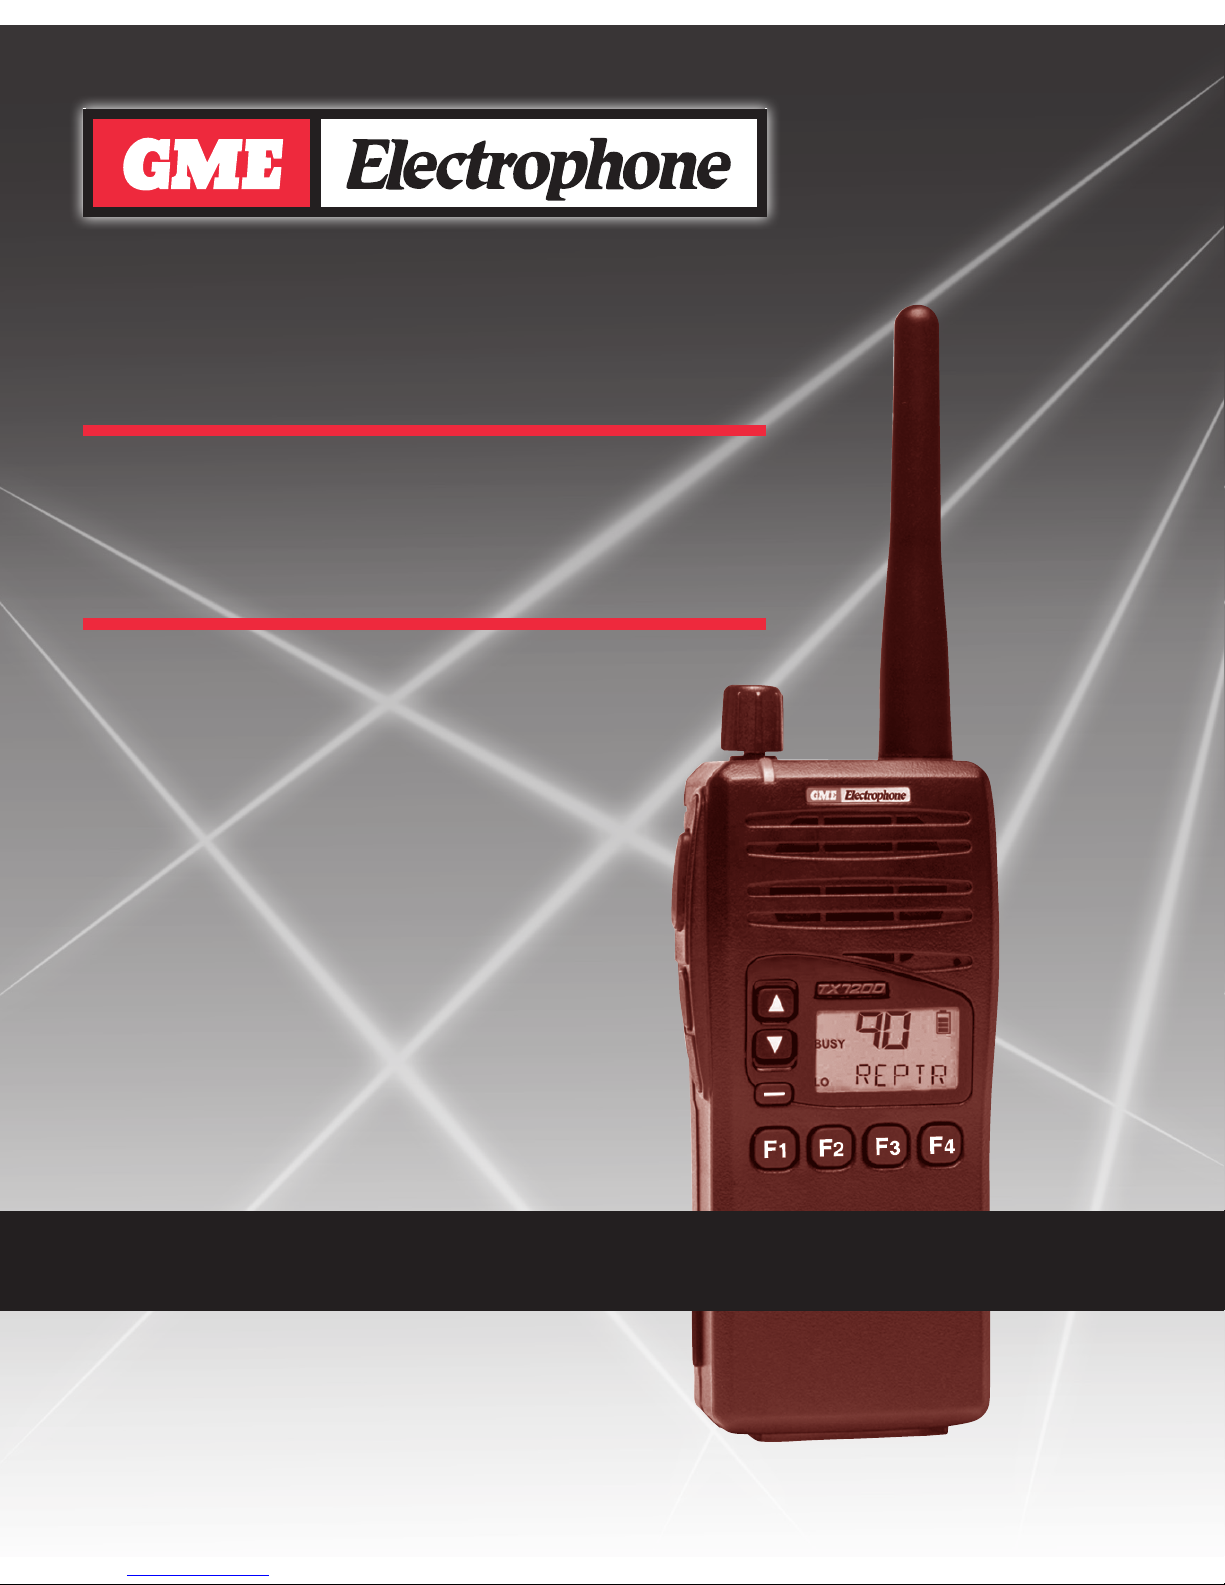
GME TX7200 User manual

TX7200 Instruction Manual Page 1
TX7200
UHF COMMERCIAL
HANDHELD TRANSCEIVER
INSTRUCTION MANUAL

Page 2 Instruction Manual TX7200
The TX7200 is a radio transmitting device.
• When transmitting, keep the antenna more than 25 mm from any part of the head or body.
• Do not transmit near electrical blasting equipment or in explosive atmospheres.
• Do not allow children to operate a radio transmitter unsupervised.
WARNING: SAFETY INFORMATION
CONTENTS
INTRODUCTION ..........................3
GETTINGSTARTED ........................3
Removing the Battery Pack...............4
Refitting the Battery Pack................4
Charging the Battery Pack . . . . . . . . . . . . . . . 4
BASICOPERATION ........................4
Turning the TX7200 on or off .............4
Adjusting the receiver volume . . . . . . . . . . . . 4
Controls and Functions . . . . . . . . . . . . . . . . . 4
Selecting Channels.....................4
Alphanumeric labels. . . . . . . . . . . . . . . . . . . . 4
Activating the Backlighting . . . . . . . . . . . . . . 4
Transmitting..........................5
Receiving ...........................5
PROGRAMMABLE FUNCTIONS . . . . . . . . . . . . . . . 5
MAINTAINING YOUR BATTERY PACK
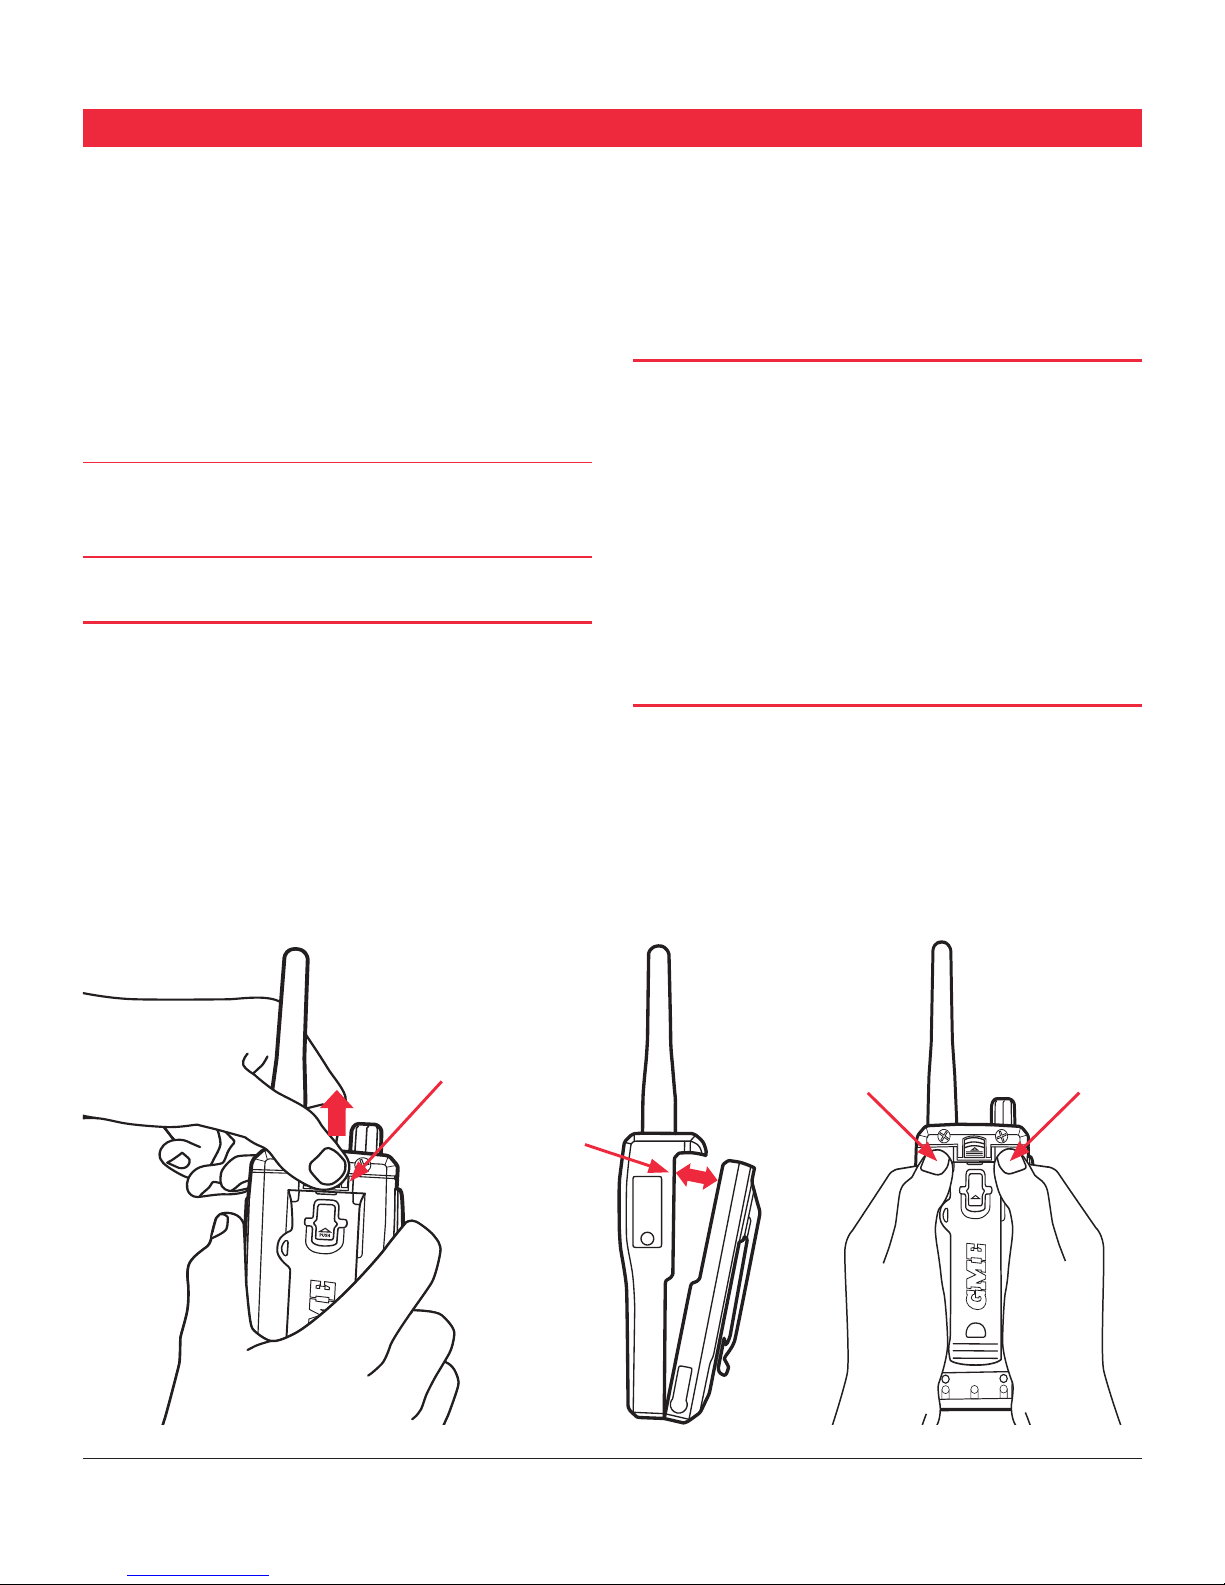
 ...........6
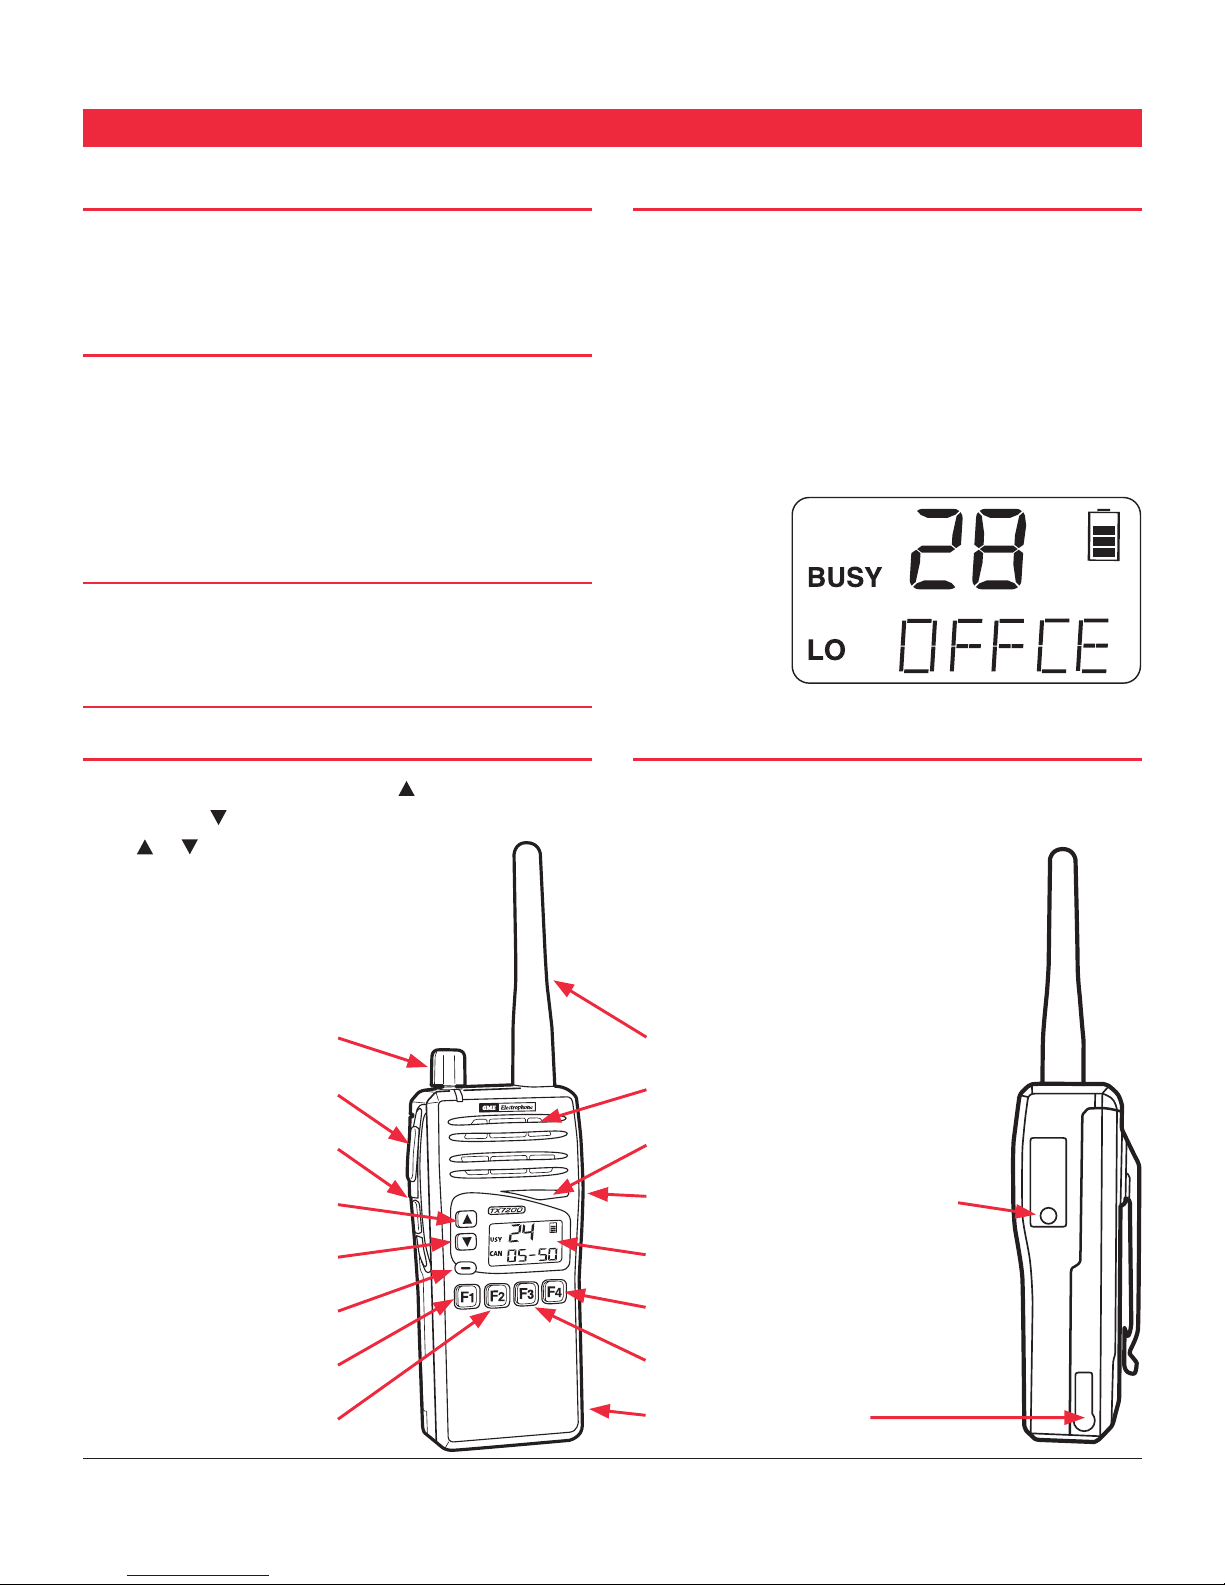
Low Battery Indicators ..................6
BatteryCharging......................6
Cycling your battery pack................6
BatteryUsage........................6
SPECIFICATIONS ..........................7
WARRANTY .............................8
After Sales Service .....................8
INTRODUCTION
The TX7200 is a rugged, easy to operate, full featured
commercial hand-held transceiver operating in the
450–520 MHz UHF band. The TX7200 assembly is a very
strong structure with a single diecast frame housed in a
polycarbonate alloy case.
The range of a UHF FM signal is usually considered 'line-of-
sight'. Generally the range of your TX7200 radio will vary
according to your location and the height of your antenna.
UHF signals are easily blocked by hills or large buildings
so you won’t get as much range in a valley or built-up city
areas as you will from a hilltop or in open country. If you are
having trouble contacting someone, try moving to an open
space or a higher location. Typical portable range is around
3 to 5 km depending on the terrain. Moving to a higher
location or using a repeater could extend its range.

TX7200 Instruction Manual Page 3
To Remove Battery Pack To Refit Battery Pack
Slide upwards
Swing away
Press Press
Your TX7200 is supplied with a 7.2 Volt 1200 mAh Ni-MH
rechargeable battery pack. When the battery is new, it must
be fully charged before being used for the first time. If left
unused your TX7200’s battery pack will discharge itself
within a few months. If you have not used your TX7200
for some time, you will need to recharge the battery pack
before use.
The battery pack is a sealed unit. There are no user
serviceable parts inside.
WARNING:
Use only GME Electrophone approved battery
packs and chargers. The use of other types may be
dangerous and will void the warranty.
Removing the Battery Pack
The battery pack is a self contained unit which can be
removed from the radio as follows:
1. Hold the radio face down in one hand.
2. With the thumb of one hand, push the locking tab
upwards towards the top of the radio while swinging the
top half of the battery pack away from the radio with the
other hand.
3. Once clear of the locking tab, lift the battery upwards
away from the radio. The base of the battery pack is
retained in a slot in the metal frame at the base of
the radio.
Re-fitting the Battery Pack
1. Carefully position the tongue in the base of the battery
pack into the slot in the metal frame at the base of
the radio.
2. Swing the top half of the battery pack into place against
the radio.
3. Using both thumbs (one each side of the belt clip) press
the top half of the battery firmly onto the radio until the
locking tab clicks downward locking the battery pack
into place.
Charging the Battery Pack
Your TX7200 should be charged using the BCD001 Rapid
Charger. The BCD001 rapid charger can recharge the
battery pack in around 1 hour. For further information on
charging your battery and tips on conserving battery power,
see section on 'Maintaining Your Battery Pack' on page 6.
GETTING STARTED

Page 4 Instruction Manual TX7200
Volume Control
Push-To-Talk Key
Side AUX Key
Channel UP Key
Channel DOWN Key
(-) Key
F1 Key
F2 Key
Antenna
Speaker
Microphone
External Speaker / Mic Connection
Liquid Crystal Display
F4 Key
F3 Key
Battery Charging Socket
CONTROLS AND FUNCTIONS
Turning the TX7200 on or off
Rotate the volume control clockwise past the 'click' to turn
the TX7200 on. Rotate the control fully counter clockwise
past the click to turn the radio off.
Adjusting the receiver volume
While receiving a signal, rotate the volume control to
achieve a comfortable listening level. If there are no signals
present, press the Squelch key briefly (if available) to open
the squelch, then adjust the volume while listening to the
receiver's background noise. When finished, briefly press
the Squelch key again to return the receiver to the
quiet state.
Note:
The minimum setting of the volume control has been
factory preset so that, even with the volume turned right
down, you can still safely listen to an incoming signal with
your ear against the speaker (telephone style).
Selecting Channels
To change channels, briefly press the key to step up one
channel or the key to step down one channel. Holding
either or will cause the radio to step
through the channels automatically at a faster
rate. The 125 available
channels are numbered
1 - 99, A0 - A9, B0 - B9 and C0 - C5
Alphanumeric labels
As well as identifying channels by their channel number,
channels may be programmed with a 5 character
alphanumeric label. Using labels with meaningful names
makes it much easier to identify channels. Alphanumeric
labels are pre-programmed into your radio by your dealer.
e.g. The channel you normally contact your office on
might be labelled OFFCE while a construction site channel
might be labelled SITE1. In this way you no longer need to
remember which
channel numbers
to select, you
simply select the
required channel
by its label.
Activating the Backlighting
Your TX7200’s LCD features built-in backlighting. The
backlighting is normally switched off to conserve battery
power but will switch on automatically
when any key is pressed. To switch the
backlighting on without activating any
functions, press the - key twice.
BASIC OPERATION

TX7200 Instruction Manual Page 5
Transmitting
Before transmitting, check to see if the channel is already in
use ('BUSY' will be displayed and the LED on the top of the
radio will be green). If the channel is busy, you should wait
until it is clear before transmitting.
To transmit, press the Push-To-Talk (PTT) switch on the
left-hand side of the radio. Hold the radio about 5-8 cms
from your face with the antenna vertical and speak into the
built-in microphone located just below the speaker. When
talking, speak at a normal voice level. The microphone is quite
sensitive so it is not necessary to raise your voice or shout.
Receiving
Note:
Your radio may be programmed with options that
could affect the way your radio behaves when it receives a
call from another radio.
Normal Reception
Your radio will normally be muted (squelched) so that it is
quiet when there are no signals. When a transmission is
received, the radio will automatically unmute itself to allow
you to hear the call. When receiving a signal, adjust the
volume control as desired for a comfortable listening level.
The BUSY Indicator
Whenever the channel is active, the BUSY indicator will
appear on the display and the green LED on the top of the
radio will light. However, depending on the muting options
selected on your radio, you may not always hear any sound
from the speaker. This can happen when others are sharing
the channel but their calls are not meant for you. For this
reason it is important that you visually check that the
channel is not busy before making a call to ensure you do
not accidentally talk over someone else.
PROGRAMMABLE FUNCTIONS
* Allows access to a second feature programmed into any key by first pressing the assigned Function key
The front panel keys are able to perform multiple functions
depending on how they are programmed. Since most of
these functions can be programmed into any of the front
panel keys, no specific key can be addressed as performing a
particular function. The following table can be used to mark
the specific features that may be programmed into your
radio against the front panel keys that will access them.
Your TX7200 will have been programmed by the dealer
to suit your specific requirements by enabling only those
features that are useful to your operation. Your dealer will
show you how to use those features.
Tick the boxes that match the function keys on your radio
with the specific feature programmed by your dealer.
Function F1 F2 F3 F4 - Aux
Disabled
Function/Menu
Keylock
Transmit Hi/Lo Power
Monitor
Squelch
Talk-Around
Scan
OS/GS Toggle
Quiet
Alphanumeric
Priority
Call
Channel Recall
Speed Dial Selcall
Channel Recall/Speed Dial Selcall
Shifted Function * F1 F2 F3 F4 - Aux
Disabled
Function/Menu
Keylock
Transmit Hi/Lo Power
Monitor
Squelch
Talk-Around
Scan
OS/GS Toggle
Quiet
Alphanumeric
Priority
Call
Channel Recall
Speed Dial Selcall
Channel Recall/Speed Dial Selcall
Table of contents
Other GME Transceiver manuals
Popular Transceiver manuals by other brands

Kenwood
Kenwood ProTalk TK-3201 instruction manual

City Theatrical
City Theatrical SHoW DMX SHoW Baby user manual

Standart Horizont
Standart Horizont HX407 owner's manual

B&G
B&G V90S quick start guide

VictelGlobal
VictelGlobal ALK300 series Operation manual

Cactus
Cactus Wireless Flash Transceiver V6 user manual