18 19
■Hole Selection / Left & Right Green Selection
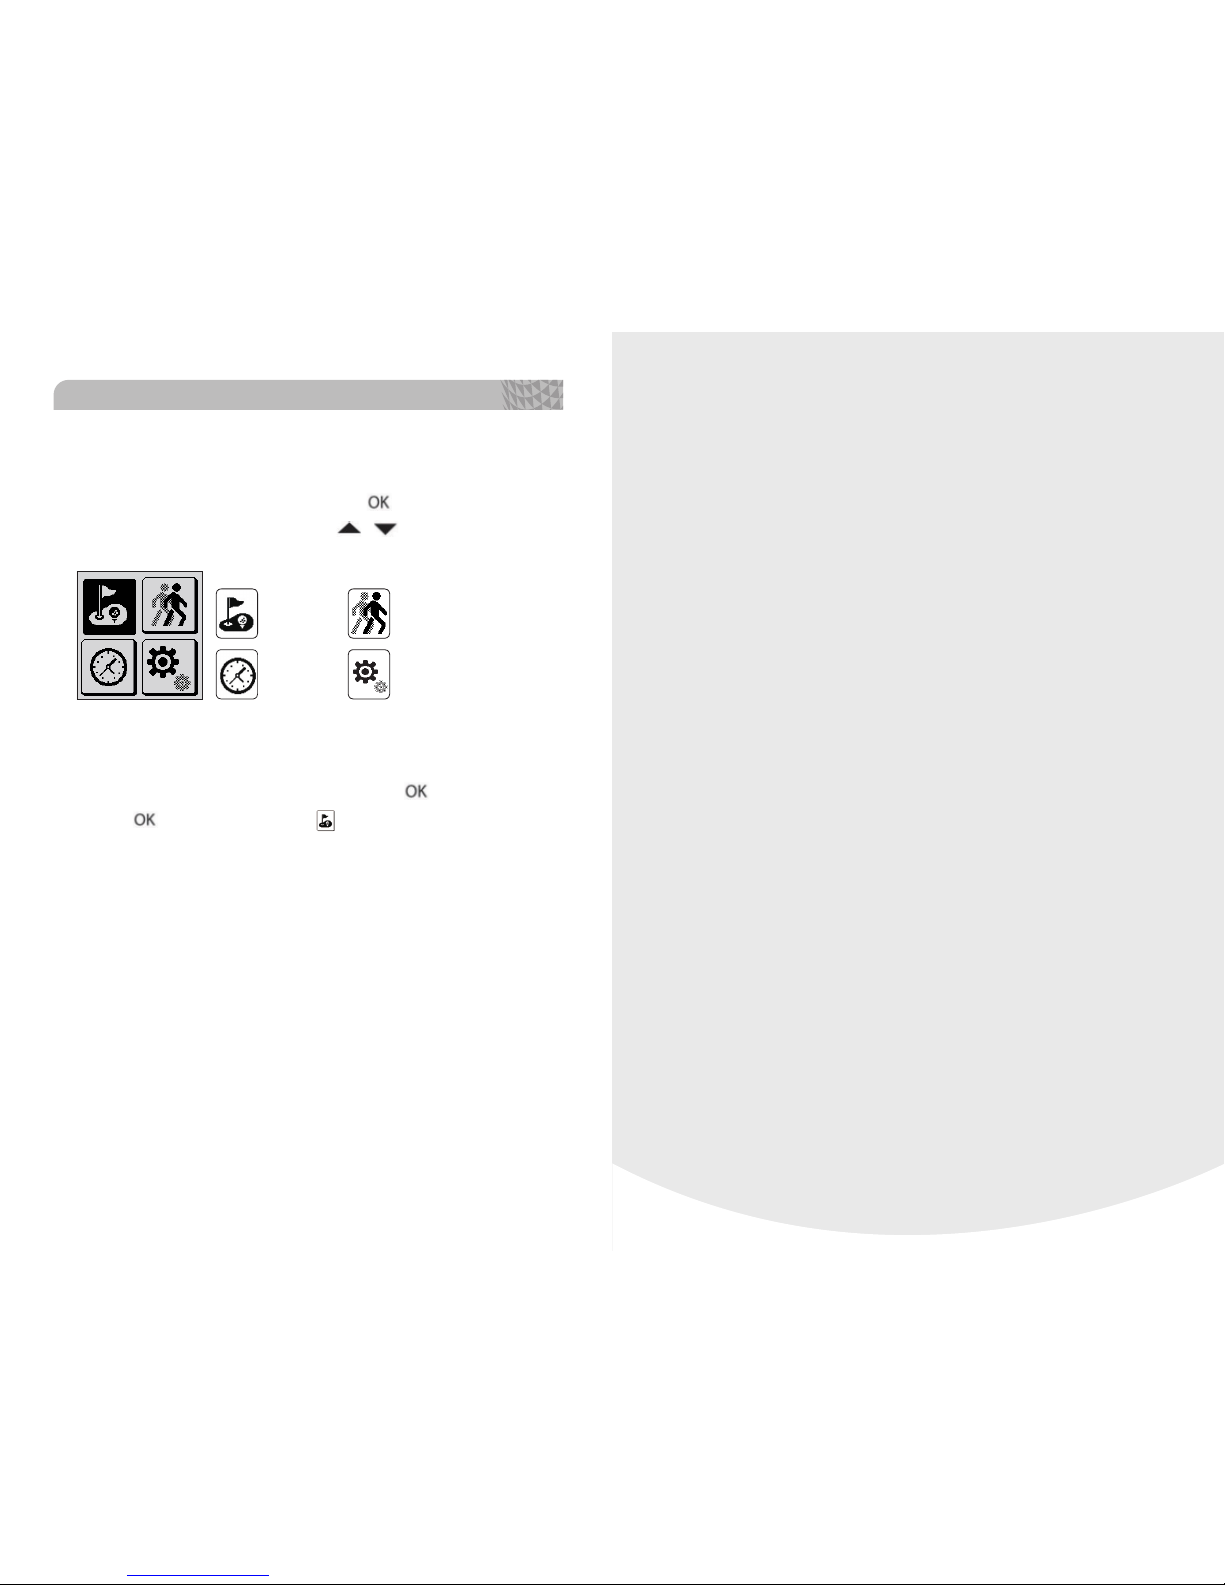
From Play Mode, to change holes or to change the Left
& Right Green Selection, select the icon by pressing
and holding the button. Navigate by using the /
buttons, then press the button to select desired
hole. Select left or right green* by navigating with the
/buttons then press the button to confirm the
selection. (*Note: The Left & Right Green selection is only
available if there is a left & right green on the course).
Press and hold the button for 2 seconds while on the
pin placement screen to
select between the left
and right green. Press the
button to confirm.
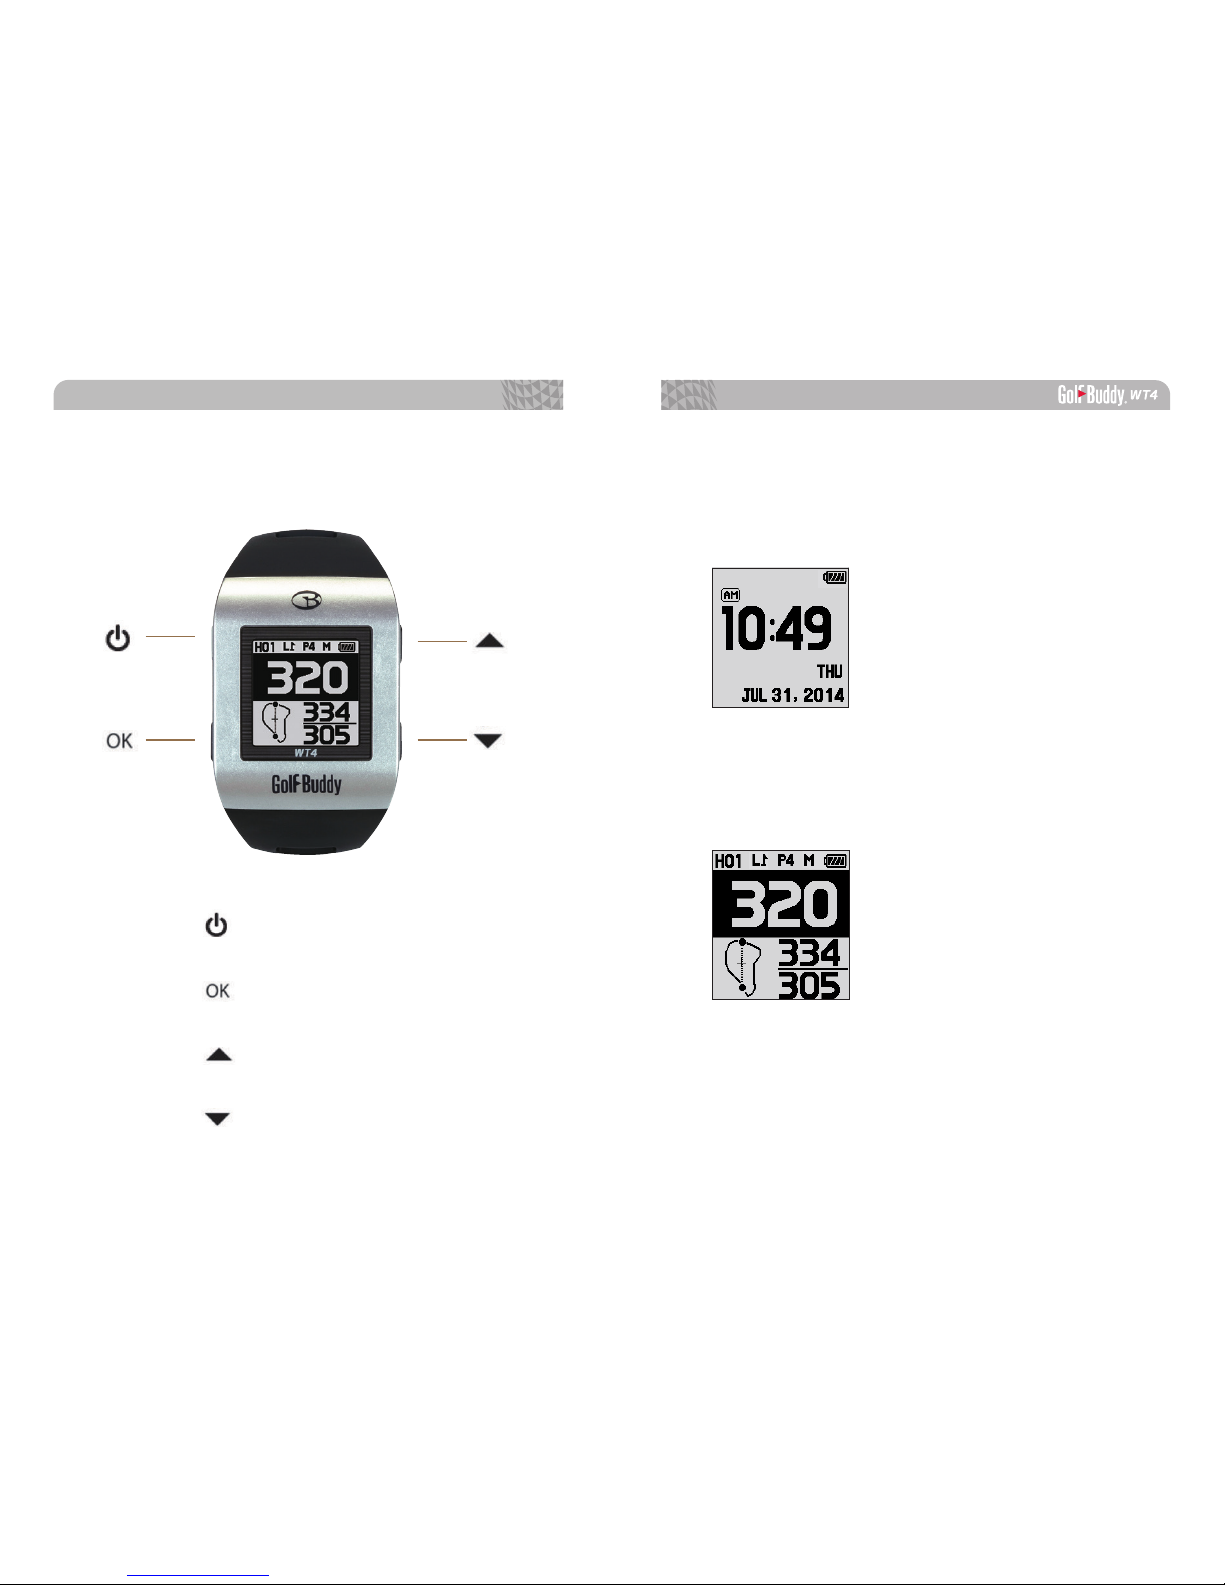
BASIC OPERATION
2.1. Play Screen Information
■Distance to the Green
Play Mode provides the distances to the
front, center and back of the green.
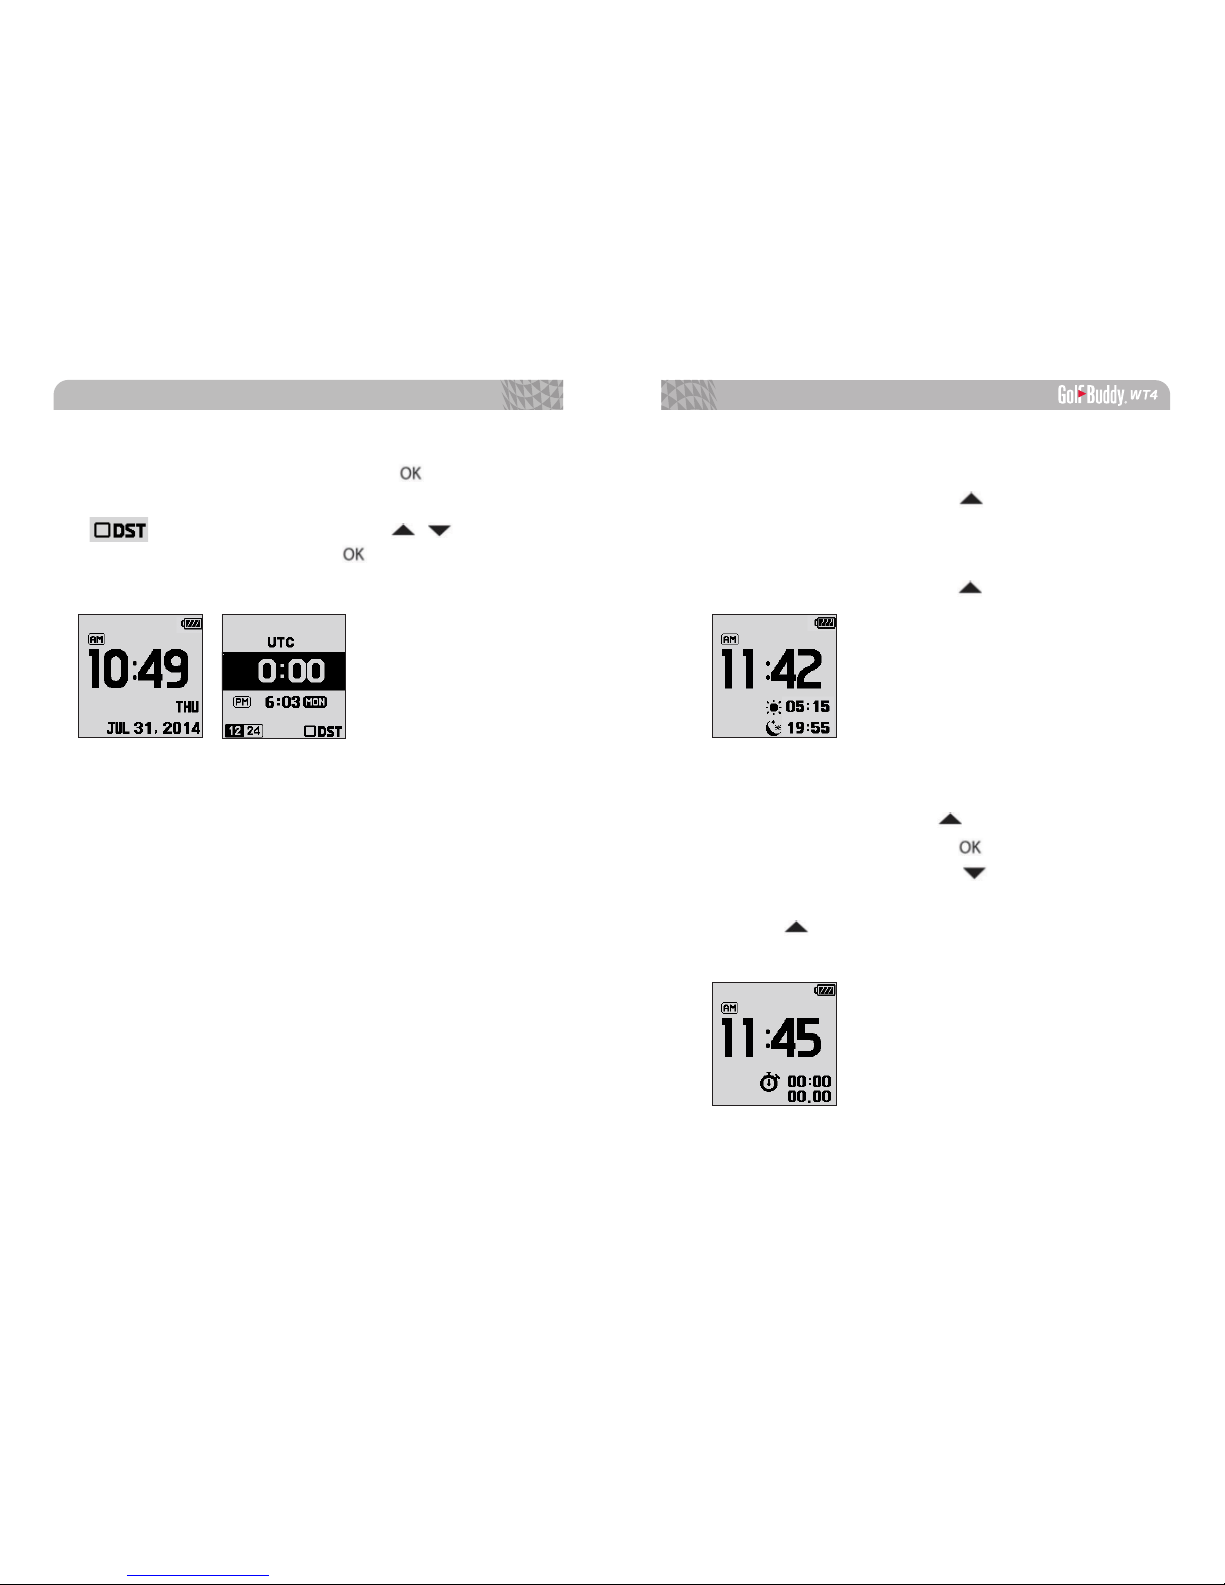
■Time
From Play Mode, press the button to
view the current time while displaying the
distance to the center of the green. To exit
and to return to Play Mode, press the
button twice.
■GPS Tracking
From Play Mode, press the button twice
to view GPS tracking while displaying the
distance to the center of the green. To exit
and to return to Play Mode, press the
button once.
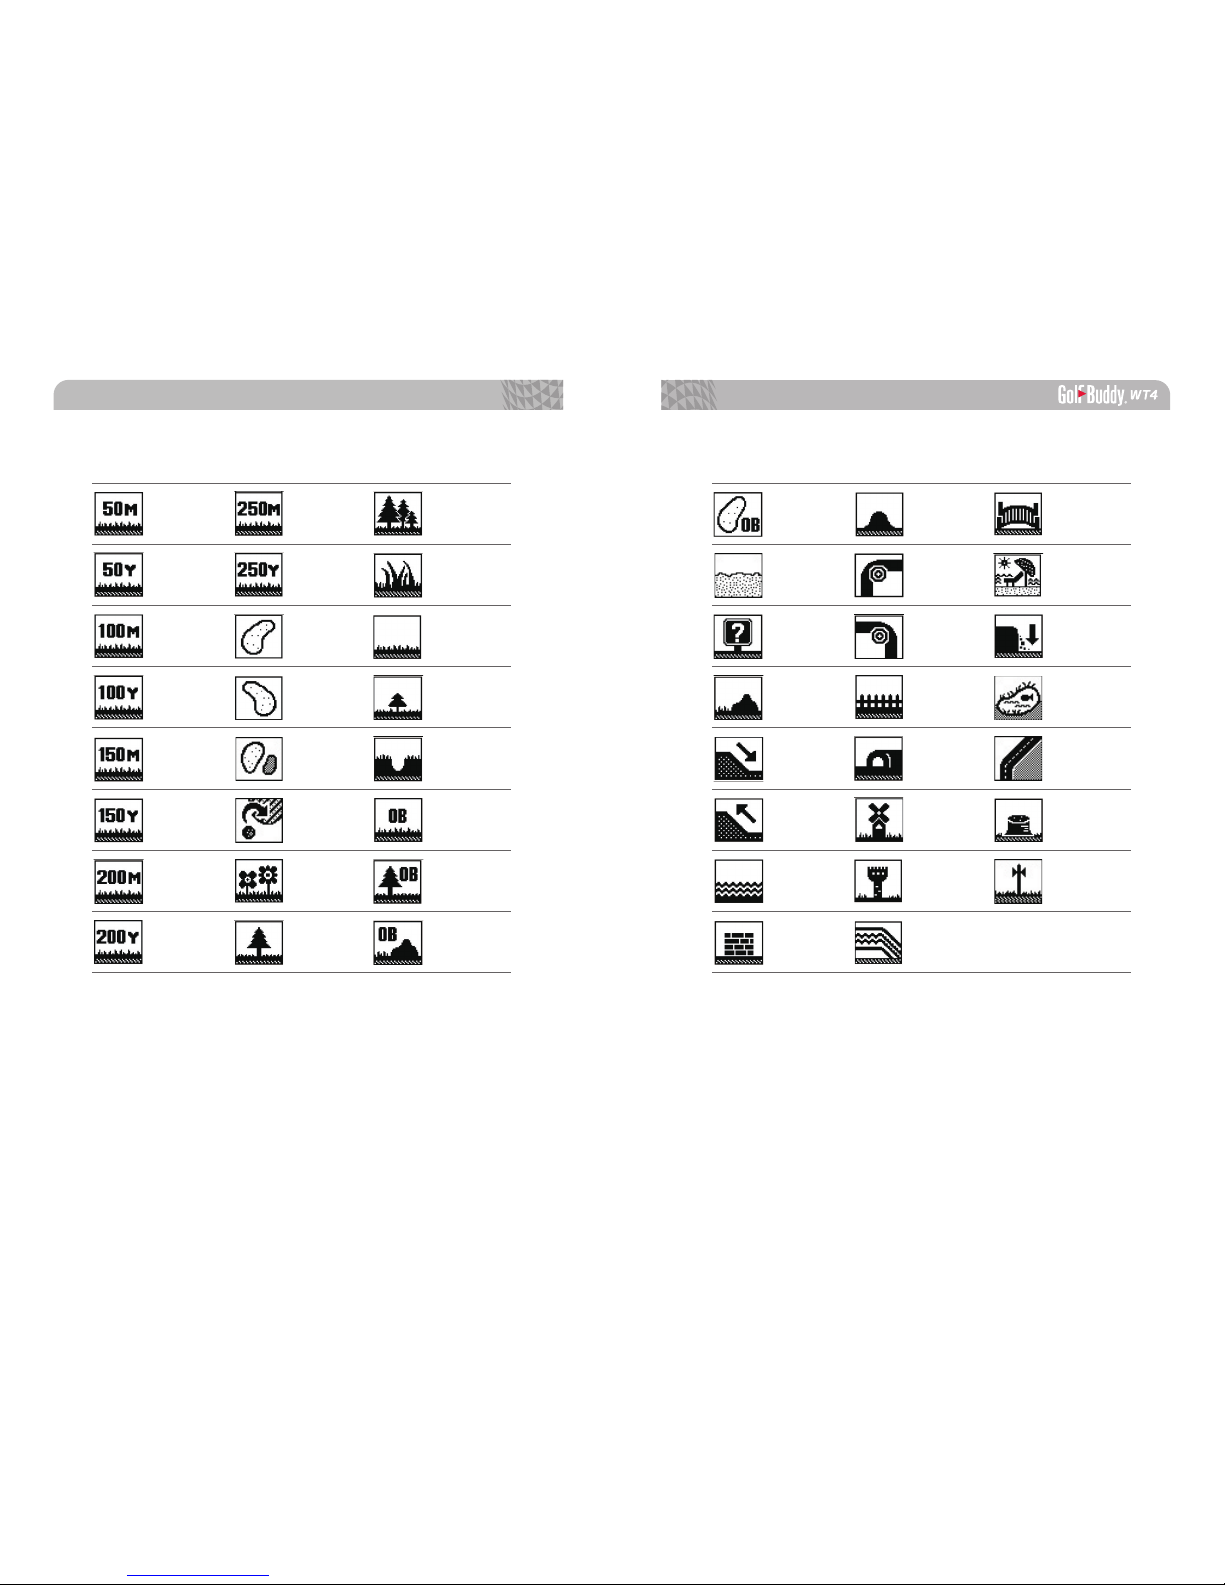
2.2. Targets/Hazards Information
From Play Mode, press the button to
view the Targets/Hazards information. Press
the button again to return to Play Mode.
2.3. Setting
From Play Mode, press and hold the button for the
menu.
Hole Selection/ Left & Right Green Selection
Pin Placement
Exit
Yard / Meter
Previous Hole Selection