Golf Buddy WT6 User manual

Quick Start Guide

DEVICE OVERVIEW
Getting Started
Overview of WT6
Screen Overview
·Remove clear lm/sticker from your GolfBuddy WT6 screen.
Power ON
·Right out of the box, the watch may be in sleep mode with the
screen o.
·Press and hold the “MENU” button for 2 seconds to activate the
watch again. If the watch is still o, charge the watch rst.
*Note: Date/time will set automatically once the WT6 successfully connects to satellites. (Please note you must
be outdoors to connect to satellites.) The default time zone is “LON 0H”, to manually adjust the WT6 to your time
zone, please refer to the “SET TIME” section.
Power OFF
·In Main Menu mode, press the “UP” or “DOWN” button to select the “POWER
OFF” function.
·Press the “OK” button to activate “POWER OFF”.
·Press the “UP” or “DOWN” button to select “YES” or “NO”.
·Press the “OK” button to conrm your selection.
①Hole Number
②L/R Green Selection
③Par info
④Distance to the Back of the Green
⑤Distance to the Front of the Green
⑥Distance to the Center of the Green
DOWN
OK
UP
GOLF
MENU/BACK
①②
③
④⑤
⑥
QuickStartGuide

Basic Operation
·After selecting “YES” and conrming with the “OK” button, the message “POWER
OFF” will be displayed for 5 seconds and the screen will turn o.
·Press and hold the “MENU” button for 2 seconds in OFF mode to activate the
watch again.
C
harging
·When the watch’s power is critically low, the Golf, Odometer,
Set Time, GPS Status functions are all disabled and “LOW
POWER” message will be displayed.
·You can charge the WT6 watch by inserting the Micro USB
cable into the Micro USB socket of the watch.
·The battery indicator will display while charging and will
show 100% when fully charged.
·When fully charged, remove the Micro USB cable from
device.
Main Menu
·
From Watch Mode (TIME), press the “MENU” button to access the Main Menu.
·
Navigate with the “UP” or “DOWN” buttons. Press the “OK” button to activate
the selected function from the menu.
·
Functions include “SETTINGS”, “SET TIME”, “TRACKER”, “POWER OFF” and
“INFO”
**** IMPORTANT : DO NOT USE A QUICK-CHARGER AC ADAPTER TO CHARGE THE WT6 WATCH.
**** DOING SO MAY CAUSE DAMAGE AND VOID THE WARRANTY. AC ADAPTERS SHOULD NOT
EXCEED 5.0V. CHECK YOUR AC ADAPTER PRIOR TO USING.
Getting Started

Setting
·In Main Menu mode, press the “UP” or “DOWN” button to
select “SETTINGS”. Press the “OK” button to activate.
- Yard / Meter
·
Select units in “YARD” or “METER” by pressing
the “OK” button. Default is “YARD”.
Tracker
·
In Main Menu mode, press the “UP” or “DOWN” button to select
the “TRACKER” function. Press the “OK” button to activate.
·
Press the “MENU” button to disable Tracker mode and return
to Time mode. When the watch locks a GPS signal, the display will
show the Distance in the middle row and the Exercise Time in the
lower row. Exercise Time counting will start automatically.
·
Use the “DOWN” button to pause the Exercise Time and press
the “DOWN” button again to restart the Exercise Time. Press the
“UP” button to reset the Tracker and press the “MENU” button
to return to Time mode.
TIME
·
The time will set automatically once the watch successfully
connects to satellites. The rst step, is to set the Time Zone, 12/24
Hours Format, Day Format, and Daylight Savings Time (DST). If
select “AUTO ON”, it will try to set time automatically by GPS
signal in TIME MODE. In Main Menu mode, press the “UP” or
“DOWN”button to select the “SET TIME” function. Press the
“OK” button to activate.
Basic Operation
- Sound
·
You can select “SND OFF” or “SND ON” by
pressing the “OK” button. Default is “SND
OFF”.

Golf Mode
Press the golf button to enter “GOLF MODE”. Once the WT6 has found a GPS
signal, it will locate the course and hole information automatically.
- Distance to Green
Play screen provides the distances to the front/center/back of
the green.
- Quick Watch Mode
From the play screen, press “MENU” button to enter the Quick
Watch Mode for the current time.
The Quick Watch Mode will be shown for 10 seconds, then
return to the play screen. Alternately, pressing any buttons will
return to the play screen.
In Set Time mode, there are multiple options:
1. TIME ZN
2. 12 HOURS
3. MON and option for LUN
4. DST OFF
5. AUTO ON/OFF
Press the “UP” or “DOWN” button to select the function and
press the “OK” button to conrm the selection.
* Time Zone Default: “LON 0H”
* 12/24 Hour Format Default: “12HOURS”
* Day Format Default: “MON” or “LUN”
* Day Light Savings Time Default: “DST OFF” and option for “DST ON”.
Basic Operation

- Manual Hole Selection
To change from the current hole to the next hole in the play screen, press the “UP”
button.
To change from the current hole to the previous hole in the play screen, press the
“DOWN” button.
Press and hold “DOWN” key for 3 seconds to go to prior hole.
- Measuring Shot Distance
From the play screen, press the “GOLF” button and then press
the “OK” button to start measuring your shot distance. Press
“OK” to reset shot distance. To return to the play screen, press
the “OK” button.
- Target Information
From the play screen, press the “OK” button to
view targets and hazard information. In Target
Information, press the “OK” button to activate
“PLAY INFO”. In PLAY INFO, press “UP” or “DOWN”
button to select GREEN MODE (Left/Right/Dual)
when there are two greens.
In addition, the battery indicator is also shown in
PLAY INFO. Press “OK” button to return to the
play screen.
- Exit Golf Mode
From the play screen, press and hold the “MENU” button until
the screen shows a summary of play time and distance mea-
sured and you can see “EXIT”. To go back to play screen, select
“NO” (Press “DOWN” button). To exit golf mode, select “YES”
(Press the “MENU” button).
Basic Operation

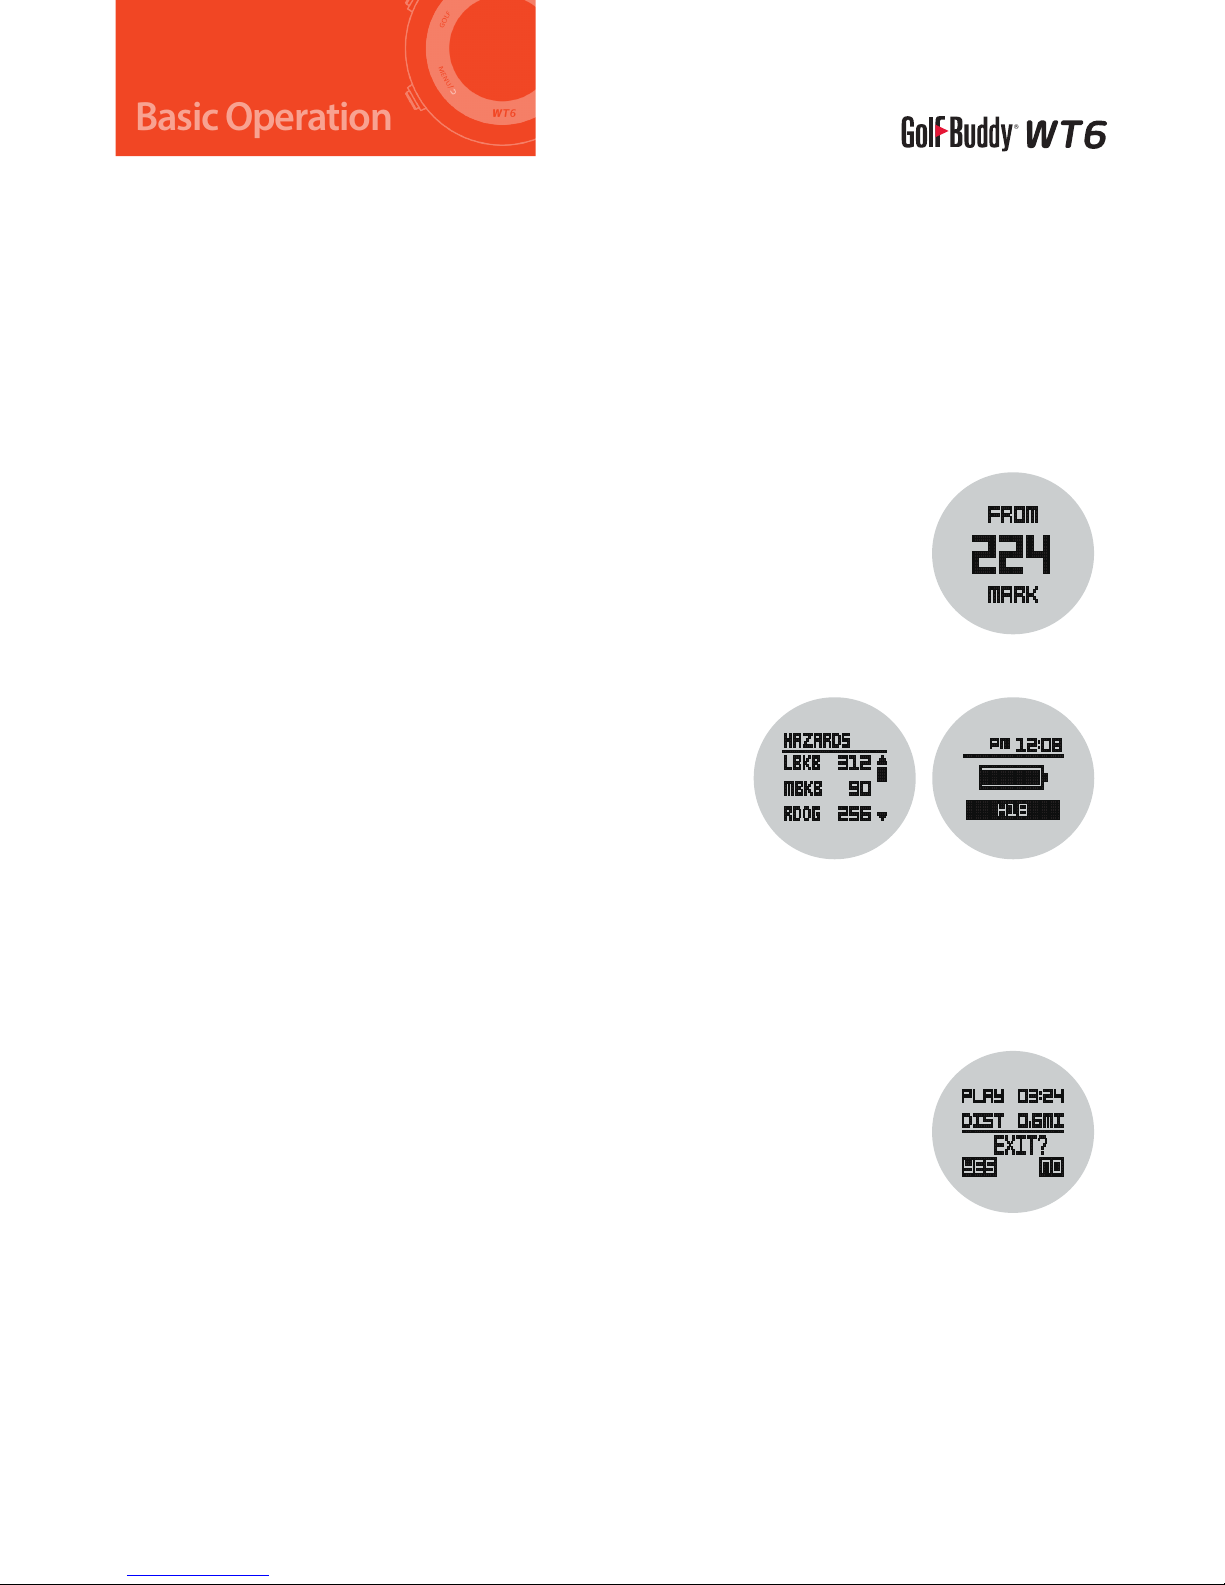
How to Reset the WT6
If you experience incorrect yardages or unusual behaviour on
the WT6, we recommend to do a RESET.
This procedure will set the WT6 back to factory settings and
should solve software related problems.
To reset the WT6, press and hold the GOLF, MENU, UP and
DOWN buttons for 5 seconds, until the screen goes blank.
The WT6 will restart automatically and enter Watch Mode.
Course and Firmware Updates
Visit our website (www.golfbuddyglobal.com) and download the GB Manager.
Register your unit to access the latest rmware and course data for free.
WARRANTY
GolfBuddy products come with a limited warranty against defects in materials and
workmanship when used under normal consumer use for a period of one (1) year
(“Limited Warranty”). The Limited Warranty begins to run from the date of original
retail purchase. GolfBuddy, at its sole and absolute discretion, shall either (i) replace or
repair the defective part(s) or the unit with a new or reconditioned part(s), or (ii) issue a
credit for the parts or products that are covered under the Limited Warranty.
To obtain warranty repair service, visit http://help.golfbuddyglobal.com or email
Authorization Number. All returned products must be accompanied by an original
purchase receipt and the Return Authorization Number. Any products that are
returned without the requisite information shall be returned at the purchaser’s cost
and expense.
Copyright © 2017 Deca System Corp. All rights reserved. 02.28.2017
Basic Operation
DOWN
OK
UP
GOLF
MENU/
BACK

www.golfbuddyglobal.com
Other manuals for WT6
2
Table of contents
Other Golf Buddy Watch manuals

Golf Buddy
Golf Buddy aim W12 User manual

Golf Buddy
Golf Buddy Aim W10 User manual

Golf Buddy
Golf Buddy Voice User manual

Golf Buddy
Golf Buddy WT3 User manual

Golf Buddy
Golf Buddy WT$ User manual

Golf Buddy
Golf Buddy aim W11 User manual

Golf Buddy
Golf Buddy WTX User manual

Golf Buddy
Golf Buddy LD2 User manual