manuals.online logo
Brands
  1. Home
  2. •
  3. Brands
  4. •
  5. Golight
  6. •
  7. Floodlight
  8. •
  9. Golight Stryker HID Manual

Golight Stryker HID Manual

Five Year Limited Warranty
Golight, Inc. warrants the Stryker™ HID against any deemed
defects that are due to workmanship for parts or faulty materials,
except bulb & ballast, for five years from the date of the original
purchase. This warranty to the Stryker™ HID does not cover
damage resulting from unreasonable use or misuse, unreasonable
maintenance or loss, or labor costs.
The ballast carries a 1 year warranty while the bulb is not covered
under warranty.
Mounting the light upside down will void the warranty.
Warranty cards must be filled out and sent in within 30 days of
purchase to Golight, Inc. • 37146 Old Hwy 17 • Culbertson, NE
69024, for warranty protection. Register online at
www.golight.com.
If the Golight® Stryker™ HID does fail to operate under warranted
specifications, send the light and remote control postage paid,
plus $9.95 for shipping and handling to: Golight, Inc. • Service
Department • 37146 Old Hwy 17 • Culbertson, NE 69024. No
C.O.D.’s accepted. Only the above manufacturer is authorized to
perform warranty repair or replace product.
Any consequential damages to person or property are excluded
from this warranty. Some states do not allow the exclusion and
limitation of incidental or consequential damages, therefore the
above limitations or exclusions may not apply to you. This
warranty gives you specific legal rights and you may also have
other rights.
Golight Inc
37146 Old Hwy 17
Culbertson, NE 69024
www.golight.com | [email protected]
Congratulations
You are now the owner of one of the finest
remote control searchlights available today.
Thank you for letting Golight® assist you in your
lighting application needs. We’re proud
of our products and the technology that
we’ve developed to ensure our customers
the most durable, versatile and powerful
searchlights in the lighting industry.
Please read these instructions before using
your new Golight® Stryker™ HID.
The Stryker™ HID is designed to permanently attach to a vehicle.
The 2-Speed Searchlight with Directional Flexibility is controlled
by a hard-wired dash control, which gives the operator a full 370°
horizontal rotation and a 135° vertical tilt with ngertip control.
The Stryker™ HID provides superior light penetration with the new
HID.
The Stryker™ HID Includes:
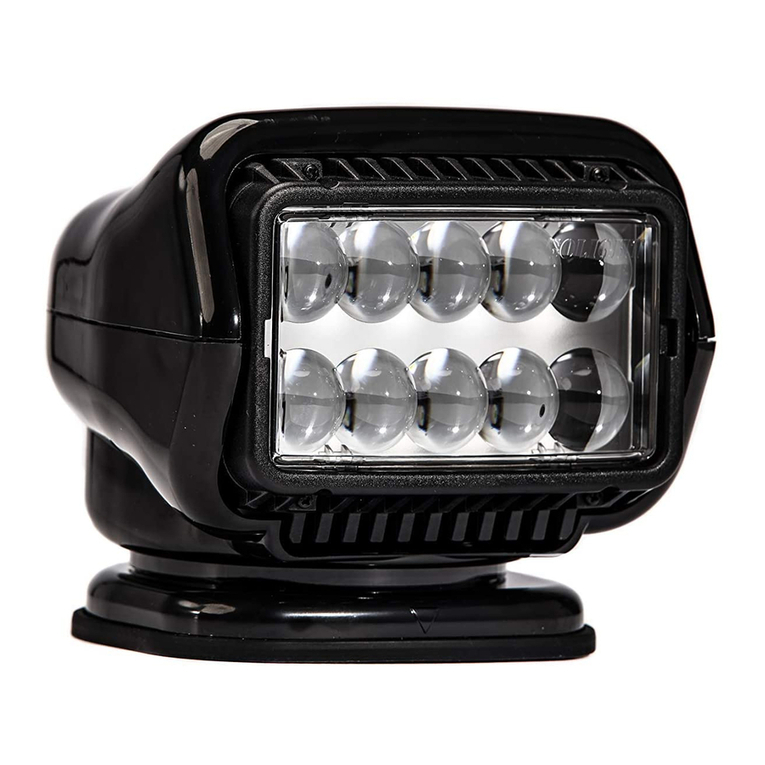
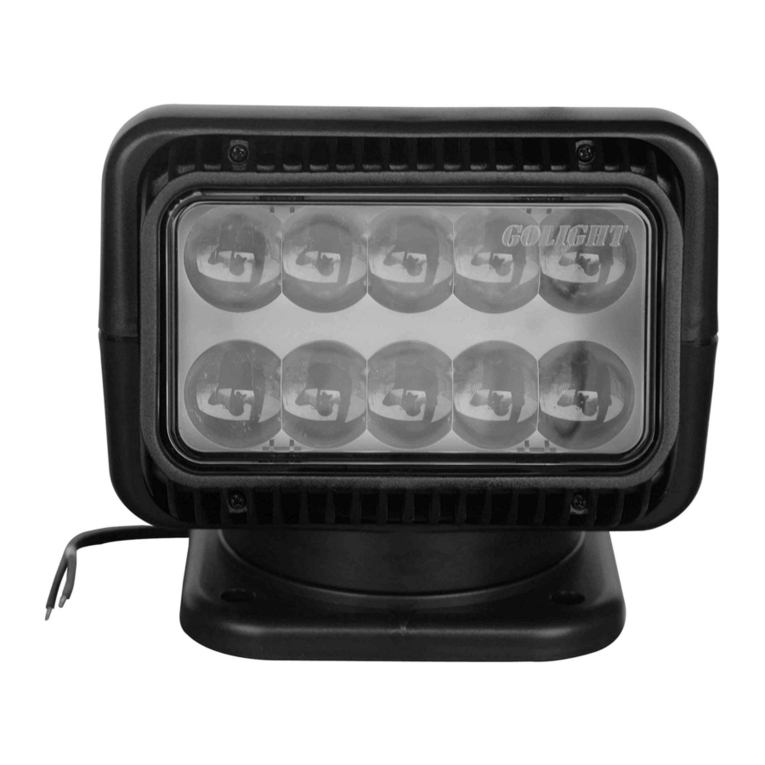
Stryker™ HID Searchlight
Dash Control
Wiring Harness
Rockguard
Permanent mounting gasket
Permanent mounting plate
Mounting Screws
MOUNTING INSTRUCTIONS
Light Unit
Determine the location for the light on your vehicle or boat.
Center the mounting plate with the vise screw on the mounting
plate to the back. Mark the hole locations for the three mounting
screws and drill a pilot hole for each with 1/8 inch bit. Fasten the
stainless steel mounting plate with the 3 #10 – 16x3/4 type AB
cross recessed pan head tapping screws. Drill a 5/8 hole in the
center of the mounting plate opening to accommodate the wiring
harness and connector. Attach the connector that is affixed to the
underside of the light to the corresponding connector on the wir-
ing harness, position the connection point beneath the mounting
surface, and apply silicone sealant to fill the opening. Wet the
mounting surface with a small amount of water or lubricant for
easier installation, then place the light over the mounting plate by
sliding the front of the light over the front of the mounting plate,
first pull the light backwards, then seat the back of the light on to
the mounting plate. Displace the back of the gasket and install the
vise screw (provided). Tighten the vise screw using a Phillips head
screwdriver. Replace the gasket.
Dash Control
Determine the appropriate location for the dash mount control and
create a 2 inch opening to accommodate the cylinder on the rear
of the remote. Remove the outer rubber cover and afx the control
to the dash with the four screws provided. The word ”TOP” is
embossed on the control and should be situated accordingly. All
wiring should be undertaken with power removed from the system.
First, attach the connector that is afxed to the control to the cor-
responding connector on the wiring harness. Next, join the leads
at the remote to 12volt DC power with appropriate automotive wire
attachments; the red wire is the positive lead and the black wire
is the negative lead--the unit is polarity sensitive and care must be
taken to observe this. Note: Once power is applied to the system
the light will pan and tilt prior to bulb illumination. As a safety
feature, the control is backlit to indicate bulb illumination only.
Each spotlight needs to be wired on a single dedicated circuit and
the power fused at 10 amps. With the power connected, your light
is ready for operation.
The HID will have an initial start up amp draw of 8 amps and will
quickly scale down to a 3.5 amp constant draw.
OPERATION OF STRYKER™ HID
1. Using the remote control, turn on the light by depressing the
on/off button.
2. With the joystick on the dash control, rotate your light to the
desired location.
3. The speed of the light rotation can be controlled by depressing
the fast/slow button one time and by depressing it again to
restore the original speed.
4. The spotlight should not be turned on when the snap on lens
cover (rockguard) is attached. The control will be backlit when
the bulb is illuminated.
BULB REPLACEMENT
The Golight® Stryker™ HID utilizes a Philips® D1S bulb, which
may be purchased through Golight, Inc. — 308.278.3131 or
800.557.0098.
IMPORTANT SAFETY INFORMATION
 This symbol is to alert you to important operating
or servicing instructions that appear in your instructions.
Always follow basic safety precautions when using this
product to reduce the risk of injury, fire or electric shock.
 The HID bulb/ballast requires a short ramp-up phase which
takes 15 seconds to reach full brightness.
This light is for off road and utility use only. It is not designed
for road use as a driving light.

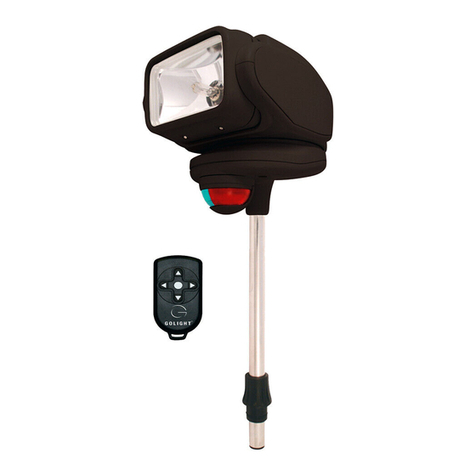
Other Golight Floodlight manuals

Golight GOBEE 2151 User manual

Golight

Golight GOBEE 2151 User manual

Golight Stryker Manual

Golight

Golight Stryker Manual

Golight 2000 Manual

Golight

Golight 2000 Manual

Golight Radioray 7900 Manual

Golight

Golight Radioray 7900 Manual

Golight RADIORAY 2000 Manual

Golight

Golight RADIORAY 2000 Manual

Golight 2020 Manual

Golight

Golight 2020 Manual

Golight RadioRay 7900GT Manual

Golight

Golight RadioRay 7900GT Manual

Golight 5149 Manual

Golight

Golight 5149 Manual

Golight RadioRay 2000 Manual

Golight

Golight RadioRay 2000 Manual

Golight RADIORAY 16.7900 User manual

Golight

Golight RADIORAY 16.7900 User manual

Golight Stryker User manual

Golight

Golight Stryker User manual

Golight Stryker Manual

Golight

Golight Stryker Manual

Popular Floodlight manuals by other brands

PacLights FCPG Series Installation sheet

PacLights

PacLights FCPG Series Installation sheet

Francis Searchlights A6150 User instruction & installation manual

Francis Searchlights

Francis Searchlights A6150 User instruction & installation manual

novostella NTF 71 user manual

novostella

novostella NTF 71 user manual

Tranberg TEF 9964 Helideck user manual

Tranberg

Tranberg TEF 9964 Helideck user manual

Larson Electronics LEDWP-600E-SSB-1227-56K instruction manual

Larson Electronics

Larson Electronics LEDWP-600E-SSB-1227-56K instruction manual

Ustellar UT88873 user guide

Ustellar

Ustellar UT88873 user guide

Chauvet Professional Rogue Outcast 3 Spot user manual

Chauvet Professional

Chauvet Professional Rogue Outcast 3 Spot user manual

Kasco Aeration LED3125 owner's manual

Kasco Aeration

Kasco Aeration LED3125 owner's manual

ADJ FX Beam installation guide

ADJ

ADJ FX Beam installation guide

Cree NTF Series installation instructions

Cree

Cree NTF Series installation instructions

Utilitech A911Pb-T1200A-LBZ-PK1 quick start guide

Utilitech

Utilitech A911Pb-T1200A-LBZ-PK1 quick start guide

BENEITO FAURE Sky Switch 4679 user manual

BENEITO FAURE

BENEITO FAURE Sky Switch 4679 user manual

brennenstuhl OL 1650 operating instructions

brennenstuhl

brennenstuhl OL 1650 operating instructions

Deluce Lighting DLSDD360-70W Fitting instructions

Deluce Lighting

Deluce Lighting DLSDD360-70W Fitting instructions

Radio Shack Motorized 8-Inch Mirror Ball user manual

Radio Shack

Radio Shack Motorized 8-Inch Mirror Ball user manual

Showlite MEL-4 user manual

Showlite

Showlite MEL-4 user manual

Home Zone Security ES00731V installation instructions

Home Zone Security

Home Zone Security ES00731V installation instructions

Luxibel LX116 user manual

Luxibel

Luxibel LX116 user manual

manuals.online logo
manuals.online logoBrands
  • About & Mission
  • Contact us
  • Privacy Policy
  • Terms and Conditions

Copyright 2025 Manuals.Online. All Rights Reserved.