Goodyear INFLATOR 5000 User manual

TO OPERATE THE 12.0 VOLT POWER PACK: THIS
OPERATES ONLY OFF THE UNIT’S RECHARGEABLE
BATTERY, NOT OFF YOUR VEHICLE’S BATTERY.
1. Turn the main power switch located on the back-side of the unit’s handle
to the “Power On” position. Power is now on via the rechargeable
battery. The green and yellow indicator lights on the top of unit will tell
you the level of power in the battery.
2. Plug your 12 Volt accessory into the 12 Volt power outlet located on the
side of the unit nearest the 15 amp fuse compartment. A round rubber
dust cover locks into place over the power outlet to protect from dust,
etc.
3. Turn on your 12 Volt accessory and operate normally.
4. Turn the main power switch off when done.
LIMITED ONE YEAR WARRANTY POLICY
Every product is thoroughly inspected and tested before leaving the factory. It is warranted to be
free of defects from workmanship and materials for the period of ONE YEAR from date of
original purchase. Should any trouble develop during this one year period, please contact our
Customer Service Center at 1-800-874-5771 between 800 a.m. and 5:00 p.m. Mountain
Standard Time, Monday through Friday. This warranty does not apply to the following:
Where repairs have been made or attempted by others; where repairs are required
because of normal wear and tear; if the product has been abused, misused, or improperly
maintained; any alterations have been made to the product. IN NO EVENT SHALL BON-
AIRE INDUSTRIES, INC. BE LIABLE FOR ANY INDIRECT, INCIDENTAL OR
CONSEQUENTIAL DAMAGES FROM THE SALE OR USE OF THE PRODUCT. THIS
DISCLAIMER APPLIES BOTH DURING AND AFTER THE TERM OF THIS WARRANTY. This
warranty gives you specific legal rights, and you may also have other rights which vary from
state to state in the United States. Some states do not allow the exclusion or limitation of
incidental of consequential damages, and/or some states do not allow limitation on how long an
implied warranty lasts, so the above limitation may not apply to you.
Manufactured for Goodyear by:
873 E. Citation Court
Boise, Idaho 83716 USA
800-874-5771
GOODYEAR (and winged foot design) is a trademark of The Goodyear Tire & Rubber Company, Akron,
Ohio USA used under license by Bon-Aire Industries, Inc.
9
Table of Contents
Page No.
General Safety Rules........................................... 3
Safety Symbols, Words and Labels ..................... 3
Specifications....................................................... 4
Important Safety Information................................ 4
Parts Diagram...................................................... 5
Important Operating Points .................................. 6
About Battery/Charging........................................ 6
Operating Instructions.......................................... 7
Warranty Information............................................ 9
2

INTENDED USE
This product is intended for consumer use only.
GENERAL SAFETY RULES
WARNING
Read and understand all instructions. Failure to follow instructions can result in
electric shock, fire and/or serious personal injury. SAVE THESE INSTRUCTIONS
FOR FUTURE REFERENCE.
SAFETY SYMBOLS, WORDS AND LABELS
The safety instructions provided in this manual are not intended to cover all possible
conditions that may occur during product operation. Always use common sense and
pay attention to all WARNING and CAUTION statements in this manual.
WARNING WARNING indicates a potentially hazardous
situation. Failure to avoid may result in serious
injury or death.
CAUTION CAUTION indicates a potentially hazardous
situation. Failure to avoid may result in minor
personal injury.
3
TO OPERATE THE CORDLESS AIR INFLATOR WITH 12
VOLT POWER CORD PLUGGING DIRECTLY INTO THE
VEHICLE’S 12 VOLT POWER OUTLET/CIGARETTE
LIGHTER: This can be used if your Inflator’s rechargeable
battery is low or drained of power and you do not have time
to re-charge the Inflator before using:
1. To operate the Inflator, remove the air hose that is coiled up on the bottom of the
Inflator (see underneath the inflator). The air hose is 24” in length.
2. A metal “quick connect” valve is located on the end of the air hose. Simply put
the valve on the stem, etc., of the item you wish to inflate (sports needle, bicycle
tire valve, etc.). Lock into place by pushing the small arm on the valve down.
3. Take the provided 12’ power cord and plug the “plug-in” with the two holes onto
the two prongs located on the back of the handle below the round AC plug in.
Now plug the other end (the cigarette lighter adaptor plug in) into your vehicle’s
cigarette lighter. Turn the main power switch located on the back-side in the
middle of the handle to the “Power On” position. (See section 3 at the bottom of
page 3)
4. PRESET THE DESIRED PRESSURE BY TURNING THE GAUGE DIAL WITH
THE INDICATOR LINE POINTING TO THE DESIRED POUNDS OF
PRESSURE ON THE SCALE PANEL OF THE GAUGE. PLEASE MAKE SURE
YOU HAVE “DIALED IN: THE DESIRED AMOUNT OF PRESSURE YOU WISH
TO INFLATE TO.”
5. To turn the Inflator on push the power “On/Off” switch (located on the top of the
unit just below the green and yellow indicator lights) backward to the “On by Car
Battery” position.The Inflator will now be operating directly off your Vehicle
cigarette lighter, “bypassing” your Inflator’s rechargeable battery.
ADAPTOR NOZZLES: Your Inflator has 3 inflation
nozzles which are located in the compartment by the
handle. An extra 15-amp fuse is also provided in the
same com
p
artment.
8

4. The battery should never be totally discharged. It is recommended that
charging should occur when there is still some current available in the batteries.
This will prevent any “short” use or damage to the Inflator battery pack.
5. After the Inflator has been used and the battery is almost totally discharged, it
should immediately be recharged. This will insure that the battery maintains a
long and proper life.
6. If charged correctly the Inflator can be charged approximately 500 times
throughout its existence.
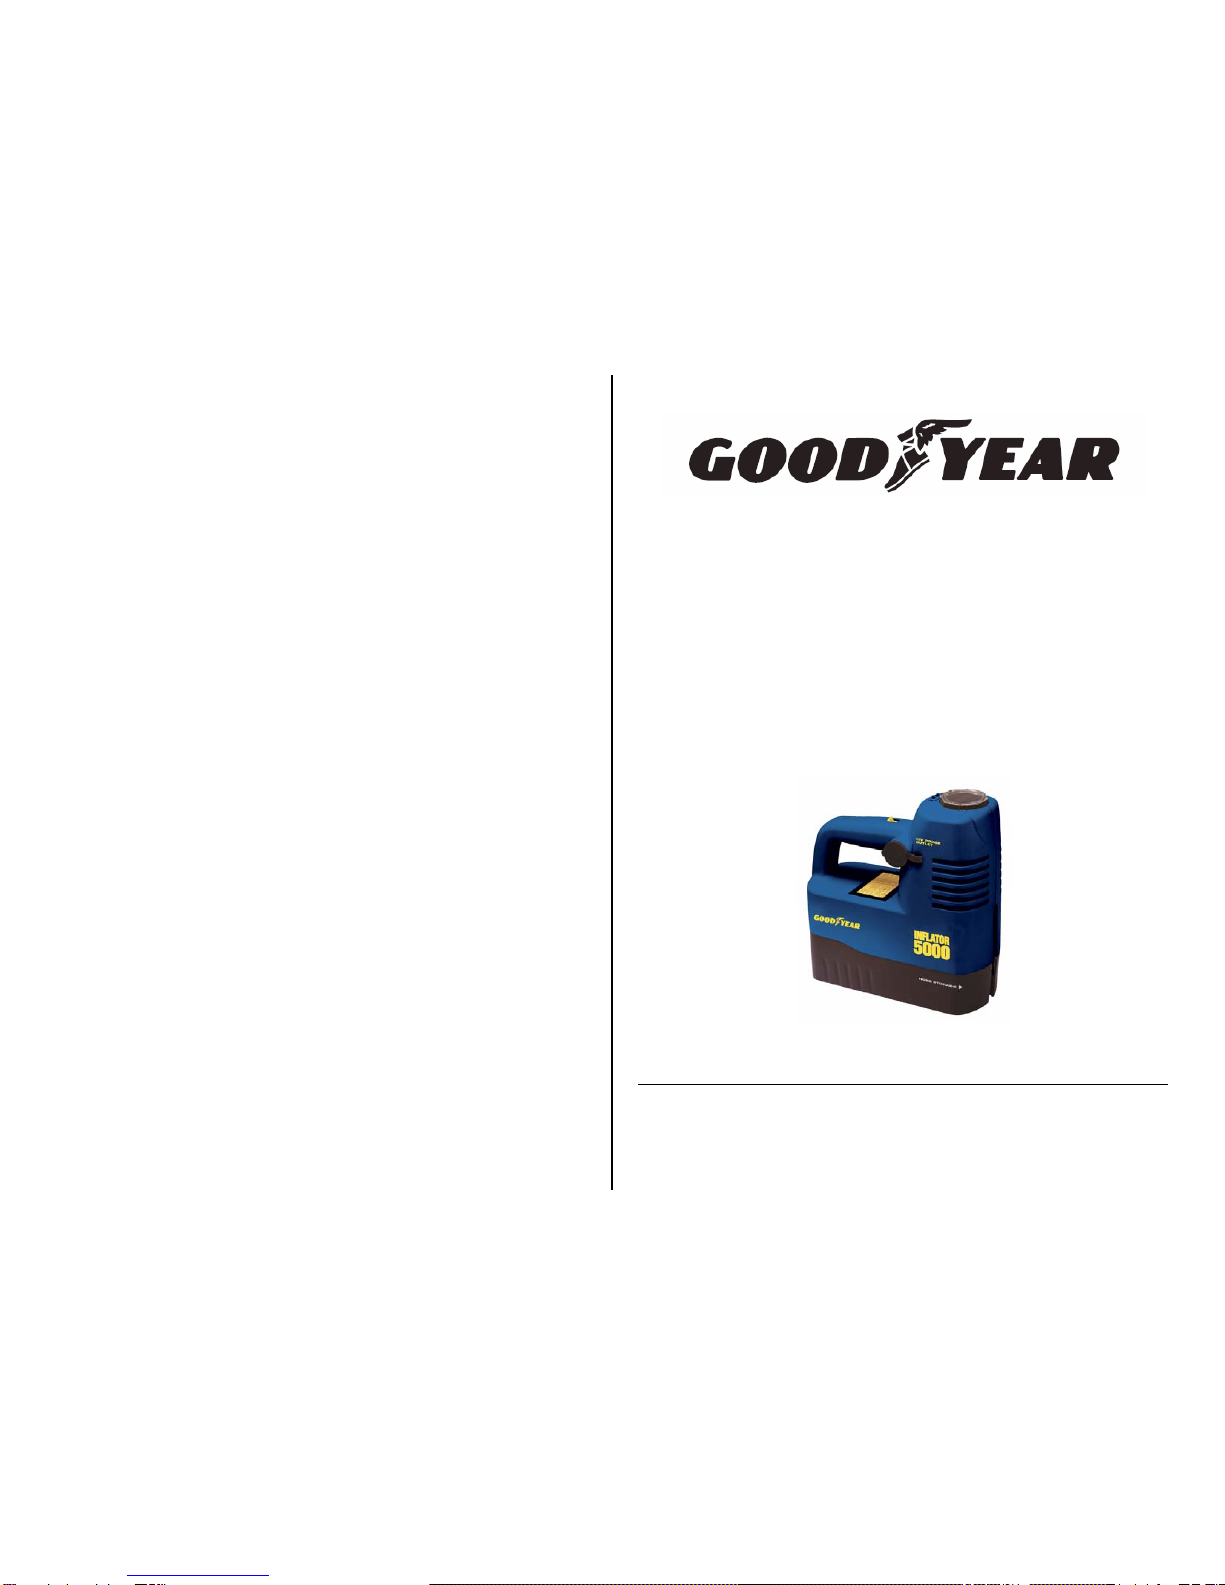
OPERATING INSTRUCTIONS
CAUTION: DO NOT OVER-INFLATE YOUR INFLATABLE ITEM
TO OPERATE THE CORDLESS AIR INFLATOR WITHOUT
POWER CORD:
1. To operate the Inflator, remove the air hose that is coiled up on the underneath
side (bottom) of the Inflator. The air hose is 24” in length.
2. A metal “quick connect” valve is located on the end of the air hose. Simply put
the valve on the stem, etc., of the item you wish to inflate (sports needle, bicycle
tire valve, etc.). Lock into place by pushing the small arm on the valve down.
3. Turn the Inflator on. The main power switch located on the back-side in the
middle of the handle to the “Power On” position. This turns the battery on so the
unit has power. A green light located on top of the Inflator will illuminate if the
battery is fully charged/ready for full power use. A yellow light (to the right of the
green light) will illuminate if the battery is low and not fully charged.
4. Preset the desired pressure by turning the gauge dial with the indicator line
pointing to the desired pounds of pressure on the scale panel of the gauge.
Please make sure you have dialed in the desired amount of pressure you wish to
inflate to. (Refer to your inflatable item’s owners manual.)
5. To turn on the Inflator on, slide the power “On/Off” switch (located on the top of
the unit just below the green and yellow indicator lights) forward to the “On By
Built-In Battery” position. The Inflator should now be operating allowing you to
inflate your desired item to the correct PSI level. Please check the gauge for the
correct read-out on PSI.
7
SPECIFICATIONS
THIS INFLATOR OPERATES ONLY ON 12 VOLT DC OR THE INTERNAL
BATTERY. DO NOT ATTEMPT TO OPERATE THIS INFLATOR WITH ANY OTHER
SOURCE OR VOLTAGE. DO NOT REWIRE OR RECONFIGURE INFLATOR FROM
ITS ORIGINAL DESIGN OR PERSONAL INJURY OR BODILY HARM MAY OCCUR
Batteries 12 Volt DC Lead Acid
Battery/Rechargeable
Power Requirement 120 Volt AC Current/12 Volt DC
Note: This unit is equipped with fuse protection. If at some point your
Inflator fails to operate, check the fuse in the end of the 12 volt plug. To replace
the fuse, simply unscrew the 12 Volt power plug tip, install new fuse and
reassemble power plug tip. Use only an AGC - 15 amp replacement fuse.
IMPORTANT SAFETY INFORMATION
WARNING
1. Only use the provided charging cords/power cords when operating/charging.
2. Avoid charging the battery in ambient temperature below 5°C (40°F) or above
40°C(105° F).
3. Do not operate while charging.
4. Corded Operation: Use 12 Volt DC only. Make sure that your vehicle
cigarette lighter is free of any ash residue or debris. A dirty cigarette lighter
can cause the Inflator and power cord to overheat. Overheating can cause
damage to your Inflator/vehicle and could cause bodily harm or injury.
5. Disconnect power when not in use.
6. The Inflator is designed to inflate car tires, bike tires, ATV tires, sports equipment, air
mattresses, beach toys and other inflatables. Do not use for any purpose other than
inflating, or personal injury can occur.
7. When operating your Inflator do not run more than 10 minutes continuous use. Allow
Inflator to cool down 10 minutes before re-using.
8. After using inflator, turn off power.
9. The Inflator is not a toy. Keep away from children at all times.
10. Do not carry Inflator by the air hose or power cord, damage may occur.
11. Do not leave Inflator unattended while in operation.
12. Do not over-inflate your item. Follow manufacture’s instructions for item being inflated.
13. Keep Inflator away from flammable areas/liquids at all times.
14. Do not operate Inflator in wet or damp areas.
15. Operate Inflator only with the accessories that are included.
16. Recharge Inflator every 2-3 months even if it has not been used. This will keep
the internal battery at optimum operating level.
4

PARTS DIAGRAM DESCRIPTION
5
IMPORTANT OPERATING POINTS
•Your Inflator is designed to inflate car tires, bike tires, sports equipment, air
mattresses, beach toys and other inflatable items.
•The Inflator is also designed to run 12 Volt accessories off the 12 Volt
Rechargeable Battery that is built into the Inflator. These accessories, such
as cell phones, PDA’s, laptop computers, etc., can plug directly into the12 V
outlet located on the side of the Inflator.
•Note: This power unit is intended to be correctly orientated in a vertical
or floor mount position.
•The AC Charging Adaptor is to be used when charging your Inflator off 120
Volt AC household current. The 12 Volt DC Power/Charging Cord and 12 Volt
DC Charging Adaptor Plug is to be used when charging your Inflator using
your 12 Volt vehicle power outlet (cigarette lighter)
. Your Inflator may not be
fully charged at time of purchase. Charging time is 11 to 12 hours.
•An LED charging light is located on the back side of the handle. This will
illuminate when the Inflator is charging. This light will stay on as long as the
Inflator is plugged in and charging.
•If you desire, you can run your Inflator directly off your vehicle’s 12 V power
outlet (cigarette lighter) using the provided power cord with the 12 Volt plug-in
on the end of the cord. When operating in this fashion the current from your
12 Volt vehicle cigarette lighter bypasses the Inflator’s 12 Volt battery, and
therefore, runs directly off the vehicle’s power.
ABOUT THE BATTERY/CHARGING
Your Inflator’s internal battery is re-charged via 120 Volt AC or 12 Volt DC current.
Re-charge using only the provided charging cords. Do not use any other charging
apparatus.
1. For 12 Volt/120 Volt AC charging: The 12 Volt/120 Volt AC Plug-in Charging
Port to recharge your unit’s battery is located on the backside of the unit’s handle
directly above the two prongs and below the LED charging light. Plug one end of
the 120 Volt AC Charging Cord into the Plug-in Charging Port and plug the other
end into your normal 120 Volt AC household outlet.
2. For 12 Volt DC Charging, connect the 12 Volt Charging Adaptor Plug to the 12
Volt DC Power/Charging Cord. Connect one end of the Charging Cord into the
Plug-in Charging Port and the other end into your 12 Volt vehicle cigarette lighter
plug. The green LED light will shine to signify charging is in progress. Note: 120
Volt AC Charging time is approximately 11 to 13 hours when the battery is almost
exhausted. 12 Volt DC Charging time is approximately 3 to 5 hours when the
battery is almost exhausted.
3. Do not open the battery inside the Inflator. The battery is designed to
permanently remain inside the Inflator.
6

OWNERS MANUAL
INFLATOR 5000
CORDLESS AIR INFLATOR
& 12 VOLT POWER PACK
PART #: i5000
This Manual contains information regarding the safety and operation of
this product. Before you use, read and understand all instructions,
cautions, and warnings. Failure to do so can result in serious injury or
property damage.
Table of contents
Other Goodyear Power Tools manuals
Popular Power Tools manuals by other brands

Max
Max Rebartier RB398S Instruction manual and safety instructions

EINHELL
EINHELL TC-WD 200 Original operating instructions

AMT
AMT 4030 instruction manual

DUSTLESS BLASTING
DUSTLESS BLASTING MOBILE Series user manual

Josef Kihlberg
Josef Kihlberg JK24-690 manual

Power Jacks
Power Jacks MMQG-SJ-CMS-EN-01 Quick guide to operation & maintenance

Porter-Cable
Porter-Cable 557 instruction manual

probst
probst SPEEDY VS-140/200 operating instructions

Crown
Crown CT19024K Original instructions

Atlas Copco
Atlas Copco ETD MT41-100-I06 Product instructions

Parkside
Parkside PSG 50 B2 Operation and safety notes translation of original operation manual

Hilti
Hilti DX 9-ENP quick start guide