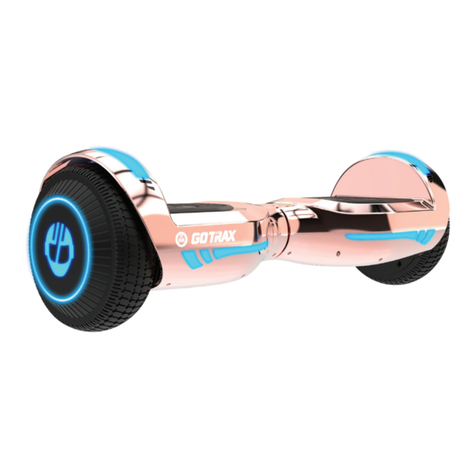
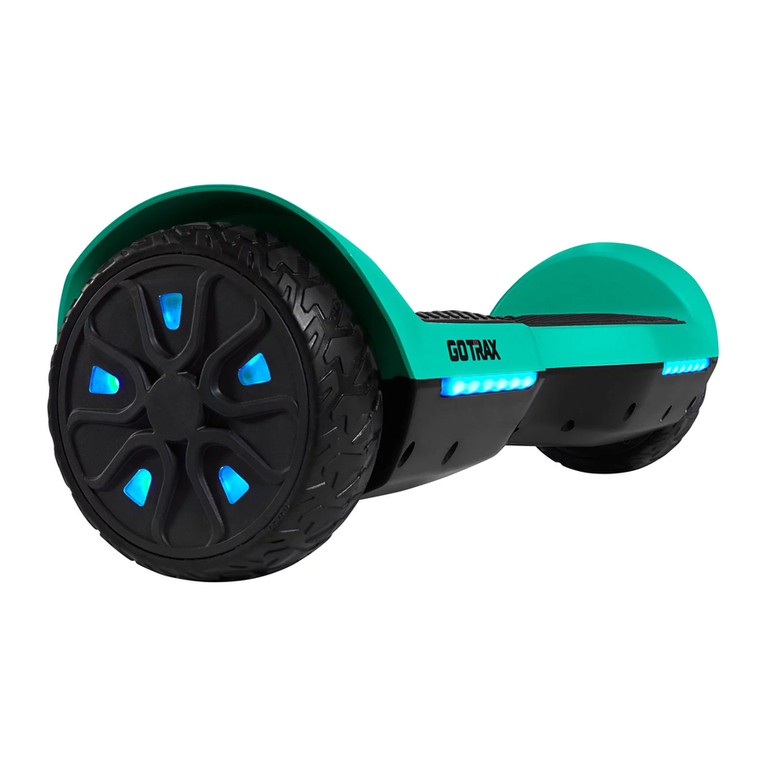
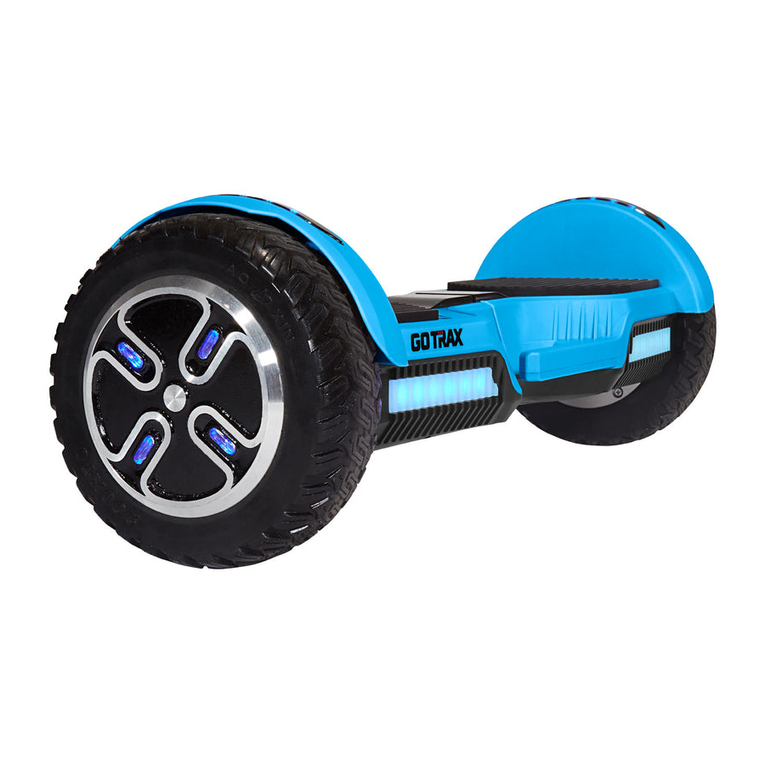
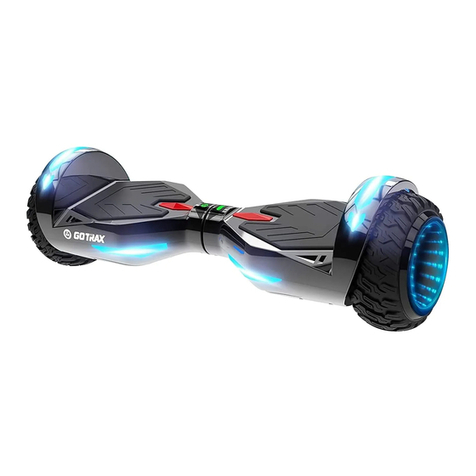
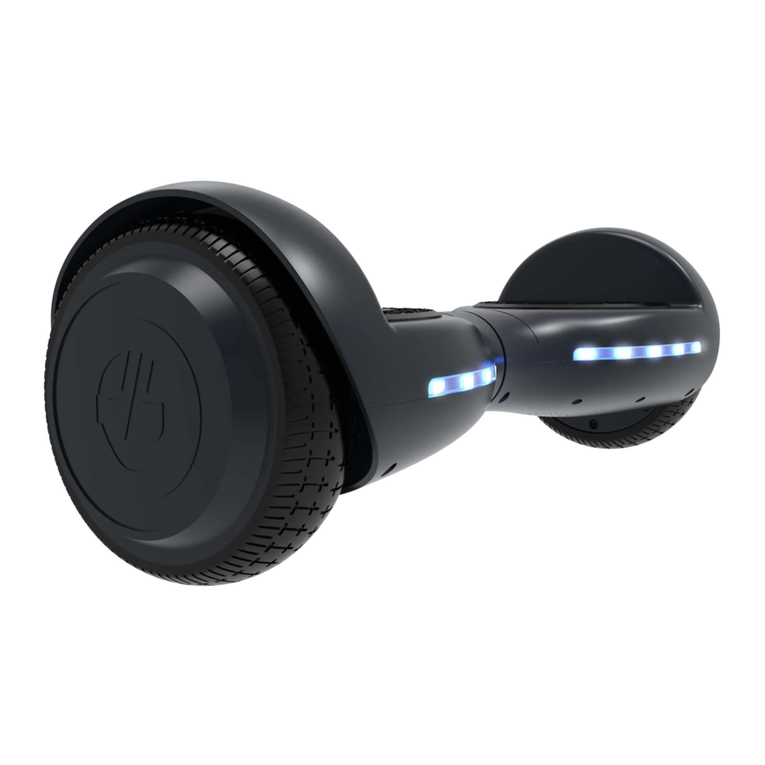
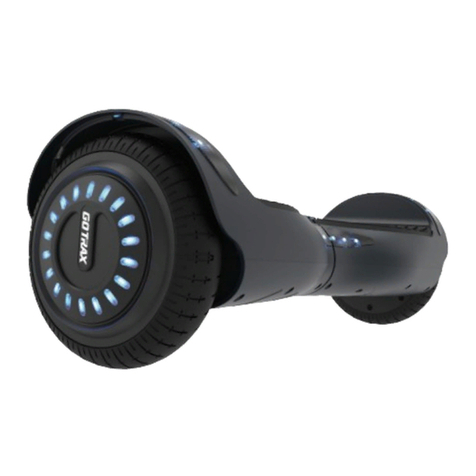
Gotrax Glide User manual

Glide
USER MANUAL
A SMARTER HOVERBOARD

ALWAYS wear a helmet when riding your hoverboard.
Make sure your hoverboard has a full battery before taking it out
to ride.
Always be aware of local road laws, and follow them.
Do not ride the hoverboard under the inuence of drugs or alcohol.
Always respect pedestrians.
Do not ride under wet conditions. The hoverboard may slide from
under your feet causing injury. Wet conditions may damage the
electronics and void the warranty.
Maximum Speed: Your hoverboard goes a maximum speed of 6.2
mph.
Don’t ride until you read this

1. Avoid water - The hoverboard is not waterproof. The electronics may
be damaged due to water and water damage is not covered by our
warranty. Riding in wet conditions is also very dangerous and may result
in injury.
2. Abuse - We do not cover physical damage due to negligent care and
extreme riding.
3. Whenever you ride the GOTRAX Hoverboard, you risk severe
injury or even death from loss of control, collisions, and falls. Use
caution and ride at your own risk.
4. Do not modify the product from the manufacturer’s original design.
5. Keep hands and all body parts away from moving parts while
operating the hoverboard.
6. Before riding - be sure to check the hoverboard over and make sure
the hoverboard is operating correctly before each use.
7. The hoverboard should never be used by children under the age of 8.
8. Never exceed the 176 lb maximum load rating.
Warning Message

You should nd each of these items in your box:
1. Hoverboard
2. Approved Power Adapter / Charging Unit
Remove all packaging material, then inspect each item for any accidental
damage that may have occurred during shipping.
UNPACK
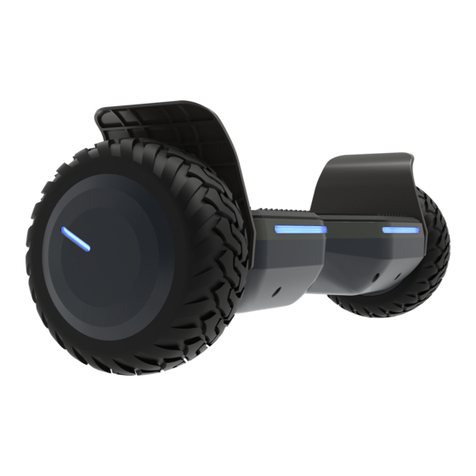
You should find each of these items in your SRX PRO box:
1. SRX PRO Hoverboard
2. SRX PRO Approved Power Adapter / Charging Unit
Remove all packing material, then inspect each item for any
accidental damage that may have occurred during shipping.
Unpack

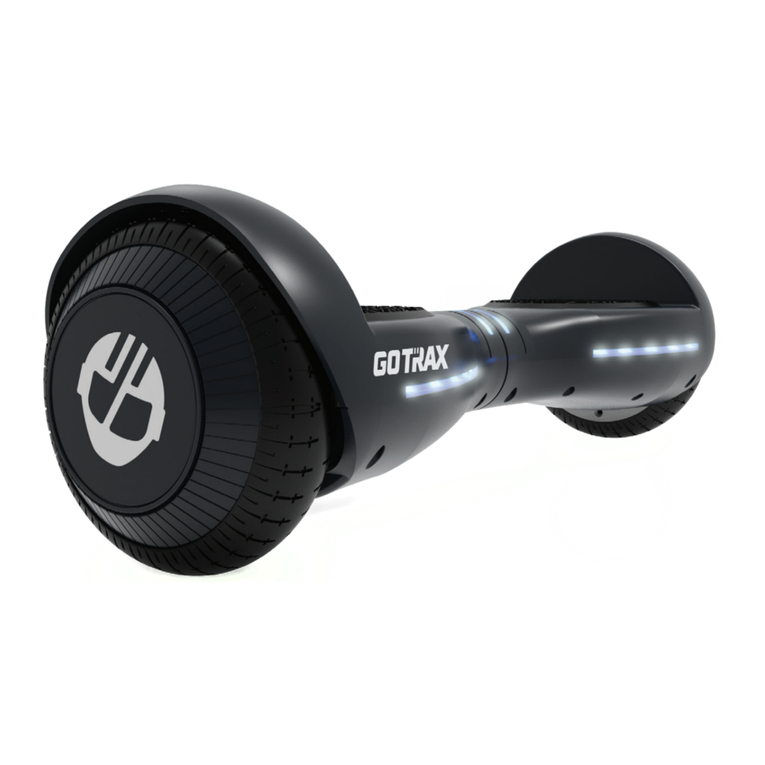
The hoverboard comes fully assembled.
Get to know your hoverboard
Specications
Top Speed:
Distance per Charge::
Battery Type:
Battery Charger:
Charge Time:
Motor Power:
Power Requirements:
6.2mph
3.1 Miles
25.2V 2.6AH
DC 29.4V 0.6A
5 hours
200W
AC 100V~240V 50/60HZ

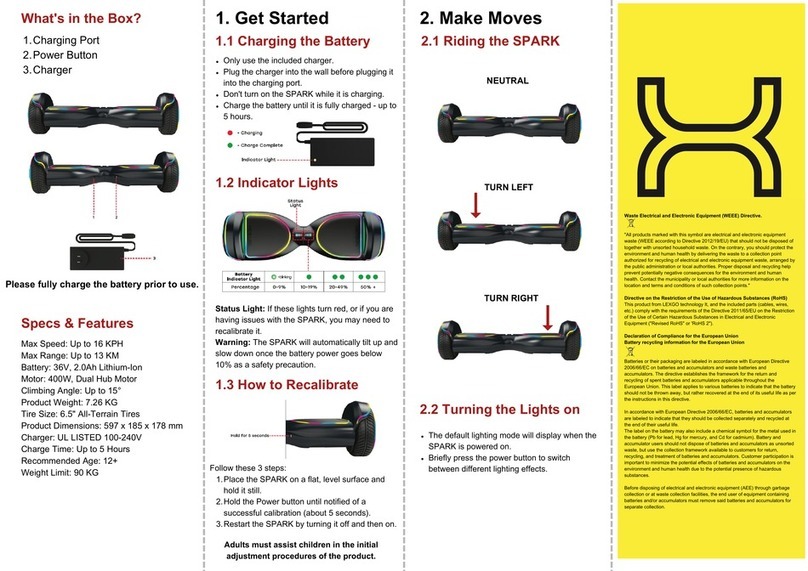
Before using the hoverboard, you must fully charge the battery.
1. Insert the charging plug into the port.
2. The charger box will have a green light when fully charged and a red
light when charging.
3. Charging Time: 5 hours
CHARGE
YOUR HOVERBOARD
Before using the hoverboard, you must fully charge the battery.
1. Insert the charging plug into the port.
2. The charger box will have a green light when fully
charged and a red light when charging.
Charge your hoverboard

To power the hoverboard on, press and hold the silver button on the
back of your hoverboard for 1 second.
To power the hoverboard o, press the silver button on the back of
your hoverboard for 1 second.
Mode Switch:
1. Double-click the switch button within 1.5 seconds in the shutdown state to
switch between self-balancing and non-self-balancing modes.
2. In the self-balancing mode, the hoverboard can not be turned off by
pressing the switch button in the riding state, and can be turned on and
off normally in the standby state.
3. In the non-self-balancing mode (karting mode), the hoverboard can be
switched on and off normally in the riding state and standby state.
Forward Acceleration: Gently push down with your toes. Be prepared to
lean forward slightly as the board accelerates.
Backward Acceleration: Gently lift your toes. Be prepared to lean
backward as the board accelerates.
To Turn Right: Push gently down with your left toes. Be prepared to shift
your weight to the right.
Hoverboard Functions
To Turn Left: Push gently down with your right toes. Be prepared to shift
your weight to the left.
Slow to Stop: Return to an upright position with your weight evenly
balanced.
Low Battery: When the hoverboard is low on battery and about to die,
the hoverboard will beep and ash red on the LED lights. Once it starts
beeping you and you see the red LED light, get off the hoverboard and
charge.
Overheat Alarm: The motor will overheat after a long time of high speed
running. When the motor temperature is high, it will keep beeping, and the
hoverboard will move very slowly. Meanwhile, the red light will be ashing
all the time. If it continues to run, the control system will cut off the power to
protect the motor from damage.
Warning: To prevent overheating, when the motor temperature is too high
and the alarm is beeping, please stop riding the hoverboard, and wait for
the motor cool down before riding.

1. You will want to start riding your by mounting the board from the rear.
The rear of the board can be identied by the power button and the
charging port.
2. Place your hoverboard on the ground directly in front of your feet. Step
with one foot onto the platform, and then quickly step up onto the
hoverboard with your second foot.
3. Always dismount from the back of the hoverboard.
4. The hoverboard performs best when on a smooth surface e.g. car parks,
smooth roads, footpaths.
5. Always clean your hoverboard (wheels, platform, etc.), it’s a machine
and it needs to be maintained.
6. Be aware of the terrain you are riding on, watch out for curbs and
obstacles!
Riding Tips

The hoverboard features a Bluetooth speaker that can be
paired with any mobile device to play audio. The Bluetooth
speaker is automatically enabled when the hoverboard is
turned on and will remain enabled and discoverable as long as
the hoverboard is powered on. Read the instructions below to
learn how to operate the hoverboard Bluetooth speaker.
1. To turn on the Bluetooth speaker, power on the hoverboard as normal.
2. Turn on the Bluetooth on the mobile device you wish to pair with your
hoverboard Search Name “GLIDE”.
3. On your mobile device, click on “ GLIDE” to connect. The Bluetooth
speaker on the hoverboard will voice that a connection has been made
and the devices are successfully paired.
4. Make sure your mobile device and the hoverboard remain within a
reasonable distance in order to maintain a connection. The Bluetooth
speaker will not far apart.
5. Play the music or audio you wish to hear on your mobile device, and it
will broadcast through the hoverboard Bluetooth speaker.
Bluetooth Setup

If you regularly clean and maintain your electric hoverboard, it
will extend its life.
Cleaning and storage: If the hoverboard is dirty, wipe it clean with a
soft damp cloth.
DO NOT use alcohol, gasoline, kerosene, or other corrosive chemical
solvents to clean the hoverboard. It can severely damage the appearance
and structure of the hoverboard. Please do not use a pressure washer as it
may also cause damage to the electronics.
Storage: When you’re not using your hoverboard store in a dry and cool
location. Avoid storing your hoverboard outdoors because sun exposure
can damage its appearance and may cause wear on the life of the battery
and tires.
Maintenance & Repair

Troubleshooting: One of the most common solutions for hoverboard
issues is calibrating your board. Here are the steps involved in
hoverboard calibration:
1. Start with the hoverboard powered off.
2. Adjust the foot pedals until they are level with each other and the
ground.
3. Press and hold the power button for 10 seconds. The LED lights will
ash.
4. Press the power button to turn off.
5. Press the power button to turn on. The hoverboard will be calibrated
and ready for galactic adventures.
NOTE: You may have to repeat the above process multiple times in order
to fully reset and calibrate your hoverboard. For example, you may have
to go through the process 3 times in a row before the calibration fully
takes effect.

Only use the approved GOTRAX power adapter to charge your
hoverboard, others may cause risk of re & equipment may be damaged.
Improper disposal of used batteries may seriously pollute the environment.
Please comply with local disposal regulations.
Make sure to store your hoverboard and power adapter in conditions that
do not exceed 104 degrees Fahrenheit or below 32 degrees Fahrenheit.
Warning - Risk of Fire - No User Serviceable Parts, The prolonged
exposure to UV Rays, Rain and the Elements may damage the enclosed
materials, store indoors when not in use.
Battery Information

We frequently update our user manuals at GOTRAX.com, and reserve the
rights to update and change manuals online.
Please contact our customer service team if you are
experiencing problems or need more detailed information.
They can be reached at GOTRAX.com
Warranty
For warranty information, please visit GOTRAX.com.
Troubleshooting
Other manuals for Glide
1
Table of contents
Other Gotrax Hoverboard manuals

Gotrax
Gotrax EDGE User manual

Gotrax
Gotrax SRX User manual

Gotrax
Gotrax Nova Pro User manual

Gotrax
Gotrax E3 User manual

Gotrax
Gotrax SRX Mini User manual

Gotrax
Gotrax SRX PRO User manual

Gotrax
Gotrax Pulse Basic User manual

Gotrax
Gotrax Remix User manual

Gotrax
Gotrax FLASH User manual

Gotrax
Gotrax EDGE User manual