6 7 85
651-3-00 651699
1. Thread cord attached to
dog phone through the two
hole found on each of the
three people figure . In ert
end of cord into mall hole
on tray a hown.
Tie a knot under the tray to
hold cord in place.
2. Pu h three ring pa t the
bump onto the ring loop,
and in ert end of ring loop
into the two hole in tray a
hown. Push down firmly
until loop snaps in place.
3. Remove and immediately
discard the pla tic pull tab
on the printed circuit board.
Attach three mu ic button
over circuit board in mu ic
lid. For each button, fir t put
front end of button into lid o
tooth fit into lot in lid, then
pu h down back of button o
it nap onto peg . Chec
that both front and bac of
each button are snapped
in place.
Snap peg of lid into hole
at both ide of the torage
compartment in tray.
4. A emble the hou e. Put
lower pivot pin of door into
hole in hou e ba e. Align
roof over ba e o upper pin
of door fit into hole at ide
of doorway. Holding piece
together, turn a embly
up ide down, locate the four
crew hole , and fa ten with
four crew . Do not over-
tighten crew .
After hou e i a embled,
align hou e over round end
of tray halve o mirror face
center of tray. In ert ba e of
hou e into the four lot , and
turn clockwi e until hou e i
latched to tray.
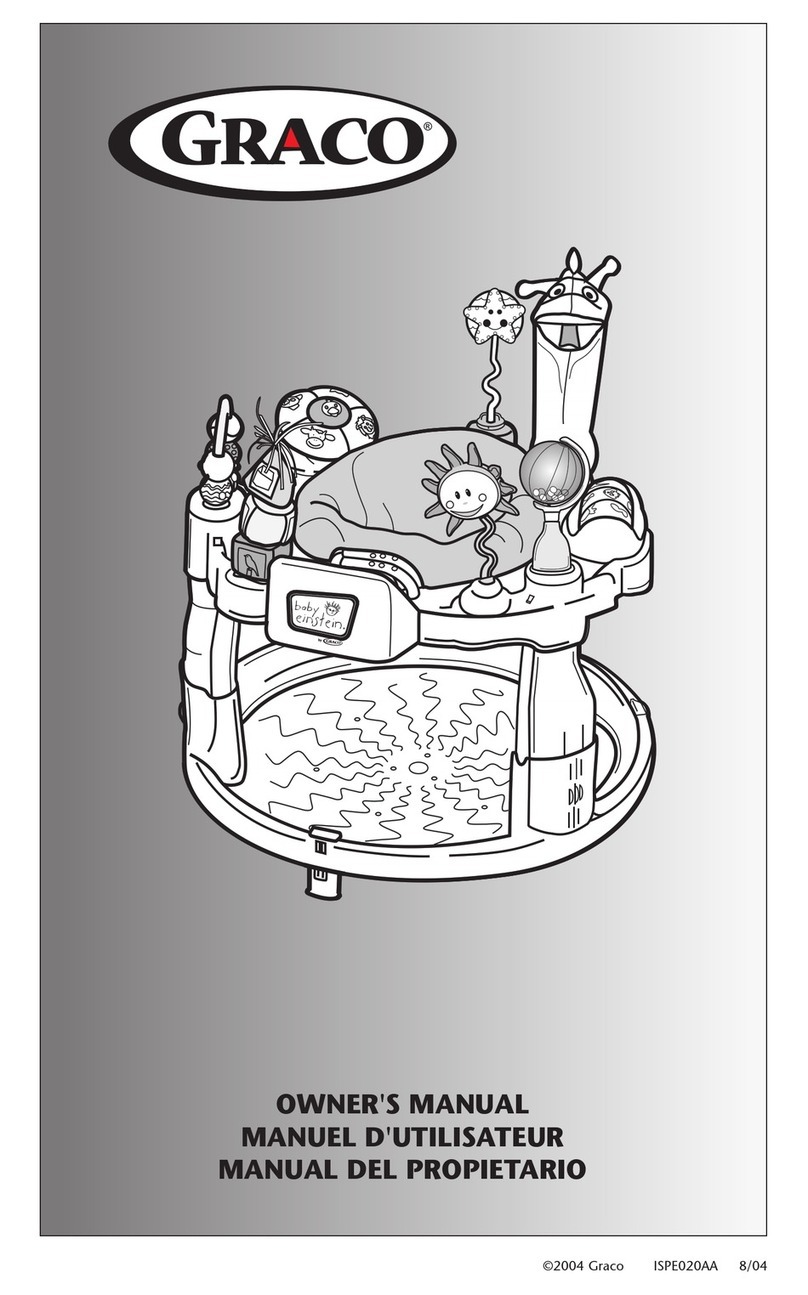
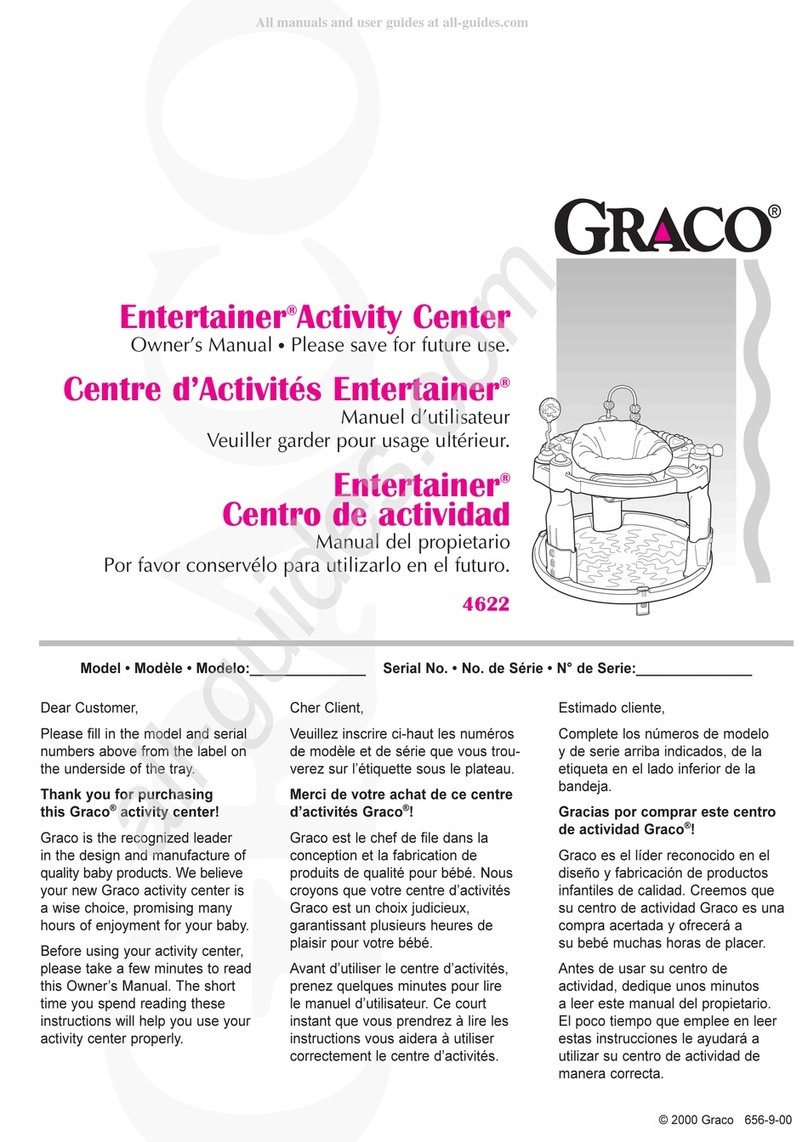
To Assemble Your Convertible
Entertainer®Activity Center
Step 1.
Po ition three tand under
ba e a hown, and pu h
down on ba e until tand
nap in place.
Stand can fold flat under
ba e to permit rocking.
Step 2.
With notch at bottom of
upper leg a hown, pu h
in the button on front of
each lower leg and in ert
an upper leg ection until it
nap into one of three
height for infant u e. Set all
three leg to ame height.
Step 3.
Turn two halve of tray
up ide down. Put the end
of tray with an A printed
on it in ide the end with a
B. Fa ten end A and
B to each other with four
Phillip head crew . Do
not overtighten crew .
Snap the other two end of
tray together o it form a
clo ed circle in the center
of the tray.
Step 4.
Turn tray right ide up.
Pu h five large pla tic bolt
into the five hole a hown
until they nap in place.
Step 5.
Place tray on top of leg o
that snapped ends of tray
are in front of the Graco®
name on the base, and
bolt in circle at back of tray
goe into back leg on the
ba e. Align other two bolt
with hole in the leg .
Fa ten all three bolt .
Chec that bolt are ecure
by pulling up on tray.
Step 6.
Place folded Toddler Unit
Conver ion In truction into
clear pla tic eat pocket.
Step 7.
Put cloth eat in ide the eat
ring a hown. Toddler Unit
in truction mu t face high
ide of eat ring a hown.
Attach eat to the eat ring
by wrapping top edge of eat
around eat ring. Under the
eat ring, nap the grommet
onto the peg a hown.
Tuck the seam on both ide
of the cloth eat between the
outside of the ring and the
pla tic partition a hown.
Chec that edge of cloth
seat does not cover
wheels or partitions.
Step 8.
Turn the eat over and pu h
eat down into the eat ring.
Step 9.
Snap the eat ring onto the
tray. Pu h down all around
eat to make ure it i
completely napped onto the
tray. Seat mu t turn freely.
Toddler Unit
in truction
Grommet
5. Align cup over large t hole
in tray o cup handle i next
to the hou e. Snap pin of
cup into hole in tray.
6. Snap together the two
halve of ball holder a
hown. Spread end apart
and attach ball by in erting
two pin on ball holder into
hole in ball.
Holding ball/ball holder
a embly together, pu h
holder down into tray a
hown until it nap in place.
7. Cut out the double- ided
picture from included artwork,
or u e your own picture .
In ert a picture into maller
half of each clear pla tic
page, then nap mall and
large halve together.
In ert one peg of each page
into one of the three hole in
tray a hown. In ert other
peg into corre ponding hole
in pla tic page retainer. Snap
retainer into lot in tray.
To open page to replace
picture , in ert a coin into
the center lot and pry it
open a hown.
8. Pu h end of butterfly
wand firmly into remaining
hole on tray a hown until it
nap in place.
Bump
Snapped
end in front
Bolt in
circle
Back leg
High
ide of
ring
Seam behind
partition
Step 10.
Refer to illu tration below to attach
toy to tray. Detailed a embly
in truction follow.
Notch PUSH
