manuals.online logo
Brands
  1. Home
  2. •
  3. Brands
  4. •
  5. Graco
  6. •
  7. Car Seat
  8. •
  9. Graco Argos Parts list manual

Graco Argos Parts list manual

Other Graco Car Seat manuals

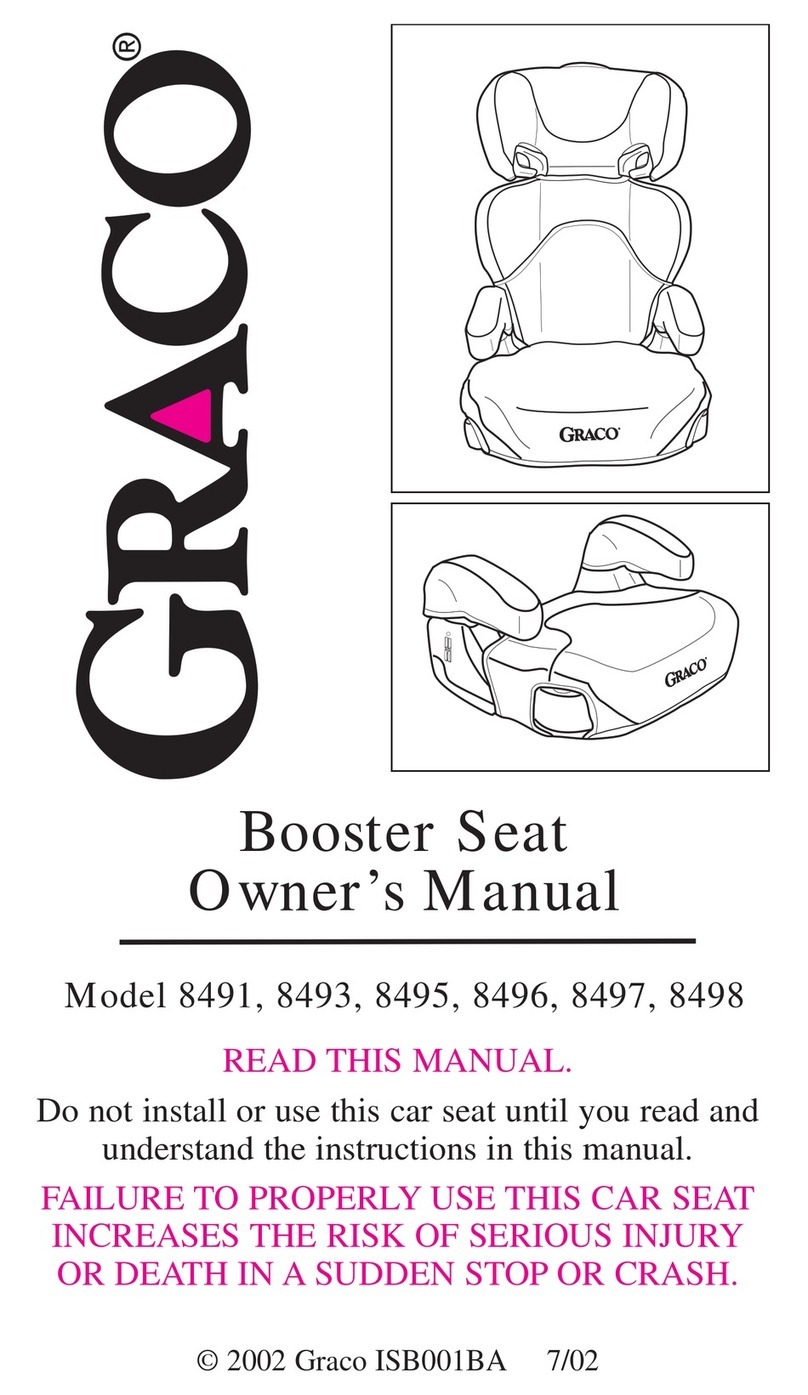
Graco Quest User manual

Graco

Graco Quest User manual

Graco SOUS CHEF User manual

Graco

Graco SOUS CHEF User manual

Graco SnugRide Click Connect Base User manual

Graco

Graco SnugRide Click Connect Base User manual

Graco NAUTILUS User manual

Graco

Graco NAUTILUS User manual

Graco NAUTILUS SNUGLOCK LX User manual

Graco

Graco NAUTILUS SNUGLOCK LX User manual

Graco ISPB057BA User manual

Graco

Graco ISPB057BA User manual

Graco MyRide User manual

Graco

Graco MyRide User manual

Graco 8487 User manual

Graco

Graco 8487 User manual

Graco PD348952D User manual

Graco

Graco PD348952D User manual

Graco ELDURA R129 User manual

Graco

Graco ELDURA R129 User manual

Graco AFFIX User manual

Graco

Graco AFFIX User manual

Graco Car Booster Seat User manual

Graco

Graco Car Booster Seat User manual

Graco Headwise 65 User manual

Graco

Graco Headwise 65 User manual

Graco Car Booster Seat User manual

Graco

Graco Car Booster Seat User manual

Graco 447-4-02 User manual

Graco

Graco 447-4-02 User manual

Graco ARGOS 70 ELITE User manual

Graco

Graco ARGOS 70 ELITE User manual

Graco 8E04SPR - No Back Turbo Booster User manual

Graco

Graco 8E04SPR - No Back Turbo Booster User manual

Graco READY RIDE User manual

Graco

Graco READY RIDE User manual

Graco STE 4331 Guide

Graco

Graco STE 4331 Guide

Graco NAUTILUS PD101777B User manual

Graco

Graco NAUTILUS PD101777B User manual

Graco Size4Me 70 User manual

Graco

Graco Size4Me 70 User manual

Graco ARGOS 65 User manual

Graco

Graco ARGOS 65 User manual

Graco 8481 User manual

Graco

Graco 8481 User manual

Graco NAUTILUS Parts list manual

Graco

Graco NAUTILUS Parts list manual

Popular Car Seat manuals by other brands

doona ISOFIX Base user guide

doona

doona ISOFIX Base user guide

Britax Safe-n-Sound JS8A/2010 Instructions for use

Britax

Britax Safe-n-Sound JS8A/2010 Instructions for use

RECARO Monza Reha Instructions for assembly and use

RECARO

RECARO Monza Reha Instructions for assembly and use

Britax SAFEFIX PLUS TT User instructions

Britax

Britax SAFEFIX PLUS TT User instructions

Britax PARKWAY SGL user guide

Britax

Britax PARKWAY SGL user guide

Digicom Tippy Pad Instructions for use

Digicom

Digicom Tippy Pad Instructions for use

Combi Zeus Turn 8815 Series instruction manual

Combi

Combi Zeus Turn 8815 Series instruction manual

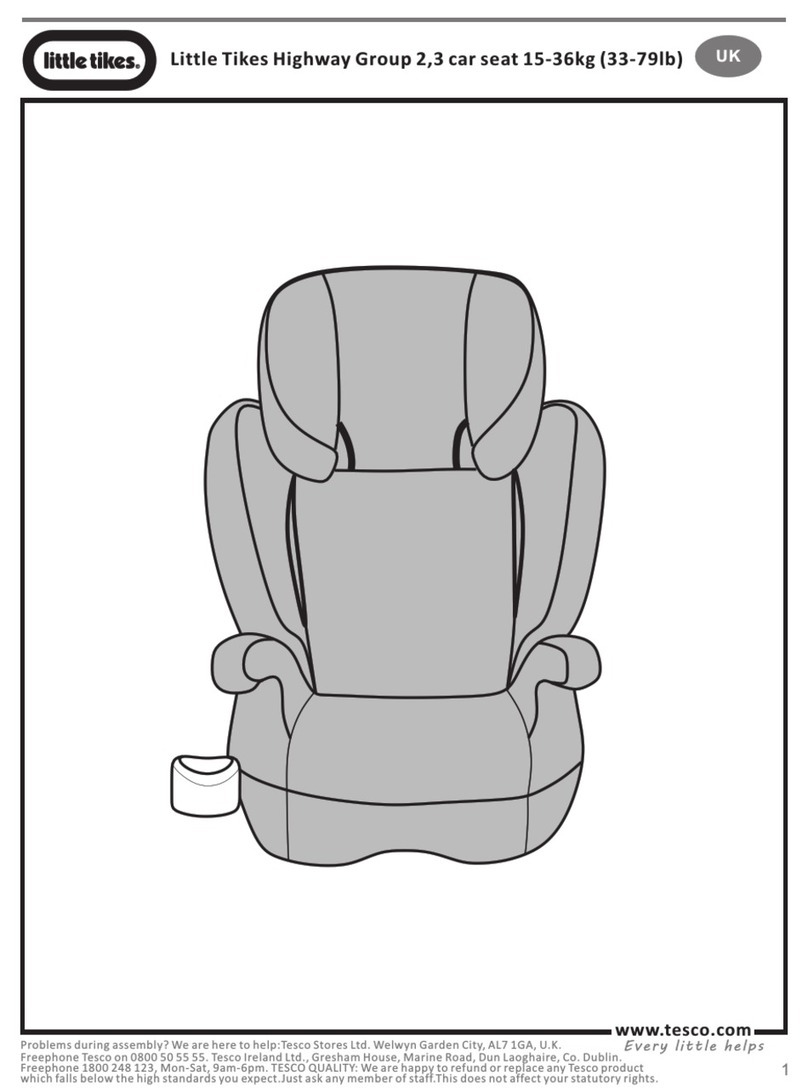
Little Tikes Highway Assembly instructions

Little Tikes

Little Tikes Highway Assembly instructions

Coccolle Atira manual

Coccolle

Coccolle Atira manual

hifold HF01-GL instruction manual

hifold

hifold HF01-GL instruction manual

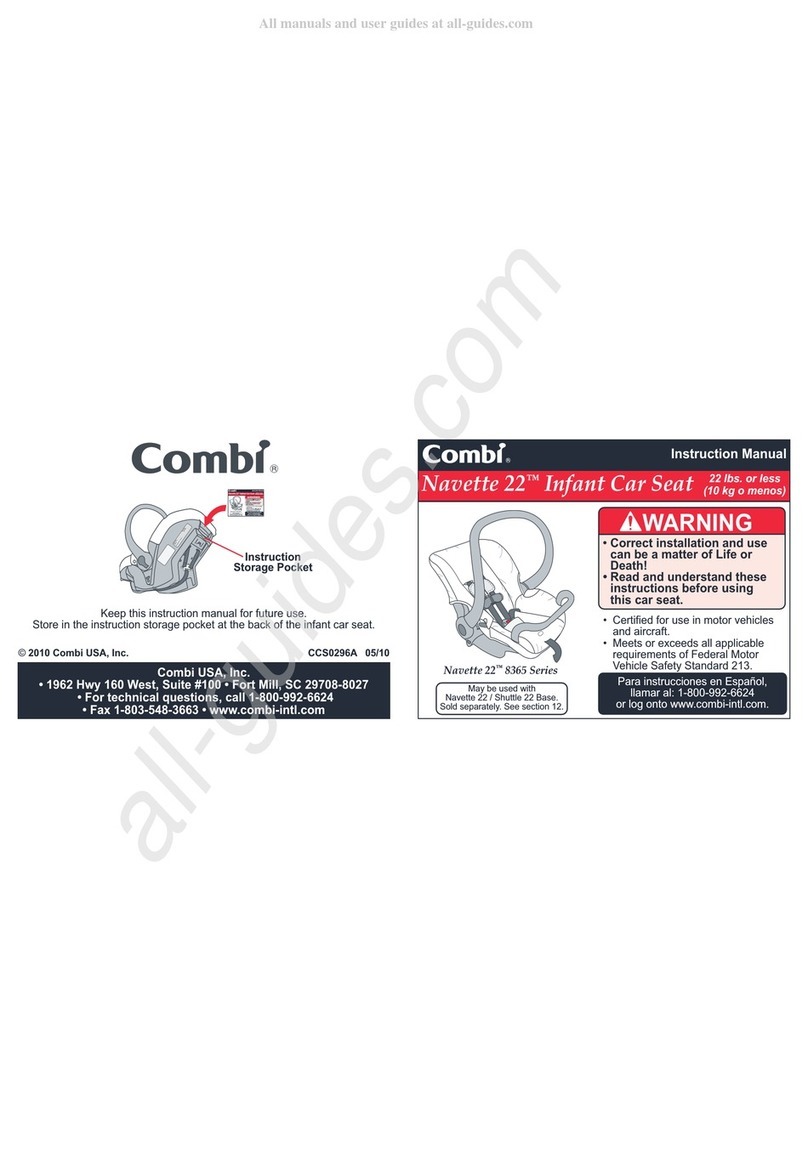
Combi Navette 22 instruction manual

Combi

Combi Navette 22 instruction manual

kiwy SLF 123 instruction manual

kiwy

kiwy SLF 123 instruction manual

Safety 1st Summit ISO 30 manual

Safety 1st

Safety 1st Summit ISO 30 manual

Safety 1st Grand 2-IN-1 manual

Safety 1st

Safety 1st Grand 2-IN-1 manual

Britax Multi-Tech BB0-702-00 user guide

Britax

Britax Multi-Tech BB0-702-00 user guide

Grammer MSG45/421 Repair manual

Grammer

Grammer MSG45/421 Repair manual

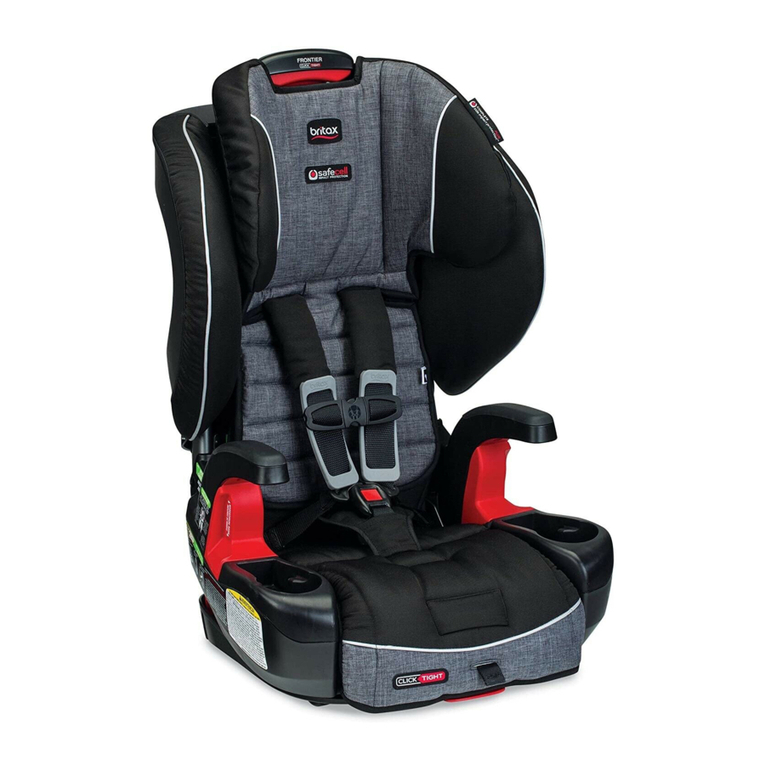
Britax FRONTIER owner's manual

Britax

Britax FRONTIER owner's manual

Nuna REBL PLUS Fit guide

Nuna

Nuna REBL PLUS Fit guide

manuals.online logo
manuals.online logoBrands
  • About & Mission
  • Contact us
  • Privacy Policy
  • Terms and Conditions

Copyright 2025 Manuals.Online. All Rights Reserved.

To Remove Existing Harness Tongues and Buckle and Attach Replacement Buckle
Argos ® Buckle Replacement Guide
©2014 Graco PD253499C 5/14
5
Remove chest clip.
DO NOT DISCARD the
chest clip.
7
6
Unbuckle harness by
tilting top of buckle
down, press top of red
button, and pull
tongues out of buckle. Remove and discard
tongues.
Slide NEW buckle onto
harness straps. MAKE
sure not to twist straps.
Re-attach chest clip.
MAKE sure not to
twist straps.
Re-insert straps
through slots
in seat pad and seat
back.
Turn page over to
¿QLVKWKHUHVWRI
the assembly
Steps 11 to 20
for the buckle
replacement.
Route harness
straps OVER
metal bar and
re-insert straps
back onto
splitter plate.
4
89
10
2Remove harness
strap loops from
splitter plate.
Pull harness straps
through seat back
and seat pad.
To loosen straps, lift lever
and pull harness straps.
1 3
You will receive ONE of
these Graco approved
replacement buckles.
Follow instructions for
proper installation.
19
15
12
19
Remove elastic loops
from back of seat as
shown.
Push button and
remove tongues from
the NEW buckle.
Insert metal retainer
from NEW buckle into
crotch slot in the seat
bottom as shown.
Re-insert buckle
through slot in seat pad
and pull up on buckle
to be sure it is
secured in the slot.
Push seat pad back into
seating area until the elastic
straps come out the back
then re-attach to hooks as
shown.
Insert NEW tongues
into buckle.
13
Pull seat pad forward and
remove buckle from pad.
From bottom of seat push
metal retainer up and
discard buckle.
14
17
16
11
Remove elastic loops
from sides of seat as
shown.
CLICK!
18
Re-attach elastic loops
on sides of seat as
shown.
FINAL CHECK :
• Tug on the buckle to be sure
it is properly secured in the
bottom of the seat and does
not come out.
• MAKE SURE the harness
straps are not twisted.
• Make sure the chest clip is
properly threaded as shown
in Step 8.
20
UNDERSIDE OF SEAT
UNDERSIDE OF SEAT
In USA: Graco Children’s Products • 3 Glenlake Parkway • Atlanta, GA 30328 • 1-800-345-4109 • www.gracobaby
In Canada: Elfe Juvenile Products • 4500 Thimens BLVD • Saint-Laurent, Quebec H4R 2P2
1-800-667-8184 • www.gracobaby.ca
Argos ® Guía de reemplazo de la hebilla
Para sacar las lengüetas existentes y la hebilla del arnés e instalar una hebilla de repuesto
Usted recibirá UNA de estas hebillas de reemplazo aprobadas por Graco. Siga las instrucciones para una instalación
adecuada.
3DUDDÀRMDUODVFRUUHDVOHYDQWHODSDODQFD\WLUHODVFRUUHDVGHODUQpV
6DTXHORVQXGRVGHODFRUUHDGHODUQpVGHODSODFDGLYLVRULD
3DVHODVFRUUHDVGHODUQpVSRUHOUHVSDOGR\ODDOPRKDGLOODGHODVLHQWR
4. Saque la presilla para el pecho. NO DESECHE la presilla para el pecho.
'HVWUDEHHODUQpVLQFOLQDQGRODSDUWHGHDUULEDGHODKHELOODKDFLDDEDMRRSULPLHQGRHOERWyQURMR\WLUDQGRODV
lengüetas para la hebilla.
6. Saque y deseche las lengüetas.
'HVOLFHOD18(9$KHELOODHQODVFRUUHDVGHODUQpV$6(*Ò5(6(GHQRGREODUODVFRUUHDV
9XHOYDDFRORFDUODSUHVLOODGHOSHFKR$6(*Ò5(6(GHQRGREODUODVFRUUHDV
9. Re-insert straps through slots in seat pad and seat back. See carseat owner’s manual for proper height setting for your
child.
3DVHODVFRUUHDVGHODUQpVSOBRE la barra de metal y vuelva a insertar las correas en la placa divisoria.
'HYXHOWDODKRMDSDUDFRPSOHWDUORVSDVRVDUHVWDQWHVGHOHQVDPEODMHSDUDFDPELDUODKHELOOD
11. Saque los nudos de elástico de los costados del asiento como se indica.
12. Saque los nudos de elástico de atrás del asiento como se indica.
7LUHODDOPRKDGLOODGHODVLHQWRKDFLDDGHODQWH\VDTXHODKHELOODGHODDOPRKDGLOOD'HVGHHOIRQGRGHODVLHQWRHPSXMH
KDFLDDUULEDHOUHWpQGHPHWDO\GHVHFKHODKHELOOD/$3$57(325'(%$-2'(/$6,(172
(PSXMHHOERWyQ\VDTXHODVOHQJHWDVGHOD18(9$KHELOOD
,QVHUWHHOUHWpQGHPHWDOGHOD18(9$KHELOODHQODUDQXUDGHODHQWUHSLHUQDHQHOIRQGRGHODVLHQWRFRPRVHLQGLFD
9XHOYDDFRORFDUODKHELOODDWUDYpVGHODUDQXUDGHODDOPRKDGLOODGHODVLHQWR
(PSXMHODDOPRKDGLOODGHODVLHQWRHQHOOXJDUSDUDVHQWDUVHKDVWDTXHODVFRUUHDVHOiVWLFDVVDOJDQSRUDWUiV\HQWRQ-
ces vuelva a conectar los ganchos como se indica.
18. Vuelva a conectar los nudos de elástico de los costados del asiento como se indica.
,QVHUWHODV18(9$6OHQJHWDVHQODKHELOOD£&/,&
9(5,),&$&,Ï1),1$/
 7LUHGHODKHELOODSDUDHVWDUVHJXURGHTXHHVWiGHELGDPHQWHVXMHWDGDDOIRQGRGHODVLHQWR\QRVHVDOH
 $6(*Ò5(6(GHTXHODVFRUUHDVGHODUQpVQRHVWpQGREODGDV
 $VHJ~UHVHGHTXHODSUHVLOODGHOSHFKRHVWpGHELGDPHQWHFRORFDGDFRPRVHLQGLFDHQHOSDVR
&XDOTXLHUSUHJXQWDSRUIDYRUFRQWiFWHQRVHQ
Graco Children’s Products, 3 Glenlake Parkway Atlanta, GA30328 1-800-345-4109 www.gracobaby.com
Argos ® Guide de remplacement de la boucle
Comment retirer la boucle et les languettes existantes et installer la boucle de rechange
9RXVDOOH]UHFHYRLU81(GHFHVERXFOHVGHUHFKDQJH*UDFRDSSURXYpHV6XLYUHOHVGLUHFWLYHVSRXUXQHLQVWDOODWLRQ
DGpTXDWH
1. Pour desserrer les courroies, soulever le levier et tirer sur les courroies du harnais.
'pWDFKHUOHVERXFOHVGHODFRXUURLHGXKDUQDLVGHO¶DQQHDXGHVpSDUDWLRQ
3. Tirer les courroies du harnais à travers le dossier et le coussin du siège.
5HWLUHUO¶DWWDFKHGHSRLWULQH1(3$6-(7(5O¶DWWDFKHGHSRLWULQH
'pWDFKHUOHKDUQDLVHQLQFOLQDQWOHVRPPHWGHODERXFOHYHUVOHEDVSXLVHQDSSX\DQWVXUOHERXWRQURXJHHWHQWLUDQW
les languettes de la boucle.
5HWLUHUHWMHWHUOHVODQJXHWWHV
(Q¿OHUOD1289(//(ERXFOHVXUOHVFRXUURLHVGXKDUQDLV6¶$6685(5GHQHSDVWRUGUHOHVFRXUURLHV
5pLQVWDOOHUO¶DWWDFKHGHSRLWULQH6¶$6685(5GHQHSDVWRUGUHOHVFRXUURLHV
5pLQVpUHUOHVFRXUURLHVjWUDYHUVOHVIHQWHVGXFRXVVLQHWGXGRVVLHU&RQVXOWHUOHPRGHG¶HPSORLGXVLqJHGHUHWHQXH
pour choisir la hauteur qui convient à votre enfant.
10. Diriger les courroies du harnais PAR-DESSUSODEDUUHGHPpWDOHWUpLQVpUHUOHVFRXUURLHVGDQVO¶DQQHDXGH
VpSDUDWLRQ
5HWRXUQHUODSDJHSRXUWHUPLQHUOHFKDQJHPHQWGHERXFOHHQVXLYDQWOHVpWDSHVj
5HWLUHUOHVERXFOHVpODVWLTXHVGHVF{WpVGXVLqJHWHOTX¶LOOXVWUp
5HWLUHUOHVERXFOHVpODVWLTXHVGHO¶DUULqUHGXVLqJHWHOTX¶LOOXVWUp
7LUHUOHFRXVVLQGHVLqJHYHUVO¶DYDQWHWGpWDFKHUODERXFOHGXFRXVVLQ¬SDUWLUGXGHVVRXVGXVLqJHSRXVVHUO¶DWWDFKH
GHPpWDOYHUVOHKDXWHWMHWHUODERXFOH6,78e6286/(6,Ê*(
$SSX\HUVXUOHERXWRQHWUHWLUHUOHVODQJXHWWHVGHOD1289(//(ERXFOH
,QVpUHUO¶DWWDFKHGHPpWDOGHOD1289(//(ERXFOHGDQVODIHQWHGHIRXUFKHGXIRQGGXVLqJHWHOTX¶LOOXVWUp
5pLQVpUHUODERXFOHjWUDYHUVODIHQWHGXFRXVVLQGHVLqJHHWWLUHUVXUODERXFOHD¿QGHV¶DVVXUHUTX¶HOOHHVWVROLGHPHQW
¿[pHGDQVODIHQWH
5HSODFHUOHFRXVVLQGHVLqJHVXUO¶DVVLVHHWSRXVVHUMXVTX¶jFHTXHOHVFRXUURLHVpODVWLTXHVUHVVRUWHQWGHUULqUHDYDQW
GHOHVUDWWDFKHUDX[FURFKHWVWHOTX¶LOOXVWUp
5DWWDFKHUOHVERXFOHVpODVWLTXHVGHVF{WpVGXVLqJHWHOTX¶LOOXVWUp
,QVpUHUOHV1289(//(6ODQJXHWWHVGDQVODERXFOH&/,&
9e5,),&$7,21),1$/(
 7LUHUVXUODERXFOHSRXUV¶DVVXUHUTX¶HOOHHVWVROLGHPHQW¿[pHDXIRQGGXVLqJHHWTX¶HOOHQHVHGpWDFKHSDV
• S’ASSURER que les courroies de harnais ne sont pas tordues.
 6¶DVVXUHUTXHO¶DWWDFKHGHSRLWULQHHVWDGpTXDWHPHQWHQ¿OpHGHODPDQLqUHLOOXVWUpHjO¶pWDSH
3RXUWRXWHTXHVWLRQSULqUHGHFRPPXQLTXHUDYHFQRXV
 (OIH-XYHQLOH3URGXFWV7KLPHQV6DLQW/DXUHQW4XHEHF+53ZZZHOIHQHW