Grandbeing HDIP01 User manual

Grandbeing Technology Co., Ltd.
www.grandbeing.biz
Address:
6C, Jialitai Building, No. 6 Yanshan Road,
Nanshan District Shenzhen , P.R. China
Tel: 86-755-26678449 Fax: 86-755-26678549
Post Code: 518067
Model No. HDIP01
Operating instruction
Thanks for purchase our products.
Please be sure to read this instruction manual
carefully before using our products.

1
Quick Start Guide
KVM101-HD
HDMI Extender
The HDMI extender has been tested for conformance to safety regulations
andrequirements, and has been certified for international use. However, like all
electronic equipments, the HDMI extender should be used with care. Please read and
follow the safety instructions to protect yourself form possible injury and to minimize
the risk of damage to the unit.
● Follow all instructions and warnings marked on this unit.
● Do not attempt to service this unit yourself, except where explained in this manual.
Provide proper ventilation and air circulation and do not use near water.
● Keep objects that might damage the device and assure that the placement of this
unit is on a stable surface.
● Use only the power adapter and power cords and connection cables designed for this unit.
● Do not use liquid or aerosol cleaners to clean this unit. Always unplug the power to
the device before cleaning.
Model No. HDIP01
Operating Instructions ( P/N of this Instructions is IN HDIP01)
Safety and Notice

3 2 Quick Start GuideQuick Start Guide
KVM101-HD
KVM101-HD
HDMI-IP Extender
Features
● HDMI 1.3 compliant
● Extend the transmission distance to at least 100 meters from the sources at 1080p
● HDCP compliant
Package Contents
HDMI transmitting unit
HDMI receiving unit
5V 1A power adaptor
User manual
Technical Specifications
Video Bandwidth: 2.25 Gbps (HDMI 1.3)
Input TMDS signal: 1.2 volts (peak-to-peak)
Input DDC signal: 5 volts (peak-to-peak)
HDMI Connector: 19 pin type female connector
Power Supply: 5V 1A
RJ-45 Connector
Dimensions: 13 0x 137 x 30mm (Lx W x H)
Weight: 1.6kg
The HDMI-IP Extender allows you to simultaneously send out an HDMI 1.3
Signal (including 1080p video with 5.1 audio) to one or more HDMI video
projectors or LCD Panels and return an IR control Signal to the source using
CAT5/6/7 Cable over a standard Ethernet infrastructure. Can be used to
distribute HD digital content from multiple Sources to up 200 remore
distribute on a LAN by cascading Managed Ethernet switches up to 3 levels,
allowing the display very far away from the 1080p source devices while
sustaining picture & sound quality. Each device is installed using 1 piece of
twisted pair cable. AV signals are transmitted digitally over the CAT5/6/7
cable without any signal loss. Internal JPEG video compression adapts to
available network bandwidth if needed. The integrated Scaler function allows
different input and output resolutions (different displays can be at different
resoluttions). The IR TX / RX function can be used to remotely control the
HDMI source device from any receiver location.
Introduction
Panel Descriptions
Link Data Power
Front View - Transmitting Unit HDIP01-001
Link LED:Connect
Data LED:Data transmission
Power LED: Power on

Quick Start Guide 5 4 Quick Start Guide
KVM101-HD
Hardware Installation
1. Connect your HDMI source (such as a DVD player) to the transmitting unit HDIP01-001
2. Connect your HDMI display (such as a plasma TV) to the receiving unit HDIP01-002
3. Connect your CAT-5/5e/6 cables between the transmitting and receiving units
4. Make sure your CAT-5/5e/6 cables are tightly connected and not loose
5. Plug in 5V DC power cord to the power jack of HDIP01-001 and HDIP01-002
Typical use
Link Data Power
ETHERNET
IR RX HDMI OUT Reset
DC/5V
Rear View –Transmitting Unit HDIP01-001
HDMI IN: Connect a HDMI source with a HDMI M-M cable here
IR TX: Plug IR Emitter – stick onto the front of the device you want to control
ETHERNET:Plug in a CAT5/5e/6 cable that needs to be linked to HDIP01-002
DC/5V:Connect to 5V DC power supply
Front View - Receiving Unit HDIP01-002
ETHERNET
HDMI IN Reset
DC/5V
IR TX
Rear View –Receiving Unit HDIP01-002
HDMI OUT: Connect a HDMI display with a HDMI M-M cable here
IR RX: Plug IR Receiver – picks up the infrared signal from your remote
control just like a TV or VCR
ETHERNET:Plug in a CAT5/5e/6 cable that needs to be linked to HDIP01-001
DC/5V:Connect to 5V DC power supply
① Point-to-point Example
② Point-To-Many ExampleOver Standard Ethernet LAN
KVM101-HD
CAT5/6/7
UTP Cable,
HDMI
Computer
or Blu-Ray
Player
RX
TX
RX RX
RX
RX
RX
RX
RX
RX
RX
RX
RX
RX
RX
RXRXRX
LAN
Link LED:Connect
Data LED:Data transmission
Power LED: Power on
( TX—HDIP01-001,RX—HDIP01-002)
HDIP01-001 HDIP01-002
HD Media center

Quick Start Guide 7 6 Quick Start Guide
KVM101-HD
KVM101-HD
3) Replacement parts: When parts need replacing ensure the servicer uses parts
specified by the manufacturer or parts that have the same characteristics as the original
parts. Unauthorized substitutes may result in fire, electric shock, or other hazards.
4) Safety check: After repairs or service, ask the servicer to perform safety checks to
confirm that the unit is in proper working condition.
TX TX TX
RX RX RX RX
RX
( TX—HDIP01-001,RX—HDIP01-002)
RX IR
Emitter
Control Via
PC/RS232
CAT 5/6 up to 100M
Cisco Catalyst 2960
Managed Switch
IR Eye
③ Many-To-Many Home Theater
Example Over Managed Ethernet LAN
Maintenance
Clean this unit with a soft, dry cloth. Never use alcohol, paint thinner or benzine to clean
this unit.
Product Service
1) Damage requiring service: The unit should be serviced by qualified service
personnel if:
(a) The DC power supply cord or AC adaptor has been damaged;
(b) Objects or liquids have gotten into the unit;
(c) The unit has been exposed to rain;
(d) The unit does not operate normally or exhibits a marked change in performance;
(E) The unit has been dropped or the cabinet has been damaged.
2) Servicing Personnel: Do not attempt to service the unit beyond that described in
these operating instructions. Refer all other servicing to authorized servicing personnel.
WARRANTY
If your product does not work properly because of a defect in materials or workmanship,
Grandbeing Company (referred to as “ the warrantor ”) will, for the length of the period
indicated as below, (parts(1) year, labor (90) days) which starts with the date of original
purchase (“ Limited Warranty period ”), at its option either (a) repair your product with
new or refurbished parts, or (b) replace it with a new or a refurbished product. The
decision to repair or replace will be made by the warrantor. During the “ Labor ” Limited
Warranty period there will be no charge for labor. During the “ Parts ” warranty period,
there will be no charge for parts. You must mail-in your product during the warranty
period. This Limited Warranty is extended only to the original purchaser and only covers
product purchased as new. A purchase receipt or other proof of original purchase date is
required for Limited Warranty service.
Mail-In Service
When shipping the unit, carefully pack and send it prepaid, adequately insured and
preferably in the original carton. Include a letter detailing the complaint and provide
a day time phone and/or email address where you can be reached.
IF REPAIR IS NEEDED DURING THE LIMITED WARRANTY PERIOD THE PURCHASER
WILL BE REQUIRED TO FURNISH A SALES RECEIPT/PROOF OF PURCHASE
INDICATING DATE OF PURCHASE, AMOUNT PAID AND PLACE OF PURCHASE.
CUSTOMER WILL BE CHARGED FOR THE REPAIR OF ANY UNIT RECEIVED WITHOUT
SUCH PROOF OF PURCHASE.
RX


8 Quick Start Guide
Limited Warranty Limits And Exclusions
1) This Limited Warranty ONLY COVERS failures due to defects in materials or
workmanship, and DOES NOT COVER normal wear and tear or cosmetic damage. The
Limited Warranty ALSO DOES NOT COVER damages which occurred in shipment, or
failures which are caused by products not supplied by the warrantor, or failures
which result from accidents, misuse, abuse, neglect, mishandling, misapplication,
alteration, faulty installation, set-up adjustments, misadjustment of consumer
controls, improper maintenance, power line surge, lightning damage, modification,
or service by anyone other than a Factory Service center or other Authorized
Servicer, or damage that is attributable to acts of God.
KVM101-HD
2) THERE ARE NO EXPRESS WARRANTIES EXCEPT AS LISTED UNDER “ LIMITED
WARRANTY COVERAGE ”. THE WARRANTOR IS NOT LIABLE FOR INCIDENTAL OR
CONSEQUENTIAL DAMAGES RESULTING FROM THE USE OF THIS PRODUCT, OR
ARISING OUT OF ANY BREACH OF THIS WARRANTY.
(as examples, this excludes damages for lost time, cost of having someone remove
or re-install an installed unit if applicable, travel to and from the servicer, loss of or
damage to media or images, data or other recorded content. The items listed are not
exclusive, but are for illustration only.)
3) PARTS AND SERVICE, WHICH ARE NOT COVERED BY THIS LIMITED WARRANTY,
ARE YOUR RESPONSIBILITY.
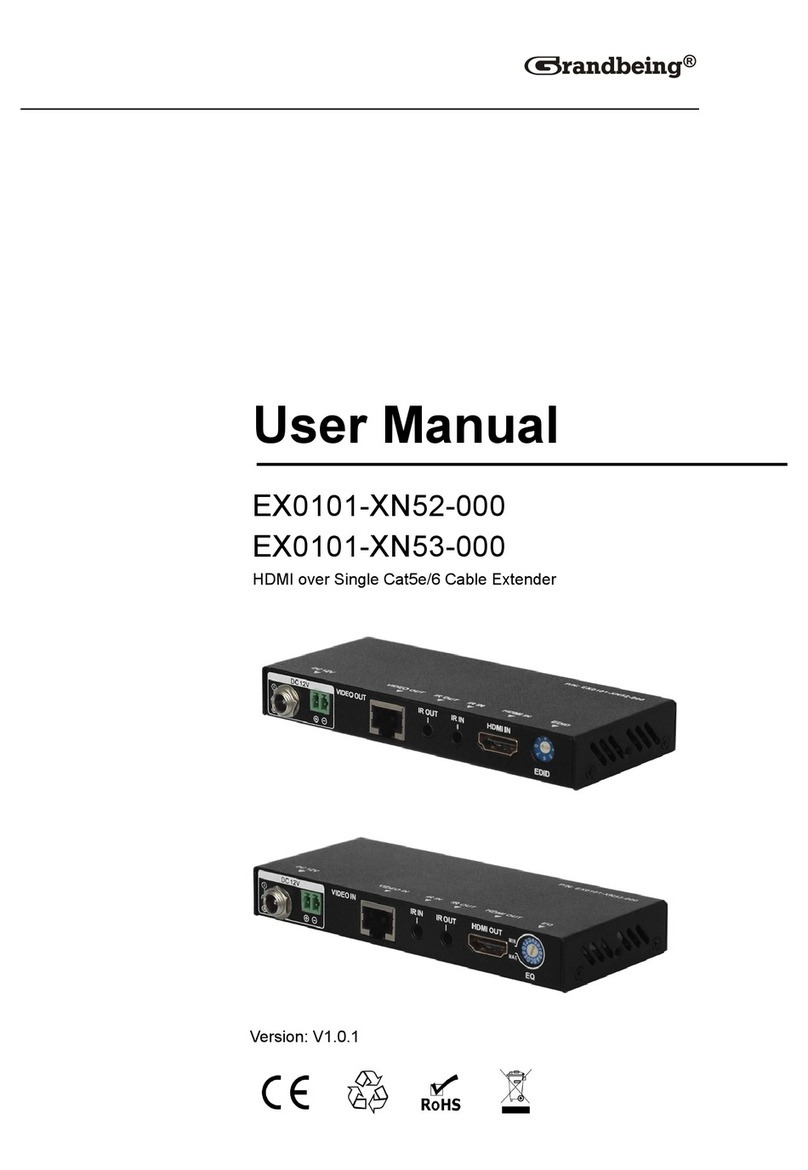
This manual suits for next models
2
Other Grandbeing Extender manuals

Grandbeing
Grandbeing EX0101-OP5 User manual

Grandbeing
Grandbeing EX0101-N343-000 User manual

Grandbeing
Grandbeing EX0101-U56 User manual

Grandbeing
Grandbeing EX0101-XN52-000 User manual

Grandbeing
Grandbeing GB07_CAT5E_HDMI User manual

Grandbeing
Grandbeing EX0101-HE1 User manual

Grandbeing
Grandbeing EX0101-U30 User manual

Grandbeing
Grandbeing EX0101-U50 User manual

Grandbeing
Grandbeing EX0101-U52 User manual

Grandbeing
Grandbeing EX0101-U32/U33 User manual