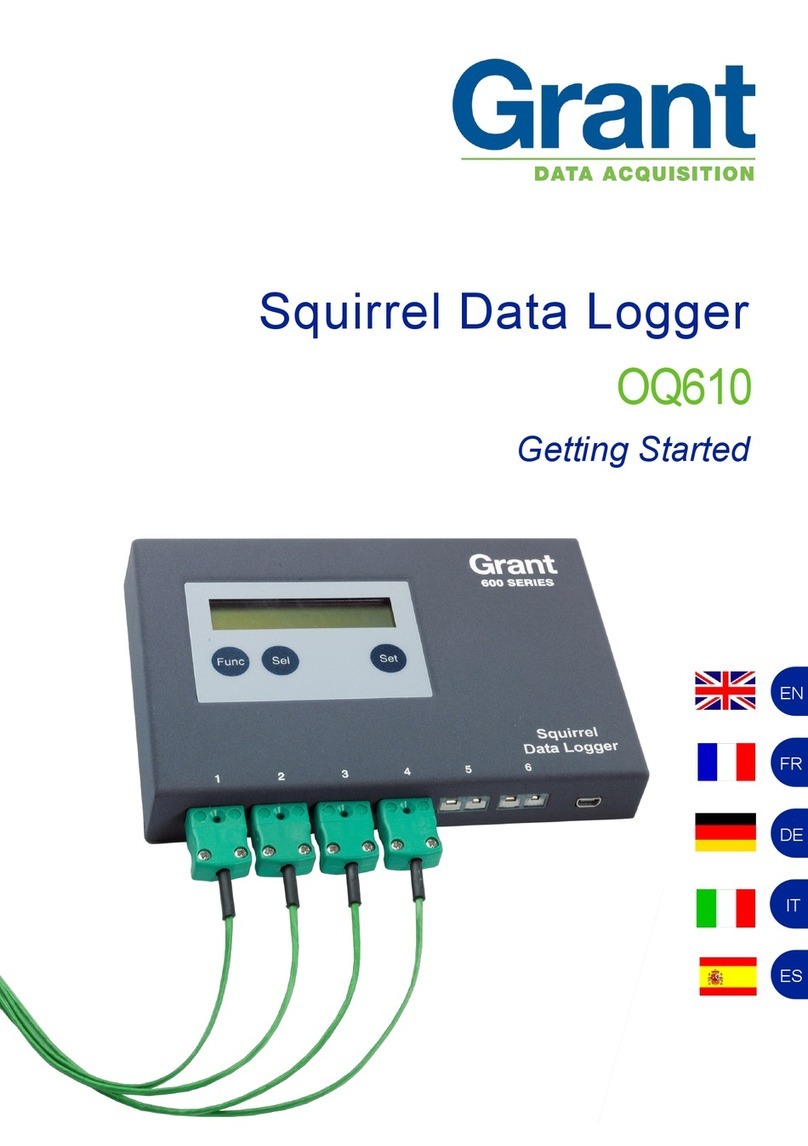
Grant 20 Series User manual

Configuring the 20xx Wired and Wireless
Ethernet Device
Squirrel Data Logger
Getting Started
Grant
D A T A A C Q U I S I T I O N

Version 1 - December 2009 29486
Page 2
www.grant.co.uk
Contents
1. Overview.........................................................................................3
2. Setting up the 20xx Loggers IP Address................................4
3. Email Notification Setup..............................................................6
4. The SQ20xx Applet.....................................................................10
5. Setting Up a Wireless Ethernet Logger.................................12
6. Setting Up a Direct Connection to a PC...............................17
7. Configuring the Data Logger for WiFi...................................22

29486 Version 1 - December 2009
Page 3
www.grant.co.uk
1. Overview
This document describes the process for configuring the 20xx range of loggers inbuilt Ethernet
adaptor.
Prerequisites
Before proceeding with the installation you will require all of the following:
- A 20xx logger with inbuilt Ethernet, externally powered
- A networked PC that is able to access the network on which you intend to connect the
20xx logger
- An Ethernet connection on the network you wish the SQ20xx logger to reside.
- Before proceeding you must speak to your network administrator to get the following
information regarding the network you will be connecting the SQ20xx logger to:
○The network gateway
○The network subnet mask
○An available IP address.
This should ideally be a static IP address.
If a static address cannot be found then the next best would
be an assigned address.
The worst case would be a leased address with a significant
timeout.
NOTE: One of the above must be found. Failure to do so could result in problems communicat-
ing with the logger in the event of a reset caused by a power failure.
- When you have the details from your network administrator as detailed above note
them down here as they will be required when setting up communications from within
SquirrelView and the logger.
○IP address. _____._____.______._____
○Subnet mask _____._____.______._____
○Network gateway _____._____.______._____

Version 1 - December 2009 29486
Page 4
www.grant.co.uk
2. Setting up the 20xx IP Address
2.1 SQ20xx Discovery
The 20xx Discovery program will allow you to find and select the 20xx logger(s) to be setup.
To run:
1. Use the Find Device button within the Communication wizard of the Squirrelview soft-
ware or go to the following directory:
a. \Program Files\SquirrelView\Tools\SQ20xx_Ethernet
And double click on the file Finder.exe. The 20xx Discovery program should appear as
below after completing a search for connected 20xx loggers.
Next click on the logger you wish to configure in the list of devices:

29486 Version 1 - December 2009
Page 5
www.grant.co.uk
Then click on the ‘Configure IP Settings’ button to display the configuration dialog
From this dialog you can type in the settings provided by your network administrator by select-
ing the ‘Manually configure network settings’ radio button.
After filling in the three fields type dbps
into the password field.
Finally click ‘Apply’ to send your settings
to the logger.
Configuration of the IP settings is now
complete

Version 1 - December 2009 29486
Page 6
www.grant.co.uk
3.Email Notification Setup
The logger may be setup to send an email when a new alarm is raised. Before starting to
setup the alarm notification you need to ensure you have the following:
- Access to a web browser which can be connected to the 20xx device
- Mail Server Address
- Logger IP address
- Email Address for recipient
To setup email notification perform the following steps:
- Open web browser
- Type in the address of the 20xx logger followed by /home.htm
○e.g. http://192.168.1.237/home.htm
- Enter username and password
○Username –‘root’ (default)
○Password –‘dbps’ (default)
- Select alarms

29486 Version 1 - December 2009
Page 7
www.grant.co.uk
- Tick the ‘Enable alarm notifications’ tick box
- Type in the IP address of your companies mail server
- Type in the email address of the logger
- Tick ‘Enable’ tick box of the Alarm 1
- Click on the ‘Apply Button’ at the bottom of the window

Version 1 - December 2009 29486
Page 8
www.grant.co.uk
- Click on the Alarm 1 to configure.

29486 Version 1 - December 2009
Page 9
www.grant.co.uk
NOTE: It is important to follow the instructions above as written as other configuration
options are not supported.
Once configured as described, an email will be sent upon any Squirrel alarm becoming
active.
- In the ‘Pin 2’ pull down box select the ‘Low’ option
○Ensure that all other pins are set to ‘Ignore’
- Tick the ‘Send E-mail to the following recipients when the alarm occurs’ tick box
- Type in the email address you wish the notification to be sent to
- Type in the text you wish to appear in the subject field of the email.
- Finally click on the ‘Apply Button’ then logout of the 20xx device setup page.

Version 1 - December 2009 29486
Page 10
www.grant.co.uk
4.1 Prerequisites
Before proceeding with the installation you will require all of the following:
- You must complete the previous section(s) in this document i.e. the device must be
configured and communicating with SquirrelView.
- The users browser must have the latest Java Virtual Machine from Sun Microsys-
tems installed. (See following section)
4.2 Checking the browser JVM Version
Before running the SQ20xx Applet the Java Virtual Machine (JVM) of the browser should be
upgraded to the latest version from Sun Microsystems. To check the JVM on a machine run-
ning Microsoft Internet Explorer perform the following steps:
1. Start Microsoft Internet Explorer browser.
2. Select the ‘Tools’ menus and then the ‘Internet Options..’ menu item.
3. In the next dialog click on the ‘Advanced’ tab.
4. Scroll through the list of items and check for an entry with the title ‘Java (Sun)’. If this
does not exist or the version number is less than ‘Java 2 v1.4.2_04’ then you should
carry out the steps in the ‘Updating the Java JVM’ section.
4.3 Updating the Java JVM
The latest JVM can be downloaded from the web site www.java.com. From this site select the
‘Manual Download’ link and then download the appropriate file for your operating system. If
you are using Microsoft Windows use the ‘Windows (Offline Installation)’ link and double click
on the downloaded file to install the JVM.
4.4 Execution Over an Intranet
You may now run the SQ20xx applet by entering the IP address of the SQ20xx device in a
browser.
This will bring up the SQ20xx Ethernet Configuration and Management window.
- Enter username and password
○Username –‘root’ (default)
○Password –‘dbps’ (default)
Click on the ‘Set as Default’
This will enable a connection straight to the SQ20xx applet in future when the IP
address is entered into the browser. The Username and Password will need to be
enter each time.
To enter the SQ20xx Ethernet Configuration and Management window after this you will need
to type in the IP address of the 20xx logger followed by /home.htm to the browser.
○e.g. http://192.168.1.237/home.htm
4. The SQ20xx Applet
29486 Version 1 - December 2009
Page 11
www.grant.co.uk
4.5 Execution Over the Web
Once the SQ20xx Applet is working over the intranet the user must get access to this from
the internet to view the applet from the web. To do this the users I.T. department should
allow access to the devices IP address from an IP address or URL external to the compa-
nies.

Version 1 - December 2009 29486
Page 12
www.grant.co.uk
5. Setting Up a Wireless Ethernet Logger
Prerequisites
Before proceeding with the installation you will require the following.
- A 20xx Data Logger with wireless Ethernet and external Power Supply
- A wireless router that is either connected to a Network or direct to the PC
- Before proceeding you must speak to your network administrator to get the following
information regarding the network you will be connecting the SQ20xx logger to
Network SSID Name
Network Channel Number
Network Encryption Key
5.1 Configuring the Wi-Fi connection
Attach the logger to the PC via USB and click on the Communication Wizard button in the
SquirrelView software.
Choose the Ethernet (wired / wireless) option and click Next.

29486 Version 1 - December 2009
Page 13
www.grant.co.uk
Then choose Configure wireless options for a logger with in-built wireless Ethernet
And click on Next
With the logger connected via USB the logger should be displayed as below. Click on Next

Version 1 - December 2009 29486
Page 14
www.grant.co.uk
For setting up a connection with a wireless router on a network select the Access
points (Infrastructure) option.
The SSID name of the wireless access network point is now entered. For a WPA connec-
tion you will require the network name assigned by your IT department or network adminis-
trators. For a WEP connection the SSID may be left blank and any available network will be
found. The Channel number can be left as Auto-scan or entered if it is known.

29486 Version 1 - December 2009
Page 15
www.grant.co.uk
Choose the type of security your wireless network is using, if not known it should be sup-
plied by your IT department or network administrators. Click on Next
On the next screen fill in the encryption key as supplied by your IT department and click on
Next.
Window for WEP 64 and 128 encryption
Key
Window for WPA and WPA2 encryption
key

Version 1 - December 2009 29486
Page 16
www.grant.co.uk
On the next screen click on Finish

29486 Version 1 - December 2009
Page 17
www.grant.co.uk
6. Setting Up a Direct Connection to PC
Prerequisites
Before proceeding with the installation you will require the following.
- A 20xx Data Logger with wireless Ethernet and external Power Supply
- A wireless connection on a laptop or PC
6.1 Configuring the Wi-Fi connection
Attach the logger to the PC via USB and click on the Communication Wizard button in the
SquirrelView software..
Choose the Ethernet (wired / wireless) option and click Next.

Version 1 - December 2009 29486
Page 18
www.grant.co.uk
Then choose Configure wireless options for a logger with in-built wireless Ethernet
And click on Next
With the logger connected via USB the logger should be displayed as below. Click on Next

29486 Version 1 - December 2009
Page 19
www.grant.co.uk
For setting up a direct connection to a laptop or PC select the Peer-to-peer (Ad-hoc)
option.
The SSID name of the wireless access network point is now entered.

Version 1 - December 2009 29486
Page 20
www.grant.co.uk
Choose the type of security your wireless network is using, if not known it should be supplied
by your IT department or network administrators. Click on Next
On the next screen fill in the encryption key as supplied by your IT department and click on
Next.
Table of contents
Other Grant Data Logger manuals

Grant
Grant OQ610-S User manual

Grant
Grant Squirrel OQ606 User manual

Grant
Grant sq16 User manual

Grant
Grant 2020 Series User manual

Grant
Grant Squirrel SQ2010 SERIES User manual

Grant
Grant SQ1600 Use and maintenance manual

Grant
Grant Squirrel SQ2010 SERIES User manual

Grant
Grant Yoyolog User manual

Grant
Grant 2020 Series User manual

Grant
Grant sq16 User manual