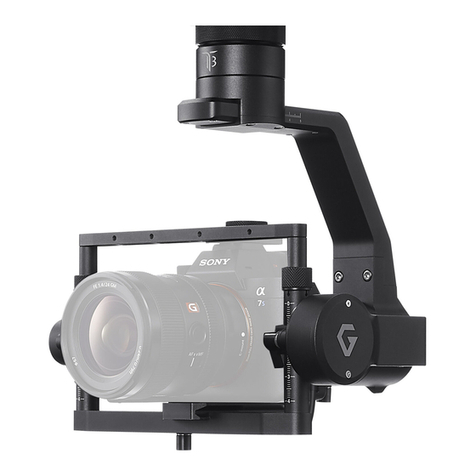
GREMSY H3 User manual

GREMSY H3 USER MANUAL
Ver 1.6

The GREMSY H3, a 3-axis gimbal is the lightest and most
powerful gimbal in its class for both handheld and aerial ap-
-
-
nient during transport. Designed to be as light as possible, the
gStabi H3 can support a wide range of professional cameras
and accessories with a combined weight of up to 3.7lbs.

• GREMSY H3 components
•
•
•
•
• Using the built-in stand
•
• Powering up the H3
• Status LED indicator
•
•
•
•
•
•
•
•
•
•
•
• Roll axis balance
• Pan axis balance
•
• Auto tuning
•
•
•
•
1
2
3
3
4
5
5
6
7
8
10
11
13
14
15
16
28
28
28
24
26
27
17
18
19
21
22
23
29
30
31

01
Top handle
Pan motor
Pan axis adjustment
Side handles
Built-in stand
Tilt motor
Roll motor
Roll axis extended adjustment
01.
02.
03.
04.
05.
06.
07.
08.
09.
10.
11.
12.
13.

“3400 mAh”
the charger is ready to charge.
-
ing colored terminal on the charger.
is being charged. The charge status LED and the cell status LED will light
solid red.
charged.
now ready for use.
Baery Type: Lithium Ion
Capacity: 3400 mAh
Voltage: 11.1V
Max Connuous Discharge: 2C (6.2A)
Max Charge Voltage: 4.2V per cell
Minimum Discharge Voltage: 3.0V per cell
Dimensions: 71mm (L) x 34mm (W) x 34mm
(H)
Weight: 143.5g
AC Input Voltage: 100-240V, 50-60HZ
Output Power: 20W
Charging Current (Selected by Switch): 1A, 2A, 3A
Current Drain for Balancing: 200mA
Dimensions: 135mm (L) x 35mm (W) x 20mm (H)
Weight (Without Cable): 176g
4 LEDs for Balancing Indicator
1 LED for Charging Status
01.
02.
03.
04.
05.
06.
07.
08.
09.
01 02 03 04 05 06 07 08 09
02

•
•
-
ment then insert the other side.
of the H3.
03
“OFF”

otherwise
result in a loss of performance and a shortened life expectancy.
-
other way.
-
ware.
with water
is being used as explained in the user’s manual.
expectancy.
disposal.
04

stand.
Slide hotshoe on to the camera. Put the camera on to the camera tray.
for more detail.
Be careful when you pop-out the stand, the legs of the stand might hit your eyes.
Use hand to close the 2 carbon rods then push it inside the
side handles.
05

-
self tests, which last about 10 seconds and will determine the status of the
camera.
If the status LED is blinking red, the baery is empty.
If the status LED is solid red, something is wrong with the sensor and motors cannot start.
Connect to the soware/apps to check details of the error message.
Read “LED STATUS INDICATOR” in next secon for more informaon.
NOTE:
06
“ON”
“Status
LED”

07
System ErrorMotor orMU
System Boot
System Ready
Lo Mode
llow Mode
Remote with Lo Mode
Remote with llow Mode
STATE LED STATUS
1
2
3
4
5
6
7
8
9
Solid
Solid
Solid
Solid
Solid
Blin
Blin
Blin
Blin
Blin
Blin
Blin
10
11
12
Auto-tuning in process

if there is a remote control signal, changing modes or turning motors
The GREMSY H3
-
Pos 01
Pos 02
Pos 03
01
Motors on
02
Motors on
03
08
PRESS T S
Turn motors on
L
llow mode
Hold 3 seconds

window to toggle between modes.
09

www.gremsy.com -> Support -> Soware & Manuals.
10

USB
www.gremsy.com -> Support -> Soware & Manuals.
1 - Power on the H3.
5 - Select the port in the list.
Serial Port List
11

v
gremsygstabi
gremsygstabi
gremsygstabi
12

-
There are 3 axes that need to be precisely balanced prior to powering up the gimbal.
1.
-
screw .
2.
to the hotshoe. Gently slide the camera for-
3. Tighten the thumbscrew and the top bar
13

1.
adjustment clamps.
2. Gently slide the camera tray and the top
3.-
same.
14

1.
right.
2.
3.
15

1.
slider to allow the pan axis slider to slide
4.
2. Align pan axis parrallel with the handle
axis rotates.
5. Try sliding the pan axis slider to the front
3.
the low side it means the gimbal is front
16

17
Table of contents
Other GREMSY Camera Accessories manuals