Page 4
The Manual Reset also applies to the buzzer alarm. If the buzzer alarm is active, pressing the TEST switch
will "silence" the buzzer. If the buzzer alarm was active but the CO level has been reduced below the trip
point, then the TEST switch must be pressed to reset the buzzer alarm to the Normal Mode.
OPERATION - TEST MODE
The Test mode function is disabled by default, it must be enabled via the menu to operate. To initiate the
Test function during normal operation, either press and hold the TEST switch for 1 second or activate it
remotely by shorting the TEST + to TEST – (COM). This will cause the Status LED to blink red, the analog
output to go to 100% and both relays to activate. The buzzer will also beep once every 15 seconds if
enabled and the LCD will indicate theTest mode and the remaining time. TheTest function will continue for
5 minutes (default) and then the device will reset to normal operation. The Test function can be canceled
by pressing the TEST switch a second time. Test mode cannot be activated if the device is in Fault, Alarm or
Re-Cal modes of operation, only in Normal mode. The Test function is useful to verify the output and alarm
relay operation and the Test time can be programmed via the menu.
OPERATION - FAULT MODE
The Fault mode function is disabled by default, it must be enabled via the menu to operate. The Fault
function will monitor the CO sensor lifetime and indicate when the CO sensor should be replaced. If the
device determines that the sensor has reached the end of it's useful life and that replacement is necessary
it will enter Fault mode. This will cause the Status LED to blink red and the buzzer to beep once every 10
minutes. The LCD will periodically show "Sensor Fault". The Fault mode can be disabled via the menu or
enabled at any time. If enabled, and the device is in Fault mode, pressing the TEST switch will "silence" the
buzzer due to the Fault alarm only. Buzzer silence due to the Fault alarm will hold until the fault condition
is reset via the menu. The buzzer may still activate due to a CO set-point alarm if enabled.
OPERATION - RE-CAL MODE
The Re-Cal mode function is enabled by default, it must be disabled via the menu if it is not required.
The Re-Cal function will monitor the device and indicate when the CO sensor should be re-calibrated.
If the device determines that the sensor requires re-calibration it will enter Re-Cal mode. This will cause
the Status LED to blink red and the buzzer to beep once every 10 minutes. The LCD will periodically show
"ReCal Required". If enabled, and the device is in Re-Cal mode, pressing the TEST switch will "silence" the
buzzer due to the ReCal alarm only. Buzzer silence due to the ReCal alarm will hold until the ReCal condition
is reset via the menu. The buzzer may still activate due to a CO set-point alarm if enabled.
OPERATION - USER MENU
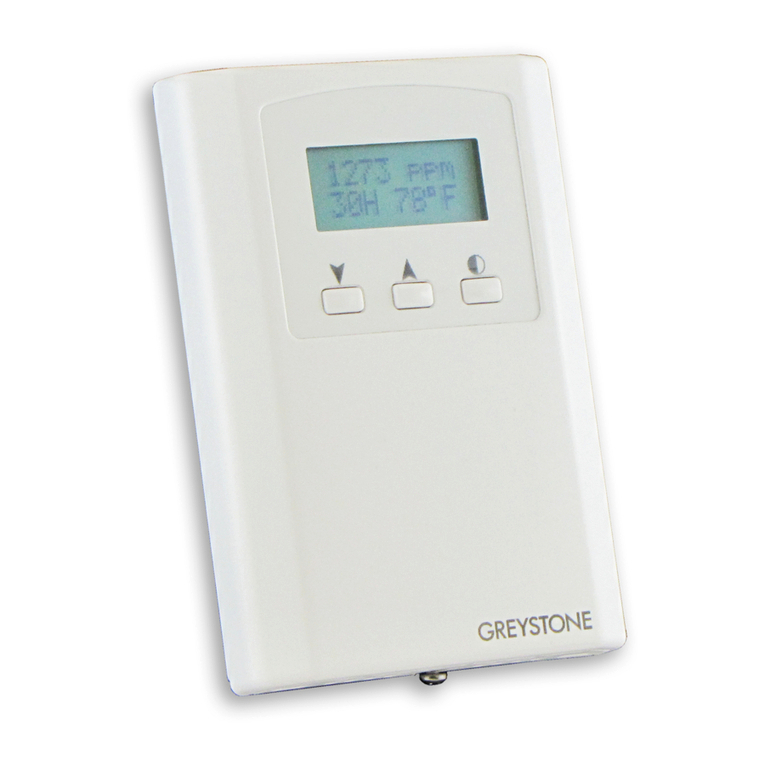
The device has several parameters that can be congured locally via the User menu using the keypad and
LCD. All parameters default to typical values but the installer may want to change some values. In some
cases, such as the device network address, the installer MUST change the settings before operation. Any
changes made are saved in non-volatile memory and are restored in case of a power loss. Only the menu
items relevant to the device model will be shown. The menu can be accessed at any time after the warm-
up mode and if there is 5 minutes of inactivity the menu will close and normal operation will continue.
Note that the TEST switch has no aect when the User menu is in use.
The menu has several items as shown below. To enter the menu, press and release the <MENU> key. This
will enter the User menu step 1, pressing the <MENU> key a second time advances to step 2. Each press
of the <MENU> key advances the menu item. No values are saved or changed by using the <MENU> key.
The <ROLL> key is used to make changes to program variables by scrolling through the available options.
Holding the <ROLL> key pressed will scroll through some options at a faster rate. When a value is changed,
use the <SAVE> key to save it to memory and advance to the next menu item. The rst column below
shows what will be displayed on the LCD, including the default value. The following screen examples show
the default setting.
<Menu> Press and release the <MENU> key to enter the User Menu.
CO Range
0-300ppm
Press the <ROLL> key to scroll through the available options. The CO sensing
range and output scale can be changed to 0-100ppm, 0-150ppm, 0-300ppm,
0-400ppm, or 0-500ppm Press the <SAVE> key to save any change.
<MENU> Press to advance to next menu item
1. CARBON MONOXIDE RANGE
IN-GE-CMD5B4XXX-01-02 03/19 Copyright © Greystone Energy Systems, Inc. All Rights Reserved Phone: +1 506 853 3057 Web: www.greystoneenergy.com
