24 pages 105mm x 148mm (A6) 160gsm Gloss Art Stock 4 colour process double sidedDC58HA - CPIN004615/2
32
This SMART hardwired door chime is designed for use in homes, apartments,
offices, garages and sheds. It has been developed to be easily set up and operated,
giving you and your family the security and peace of mind that you deserve.
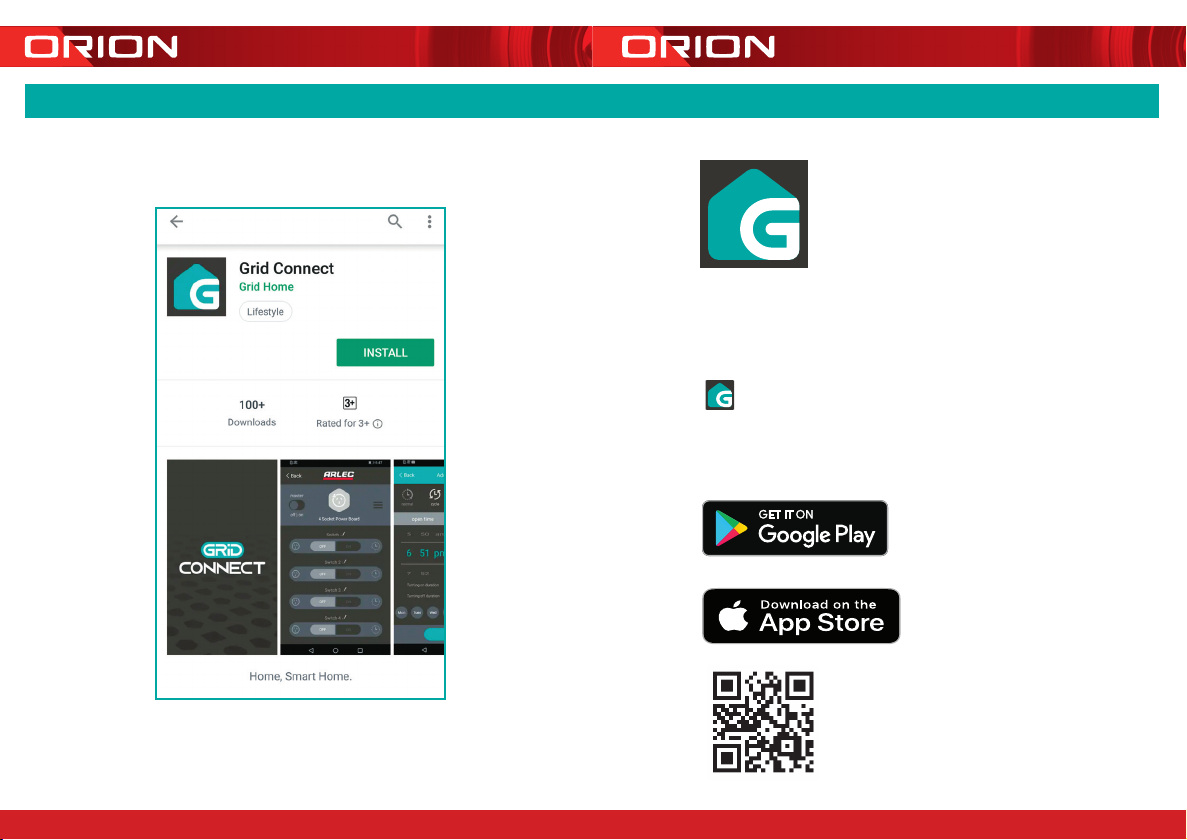
Install the Grid Connect mobile app, available for both iPhone and Android devices,
to monitor your doorbell remotely.
The Grid Connect app is free to download and is available from the Apple App Store
and Google Play.
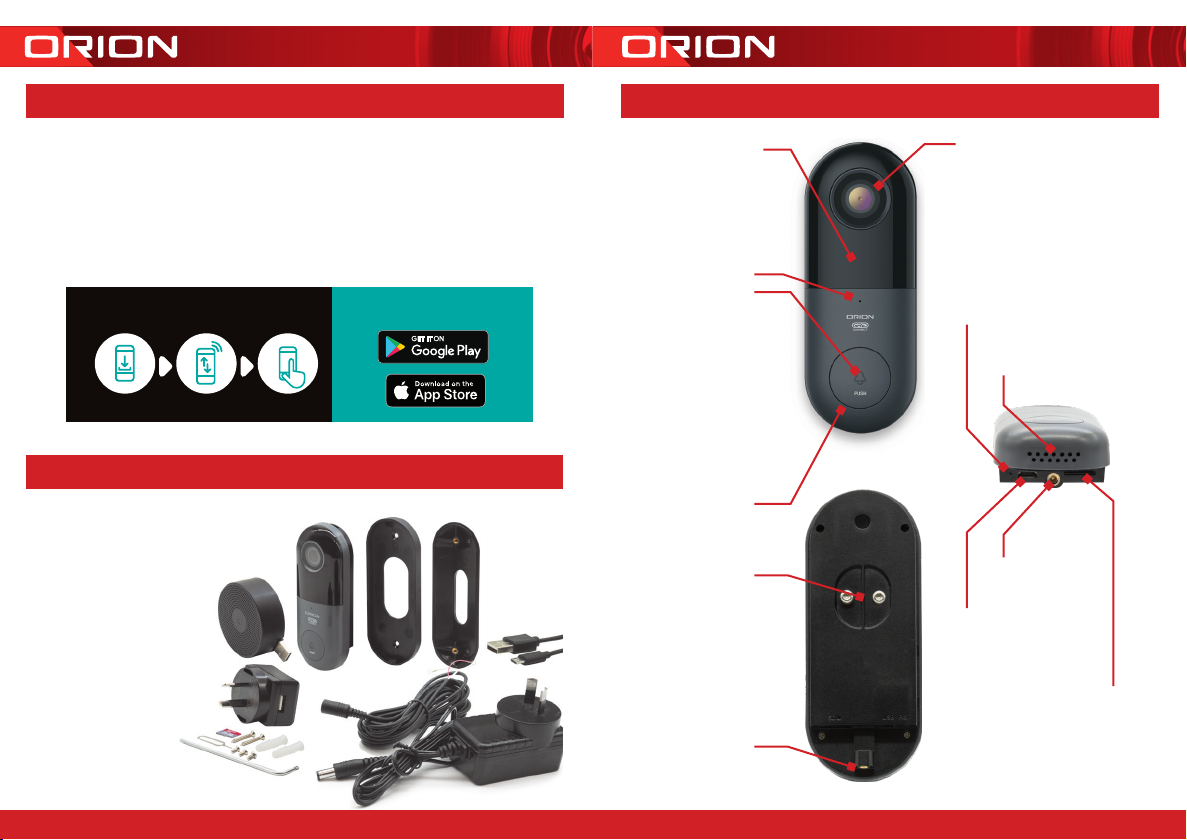
1 x Smart Video Doorbell
1 x Indoor Chime Unit
1 x Flat Wall Mount
1 x Angled Wall Mount
1 x USB Cable
1 x DC 5V Power Adaptor
(for pairing and indoor
chime unit)
1 x DC 12V Power Adaptor
(power supply of the doorbell)
1 x 4m Extension cord
2 x Screws and Wall Plugs
1 x Micro SD Card
1 x L Shaped Screw Driver
2 x Power Port Screws
1 x Grub Screw
1 x Reset Pin
1INTRODUCTION
2CONTENTS
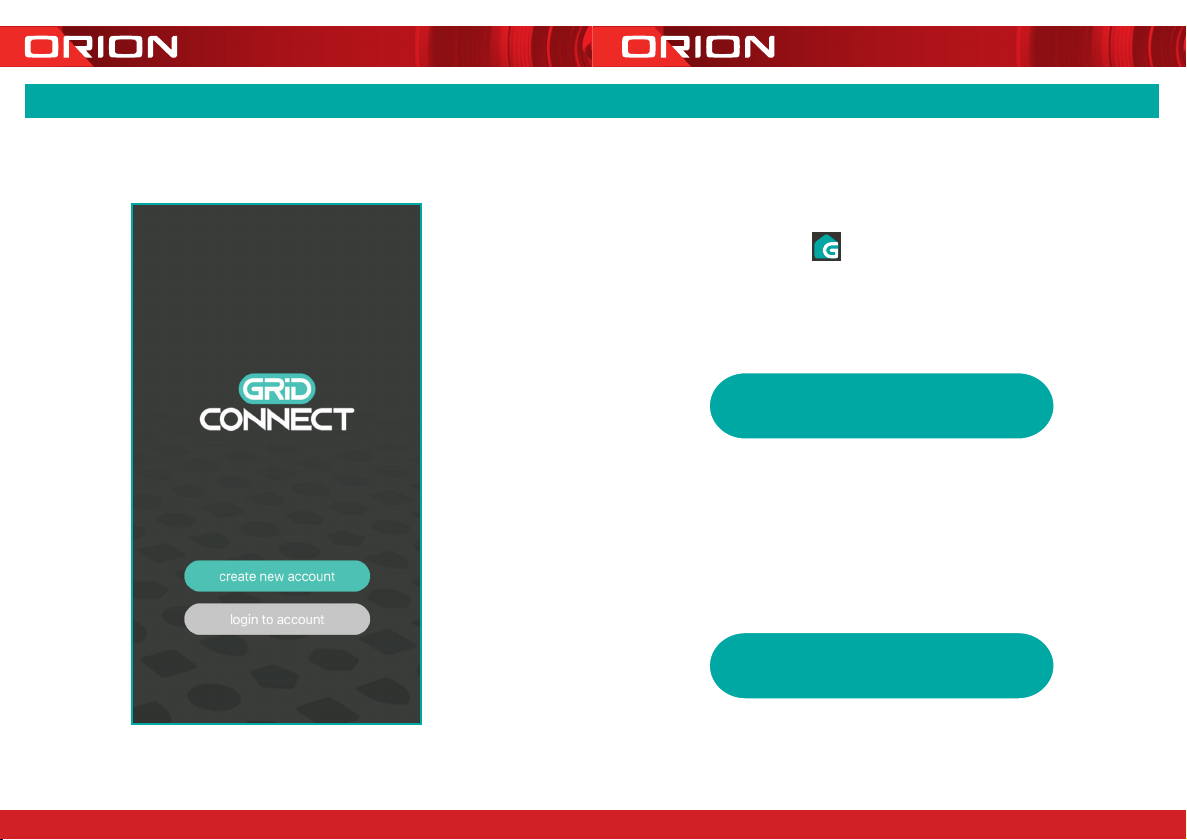
DOWNLOAD PAIR USE
Download from:
MONITOR FROM ANYWHERE
3IDENTIFICATION
External Power Ports
Connect supplied cable
from 12V DC adaptor
Reset Button
Use the pin to hold for 5 seconds
to reboot and clear all settings to
factory defaults. This will allow you
to connect with a different Wi-Fi
network if required.
Speaker
Two way audio
Grub Screw
Location
Grub Screw Location
USB Port
Power with supplied
cable and 5V DC adaptor
Micro SD Card Slot
Rolling storage micro
SD card 16GB included
(Max.128GB card supported)
Status Light
RED Solid Light:
indicates the device
has been reset and
is unpaired
RED Blinking Light:
waiting for Wi-Fi
connection
(Pairing Mode)
BLUE Blinking Light:
During pairing or lost
Wi-Fi connection
BLUE Solid Light:
Camera is running
correctly
Push Button
Press to activate
doorbell
Camera Lens
1080p HD, with
130° angle of view
Microphone
Light Sensor/
Infrared LEDs
Detects low light and
turns on the infrared
lights which allow the
camera to capture
both day and night
images.