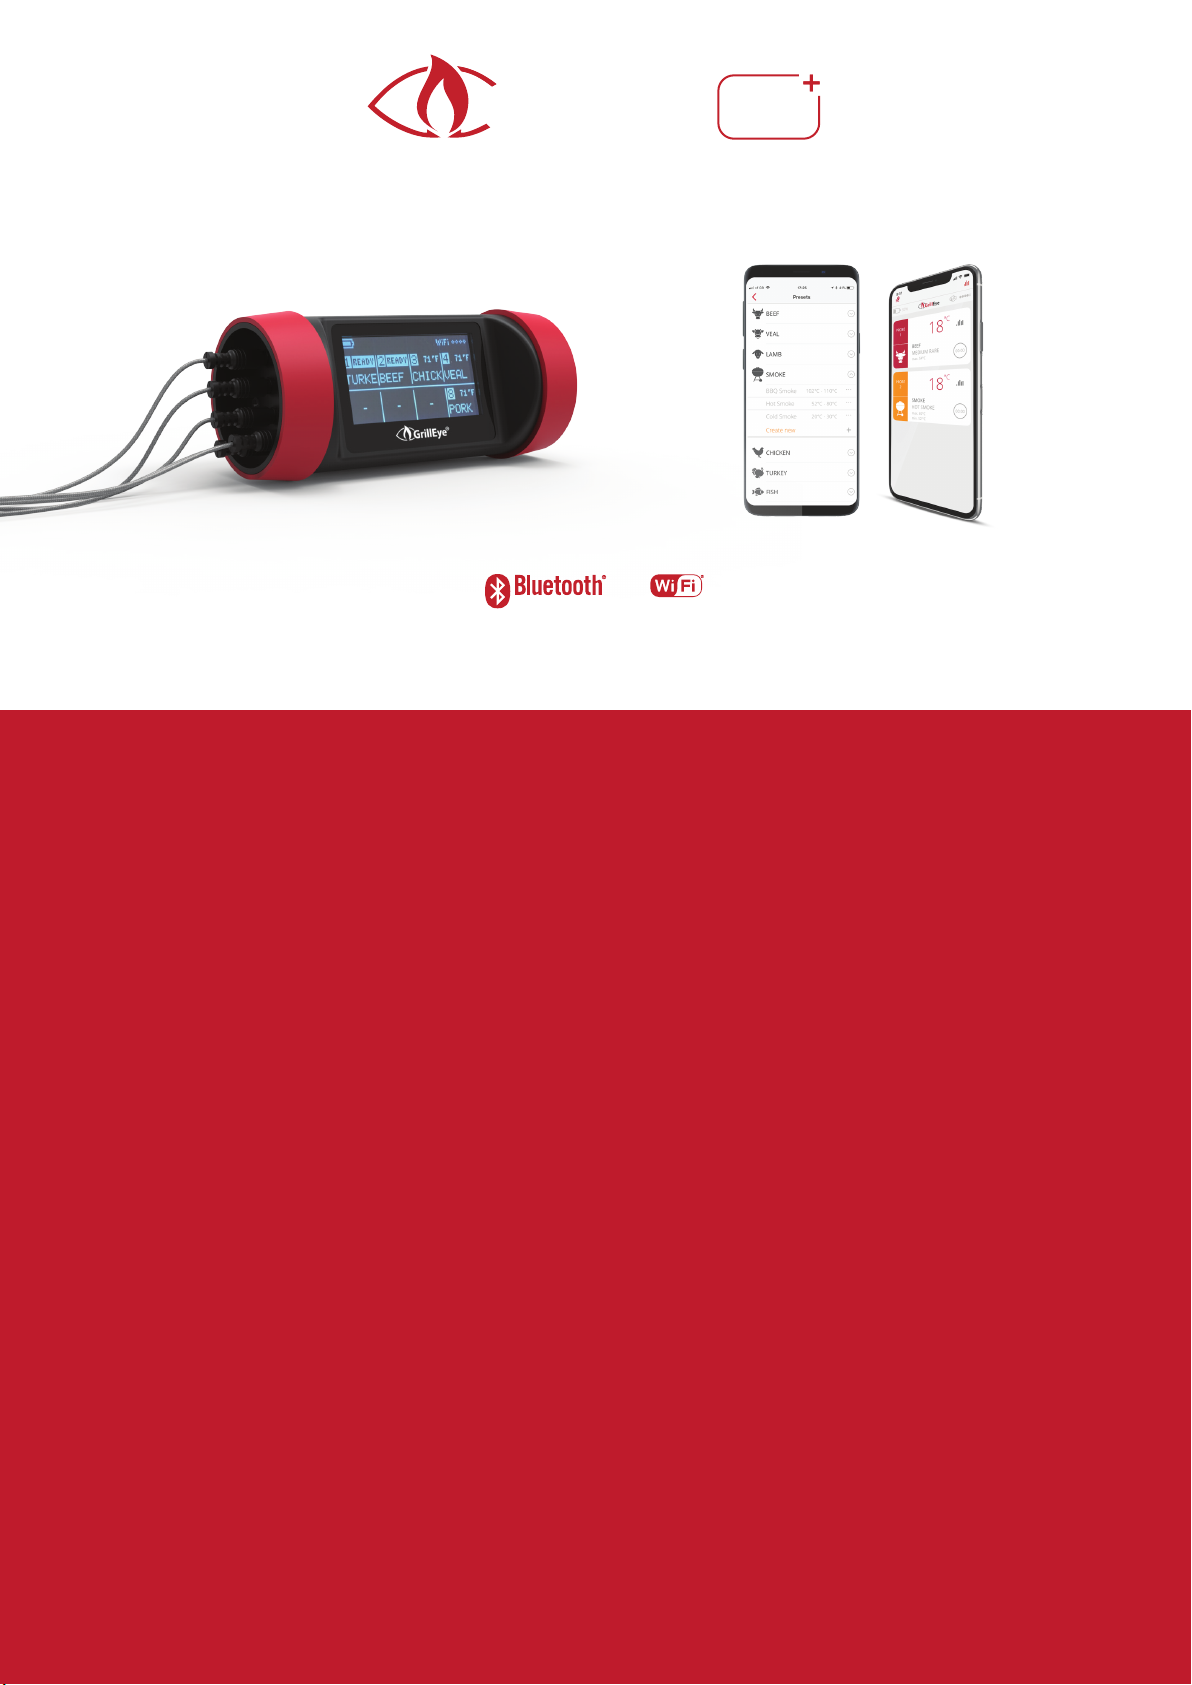
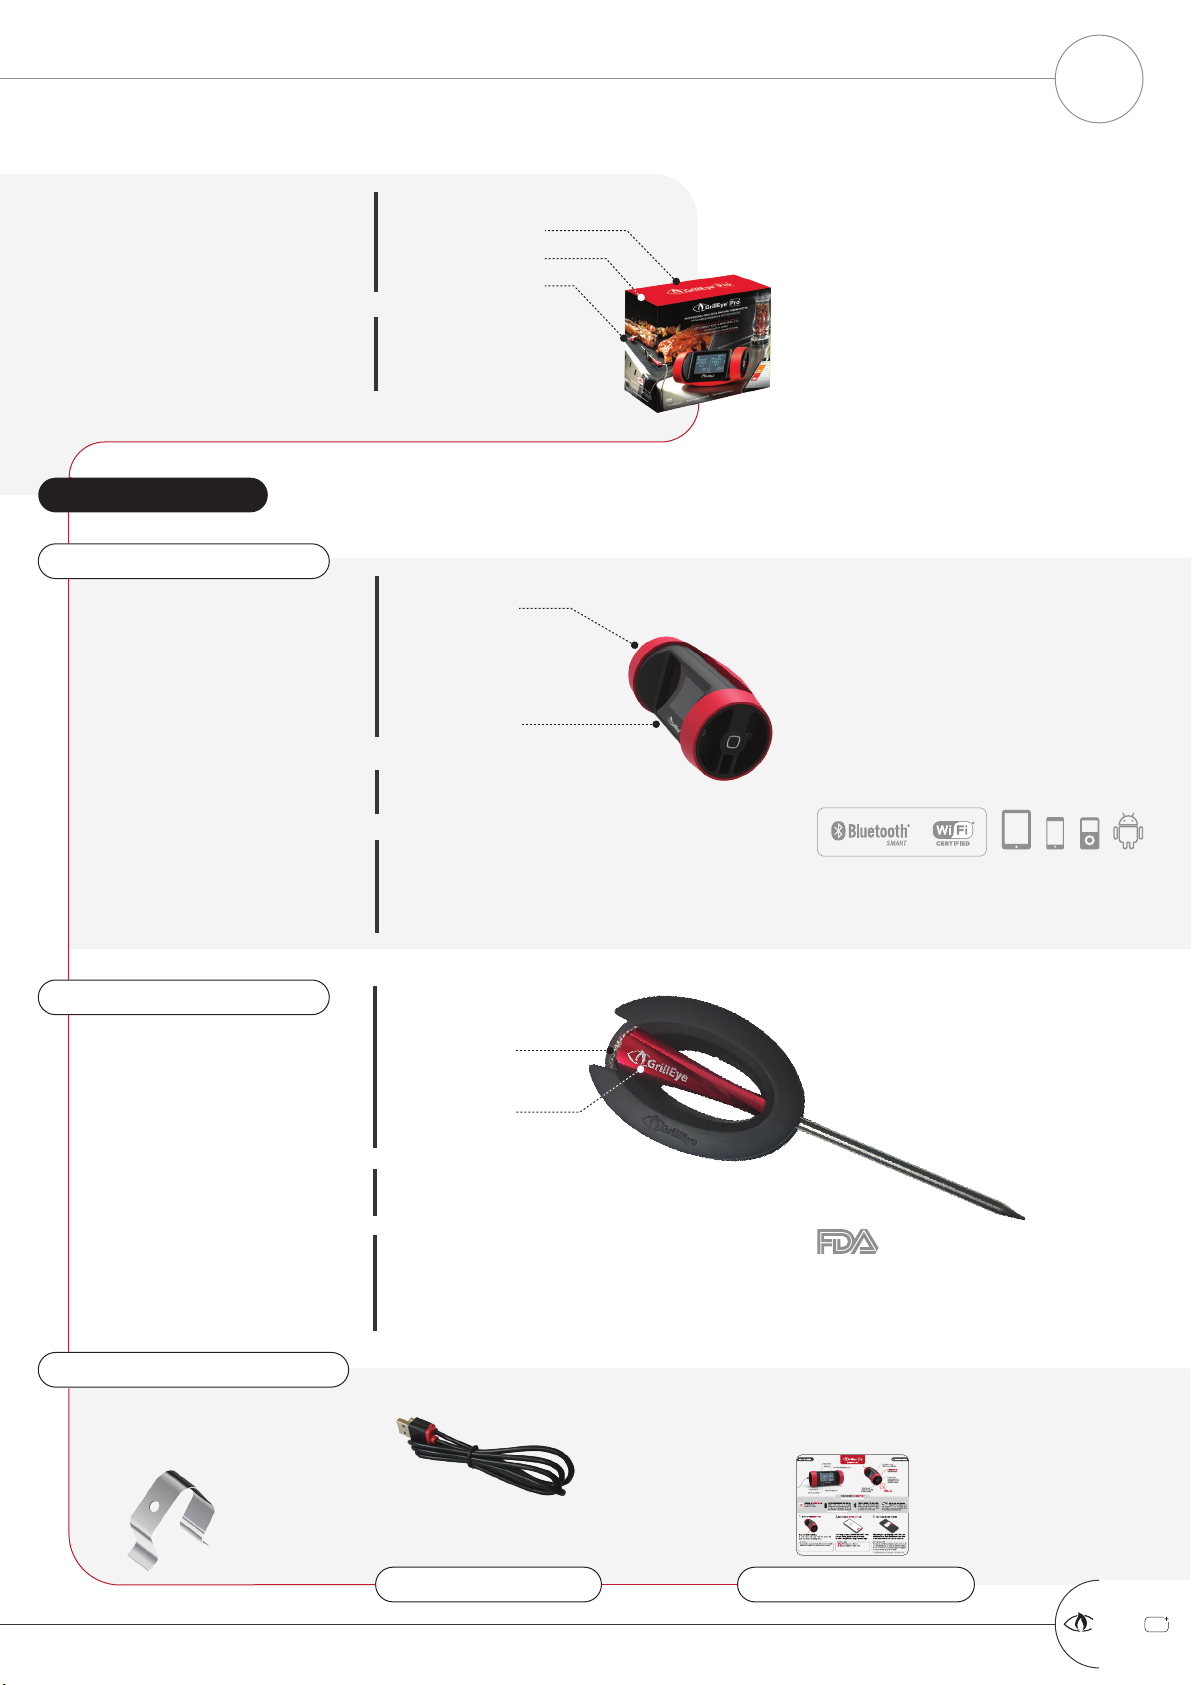
GrillEye Pro+ Service manual

EXTENDED USER GUIDE
4.0 or higher 802.11 b/g/n
revolutionary grilling and smoking thermometer
with hybrid-wireless connectivity
+
GrillEye Pro
®
Getting to know your GrillEye PRO Plus
P. 2 - product specifications
P. 3 - device details
Preparing to use
P. 4 - prerequisites
Setup
P. 5 - pairing, connecting to the Cloud
P. 6 - updating firmware, FAQs - common connectivity troubleshooting options
Customize
Start grilling/cooking
P. 7 - settings/preferences
P. 8 - select & deselect (remove) preset
P. 9 - create preset
P. 10 - edit/delete preset
P. 11 - temperature graphs: view, export and reset data
Useful tips
P.
12 -
probe and device recommended placement

Listening to you and learning along the way, made us feel comfortable with the fact that the path to
revolutionising the grilling and cooking industry is difficult. It also made us even more commited and
determined to walk it all the way.
In this path, we welcome and express our deepest appreciation to all of you out there that support us and
spread the word about our efforts and undertaken challenges.
2016 2017 2018 2019
Reflecting on our course to this
point, we have formulated
necessary plans in order to give our
members, years full of exciting
GrillEye developments.
The journey continues...
GrillEye®brand reaches over 3
continents, more than 29 countries
and houndreds of retail stores.
More importantly, it is established
as a reference point in the minds of
houndreds of thousands satisfied
customers, outranking know
brands.
Dec May
The GrillEye®PRO Plus is
launched.
Jun
The team starts working on the
GrillEye®PRO Plus; a device
that aims in revolutionising the
grilling and cooking industry.
Mar
The GrillEye®is launched and rocks
the Bluetooth grilling and smoking
thermometers market with 100m
Bluetooth range and 6-ports.
May
LEARNING AND EXCELLING
A LOOK AT OUR COURSE
WITH OUR MEMBERS IN MIND
THANK YOU FOR YOUR SUPPORT!

+
GrillEye Pro
®
USB-A to USB-mini
USB CABLE
1x
C
M
Y
CM
MY
CY
CMY
K
GrillEye PRO+ Device_QUM_ver.1.2 (EN-2print).pdf 1 10/07/2018 12:49
USER MANUAL
1x
2x STAINLESS STEEL CLIPS
for ambient
temperature readings
2x
Range: -50 to 300 °C / -58 to 572 °F
Accuracy: ± 0,5 °C / 1.8 °F
Max. Tolerance: 380 °C / 716 °F
N.W.: 45gr / 0.1 lbs
Wire Length:
115 cm / 45.28”
Probe Length:
9.4 cm / 3.70“
Grip Length:
4.8 cm / 1.89”
GRILLEYE PRO PROBE
CERTIFIED
Including wrap for
easy folding and storage
Constructed solely out of space-grade
aluminium and stainless steel
FDA reg. no.: 14788163190
DIMENSIONS
WEIGHT
TEMPERATURE SPECS
1x
* proximity illumination active
Type: Li-Ion, 2500 mAh
Life: up to 48+ hrs*
N.W.: 240 gr / 0.53 lbs
Diameter:
~ 6 cm / 2.36”
Length:
13 cm / 5.11”
Works with the GrillEye® PRO app.
Requires WiFi® 802.11 b/g/n,
Bluetooth® Smart enabled device
(Bluetooth® v.4.0). iPad Mini™, iPad®
3 and later, iPhone® 4S and later,
iPod touch® 5th gen and later.
Android™ phones equipped with
Bluetooth® v.4.0, running 4.3 or later.
DIMENSIONS
WEIGHT
GRILLEYE PRO PLUS SYSTEM REQUIREMENTS
Design, Manufacturing,
Assembly, QC: EUROPE
BATTERY
WHAT’S IN THE BOX
Part No.: GE0003
EAN / UPC: 5213008050020 20.5 cm / 8.07”
6.9 cm / 2.74“
18.8 cm / 7.40”
PRODUCT INFO DIMENSIONS
WEIGHT
N.W.: 440 gr / 0.97 lbs
G.W.: 550 gr / 1.21 lbs
PRODUCT SPECIFICATIONS
GETTING TO KNOW YOUR GRILLEYE®PRO PLUS 2

+
GrillEye Pro
®
WHEN MOUNTED, ROTATE USING BOTH HANDS
When mounted, force applied for rotating the body will
cause the device to unmount and fall.
Rotate the body to hide the screen
and protect it while storing it.
Rotation
handle
Rotation axis
Place your
fingers on the
rotation handle to
rotate the core of the
PRO Plus until you reach
the desired viewing or
storage angle.
ROTATING BODY
360°
DO NOT MOUNT ON HOT SURFACES
Although the PRO Plus is constructed of high-quality
engineering thermoplastics (UL94-V0 class), if a surface
is too hot for you to touch, it’s too hot for the PRO Plus.
So, do not mount on your grill’s lid, near the grate etc.
MAGNET STRENGTH ON ALLOYS (e.g mixtures of steel and
aluminium) may be reduced. Magnets in general work
better on surfaces made of pure steel.
The GrillEye PRO Plus
can be attached to any
metal surface thanks to its
magnetic mount (4x neodymium
magnets included), which is covered by
high-quality silicon. Silicon increases friction so
that your PRO Plus doesn’t slip no matter the
texture of the surface where the PRO Plus is
sitting on.
MAGNETIC MOUNT
1x
use the cable included or any USB-A to
USB-mini cable
Power ON - press once
Power OFF - hold for 2 seconds
Restart - hold for 3-9 seconds
Reset - hold for 10 or more seconds
Silence alarm - press once while alarm is triggered
USB Charging port
PURPOSE BUTTON + 1x CHARGING PORT
4x
PROBE PORTS8x
The 8 ports are
protected by the PRO
Plus body, thus offering
care-free outdoor use.
5-8 PROBES
Preset selected
Current temperature
Number of port connected
Current temperature
Preset selected (e.g. Beef Rare)
Number of port connected
2-4 PROBES
1 PROBE
Current temperature
Target/preset temperature
Preset selected (e.g. Beef Rare)
Number of port connected
NO PROBE Cloud connectivity
full cloud = connected
striked-through cloud = disconnected
Connection type & strength
Bluetooth OR WiFi
Cloud connection possible only when
WiFi is connected
Battery status
The Active Matrix display is readable under
direct sunlight and adapts dynamically to
show information based on the presets
selected and the number of probes used.
DISPLAY
2.7”
ELECTRONICS
3
DEVICE DETAILS
GETTING TO KNOW YOUR GRILLEYE®PRO PLUS
MECHANICS

GrillEye uses 2.4 GHz band networks because of longer range in comparison to 5.0 GHz networks. So, if you own a
5.0 GHz router, check its settings to enable compatibility with 2.4 GHz networks.
MAKE SURE YOU HAVE AN ACTIVE INTERNET CONNECTION
Bluetooth® module in the PRO Plus is purely used for initial setup and "near-field" operations. As such, its range is
limited to 10m which can be further decreased in case of obstacles or interferences (e.g. WiFi routers broadcasting in
the same space).
For Bluetooth Low Energy (BLE) scanning to work, eversince Android Marshmallow (6.0) or later, Google requires
location services to be enabled on your mobile device.
MAKE SURE BLUETOOTH IS ACTIVATED
OR
SCAN THE QR CODE BELOW SEARCH GOOGLE PLAY/iTUNES FOR
GRILLEYE PRO
MAKE SURE YOU HAVE THE LATEST GRILLEYE PRO APP INSTALLED
Use any USB charger with the cable included. When you connect the charger, the PRO Plus will power-up
automatically. The display will remain ON while charging to allow you to monitor the process.
If the device does not power-up instantly, it means the battery is completely depleted. In this case leave the
charger plugged and the device will light-up after a while.
Device can be used while charging, without any restriction.
Full battery lasts approx. 48hrs until depletion (under full load, having proximity illumination activated - see App
Settings).
When battery level is at 5% or lower, the PRO Plus will display a “Low Battery” notification
(illustrated).
MAKE SURE YOUR PRO PLUS IS CHARGED
PREREQUISITES
PREPARING TO USE YOUR GRILLEYE®PRO PLUS
+
GrillEye Pro
®
4

STEP 3: CONNECT TO THE CLOUD
The App will prompt you
to connect to a WiFi
WiFi networks are detected
and listed as illustrated
Due to broadcast variability,
drag the list to refresh it.
Select network and enter
the password to connect SUCCESSFUL CONNECTION
POINTERS
App Settings: WiFi displayed
App Home: Cloud icon
Device: Cloud & WiFi icon (or
WiFi icon only for firmware
up to 001.115)
If you miss this prompt
for any reason, just go
to Settings / “Wi-Fi”
option.
If you face trouble finding
your WiFi on the list, check
your router’s compatibility
with 2.4GHz networks and
also the router’s firewall
settings that might block
the GrillEye from
connecting.
In case of “incorrect password”
prompt, without reason, set
your mobile as a hotspot with
8-digits, no special chars
password, repeat the Cloud
connection, update GrillEye to
the latest firmware and then
connect to your router.
Using the Cloud means that you are able to monitor your GrillEye from anywhere
as long as you have an active Internet connection
RANGE
At this stage you can use your GrillEye PRO Plus but, without connection to
the Cloud (step 3) your range will be limited to ~10m (30ft) max (depending on
obstacles).
GRAPHS
Using the PRO Plus in Bluetooth mode only disables the graphs functionality
since the device is designed to store data to the Cloud (step 3).
PRESS “LET’S GRILL”, AND... YOU ARE ALMOST THERE!
A non-blinking Bluetooth®icon along with signal strength on
the top right corner of the GrillEye indicates successful pairing
THE APP
Will detect the GrillEye® PRO Plus and a couple of seconds later it
will display its serial number to verify the connection.
THE GRILLEYE PRO PLUS
Will display your mobile device name (non-latin alphabet not
supported) and the installed firmware version.
OPEN THE GRILLEYE PRO APP
STEP 2: PAIR WITH MOBILE OVER BLUETOOTH®
PRESS THE POWER-BUTTON ONCE
The device will sound a short “beep” and will light-up to display the GrillEye® logo,
before moving to the Home Screen.
In Home Screen, the Bluetooth® icon, on the top right corner, will start blinking to
indicate that the GrillEye is in pairing-mode.
STEP 1: POWER-ON YOUR GRILLEYE
+
GrillEye Pro
®
CONNECTING & UPDATING PART 1 of 2
SETTING UP YOUR GRILLEYE®PRO PLUS 5

BLUETOOTH
FAQS / COMMON CONNECTIVITY TROUBLESHOOTING
GrillEye PRO Plus is a highly sophisticated device that combines technologies as never before in any
device in its category. Common issues identified along the way are addressed as follows.
WIFI / INTERNET
POWER
WHEN I PRESS THE POWER BUTTON THE DEVICE POWERS-OFF AND POWERS-BACK-ON. I CANNOT GET THE DEVICE TO POWER-OFF. WHAT AM I DOING
WRONG?
When charging, the device will not power off in order to display charging progress. If the device isn’t charging and doesn’t power-off when you press the power-but-
ton for 2 seconds, quit the app (if you are on Android, go to menu and press the Exit button) and then press the power button for 2 seconds (an active connection
between the app and the device may force the latter to wake even if requested to power-off).
WHAT IS THE PIN/CODE TO CONNECT MY GRILLEYE VIA BLUETOOTH®
You are trying to connect from your mobile Settings. Make sure you download the correct app from iTunes or Google Play (see page 4 of this guide), open it and
connect through the app.
I OPEN THE APP BUT IT DOESN’T FIND THE GRILLEYE®
1) Make sure the GrillEye is powered-on and close to your mobile.
2) Make sure you download the correct app from iTunes or Google Play (see page 4 of this guide) and try again.
3) If you are using an Android device, make sure you have location services activated (Google prerequisite for Bluetooth to work).
4) Reboot your GrillEye by holding the power-button for more than 10 seconds and repeat steps 1 - 3.
APP SHOWS “INCORRECT WIFI PASSWORD”, BUT I KNOW MY PASSWORD IS CORRECT
For security reasons, early firmware versions of the GrillEye rejected some password formats, accepted in later firmware versions. So, all you need to do is update
your GrillEye firmware by setting your mobile to work as a hotspot with a short password (8-digits without special characters). Once connected, make sure you
update GrillEye to the latest firmware version and then connect to your router.
I CANNOT FOUND MY WIFI ON THE LIST OF NETWORKS BUT I’M STANDING NEXT TO THE ROUTER
Make sure your router has the 2.4GHz network compatibility option enabled. Also check that your router broadcasts its SSID and it’s not hidden.
GRILLEYE DISPLAYS POOR WIFI SIGNAL ALTHOUGH IT’S PLACED NEAR MY ROUTER
Check if you have a mesh network and your GrillEye is connected to an access point far from its position. Find the nearest access point to your BBQ and connect to
it.
GRILLEYE SIGNAL BREAKS ALTHOUGH I AM CONNECTED TO THE WIFI. AS SOON AS I GET OUT OF BLUETOOTH RANGE I GET A DISCONNECTION ALARM
Although you are connected to the WiFi you are not connected to the Cloud/Internet. Make sure your router has an active Internet connection and doesn’t block the
GrillEye. Reset your GrillEye by holding the power button for 10 seconds. Remove and re-install the app. Set your mobile to work as a hotspot, connect
to it and make sure you update GrillEye to the latest firmware version. Then connect back to your router and confirm the Cloud icon appears as active.
Installing the latest firmware version may require you to perform the update process more than once,
since some versions are installed in an incremental manner. If after each installation you experience any
issue, make sure to reboot your GrillEye and restart your App.
THE APP WILL AUTOMATICALLY PROMPT YOU TO UPDATE YOUR
FIRMWARE
Once you connect to the WiFi, the App will prompt you to update
your firmware (side illustration). If you miss this prompt by any
chance, you can manually request to update the firmware on
Settings / “Check Update” option.
CONNECTING TO THE CLOUD REQUIRES THE LATEST FIRMWARE
Cloud connectivity came as a firmware update. Your device may not have
installed the latest firmware. So, although connecting to your WiFi (Step 3) will
allow you to use your GrillEye PRO Plus, it will not allow you to take advantage
of GrillEye’s full potential.
SO, MAKE SURE YOU UPDATE YOUR GRILLEYE TO THE LATEST FIRMWARE.
STEP 4: UPDATE GRILLEYE FIRMWARE
+
GrillEye Pro
®
CONNECTING & UPDATING PART 2 of 2
SETTING UP YOUR GRILLEYE®PRO PLUS 6

+
GrillEye Pro
®
SETTINGS / PREFERENCES
CUSTOMIZE YOUR GRILLEYE®PRO PLUS 7
App version indicator | Information only field
GrillEye device serial number | Information only field
If the S/N is not displayed, un-pair your GrillEye, reboot
it and re-install the app.
Un-pair button | Active button
Press to un-pair GrillEye from your mobile. Note that this
doesn’t delete network configuration or other data stored on
the GrillEye device. To delete such data, use the “Restore data
to original” option found at the bottom of the Settings page.
GrillEye device installed firmware version | Information only field
Make sure you update to at least 001.124
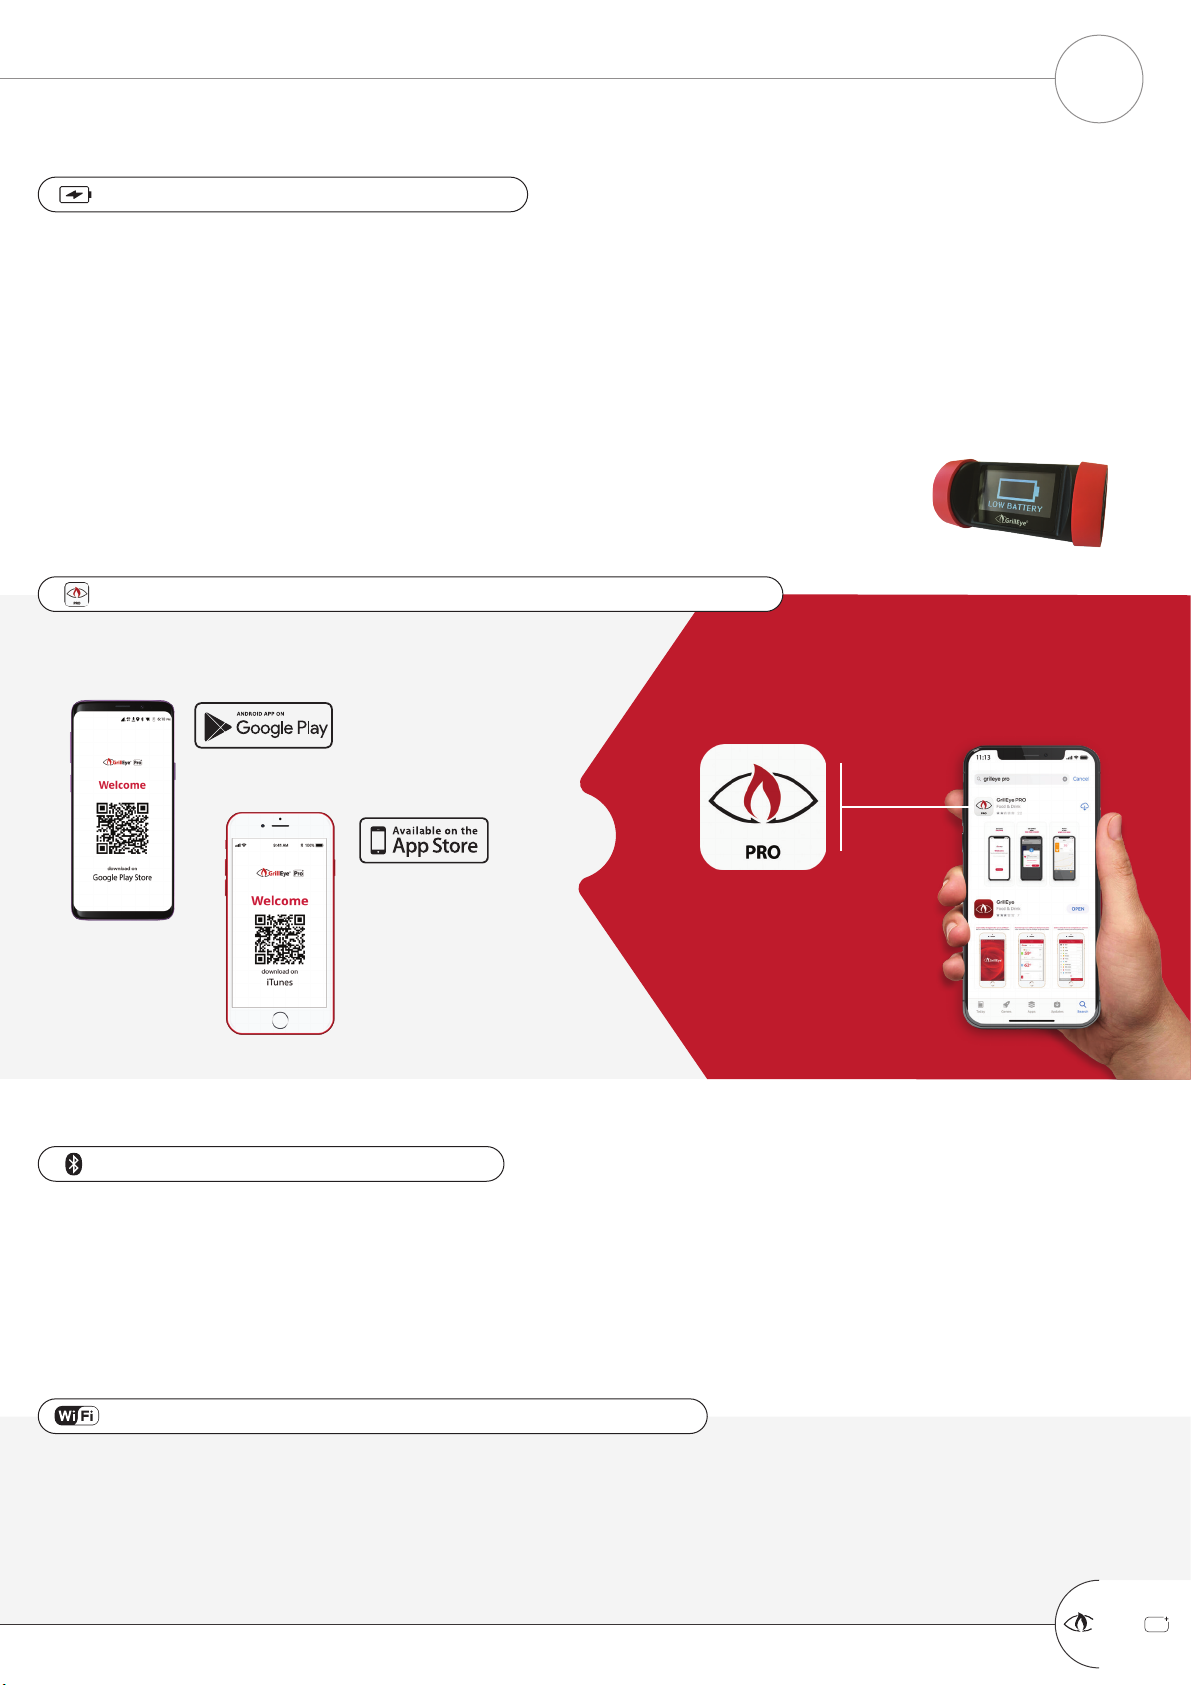
Press to update GrillEye device firmware | Active button
Firmware versions later than 001.120 will inform you if
there is a newer version available. Earlier versions will
require that you perform the process manually.
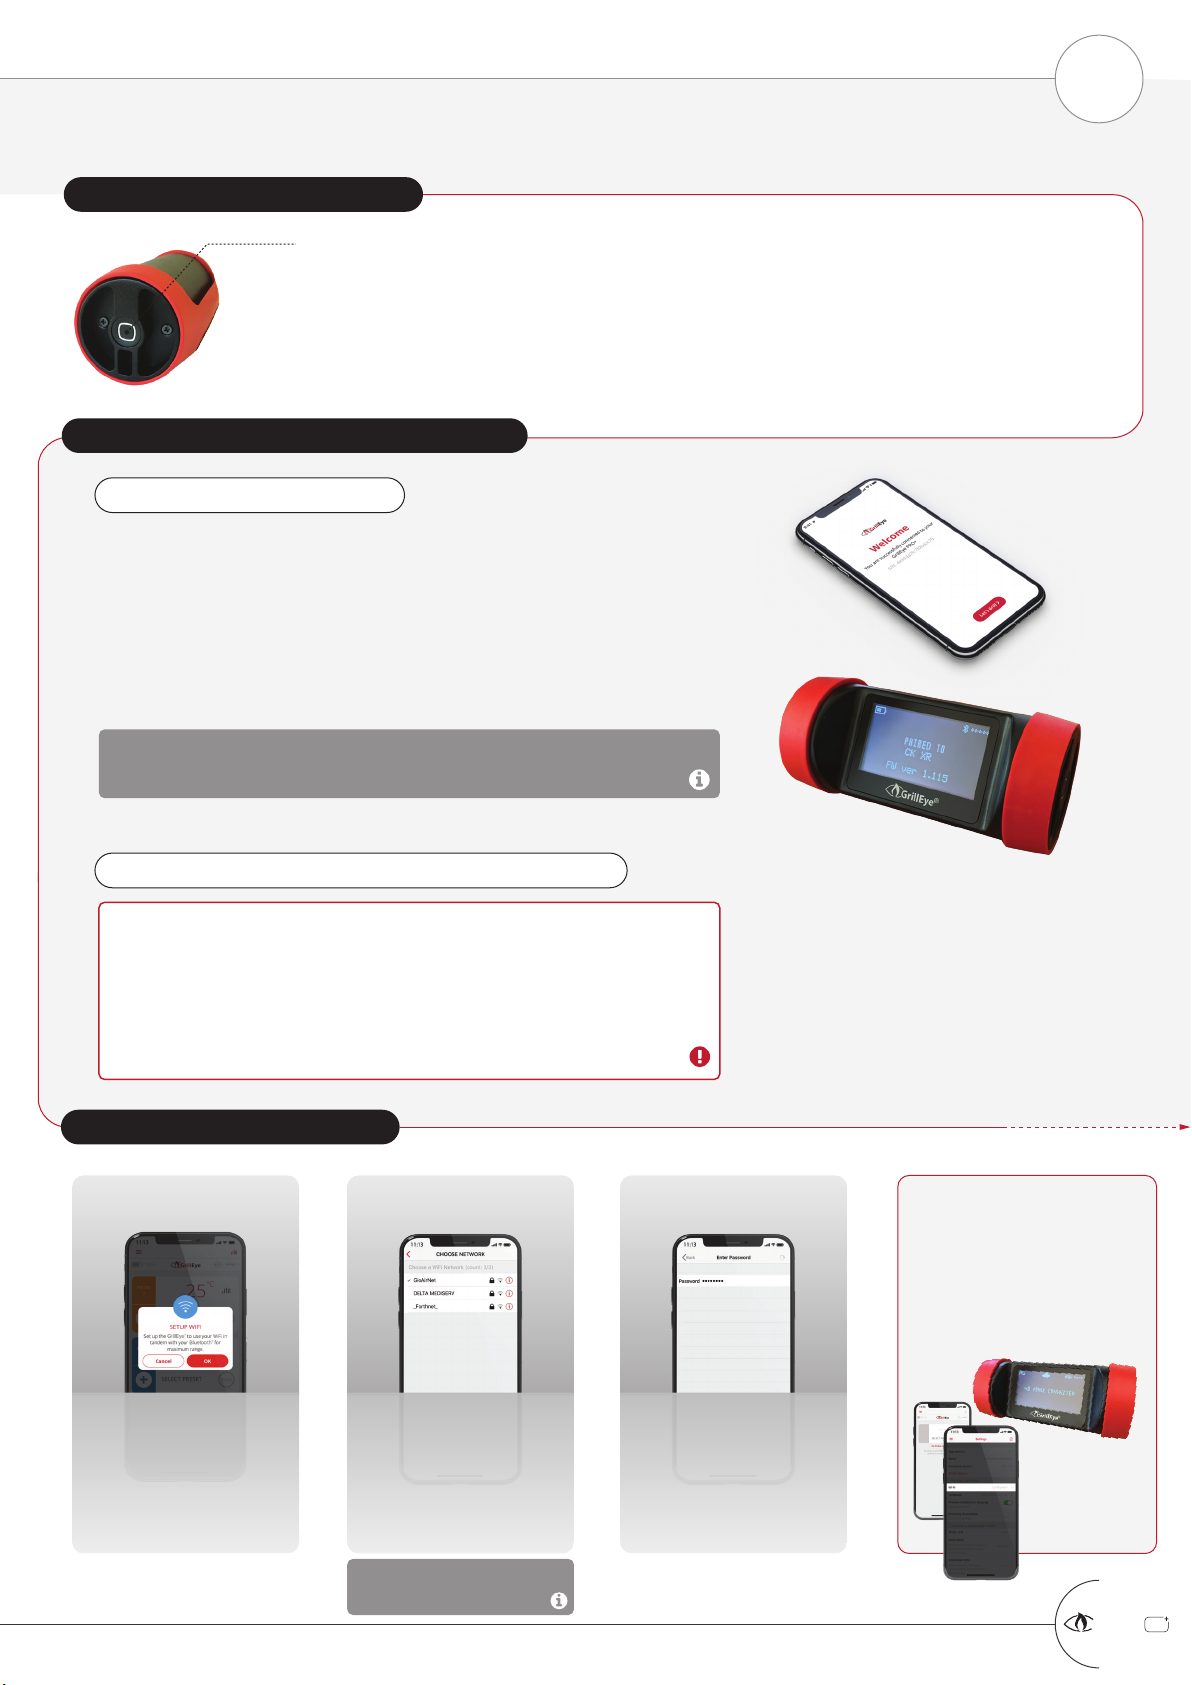
Connected WiFi network | Active button
Press to see the list of available WiFi networks. Once you
connect the name of the network (SSID) will be displayed
here. Being connected to the WiFi doesn’t mean you are
connected to the Cloud. If you are not connected to the
Cloud, check your router is connected to the Internet, allows
for 2.4GHz networks and doesn’t block GrillEye
connection.
User interface language selector | Active button
Press to select the language you wish the App to
display. If your mobile supports it, “System settings” will
select automatically the language you use.*
* this setting doesn’t affect the GrillEye device display.
Unit of measurement of temperature selector | Active button
Press to select if you wish the App AND GrillEye to display
temperatures in Celsius or Fahrenheit. If your mobile supports
it, “System settings” will select automatically the units in use.
Prevent mobile screen from powering-off/diming | Active button
This option will keep your mobile always on. Note that
this option will cause your mobile battery to drain faster.
Allow GrillEye screen to dim when you move away
(requires Bluetooth to be active) | Active button
Having the Bluetooth enabled, move your phone to the
distance (less than 3m) where you want PRO Plus screen to
dim and activate the proximity illumination option. From this
point onwards when your phone moves further from this point
you will see the PRO Plus screen dimming / when moving
closer you will see it illuminating.
To disable this function, move your mobile close to the
GrillEye so that its screen illuminates and disable the option.
Get notified a bit before your food is ready | Active button
Select the number of degrees you wish the GrillEye to
offset from your Peak Preset in order to sound an alarm
and warn you that your food is about ready.
Time that you need your food to rest | Active button
Once you get an alarm you can specify the time you wish
this alarm to remain mute until going-off again (e.g. in
order for you to put gravy on your food before continuing).
Alarms that will notify you when you need to take action | Active buttons
Note that not all alarms can be switched-off in order to save
you from loosing any notification and risking of burning your
food.
Alarm notifications are dependent on your phone settings (e.g.
how loud your mobile is set to ring, if you have allowed GrillEye
notications etc.)
Delete data stored on GrillEye and the App | Active button
- Reset presets option:
This will delete any custom preset you have created from the App
- Reset network option:
This will delete any network related setting stored on your
App and GrillEye device
- Reset graphs option:
This will remove historical data being displayed on the App graphs
- Reset alarm preferences option:
This will restore alarm preferences to the default values on the App
This option is very useful when performing system
resets, to ensure no residual data affect functionality.

Press
The presets list will
open with the
active preset
already selected
Press to remove the selected
preset
the preset will be removed
from the home screen as well
as the GrillEye screen too
DESELECT PRESET
Press
Expand the category of the
preset your prefer
Press anywhere on the line to
select your preferred type of
grilling
the selected preset will be
marked in red and the selection
buttons will appear at the
bottom of the screen
Press to apply the
selected preset
the preset will
appear on the
home screen AND
the GrillEye screen
SELECT PRESET
+
GrillEye Pro
®
MANAGE PRESETS PART 1 OF 3: SELECT & DESELECT (REMOVE) PRESET
START GRILLING & COOKING 8

Press
+
GrillEye Pro
®
MANAGE PRESETS PART 2 OF 3: CREATE PRESET
START GRILLING & COOKING 9
Expand the category of the
preset where you wish to assign
your own preset
PEAK PRESET
Use this preset option when you are
looking to grill/cook up to a specific
temperature. When this temperature
is reached, the GrillEye will notify
you that your food is ready.
Fill-in the description
Set the target
temperature
RANGE PRESET
Use this preset option when you are
looking to grill/cook within a specific
temperature range (e.g. in smoking
sessions). If temperature goes out of
range, the GrillEye will notify you.
Select
Save
Fill-in the description
Set the lower & upper
temperature bounds
The created preset will
appear inside the selected
category, highlighted and
ready to be selected/applied

Press
Press
+
GrillEye Pro
®
MANAGE PRESETS PART 3 OF 3: EDIT/DELETE PRESET
START GRILLING & COOKING 10
Edit the description
Edit the
temperature
Save
The Delete option is available
only for custom presets.
System presets can only be
edited. So, selecting the Edit
option in system presets will
take you directly to the next
screen.
The updated preset will
appear inside the selected
category, highlighted and
ready to be selected/applied
or removed

Press
PEAK PRESETS
Actual temperature
RANGE PRESETS
Adjusted course to
target
Select probe
to view
Estimated time to
target
Target temperature
Lower temp. limit
Actual temperature
Average temperature
Upper temp. limit
TEMPRATURE GRAPHS ONLY ON CLOUD
When in Bluetooth®mode, graphs are
disabled since the device is designed to store
data to the Cloud.
View all probes
in one graph
When viewing all probes in one
graph, preset limits (upper and lower
or peak in case of range and peak
presets respectively), will not appear.
In multi-view you are able to view all of
your probe temperatures in real time.
This feature is especially useful when
viewing a probe used for ambient
temperature readings along with probes
used for actual grilling or cooking.
The graph export
generates a .csv
file.
In order to view the
exported data in a
meaningful manner,
follow the steps below:
1) mark the start time of
your session (e.g. 14.30)
2) open the .csv file and
select the option to
convert data from text to
columns using comma “,” delimiter
3) add a line to represent the time above the
line where the temperature data are written, and
on the column above the first temperature
reading insert the start time of your session
4) add a second on every following column (on
the line of time). This will generate entries like
14.30.01, 14.30.02, 14.30.03 etc. until reaching
the final temperature reading
5) now that you have your time-temperature
pair you can replicate the graph in your
spreadsheet and analyze in any way you wish.
+
GrillEye Pro
®
TEMPERATURE GRAPHS
START GRILLING & COOKING 11
MULTI-VIEW EXPORT GRAPH RESET GRAPH
Press to export
Press to view
available
options
GrillEye is designed to memorize your sessions
and keep them for you to revisit them.
When the displayed data accumulate more than
you wish, you can reset them from the settings
menu of the app, by following the steps below:
1) navigate to menu/settings
2) scroll to the bottom of the settings page
(illustrated)
3) press the “Restore data to original” option
4) select the “Reset graph” option and you
are ready!

PLACING THE DEVICE DO NOT MOUNT ON HOT SURFACES
Although the PRO Plus is constructed of
high-quality engineering thermoplastics
(UL94-V0 class),
If a surface is too hot for you to touch, it’s
too hot for the PRO Plus.
MAGNET STRENGTH ON ALLOYS (e.g
mixtures of steel and aluminium) may be
reduced. Magnets in general work better
on surfaces made of pure steel.
SAFE AREASAFE AREA
REMOVE WRAP BEFORE USE!
Remove the probe holder before use and
make sure to keep it away from fire.
HOT GRIP!
Grip will be hot when used. Use silicon or other
type of gloves to remove it from your food.
OVEN COOKING & AMBIENT READINGS
The probe CAN be used in ovens for cooking. Rubber insulation of oven doors will protect the probe wire from wearing out.
Use the metal clip included for recording ambient temperature. If your are using coal use both clips to make sure temperature is
evenly distributed across the grate
EXAMPLE OF PROBE PLACEMENT
Insert the probe so that its tip reaches the
thickest part of the meat.
For large portions use as many probes as
you find necessary to monitor the
temperature across the entire portion.
SOLID FOOD This part of the probe is most
sensitive to temperature
changes. So, you need to ensure
that the probe tip is place to the
most dificult to cook part of the
food (see illustration below).
LIQUIDS
THE PROBE IS NOT WATERPROOF!
Nevertheless, you can use it to measure
liquids temperature if you are careful so that
the neck of the probe (point where the grip
ends) has at least 3cm / 1.18” distance from
the liquid surface.
In case of evaporating
liquids, condensed
moisture may slip into the
grip cavity, affect the
electronic part of the probe,
and cause it to malfunction.
Therefore, your should avoid
prolonged exposure to
condensed moisture.
3cm / 1.18”
minimum
PLACING THE PROBE
+
GrillEye Pro
®
PROBE & DEVICE USAGE RECOMMENDATIONS
USEFUL TIPS 12

video call
upon email request
email
support@grilleye.com
live chat
access on grilleye.com
facebook
facebook.com/grilleye
instagram
@grilleye
So, reach out to us for any issue you
may have or thoughts you may want to
share about our products
WE ARE HERE FOR
YOU
G&C ltd® offers a limited warranty against manufacturing defects, in compliance with the laws and regulations of
each region of distribution. For details about the warranty, visit www.grilleye.com/warranty or send an email to
support@grilleye.com. Operation of the device is subject to the following conditions (1) this device may not cause
interference, and (2) this device must accept any interference, including interference that may cause undesired
operation of this device.
Apple®, the Apple logo, iPad®, iPhone®, and iPod® touch are trademarks of Apple Inc., registered in the U.S. and
other countries. App Store is a service mark of Apple Inc. The Bluetooth® word mark and logos are registered
trademarks owned by Bluetooth SIG Inc. Android® and Google Play are trademarks of Google Inc. WiFi® and other
trademarks and trade names are those of their respective owners.
WARRANTY
IC
22909-GE0001
DOCUMENTATION / CERTIFICATES
Get the latest documentation by visiting
- grilleye.com/certificates (certificates)
- grilleye.com/support (user manuals/documentation)
+
GrillEye Pro
®
SUPPORT TOUCHPOINTS & WARRANTY
PRODUCT SUPPORT 13
Other manuals for Pro+
2
This manual suits for next models
1
Table of contents
Other GrillEye Thermometer manuals