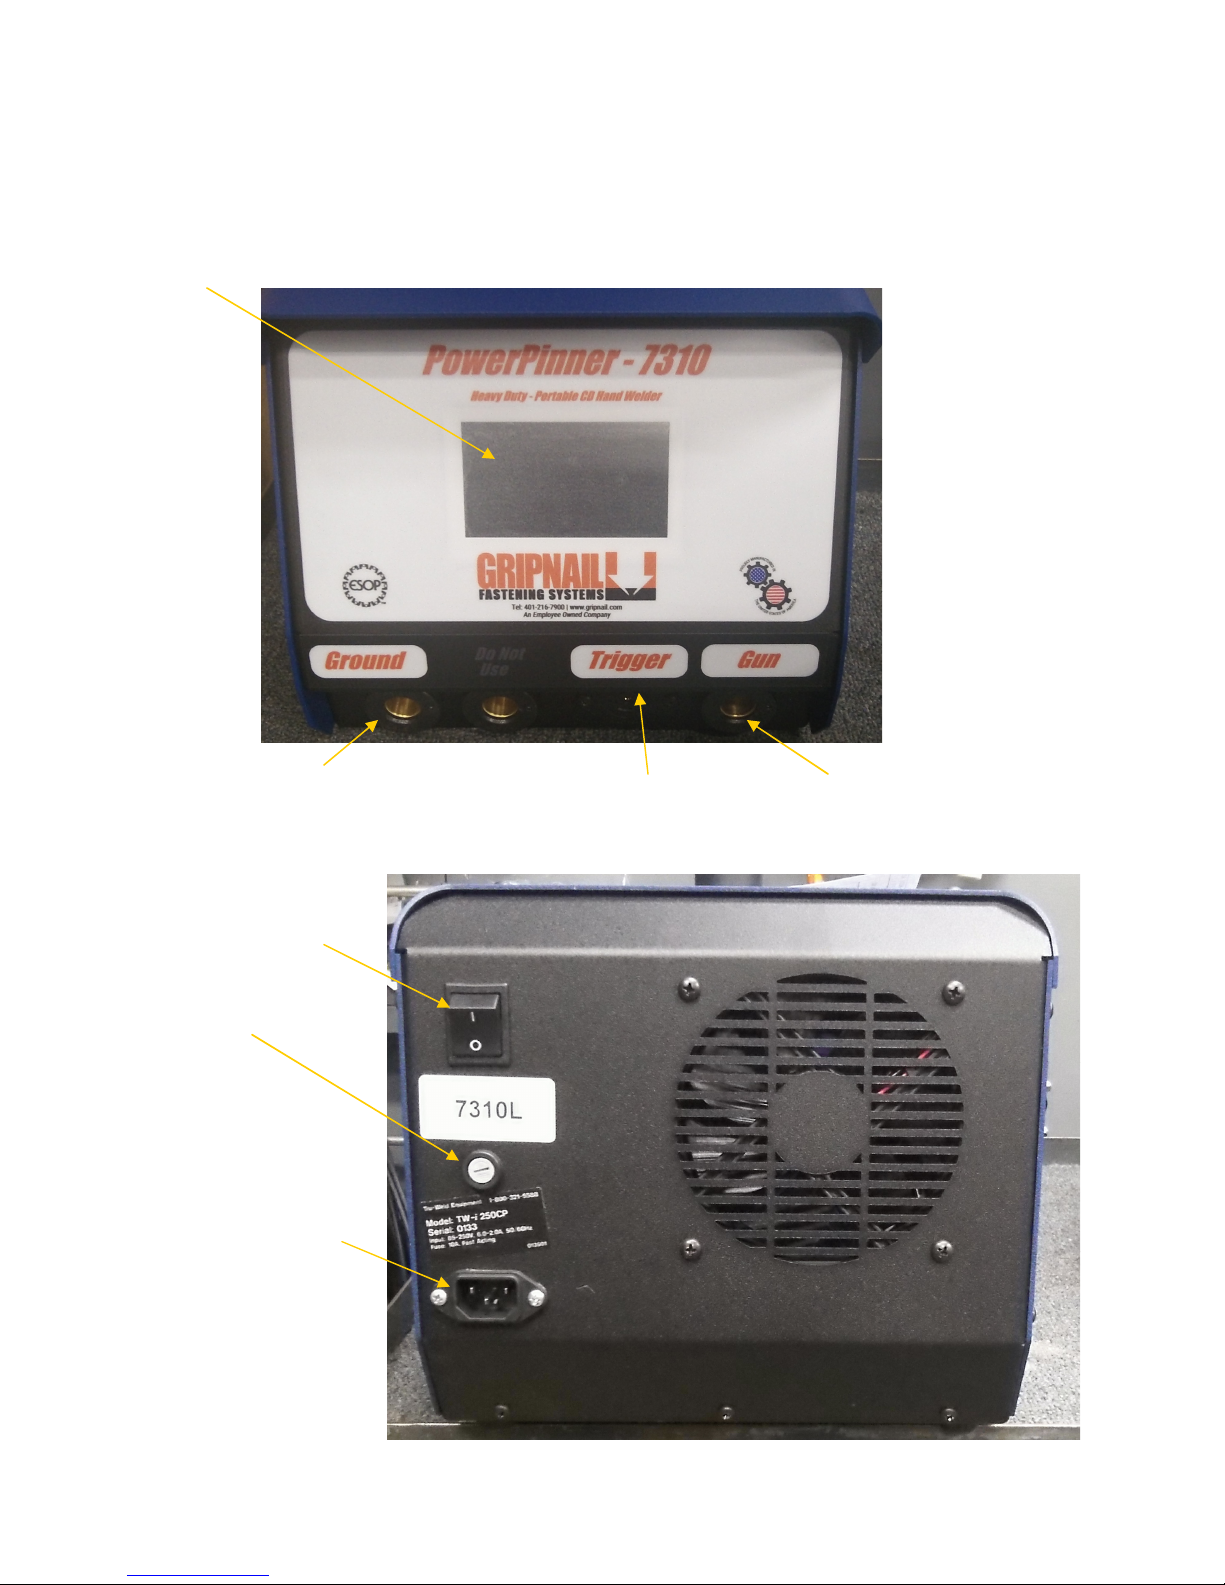
Model 7310 Power Pinner CD Hand Welder
10
TESTING WELD SETTINGS
INSPECT THE WELD
Visually inspect the weld. A good weld will result in an all-around weld, with a small visible
amount of weld surrounding base of the weld pin. Too much splatter and the weld is too hot,
lower the voltage. No splatter and the weld is too cold, increase the voltage.
If you get weld flash to one side of the weld pin as opposed to an even amount around the base,
this is called “arc blow”, and can be solved by repositioning the ground clamp.
Proper welding can be tested by either torquing or bending the weld pin. The welded pin should
stay in place using either method. If the base material is very thin, the diameter of the weld pin
will pull from the base metal for a properly welded pin.
TESTING WELD SETTINGS
When you have performed all of the presets as discussed in the manual, it is recommended that
you perform several test welds with the same diameter weld pin and base material that you will
be using. This will verify that all of the settings are correct to the results you desire.
SCREEN STATUS INDICATORS
Status Indicator Description Solution
OVERTEMP Unit has exceeded Unit needs to cool down before more welds
temperature threshold can be made. Allow the unit to cool down
clear the OVERTEMP warning.
UNDER Insufficient input Unit has detected insufficient supply power
VOLTAGE power Connect the unit to a more stable power
supply.
DC LIMIT ON Duty cycle limiter Protects capacitor from overheating by
activated limiting the user to a maximum average
duty cycle. This protection only activates
when the set point of the welder is above
85V. elow 85V there is no limitation to
the duty cycle of the unit.
ERR: CHRG TIME Max charge time Unit has taken too long to charge and there
exceeded may be an issue with the capacitor. With
unit powered down ensure that all
connectors and connections are tight.
ERR: OUTPUT Capacitor short Capacitor is not charging properly and the
detection outputs may be shorted. Check the unit for
damage.