Shenzhen Growatt New Energy Technology CO,.LTD
4/ 10
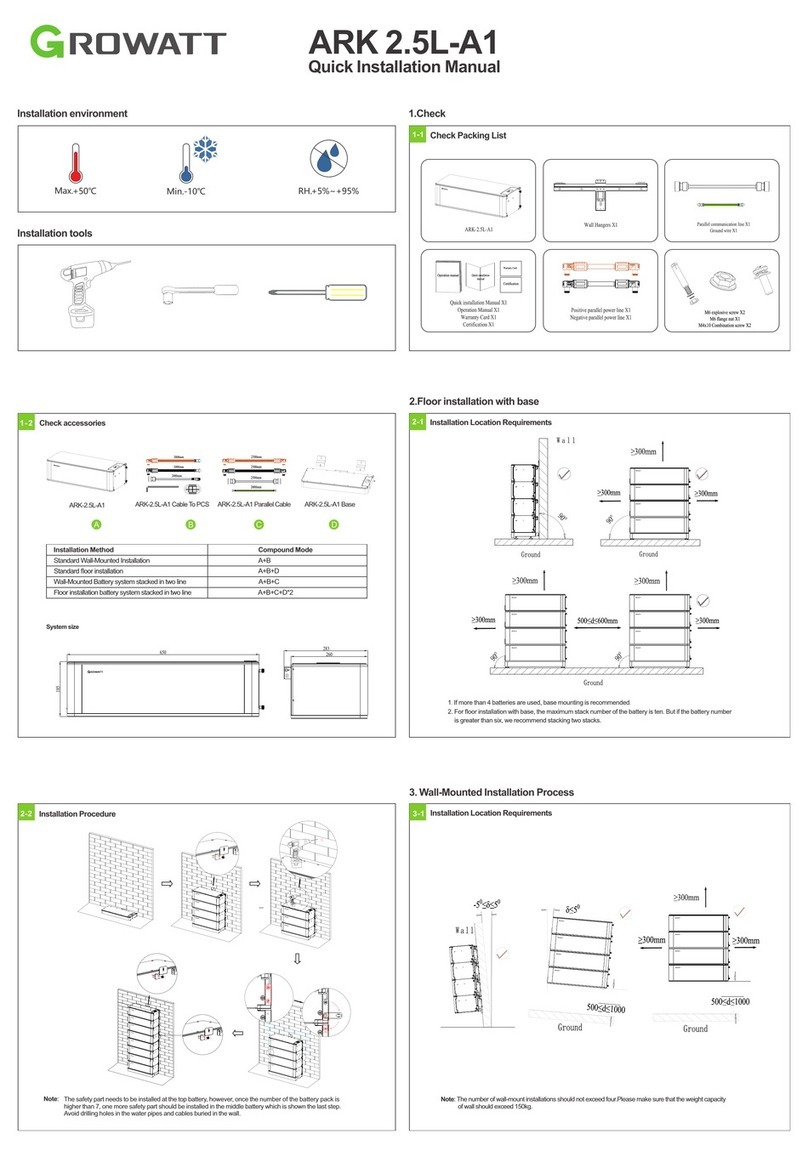
Step 1: Keep the distance between bracket and wall as the
right figure (320mm, 320mm, 765mm). The weight
capacity of wall should exceed 70kg. At least two persons
participate the installation. One person places the bracket
on wall and ensure the gradienter horizontal; the other
person marks four spots of screw driving. After confirming
the spots to drive screws, put down the bracket.
Step 2: Choose alloy drill bit with a diameter of 12mm
and install it to a drill. Drill in the four spots that have
been confirmed in step 1 and have at least 60 mm drilling
depth. Clean the soil and drive expansion tube into the
hole. One person puts the bracket on wall and minds to
keep gradienter horizontal. The other person drives M8
screw through the bracket into holes
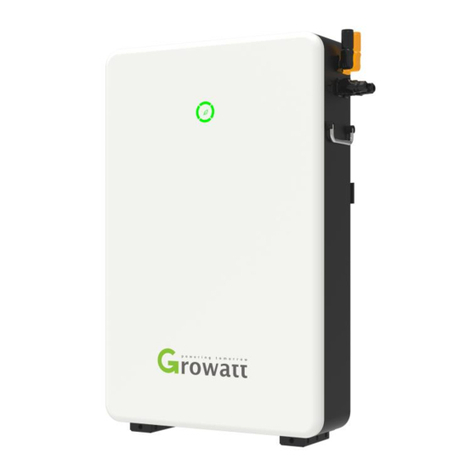
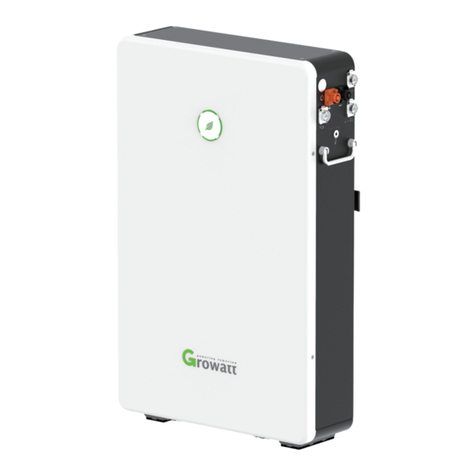
Step 1: Place PACK in the to-be installed area. Rotate the left
hanger leftward and the right hanger rightward until they are
perpendicular the the PACK. Keep the distance between wall
and PACK as shown in the right figure (300mm, 300mm). Use
pencil to mark where the notches of two hangers are and
confirm the drilling spots. Move PACK away.
Step 3: Rotate the left hanger leftward and
the right hanger rightward until they keep
perpendicular to the PACK. Install PACK
from the top down and lock the connection
part of PACK with the support plate of
bracket. Rotate the left hanger rightward until
the notch locks limiting pin, and rotate the
right hanger leftward until the notch locks
limiting pin too.
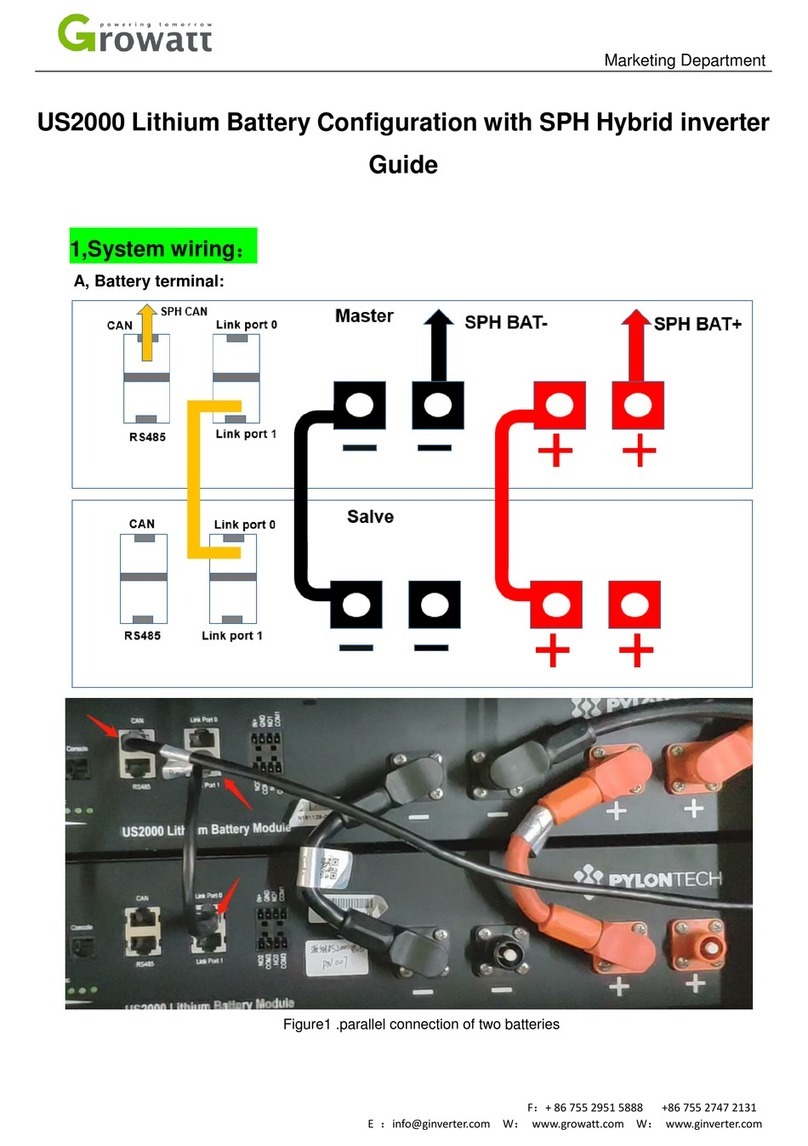
Step 4: Having confirmed fixed installation of PACK, plug the connected power lines into PACK
terminals (orange positive terminal and black negative terminal). Plug the well-connected CAN
communication line into the communication ports of PCS and PACK. Please refer to Section 3
Electrical Connection for details.
2.2 Wall Mounted Installation
2.3 Floor Standing Installation