manuals.online logo
Brands
  1. Home
  2. •
  3. Brands
  4. •
  5. Groz
  6. •
  7. Water Pump
  8. •
  9. Groz RB-3 User manual

Groz RB-3 User manual

INSTRUCTIONS FOR USE
ROTARY BOOSTER PUMP - 3:1 RB-3
Piece Count:
1. Pump Body
2. Crank Fitted with Pump Handle
3. Bung Nut with 2” threads
4. Discharge Spout
5. Suction Tube
6. Discharge Hose Assembly (Includes hose, hose
spring, nozzle & hose clamp)*
*Optional, included only on select models
LOCK
LATCH
PUMP
BODY
PUMP
OUTLET
BUNG NUT
SUCTION
TUBE
PUMP
HANDLE
CRANK
NOZZLE
HOLDER DISCHARGE
SPOUT
NON-RETURN
VALVE
(OPTIONAL)
GEAR
BOX
Features:
1. Geared Rotary barrel pump with 3 times discharge per
rotation. For every complete handle turn ,the rotor turns
3 times
2. Dual directional Operation allows the pump to both empty,
as well as refill containers
3. Compact design, Ideal for use where volume fuel dispensing
is needed, such as construction sites, workshop ,aviation,
farms/ ranches, boat etc.
4. Professional Die Cast Aluminum construction with Die Cast
Zinc rotor & vanes
5. Non wearing sintered gears
6. Crank Shaft mounted on ball bearings
7. Die Cast Aluminum handle with security locking latch
8. Horizontal Discharge outlet (easily connects to a Fuel Filter)
9. Fits 15 to 55 gallon (50 - 205 litre) drums
10.Dispenses 10 litres (2.60 gl.) per 20 turns
HOSE ASSEMBLY
(OPTIONAL)
SPRING
GUARD
DISCHARGE
NOZZLE
Intended use with :
Gasoline, Diesel, Kerosene etc. Works with most
petroleum based media & lubricating oils upto SAE 90
Do Not use with:
Corrosive media, solvents, acids, alkalis etc
Wetted components:
Steel, Aluminum, Zinc, NBR, PVC Nitrile **, Polyacetal***
**on models with hose
*** On models with non-return at inlet of suction tube
Assembly & Operation:
1. Fasten the discharge spout into the pump outlet . Use a thread sealant for a leak proof connection. For pump
models supplied with hose assembly ,connect the hose assembly to the end of the discharge Spout using
the hose clamp
2. Loosen the grub screw on the crank & connect the crank to the crankshaft. Secure the connection by tightening
the grub screw. Make sure that the grub screw fits onto the depression in the crankshaft
3. Assemble the suction tube parts, depending on the drum with which the pump is to be used. All 3 parts must be
connected for use with 55 gallon / 205 litre drums. It is good practice to use a sealant such as Teflon in
connecting the suction tube parts for a totally leak-proof connection. Select models may come with a telescopic
suction tube. Such a tube needs no assembly and will automatically adjust to the drum length
4. Slide the 2” bung nut onto the suction tube from the top end
USING FUEL FILTER WITH PUMP
This pump is designed for use with a Fuel Filter.
This can be done by connecting the pump outlet direct to the Fuel Filter, using a straight steel extn.
Note: Pump outlet is threaded ¾” BSPT (F)
5. Tighten the suction tube onto the pump inlet. It is good practice to use a sealant such as Teflon in connecting
the suction tube to the pump inlet
6. Insert the pump assembly into the drum from the 2” bung opening on the drum
7. Once the bottom of the suction tube touches the base of the drum, securely fasten the bung onto the drum.
Now tighten the bung onto the suction tube
8. When using the pump for the first time or after an extended period of time or using the pump to lift Fuels/ Low
Viscosity Media; make sure to Prime before use. To Prime, POUR 30 ML OF MEDIA BEING PUMPED/ OIL
INTO THE PUMP OUTLET. RAPIDLY ROTATE THE PUMP HANDLE TILL PUMP STARTS DISPENSING.
In everyday use ,it may take about 10 rotations of the crank for pump to start dispensing
9 . When not in use, you may chose to lock the pump using a padlock. Crank has a link under it which fits onto
the Lock Latch on the pump body.
10. For Pump Models supplied with hose assembly, you may use the nozzle holder, located adjascent the crank
& crank shaft connection to store the hose when not in use
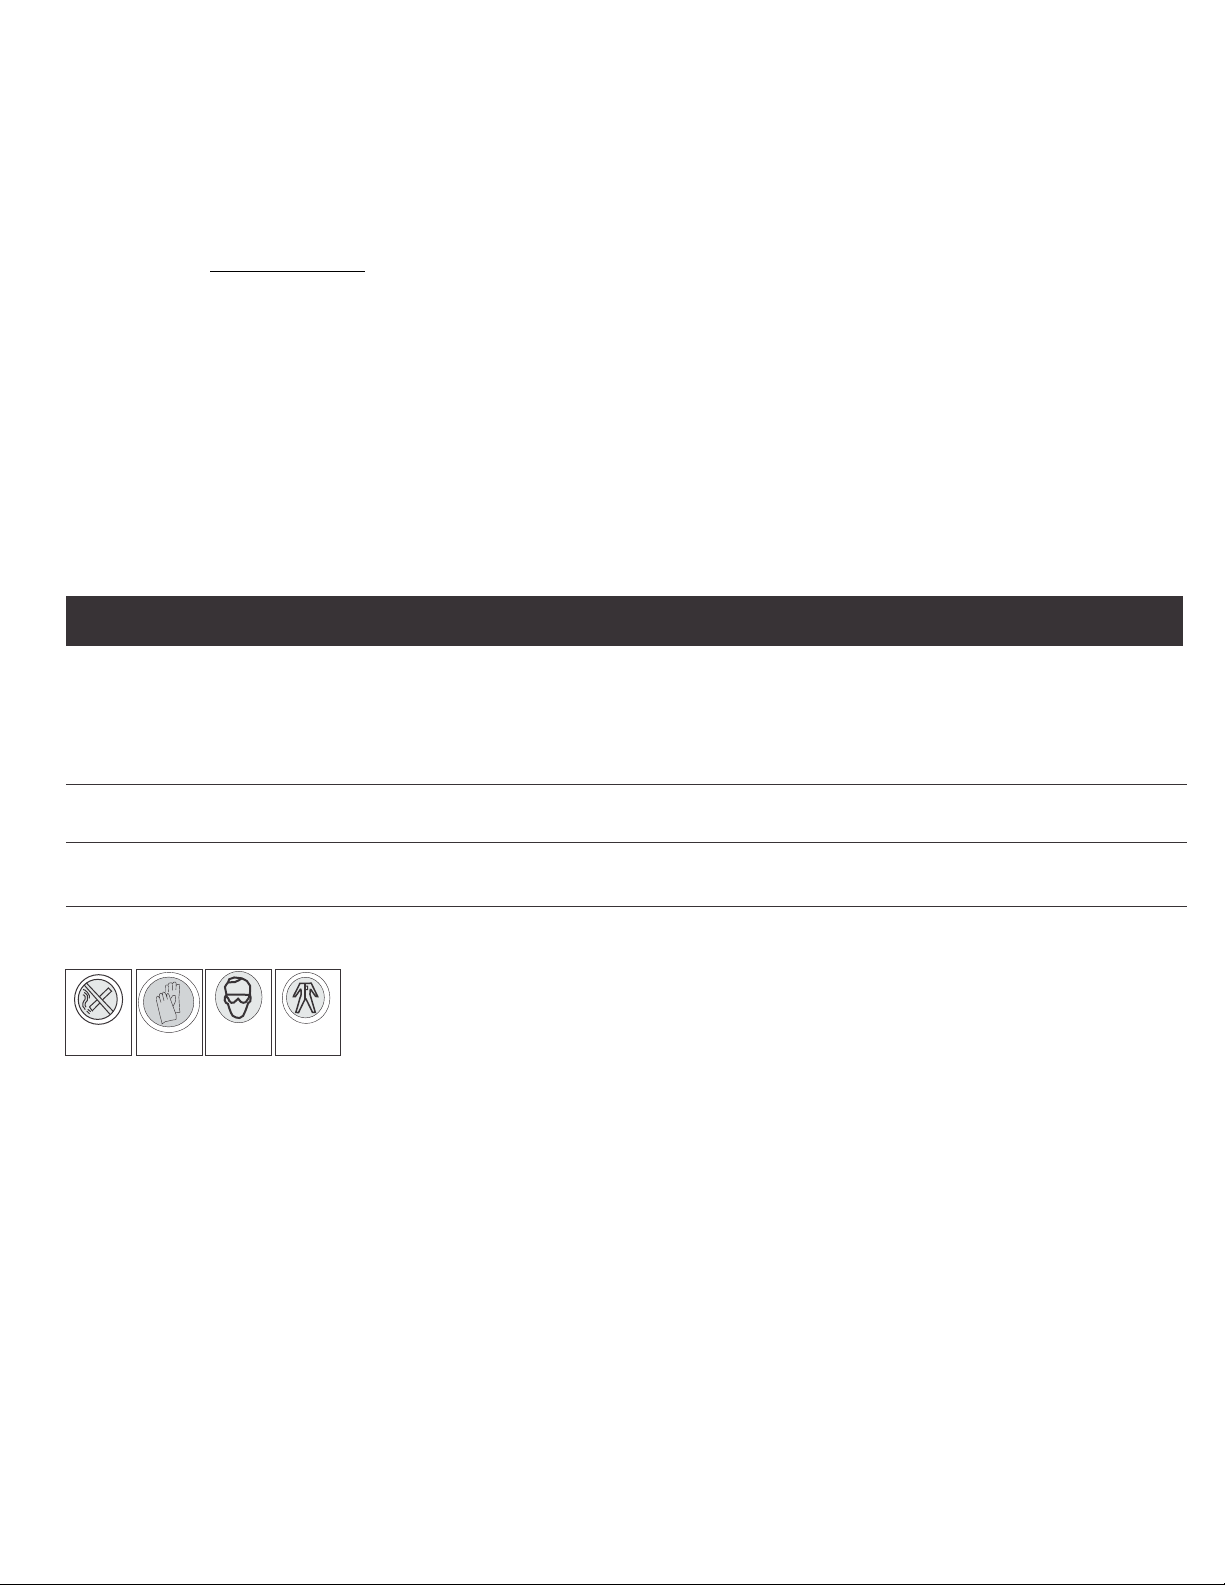
CAUTION:
No
smoking Safety gloves
must be worn
Wear your
safety glasses
Safety overalls
must be worn
1. Use of this equipment to pump fluids other than approved will void the manufacturing warranty
2. Never open the pump Assembly.
3. This pump is NOT U/L approved. If local laws do not allow for Fuels to be pumped using Non U/L approved pumps; you must
not use this pump for dispensing fuel.
4. This is a Rapid Action Pump & dispenses very large amount of media with each rotation. Be careful not to over dispense. It is also
recommended to lock the crank when not in use, as even slight un-intentional rotation will cause a lot of discharge
5. Never operate the pump near fire or source of spark. Some Media may be Explosive & Hazardous
6. Pump should only be used in well-ventilated areas. Never fill containers in confined areas, e.g. inside a vehicle. Do not operate pump in
areas where vapours can accumulate
7. Precautions are necessary to minimize the build-up of static charge, which could cause sparking
8. Always use Genuine anti-static hose when pumping petrol and other flammable liquids.
9. Fuel storage tanks and drums should be metal and grounded to earth. Ensure the floor or ground where fuel is stored or dispensed is
and remains electrically conducive
10. Wear anti-static or conductive footwear and avoid wearing silk and/or synthetic clothing, unless treated with anti-static solution
11. Avoid prolonged skin contact with petroleum products. Use of protective goggles, gloves and aprons is recommended in case of
accidental splashing or spillage. Change clothing and wash skin contact areas promptly with soap and water
12. When carrying out maintenance of this pump, for your own protection, thoroughly drain the pump and hose before disassembly. Clean
flammable liquids from components as they are removed from the pump. Follow precautions when handling flammable liquids
TROUBLESHOOTING
Pump does not dispense fluid
PROBLEM CAUSES REMEDYSr. Nr
1. 1.Pump not able to create adequate suction
2.Pump is drawing in air instead of fluid
3. Crank is not connected to crank shaft
1. Prime pump. Follow Step 9 above
2. Tighten all connections of suction tube
& of the suction tube with pump inlet
3. Loosen the grub screw on the crank.
Now align it with the depression on the
crank shaft & then tighten
Leakage of media from the
crankshaft
2. Damaged seal due to use with media
not suitable for use with pump
Seal needs to be replaced. Send to
distributor for service repair
Leakage of media from between the
cover plate & pump body
3. Damaged seal due to use with media
not suitable for use with pump
Seal needs to be replaced. Send to
distributor for service repair
S1240, Rev-D

Other Groz Water Pump manuals

Groz QSP-01 User manual

Groz

Groz QSP-01 User manual

Groz OP-31 Series User manual

Groz

Groz OP-31 Series User manual

Groz FPM Series User manual

Groz

Groz FPM Series User manual

Groz WOD-68 User manual

Groz

Groz WOD-68 User manual

Groz VGP Series User manual

Groz

Groz VGP Series User manual

Groz OP-11 User manual

Groz

Groz OP-11 User manual

Groz EDP/12 User manual

Groz

Groz EDP/12 User manual

Groz PRP/02 User manual

Groz

Groz PRP/02 User manual

Groz EOP Series User manual

Groz

Groz EOP Series User manual

Groz OPM/115 User manual

Groz

Groz OPM/115 User manual

Groz EDR-55 User manual

Groz

Groz EDR-55 User manual

Groz GP1 User manual

Groz

Groz GP1 User manual

Groz S1840 User manual

Groz

Groz S1840 User manual

Groz DPP-30 User manual

Groz

Groz DPP-30 User manual

Groz D Series User manual

Groz

Groz D Series User manual

Groz TSP/03 Installation and operation manual

Groz

Groz TSP/03 Installation and operation manual

Popular Water Pump manuals by other brands

Stanley SCE520 Original instruction

Stanley

Stanley SCE520 Original instruction

KIRLOSKAR RKBV Instruction on installation, operation and maintenance

KIRLOSKAR

KIRLOSKAR RKBV Instruction on installation, operation and maintenance

RIKEN P-8 Operation and service manual

RIKEN

RIKEN P-8 Operation and service manual

Solidpump TBD Series Operation & service manual

Solidpump

Solidpump TBD Series Operation & service manual

AL’S GARDEN ART AJP quick start guide

AL’S GARDEN ART

AL’S GARDEN ART AJP quick start guide

VARISCO GS Series Operating and maintenance manual

VARISCO

VARISCO GS Series Operating and maintenance manual

BRINKMANN PUMPS BE8082 operating instructions

BRINKMANN PUMPS

BRINKMANN PUMPS BE8082 operating instructions

Rocket Medical CRAFT Operator's guide

Rocket Medical

Rocket Medical CRAFT Operator's guide

Agilent Technologies DS40M user manual

Agilent Technologies

Agilent Technologies DS40M user manual

Beckett FC1250 owner's manual

Beckett

Beckett FC1250 owner's manual

Atlas Copco CLAWVAC CP65 Original operating instructions

Atlas Copco

Atlas Copco CLAWVAC CP65 Original operating instructions

Grundfos MQ manual

Grundfos

Grundfos MQ manual

GORMAN-RUPP PUMPS 03B51-B Installation, operation, and maintenance manual with parts list

GORMAN-RUPP PUMPS

GORMAN-RUPP PUMPS 03B51-B Installation, operation, and maintenance manual with parts list

EINHELL GC-DP 3730 Original operating instructions

EINHELL

EINHELL GC-DP 3730 Original operating instructions

Theralux Theraflo TVS 1hp instruction manual

Theralux

Theralux Theraflo TVS 1hp instruction manual

DROPSA 3414100 Operation and maintenance manual

DROPSA

DROPSA 3414100 Operation and maintenance manual

WilTec 62138 Operation manual

WilTec

WilTec 62138 Operation manual

Pfeiffer Vacuum HIPACE 350 operating instructions

Pfeiffer Vacuum

Pfeiffer Vacuum HIPACE 350 operating instructions

manuals.online logo
manuals.online logoBrands
  • About & Mission
  • Contact us
  • Privacy Policy
  • Terms and Conditions

Copyright 2025 Manuals.Online. All Rights Reserved.