2 3 4
1
2
3
4
5
6
7
8
9
10
12
3 4
5 6
7
8 9
10 11
12 13
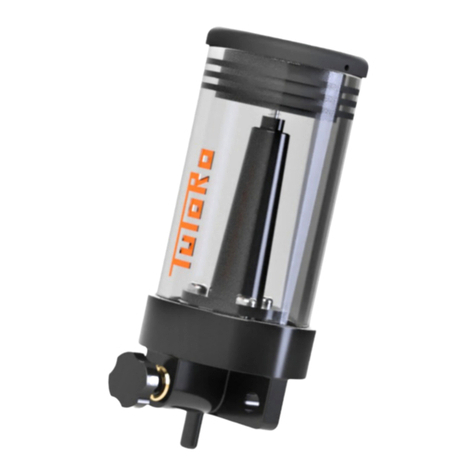
1. Product details
No. Description No. Description
1 Housing cap 6 Printed circuit board
2 Mode selector 7 Piston
3 Thread 1/4“ male 8 Lubricant reservoir
4 Battery cover 9 Funnel
5 Battery 10 Plug
WARNING
• Potential electrostatic charging hazard. Clean with damp cloth
only.
• Do not change, replace or charge battery cells.
• Temp. code T4 : -25 °C ≤ TA ≤ + 55 °C
• Substitution of components may impair intrinsic safety
AVERTISSEMENT: LA SUBSTITUTION DE COMPOSANTS PEUT
COMPROMETTRE LA SÉCURITÉ INTRINSÈQUE
• If ignitable gases are present, only touch with an isolating object
or while wearing an electrostatic grounding device.
• To prevent ignition of ammable or combustible atmospheres
read, understand and follow the instructions of this user manual.
2. Installation & disposal
The reliable operation depends on completely lled grease
lines. Ensure that the grease lines are not blocked. Therefore, grease
them before starting the device. Remove any hardened grease by purging
the lube point with a manual grease gun. The grease in the equipment
and the grease in the unit should be the same or compatible.
Remove the grease nipple and install proper connectors.
The lubricator requires a certain start-up time until the
lubricant is rst dispensed. The start-up time varies in line with the volume
dispensed, dispenser size and operating temperature.
When screwing on the housing cap ensure the sealing ring
is tted correctly.
Remove any contaminants
around the lube point.
Ensure a clear passage using a
manual grease gun.
NOTE
NOTE
Remove the plug. Unscrew the housing cap
counterclockwise.
Pull out the mode selector from
the default OFF position (0).
Firmly push the mode selector
into the slot of the desired
period.
NOTE
NOTE
Note the installation date and
the scheduled date of lube
cycle completion on the label.
When the selected dispensing
period has been completed
remove the lubricator from the
application.
The device is an eco-friendly
product that should be disposed
of separately.
Unscrew the housing cap
counterclockwise to disassemble
the product for proper disposal.
Unscrew the screws to remove
the battery cover.
Remove the batteries and
return them for recycling.
Detach the PCB from the unit
using a at-head screwdriver.
Dispose of remaining plastic
components according to legal
regulations for recycling.
Do not cut, puncture or reuse
the lubricator.


