Getting Started
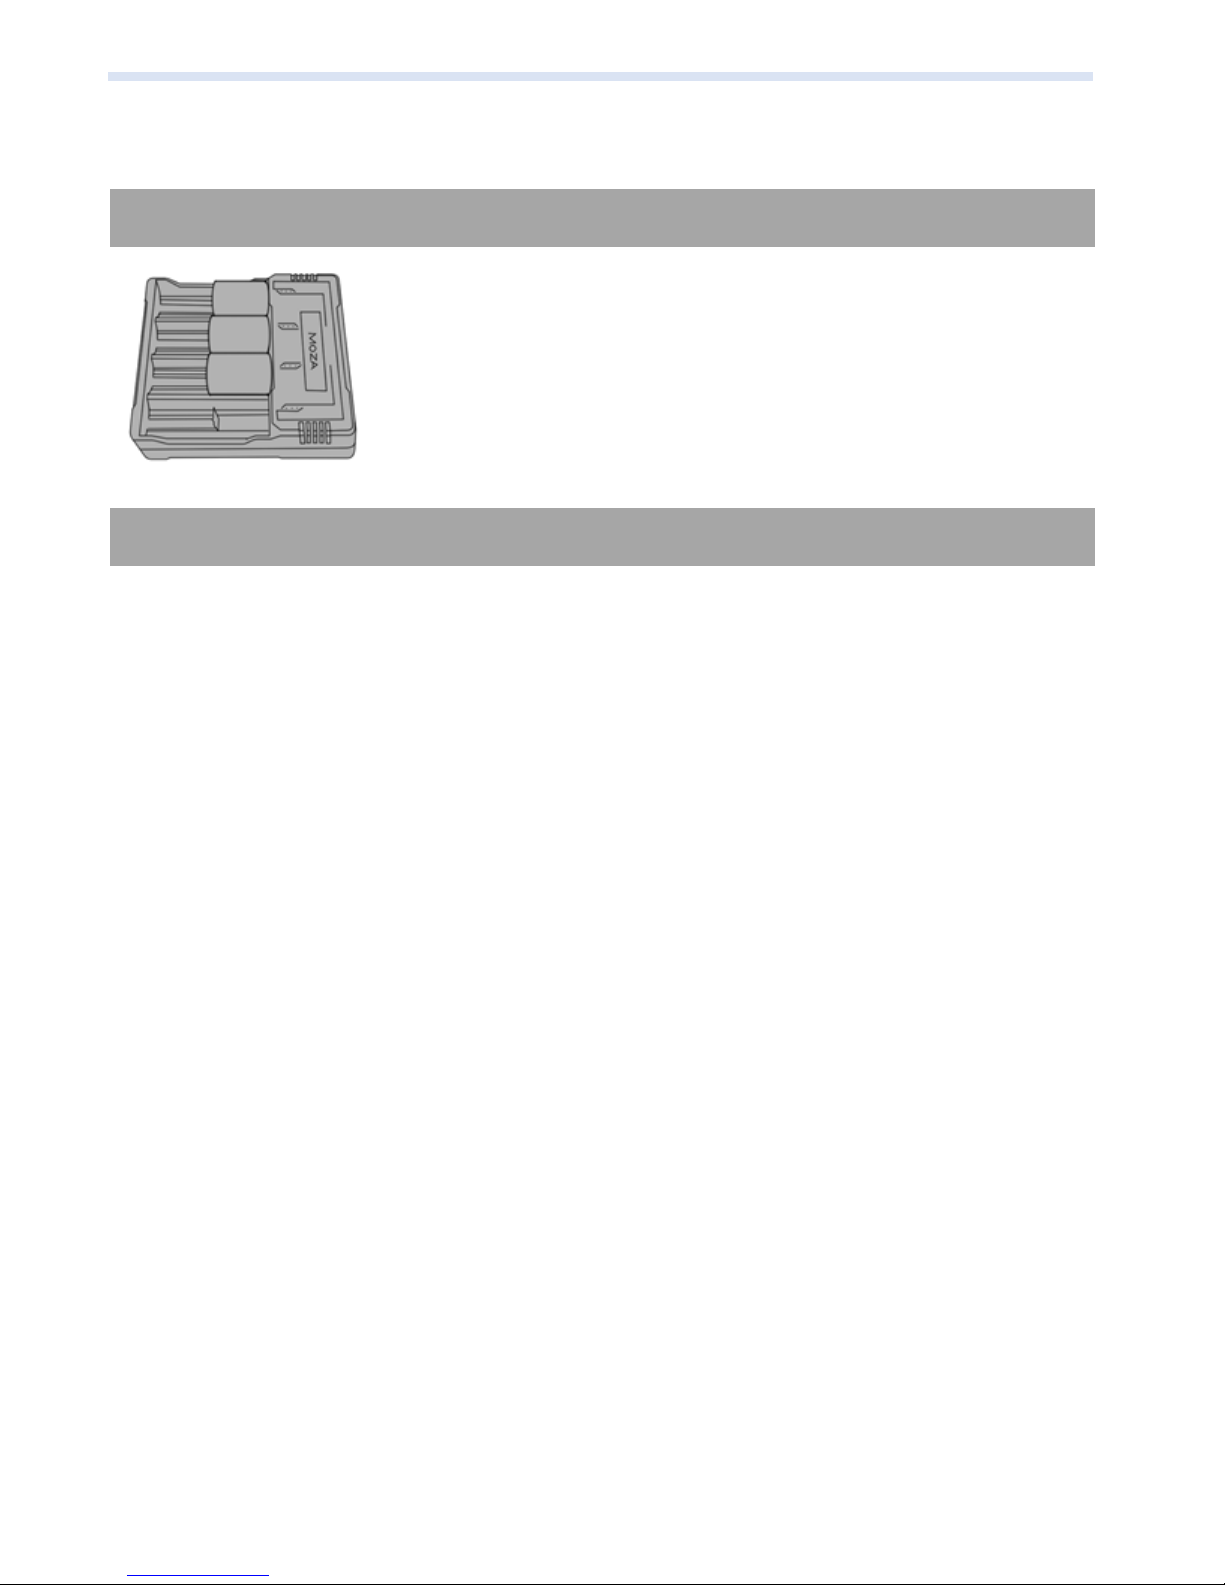
Please charge the batteries with the MOZA charger before
using the Moza Air.
WARNING
To avoid fire, serious injury, and property damage, observe the following safety
guidelines when using, charging, or storing your batteries.
Battery Use
1.Do not let the batteries to come into contact with any kind of liquid. DO NOT leave
batteries out in the rain or near a source of moisture. DO NOT drop the battery into water.
If the inside of the battery comes into contact with water, chemical decomposition may
occur, potentially resulting in the battery catching on fire, and may even lead to an
explosion.
2.If the battery falls in to water by accident, put it in a safe and open area
immediately. Maintain a safe distance from the battery until it is completely dry. Never
use the battery again, and dispose of the battery properly as described in the Battery
Disposal section below.
3.Do not extinguish any battery fire using water, sand, fire blanket or a dry powder
fire extinguisher.
4.Never use non-MOZA modified batteries. If replacement or backup is needed,
please purchase new batteries from http://www.gudsen.com.
5.Never use or charge swollen, leaky, or damaged batteries. If your batteries are
abnormal, contact Gudsen technical support or Gudsen authorized vendor for further
assistance.
6.The battery should be used in temperatures from 0-40℃. Use of the battery in
environments above 40℃ can lead to a fire or explosion. Use of battery below 0 ℃ can
lead to permanent damage.
7.DO NOT use the battery in strong electrostatic environments, Otherwise, the
battery control board may malfunction.
8.Never disassemble or pierce the battery in any way or the battery may leak, catch
fire, or explode.
9.DO NOT drop or strike batteries. DO NOT place heavy objects on the batteries or
charger.
10.Electrolytes in the battery are highly corrosive. If any electrolytes make contact
with your skin or eyes, immediately wash the affected area with fresh running water for
at least 15 minutes, and then go to a doctor immediately.
11.DO NOT use the battery if it received impact from a fall or other accidents.
12.DO NOT heat batteries. DO NOT put batteries in a microwave oven or in a
pressurized container.
13.DO NOT place lose battery cells on any conductive surface, such as a metal table.
14.DO NOT manually short-circuit the battery.
15.Clean battery terminals with a clean, dry cloth.
Battery Charging
1.DO NOT attach the batteries to wall outlets or car charger sockets directly, always
use a MOZA official charger. Gudsen takes no responsibility if the battery is charged using
a non-MOZA official charger,
2.Never leave the battery unattended during charging. DO NOT charge the battery
near flammable materials or on flammable surfaces such as carpet or wood.
3.DO NOT charge the battery immediately after use, because the battery
temperature may be too high. Wait to charge the battery until it cools down to near
room temperature. Charging the battery outside of the temperature range of 0-40℃ may
lead to leakage, overheating , or battery damage.
4.Disconnect the charger when not in use. Examine the charger regularly for damage
to the cord, plug, enclosure, or other parts. DO NOT clean the charger with denatured
alcohol or other flammable solvents. Never use a damaged charger.
Battery Storage
1.Keep batteries out of the reach of children and pets.
2.DO NOT leave the battery near heat sources such as a furnace or heater. DO NOT
leave the batteries inside of a vehicle on hot days.
3.Always keep the battery in a dry place.
4.DO NOT store the battery fully discharged for long periods of time, otherwise it
will over discharge and lead to permanent damage.
Battery Maintenance
1.Never use the battery when the temperature is too high or too low.
2.Never store the battery in environments with a temperature higher than 60℃.
Battery Disposal
Dispose of the battery in specific recycling boxes only after a complete discharge.
DO NOT place the battery in regular trash containers. Strictly follow your local
regulations regarding the disposal and recycling of batteries