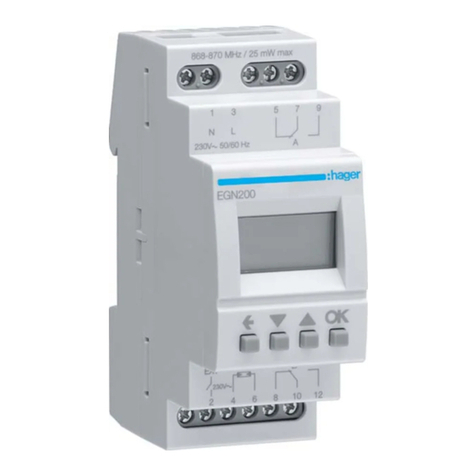
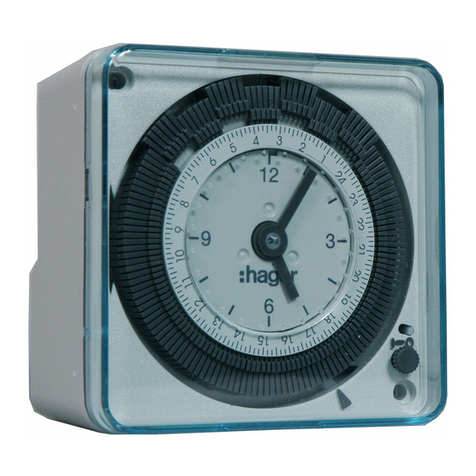
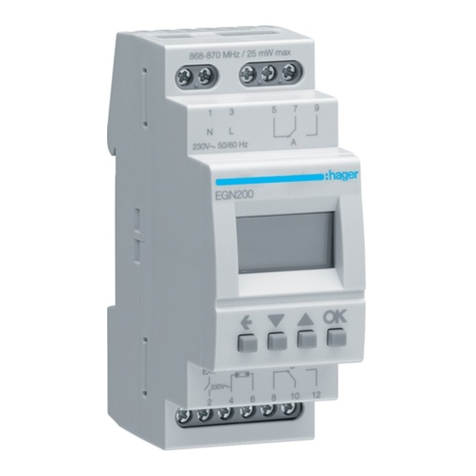
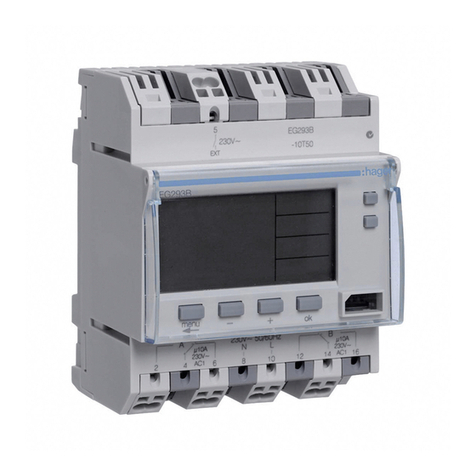
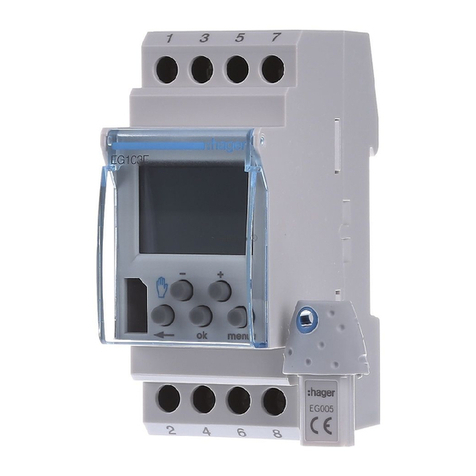
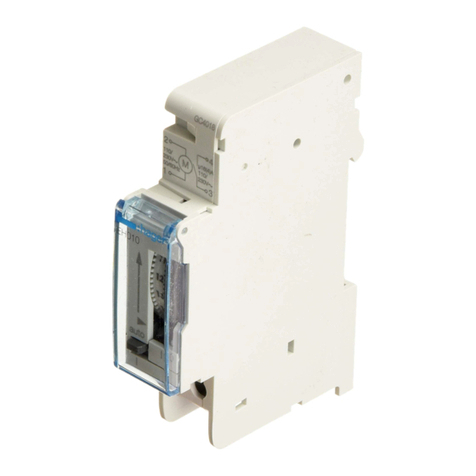
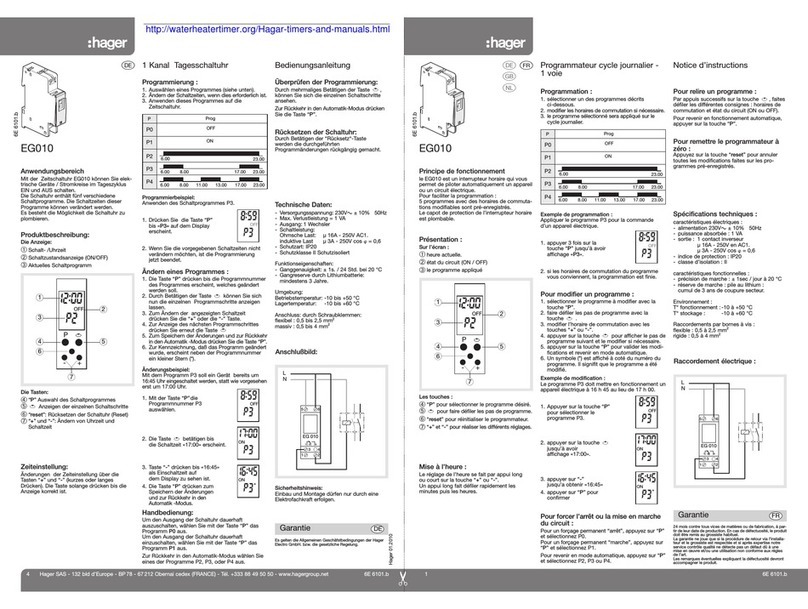
hager EGN100 User manual

6LE007392A
EGN100 / EGN200 / EGN400
quick start guide
Time switches
1 channel / 2 channel / 4 channel
Bluetooth®multifunction
with the Hager Mood app

2
1. Introduction......................................................................................... 2
2. Setting up your installation ............................................................... 2
3. Connecting a time switch
(EGN100/200/400) for the first time.................................................. 4
4. Creating a new program ................................................................... 6
5. Loading a program from the app to the
clock key (EGN103 and EGN003) ..................................................... 7
6. Adding program steps....................................................................... 9
7. The "AND" logical operator (EGN100/200/400)............................ 11
8. Programming the twilight switch ................................................... 12
9. RF-Quicklink connection................................................................. 15
10. Integration with Coviva (TKP100A/Coviva app) ......................... 18
11. Updating device firmware............................................................. 21
Contents
Our EGN100, EGN200 and EGN400 electronic time switches feature weekly and yearly cycles for automatic control of
dierent lighting loads.
Examples of applications: public lighting, illuminated signs, shop windows, monuments, facades etc.
• Built-in astronomical clock allows lighting times to be synched to sunset and sunrise.
• Connects to an EEN002/EEN003 twilight sensor (optional), allowing lighting to be controlled according to the level of
ambient brightness.
1. Introduction
2. Setting up your installation
Download the free Hager Mood app to your mobile device:
for Android
for IOS
Make sure the Bluetooth, Location and Mobile Data settings are enabled:
Tap the Settings icon on your mobile
device, select Apps, then Hager Mood:
Swipe downwards and then tap
Bluetooth to enable it.
1
2
Available on
Hager
Mood
Available on
3
Log in to your myHager account (or enter in Guest
mode), or Create an account. Then confirm .
Select Time switches and hit confirm.
Assign a name and location to the new installation,
then hit Next.
You are now in the home screen of your installation.
3
5
4
6

4
1Connect the time switch to the mains power supply.
2On the home screen, touch +to add a device.
Accept the pairing of your mobile terminal with the time switch.
Touch the icon of the discovered device to connect to
the time switch.
1
3
2
3. Connecting a time switch (EGN100/200/400) for the first time
Having trouble connecting?
• Check Notifications and follow the instructions.
Otherwise:
• Go to the Bluetooth Settings on your mobile
device:
1disable then re-enable Bluetooth and wait for the
scan to complete
2check the settings of your time switch and make it
visible for discovery if necessary; then wait a few
seconds
3return to the app and tap the icon of the
discovered device.

5
Press any button on the time switch.
The device has been identified.
Touch the arrow key, give a
name to the product if necessary,
and then confirm.
To return to the home screen,
double-tap the Xkey (or tap the
+key to create a new program: see
next section).
The device has now been added
to the home screen.
4
5 6 7
4
OK
28 / 03 / 2020
15 : 18 : 04

6
On the home screen, tap the icon of the device you
wish to programme.
Tap + to add a new program. You can now choose
whether to enter the program settings one by one, or
select a template. Then confirm.
Tap View programs.
Select the output(s) available for programming and
then tap the arrow (to add program steps, see section 6).
To create a new program (custom or template):
1
3
2
4
4. Create a new program

7
Connect the EGN003 Bluetooth® clock key to the
EGN103 time switch.
1To create a new program: on the home screen,
touch the clock key icon and enter the program
settings one by one, or use a clock key template
(see section 4).
2
To add steps to a program, see section 6.
Once the key has been discovered, pair it to your
mobile device using the Hager Mood app.
Load the program onto the clock key.
1
3
2
4
Bluetooth®
clock key
3
auto
On
24
1812
60
ok menu
+
3
5. Loading a program from the app to the clock key (EGN103 and EGN003)

8
The program is now stored on the key.
The program will run as configured for as long as the key remains in the time switch.
Before removing the key from the time switch, you must manually load it onto the EGN103 time switch as described below.
To load the program contained in the key onto the EGN103 time switch:
1press the menu button, select LOAD mode then press OK to confirm
2press OK again to load the program
3remove the key and check the program is present in the EGN103 time switch.
5
6
1
3
auto
On
24
1812
60
ok menu
+
3
2
3
auto
ok menu
+
ok
3
Program
3
auto
On
24
1812
60
ok menu
+
3
3
Program
3
auto
On
24
1812
60
ok menu
+
3

9
1Create a new program (see section 4).
2Click on +to add a program step.
To select an action:
1 tap + to add an action
2 select one of the actions below, adjust its setting as required, then tap the confirm button.
Actions available per device and setting:
• EGN003
Example: Pulse On for 60 seconds
• EGN100/200/400
For each new step, you must define a an action plus a
trigger, and the days you want the step to be executed,
as applicable:
1
2
6. Adding program steps
Action Setting
On
O
On
For a limited time
(pulse)
1 to 60 seconds
O
For a limited time
(pulse)
1 to 60 seconds
Action
On
O

10
To select a trigger:
1tap +to add a trigger
2select one of the triggers listed below, then tap the blue arrow
3use the + and - buttons to set the trigger values, then tap OK to confirm if necessary, followed by the blue arrow
to continue.
Trigger available by device and setting:
• EGN003
• EGN100/200/400
3
Trigger Setting
Time Hours and minutes
Sunset/Sunrise
At sunset
or
At sunrise
Brightness
Lower than
or
Higher than
value between
1 and 2000 lux
Trigger Setting
Time Hours and minutes
To select the days:
The step is executed on every day with a white circle
around it.
Tap the days to select them, then confirm.
Once the program is synchronized with the device, you need to implement AND logical operators between the
steps: see next section for instructions.
The step is programmed. Tap +to add another
step to the program.
(After the final step: confirm your settings, assign a
name to the program, then synchronize it with the device
- see example in section 8)
4
6
5

11
On the home screen, tap the device icon and then
device settings.
The time switch implements the "AND" logical operator between all steps in the same program.
1Tap to open the Date and Time drop-down menu.
2Slide the Activate special mode button to the
"on" position.
3Select the output(s) concerned.
1 2
7. The "AND" logical operator (EGN100/200/400)
For example, on the screen below we want to:
• switch on the light when the brightness is below 100 lux, at 6 am, AND at sunset (8:25 pm) = ON
and
• switch o the light when the brightness is above 100 lux, at sunrise (6:32 am) AND at 11:00 pm = OFF
AND
AND
AND
AND
=
ON
=
OFF

12
Create a new program (see section 4).
1Add a step.
4Add a trigger.
Program step 1: switch on light when brightness is below 100 lux.
2Add an action.
5Select the Brightness trigger then
tap the arrow to move to the next
page.
3Select "On"then confirm.
6Select the Lower than function
and set its value to 100 lux. Then
tap the arrow to confirm.
1
2
Example: We want to switch on the light when the brightness is below 100 lux (step 1), and switch it o when the
brightness is above 100 lux (step 2), from Monday to Friday, on output B. To do this:
8. Programming the twilight switch

13
1Add a step.
4Add a trigger.
Program step 2: switch olight when brightness is above 100 lux.
2Add an action.
5Select the Brightness trigger then
tap the arrow to move to the next
page.
3Select "O" then confirm.
6Select the Higher than function
and set its value to 100 lux. Then
tap the arrow to confirm.
3

14
1Check the 2 steps of the new program created on
output B then tap the arrow to move to the next
page.
3Tap Synchronize device to save the new program to the time switch (to return to the home screen,
double-tap X).
Synchronizing the program with the device:
2Give a name to the program then confirm your
choice.
4

15
Enter configuration mode by pressing and releasing the cfg pushbutton on the input device.
Tap the input which will control the time switch (output), then continue as required for the device concerned
(EGN100 or EGN200/400) (1).
(1) For more information on inputs, scan the QR Code of one of the time switches at the end of the manual for details on conguration.
The RF link allows the output(s) (A..D) of the time switch (receiver) to be associated with one or more
Quicklink radio comfort devices (input(s)/transmitter).
1
2
9. RF-Quicklink connection
All time switches (output) enter configuration mode.
cfg

16
Repeatedly pulse the FCT key to select the function (1).
For EGN100:
Confirm the transmitter configuration by pulsing its cfg button.
Confirm your selection by pressing the FCT key and
holding for at least 2 seconds.
3
5
4
(1) For more information on functions, scan the appropriate QR Code at the end of the manual for instructions on installing the device.
> 2 s
cfg

17
1Open the MENU, 2select Settings then 3press OK to confirm.
Select RF links.
Select the output. The symbol displayed indicates the
link with the transmitter input (Quicklink radio comfort
device) has been established.
Select the function, then press OK to confirm your selection and return to the RF links menu (1).
For EGN200 and EGN400:
Select the output.
3
4
7
6
5
cfg
(1) For more information on functions, scan the appropriate QR Code at the end of the manual for instructions on installing the device.
Press a key twice
Press
and hold
Programs
Settings
HOME SCREEN
SCREEN
SAVER
MENU
DATE / TIME
28 / 03 / 2020
24h 11 : 58
cfg
0612 18
L M M J V S D
MANUAL COMMANDS
x fois
28 / 03 / 2020
4
OK
Settings
MENU
Programs
1
23
4
OK
Bluetooth
SETTINGS
RF links
4
OK
Output B
OUTPUTS
Output A
4
OK
Toggle
FUNCTIONS
None
4
OK
Output B
OUTPUTS
Output A
4
OK
FUNCTIONS
Link in progress§
Confirm the transmitter configuration by pulsing its
cfg button.
8

18
Add a comfort device to Coviva: in the My Devices
section, tap the blue "+" sign.
2To pair the device, follow the configuration
procedure for your time switch (EGN100 or
EGN200/400) (see next page).
1Tap Scan to begin searching for the device.
1 2
10. Integration with Coviva (TKP100A + Coviva app)
All time switches (output) enter configuration mode.

19
Press the FCT button.
For EGN100:
Once the device is recognized, its ID appears on the
screen.
Select the output function on the time switch.
3 4

20
1Open the MENU, 2select Settings then 3press OK to confirm.
Select RF links.
Once the device is recognized, its ID appears on the screen. Select the output function on the time switch.
Perform the same operation for all EGN200 and EGN400 outputs.
For EGN200 and EGN400:
Select the output.
3
4
6
7
5
Press a key twice
Press
and hold
Programs
Settings
HOME SCREEN
SCREEN
SAVER
MENU
DATE / TIME
28 / 03 / 2020
24h 11 : 58
cfg
0612 18
L M M J V S D
MANUAL COMMANDS
x fois
28 / 03 / 2020
4
OK
Settings
MENU
Programs
1
23
4
OK
Bluetooth
SETTINGS
RF links
4
OK
Output B
OUTPUTS
Output A
Other manuals for EGN100
3
This manual suits for next models
2
Table of contents
Other hager Timer manuals

hager
hager EZN004 User manual

hager
hager EG203E User manual

hager
hager EH 266 User manual

hager
hager EH010 User manual

hager
hager EH716 User manual

hager
hager EG470 User manual

hager
hager EH 010 User manual

hager
hager EGN200 User manual

hager
hager EG010 Installation instructions

hager
hager EG203E User manual